I used to think growing plants meant giving up space I did not have. My home felt full already, and adding pots on the floor was not working. I wanted greenery without clutter, and I wanted something I could build myself.
That is when I started looking at a diy vertical garden as a real option, not just an idea I saw online. It made sense fast. I could grow more plants while keeping my space open and easy to move around in.
Now let’s talk about you.
You might want fresh herbs, leafy greens, or just more life on your walls.
This post shows you how vertical gardening works, what setups fit small spaces, and how you can plan one that actually lasts.
Why Vertical Gardening is Worth Considering
A vertical garden is simple. It is a way to grow plants upward instead of spreading them across the ground. You use walls, fences, rails, or frames to hold pots or pockets. The plants grow in rows going up, not out. That is the whole idea.
This setup works well when space is tight. Small patios, balconies, and bare walls often go unused. Vertical gardening turns those spots into growing areas without taking up walking space.
You still have room to sit, move around, and enjoy the area.
There is also a practical side and a visual side working together. The plants can be herbs, flowers, or greens you actually use. At the same time, they make a plain wall feel more alive and cared for.
DIY makes sense when you want control. You can size it to your space, spend less money, and fix or change parts as you go instead of replacing a whole system later.
What Makes a DIY Vertical Garden Successful

A DIY vertical garden works when three basics are done right. These are structure, water control, and plant choice. The structure is what holds everything up.
It must be strong, level, and safe for the weight of wet soil and plants. Weak frames are a common failure point.
Water control matters just as much. Vertical setups dry out faster than ground beds. If water runs off too fast or pools at the bottom, plants suffer. Simple drip lines, trays, or careful hand watering can solve this.
Plant choice ties it all together. Some plants handle tight roots and quick drying better than others. Picking plants that fit your light and watering habits prevents stress later.
Many DIY vertical gardens fail early because people rush.
They build first and think later. Planning saves money, wasted materials, and dead plants. A clear plan keeps the project calm instead of frustrating.
Choosing the Right DIY Vertical Garden for Your Space
Before you pick a build, it helps to slow down and look at your space first. The right setup depends on where you live, how much light you get, and how much weight your walls can handle.
Small homes need simple setups. Pocket planters, hanging rows, and slim wall grids are good choices.
They do not stick out far, so you still have room to move. No-drill options like tension rods, hooks, and railing planters help renters avoid damage. These setups are easy to remove later. Stick with fewer plants and lighter soil so the wall or railing does not feel stressed over time.
Outdoor spaces allow stronger builds that hold more plants. Fences, posts, and solid walls can support wood frames, metal racks, or stacked planters.
Freestanding frames also work well when walls are weak or uneven. As the setup grows, weight becomes a real issue. Wet soil is heavy, and more plants add strain.
Indoor and outdoor gardens have different limits. Indoors, light is the biggest concern. Most plants need bright window light or grow lights to stay healthy. Plant choices indoors are more limited, so herbs and smaller greens work best. Outdoor gardens get more light and airflow, which allows more plant types.
Rain helps with watering, but drainage still needs attention to avoid soggy roots.
Creative DIY Vertical Garden Ideas That Stand Out
Once the basics are clear, ideas become easier to shape. This section focuses on practical builds that still look thoughtful and put together. Each idea below keeps cost, space, and upkeep in mind while helping your garden feel intentional instead of random.
1. Clean-Lined Pallet Wall Garden
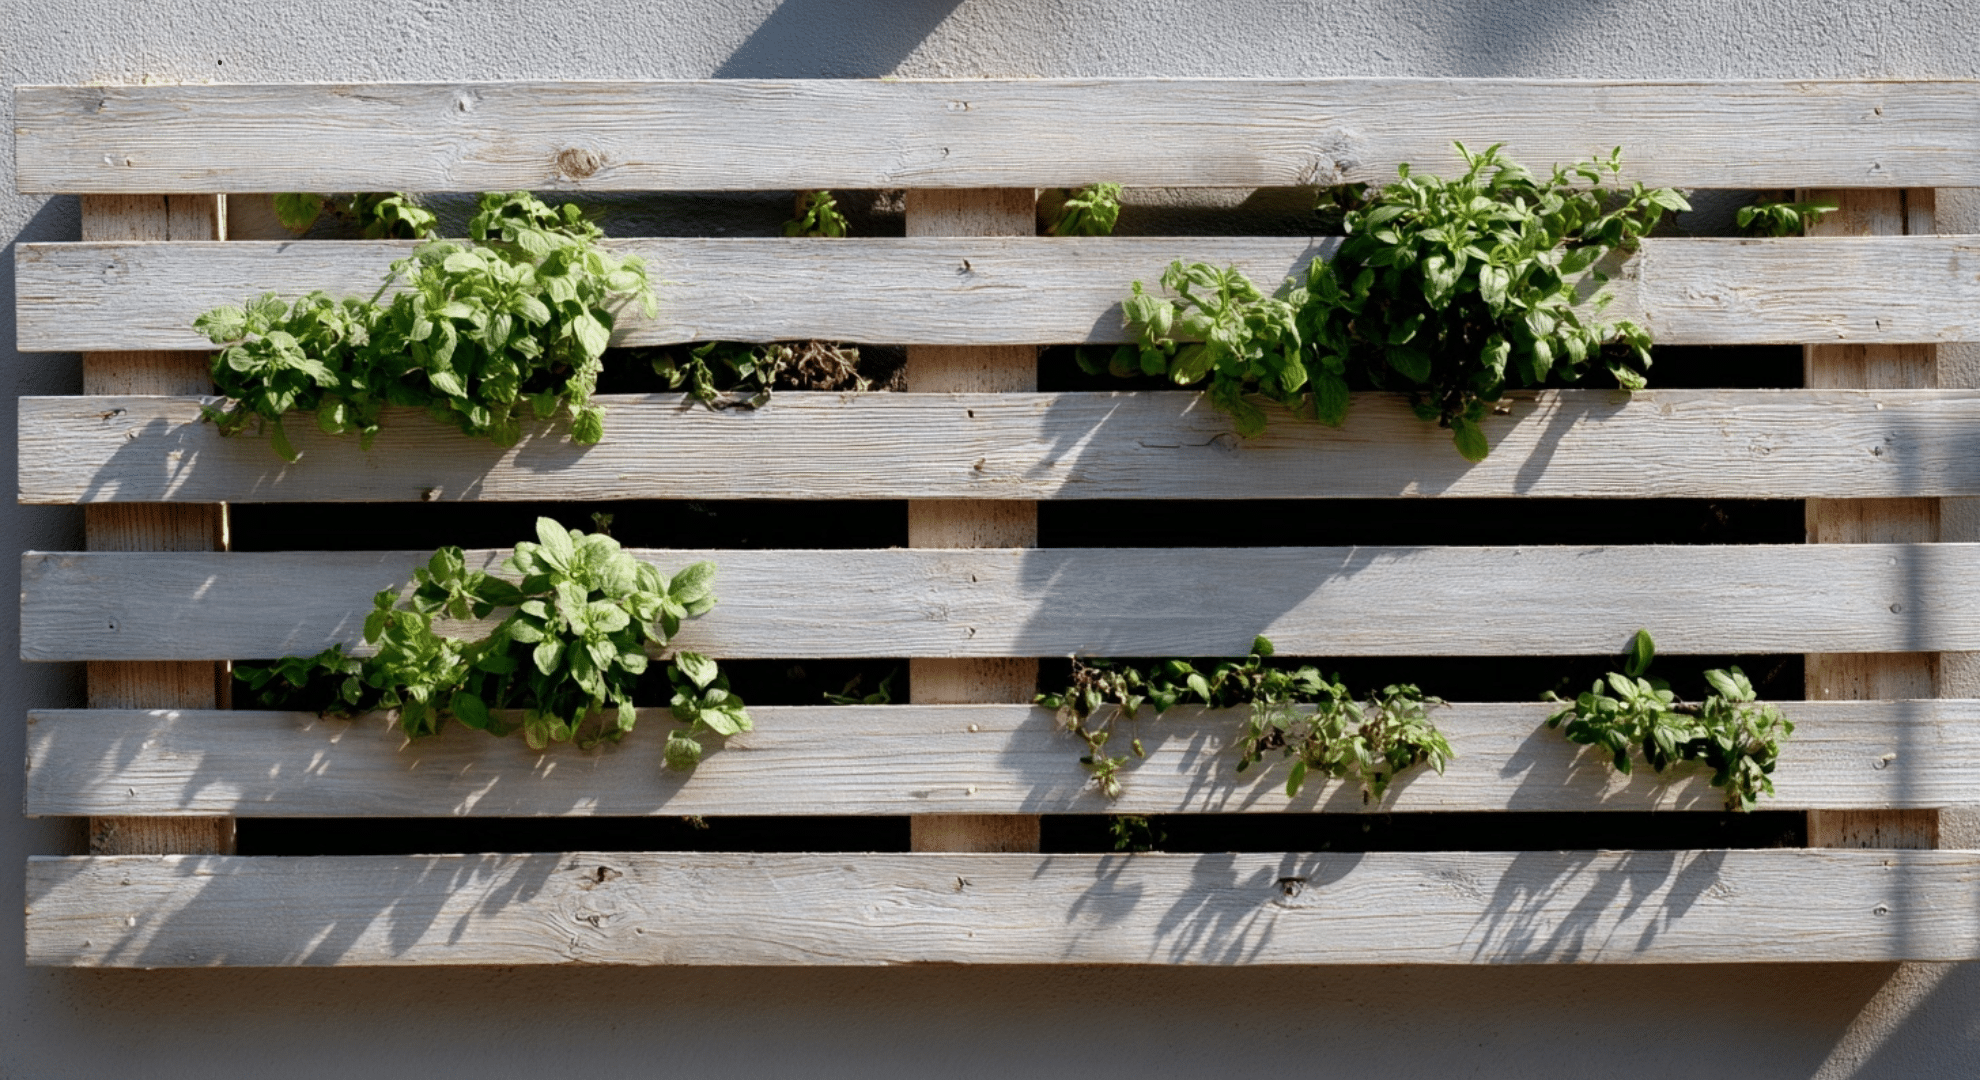
This idea uses a pallet that is sanded smooth and cut evenly. Paint it one calm color so it feels planned. Add fabric behind the slats to hold soil in place.
Herbs and leafy greens work best since their roots stay shallow and easy to manage.
2. Slim Pallet Garden for Tight Spaces
A slim pallet garden sits close to the wall, which helps in small balconies or patios. Cut the pallet into narrow sections and limit the number of rows.
This keeps weight low and watering simple. Choose small plants so the setup stays balanced and easy to care for.
3. Straight-Row Gutter Garden
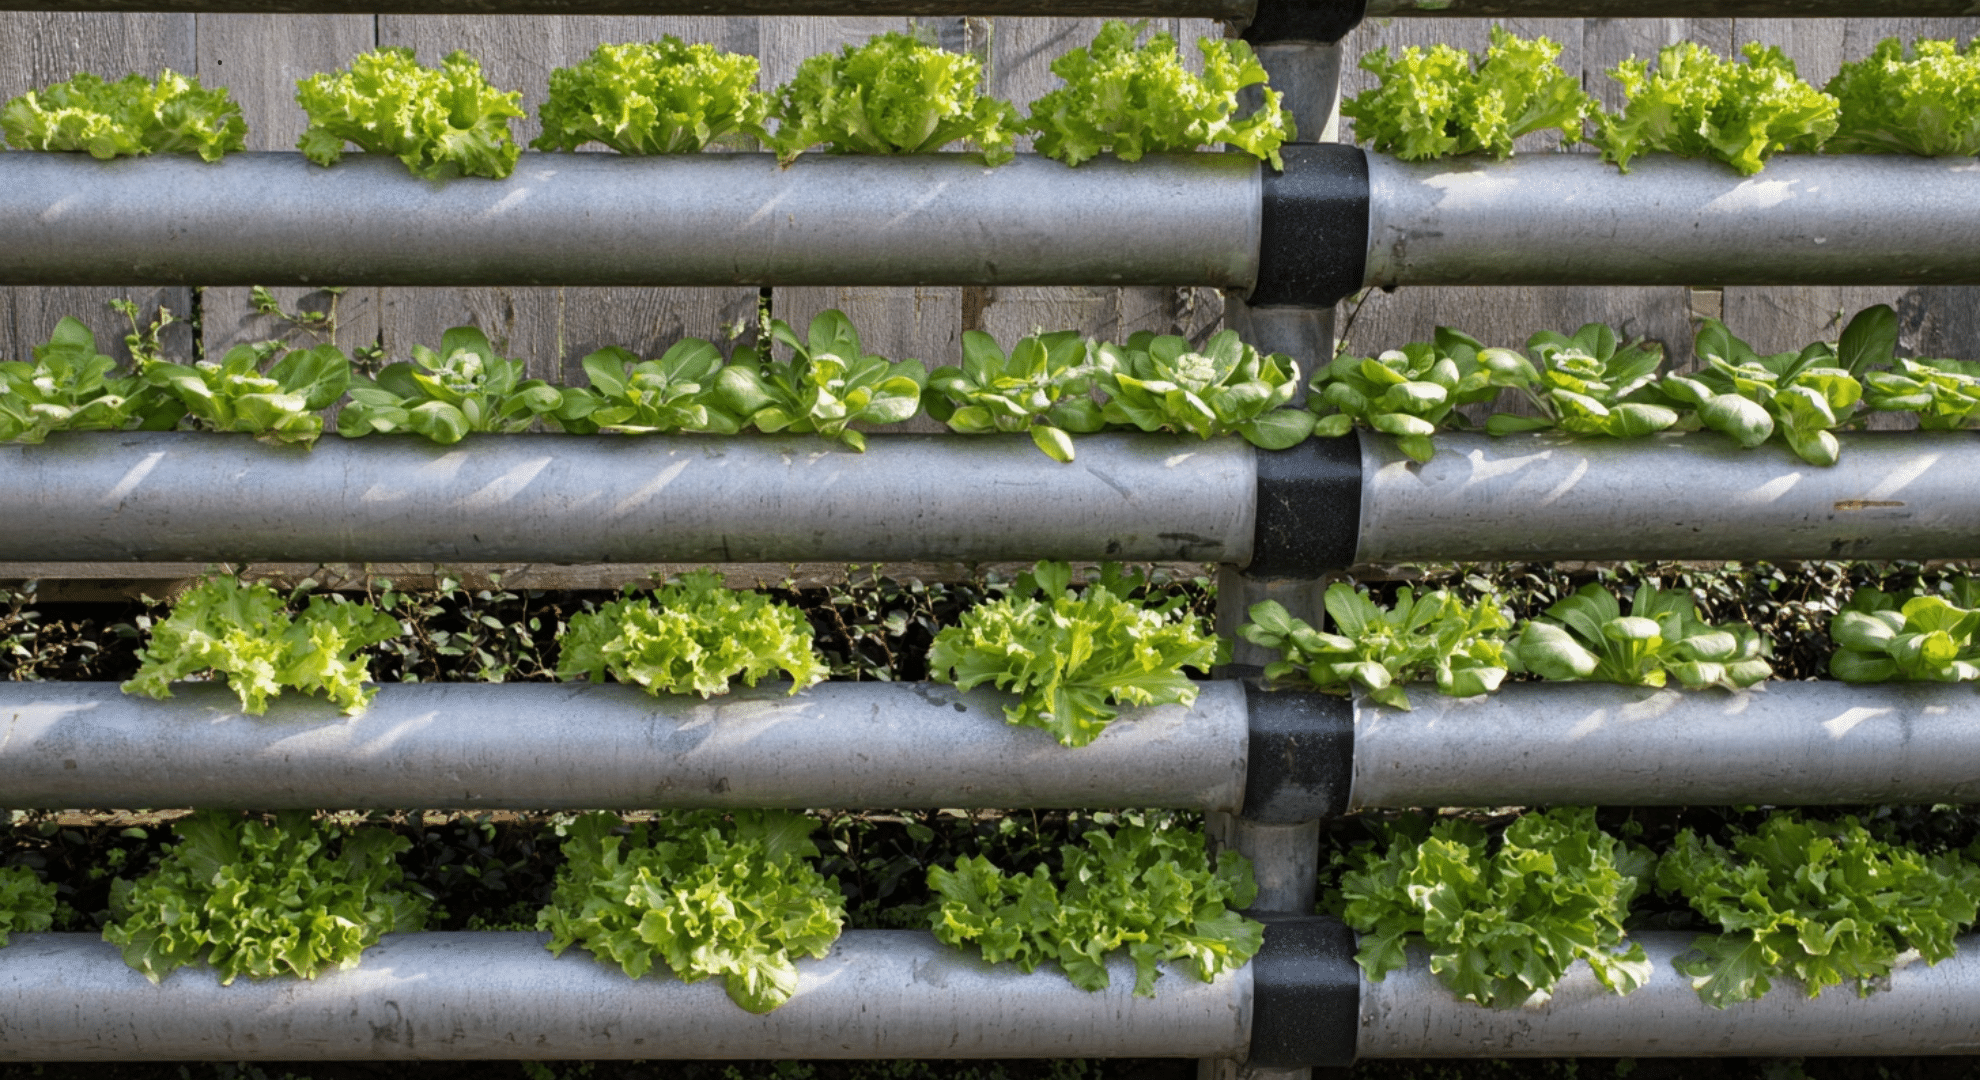
Gutters mounted in straight lines create a clean and ordered look. Measure spacing carefully so rows feel even. Add end caps to control water flow.
This setup works well on fences or garage walls and supports herbs, lettuce, and other shallow-root plants without crowding.
4. Painted Gutter Accent Wall
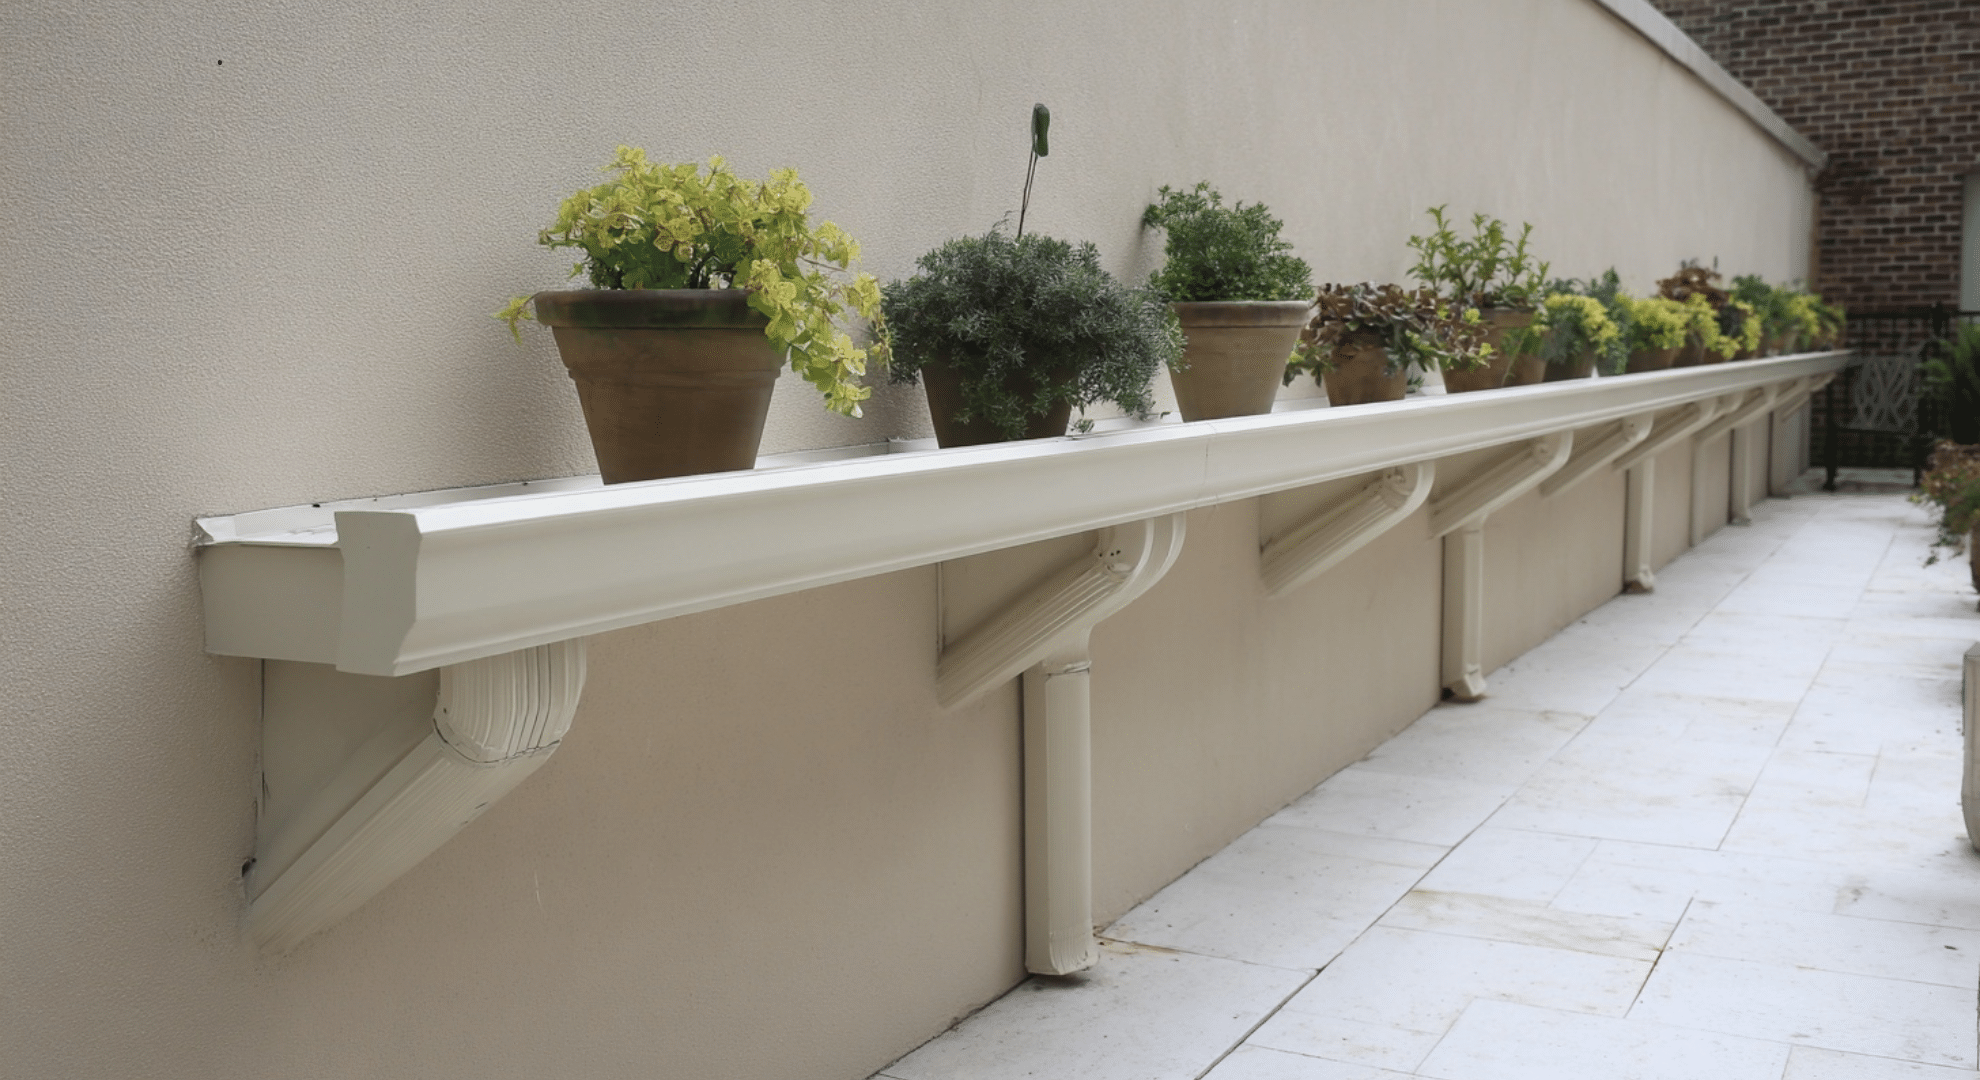
This version focuses on finishing. Paint all gutters one soft, solid color so plants stand out more. Hide brackets when possible and tilt gutters slightly for drainage.
It works well in small outdoor areas where you want plants without visual clutter or bulky frames.
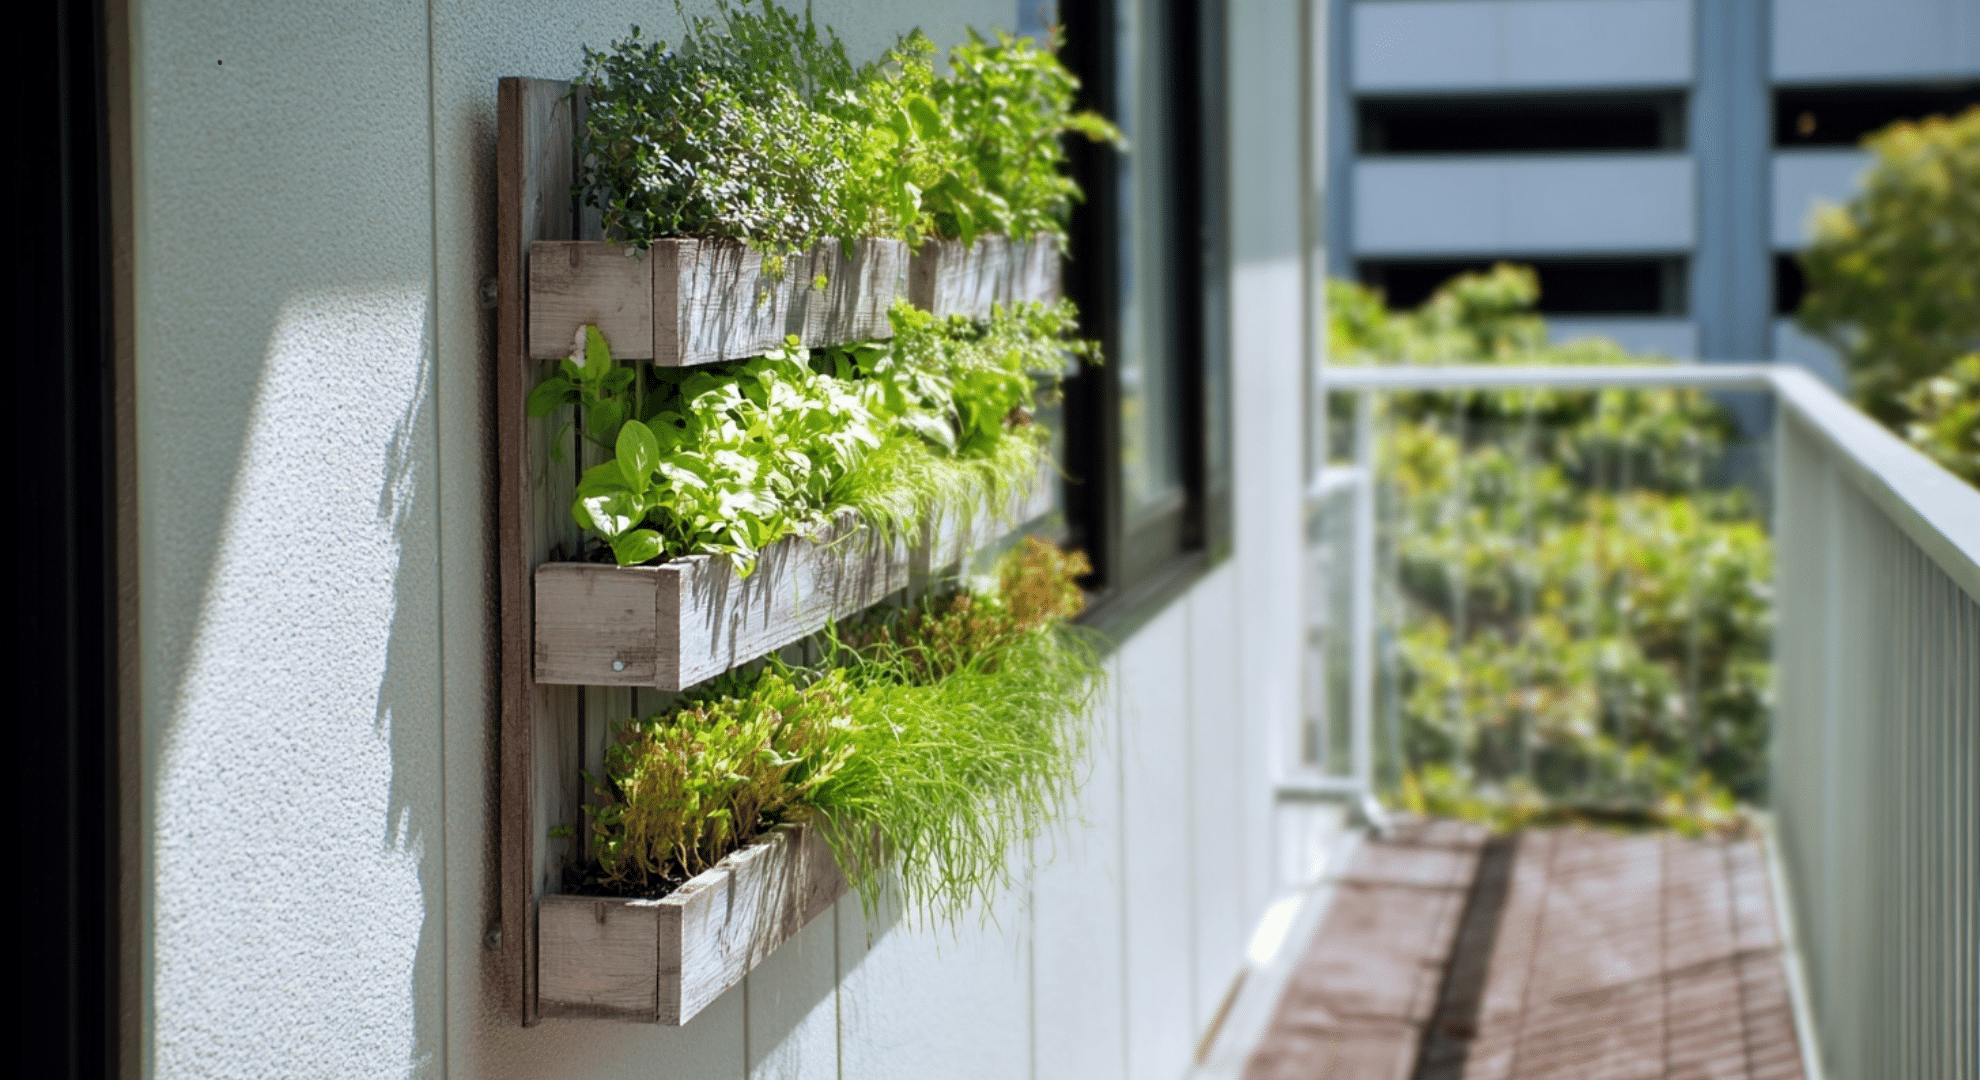
5. Fabric Pocket Wall Garden
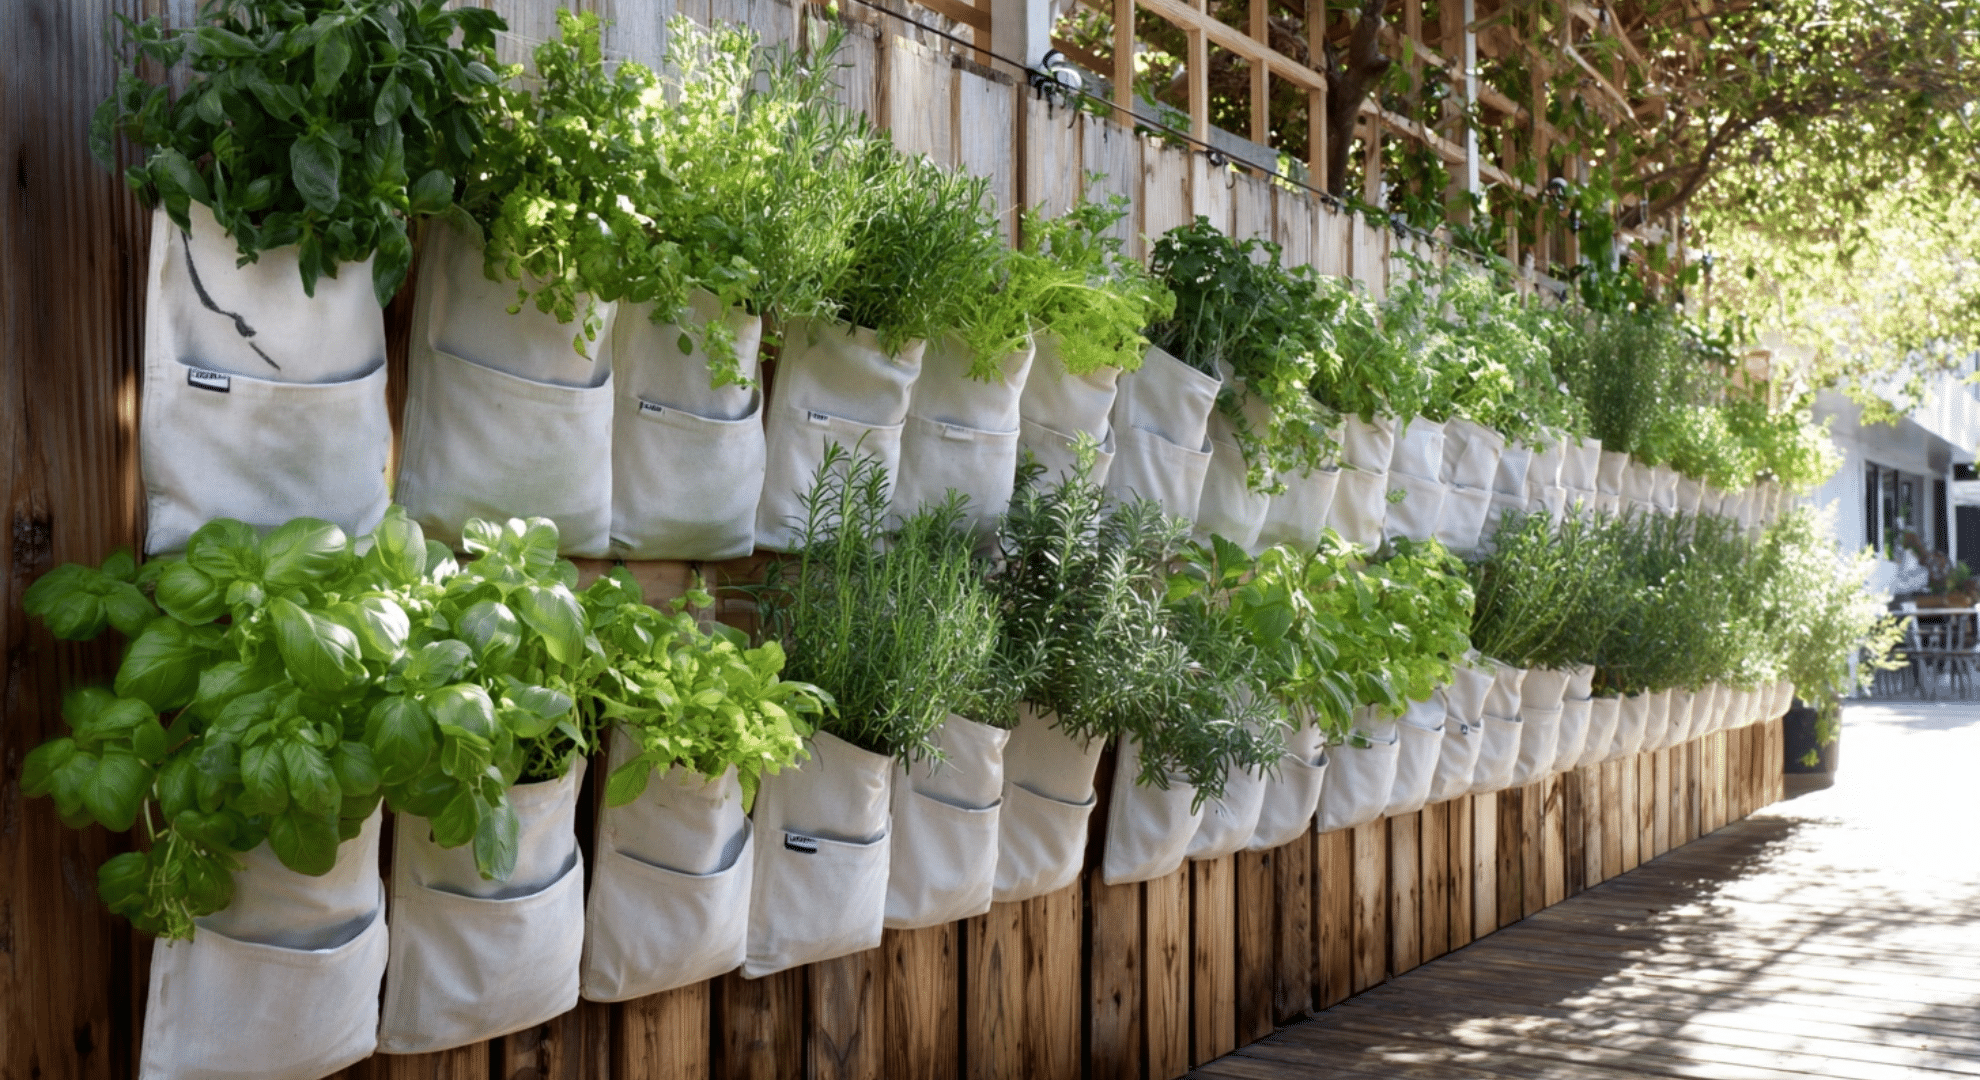
Fabric pockets create a full wall of plants with a softer feel. They work best on fences or patio walls with good airflow. Water slowly to avoid leaks.
Herbs, greens, and trailing plants grow well here. Add a tray at the bottom to catch extra water.
6. Hanging Fabric Panel Garden

Fabric panels hung from rods or hooks are renter-friendly and easy to remove. Keep the panel light by limiting soil depth and plant count.
This setup fits balconies well and works best with bright light. Regular checks help prevent water drip issues over time.
7. Stacked Crate Garden
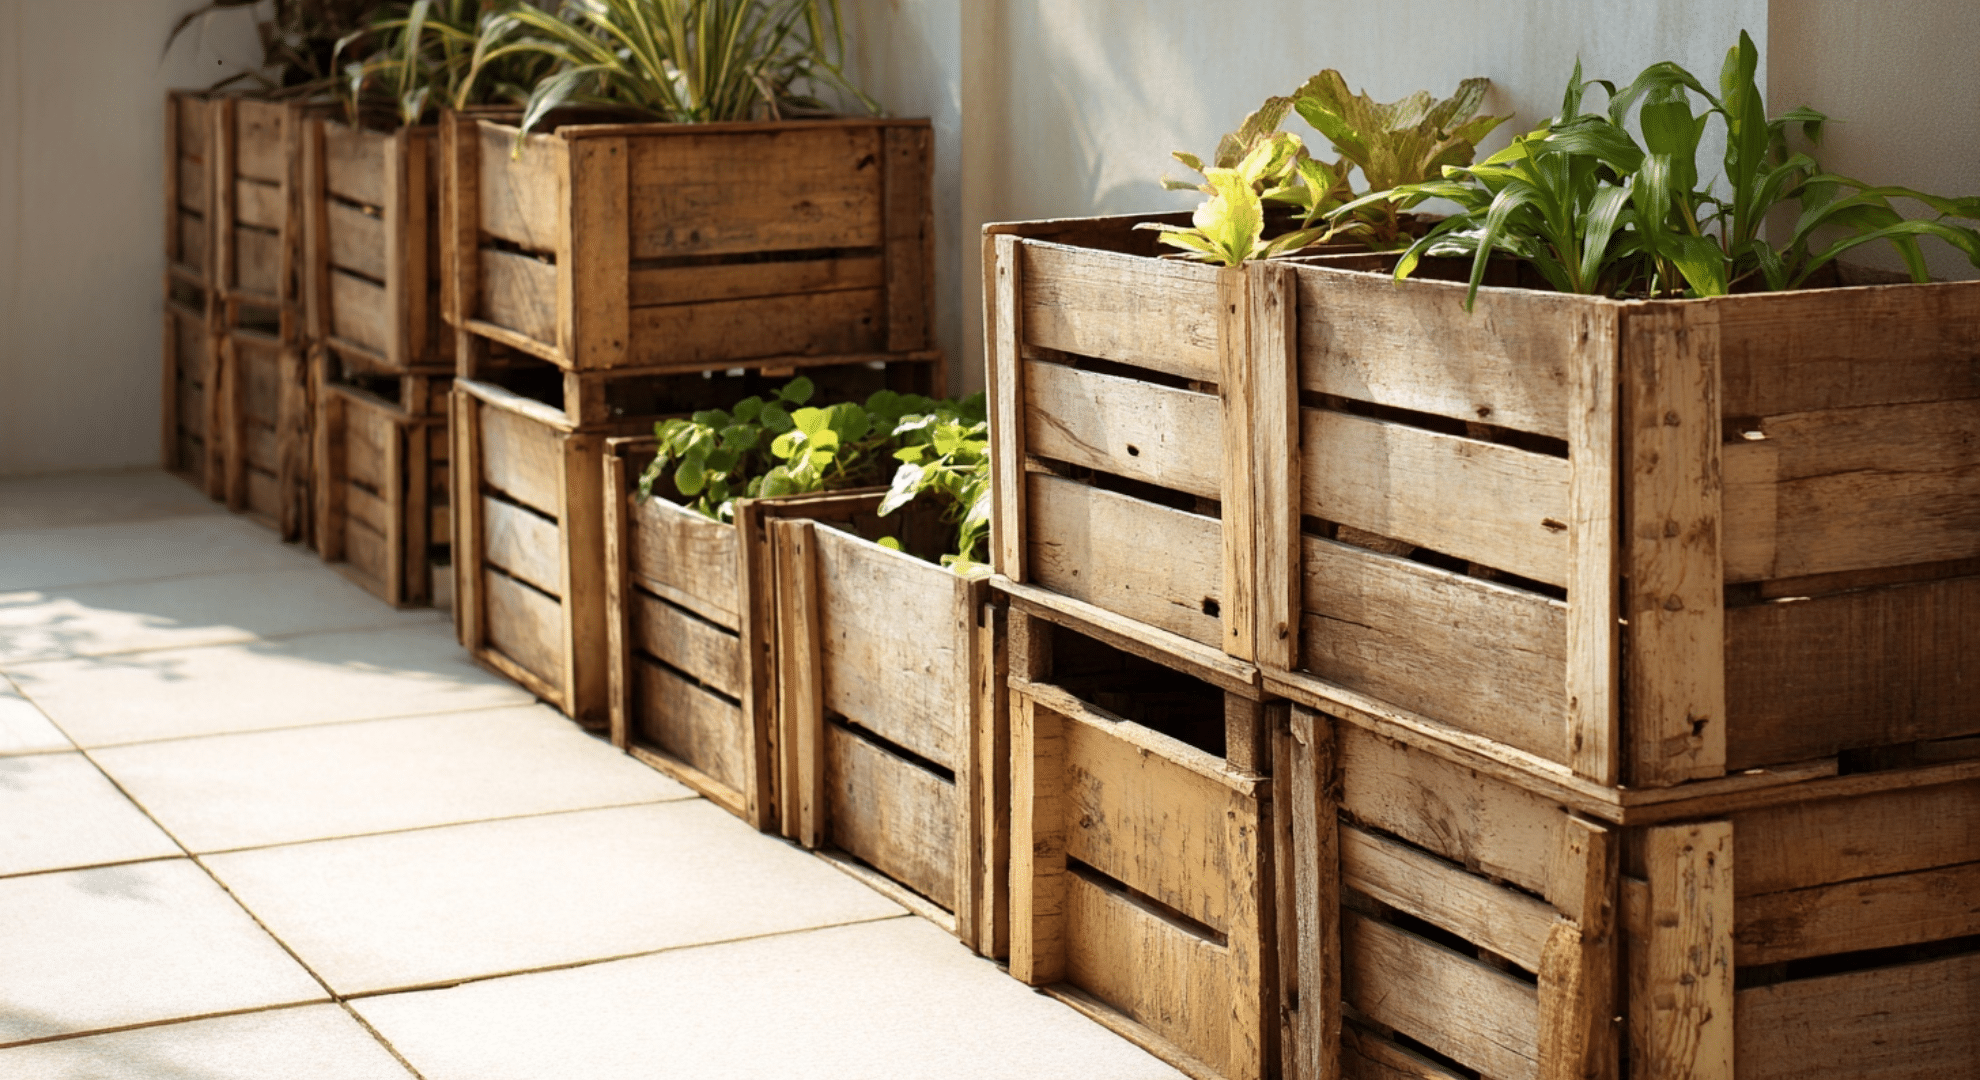
Wood crates can be stacked in staggered rows to add depth without taking much space. Secure each crate so it does not shift.
Each box holds one or two plants, which keeps care simple. This idea works well for patios and small yards.
8. Ladder Garden With Storage
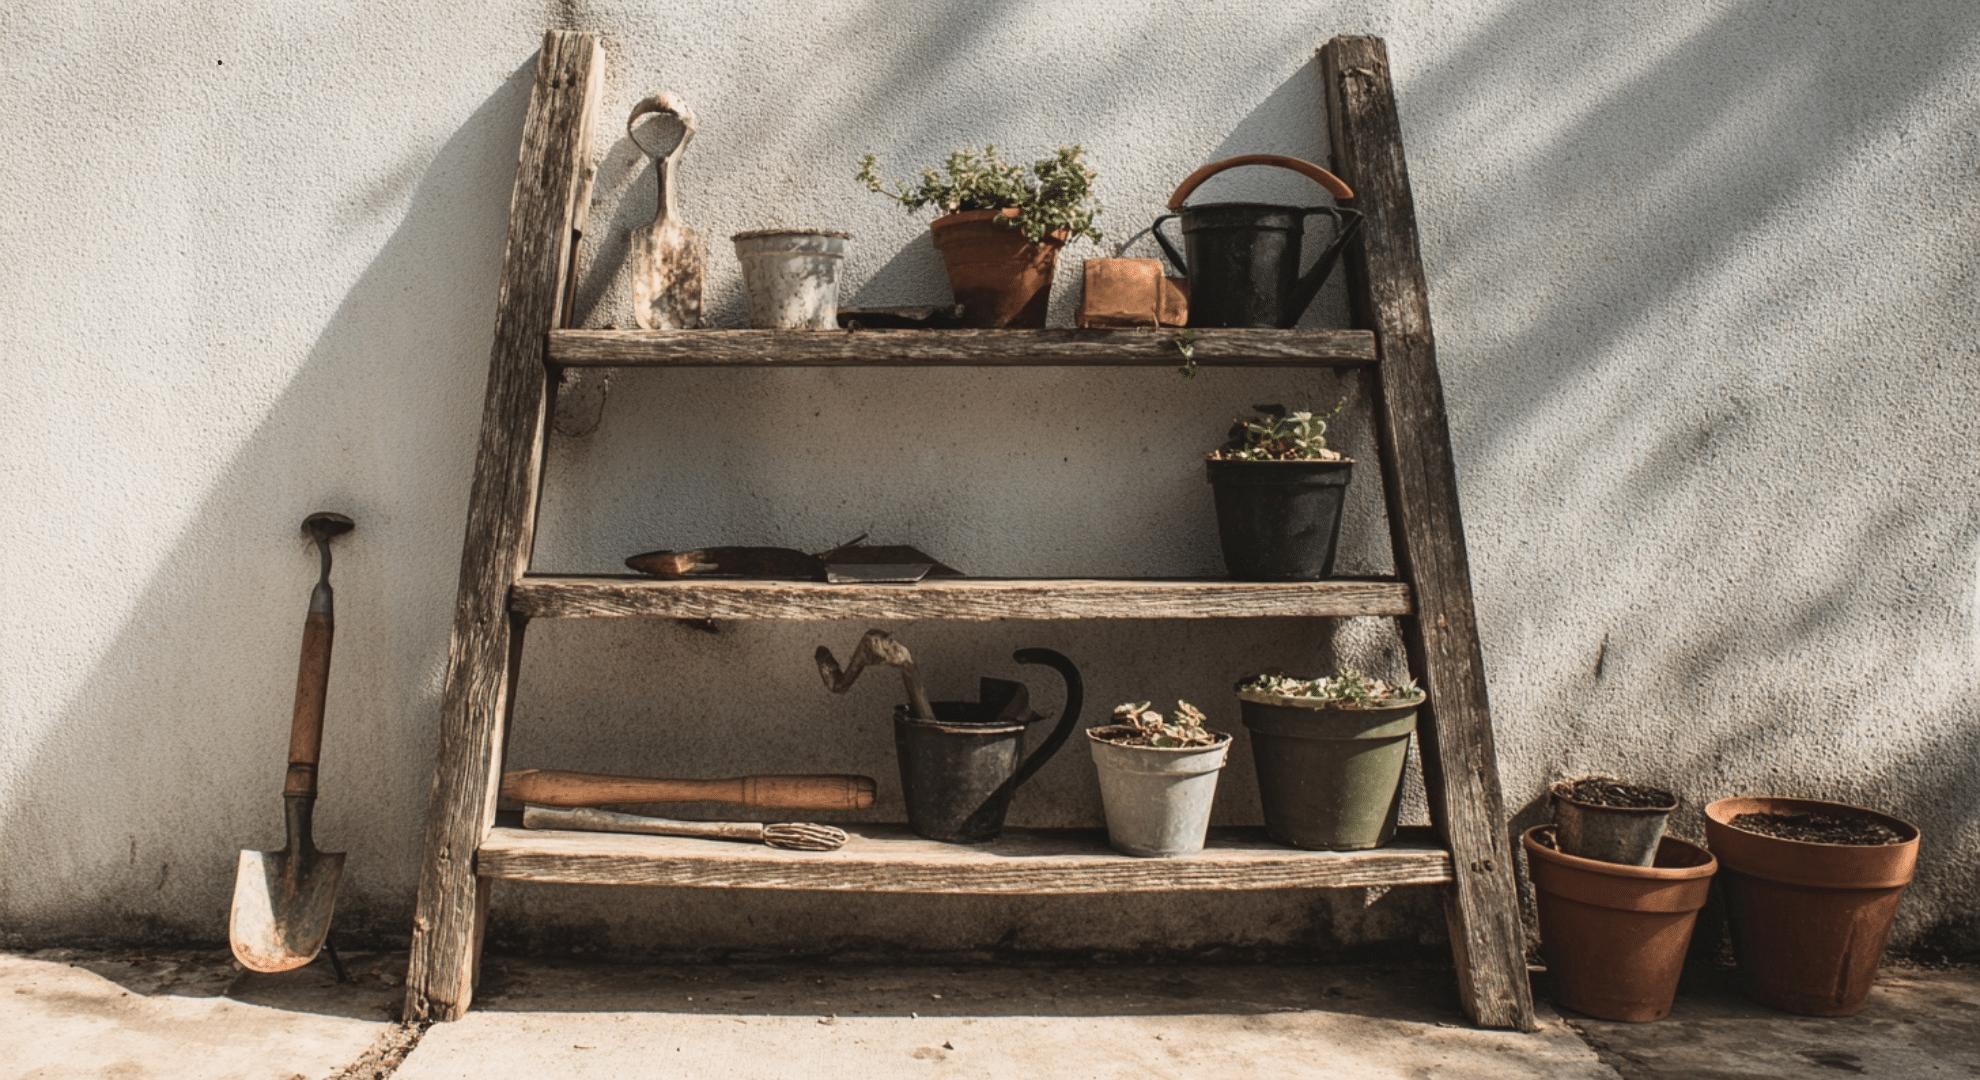
An old ladder can act as a vertical frame with no building needed. Place pots on each step and keep heavier ones near the bottom.
You can also store small tools on open steps. This setup saves space and keeps everything within reach.
9. PVC Pipe Garden With Clean Finish
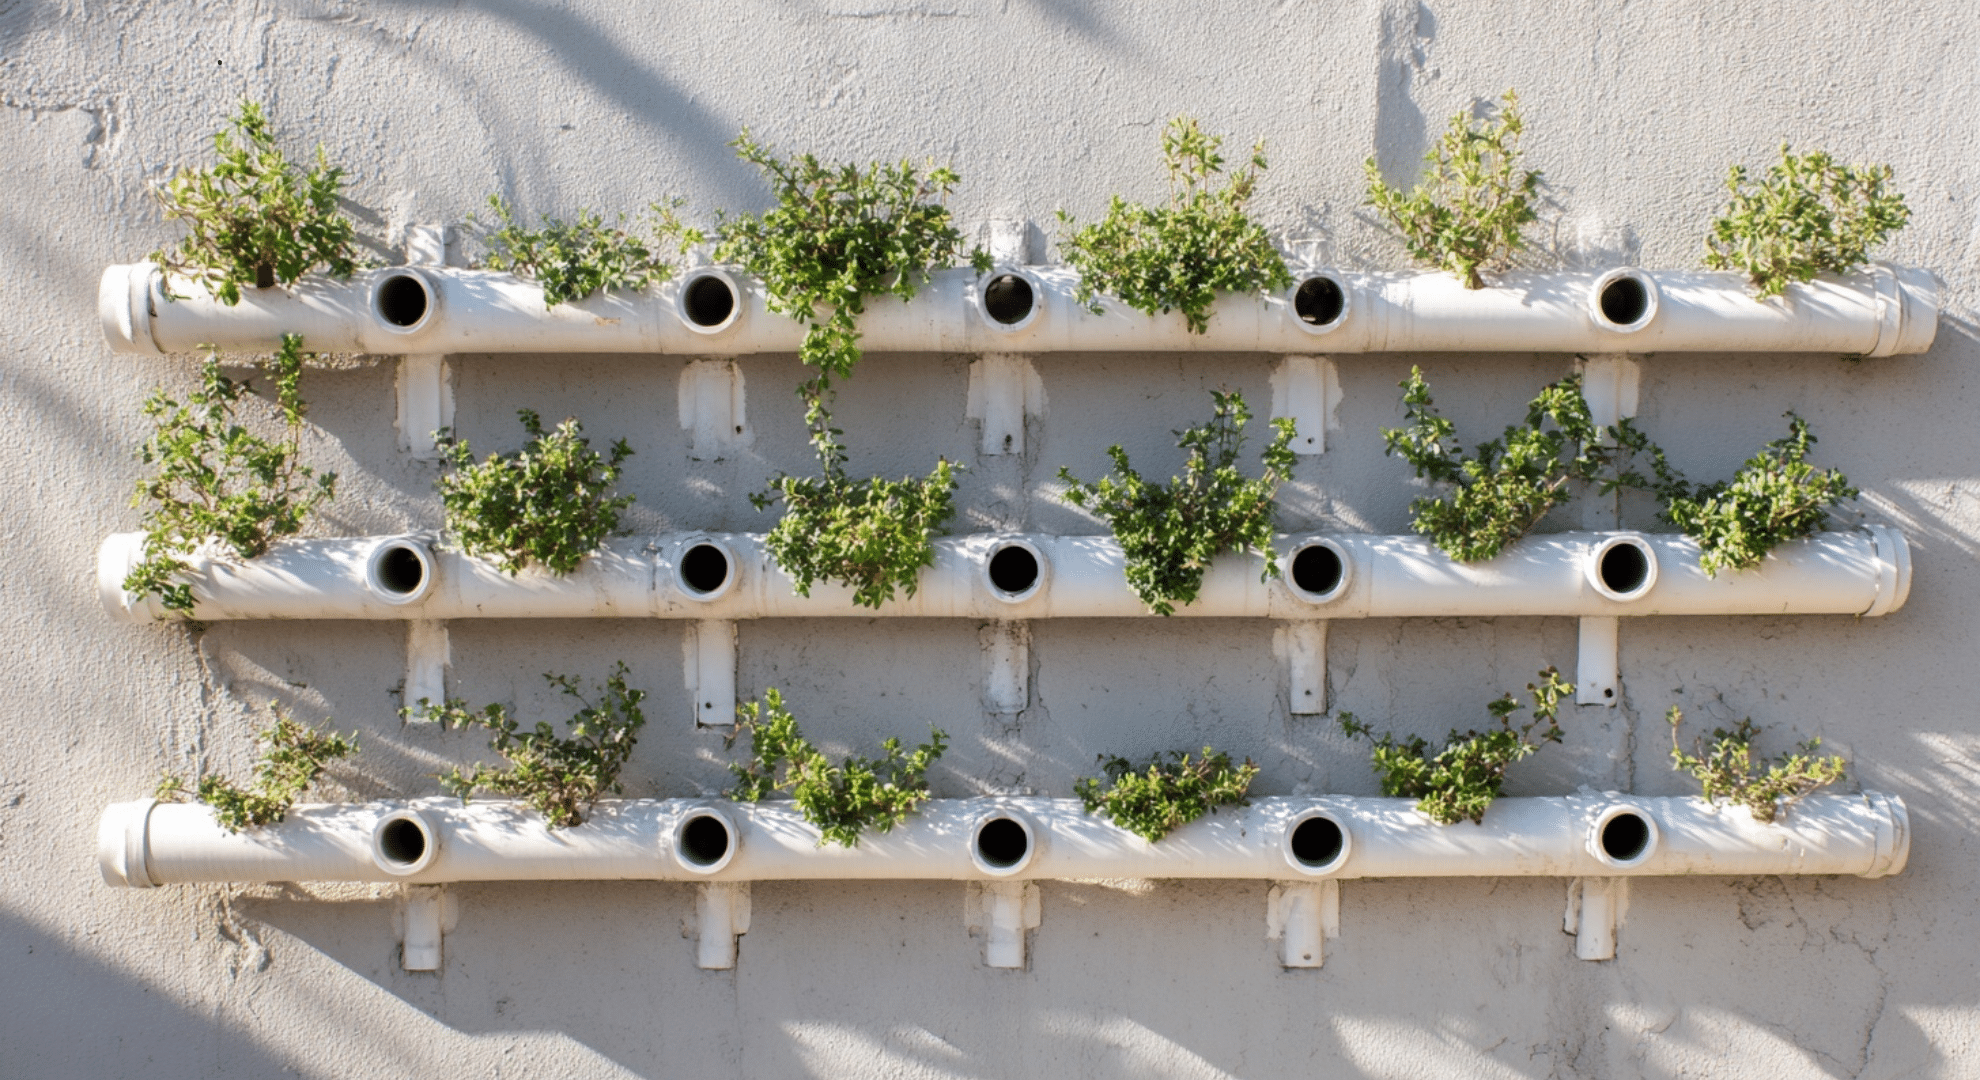
PVC pipes are low-cost and easy to shape. Drill planting holes evenly and paint the pipes so they blend into the space. Secure them firmly to avoid movement.
Use light plants so the structure stays stable and does not strain mounting points.
10. Bottle-Based Vertical Garden
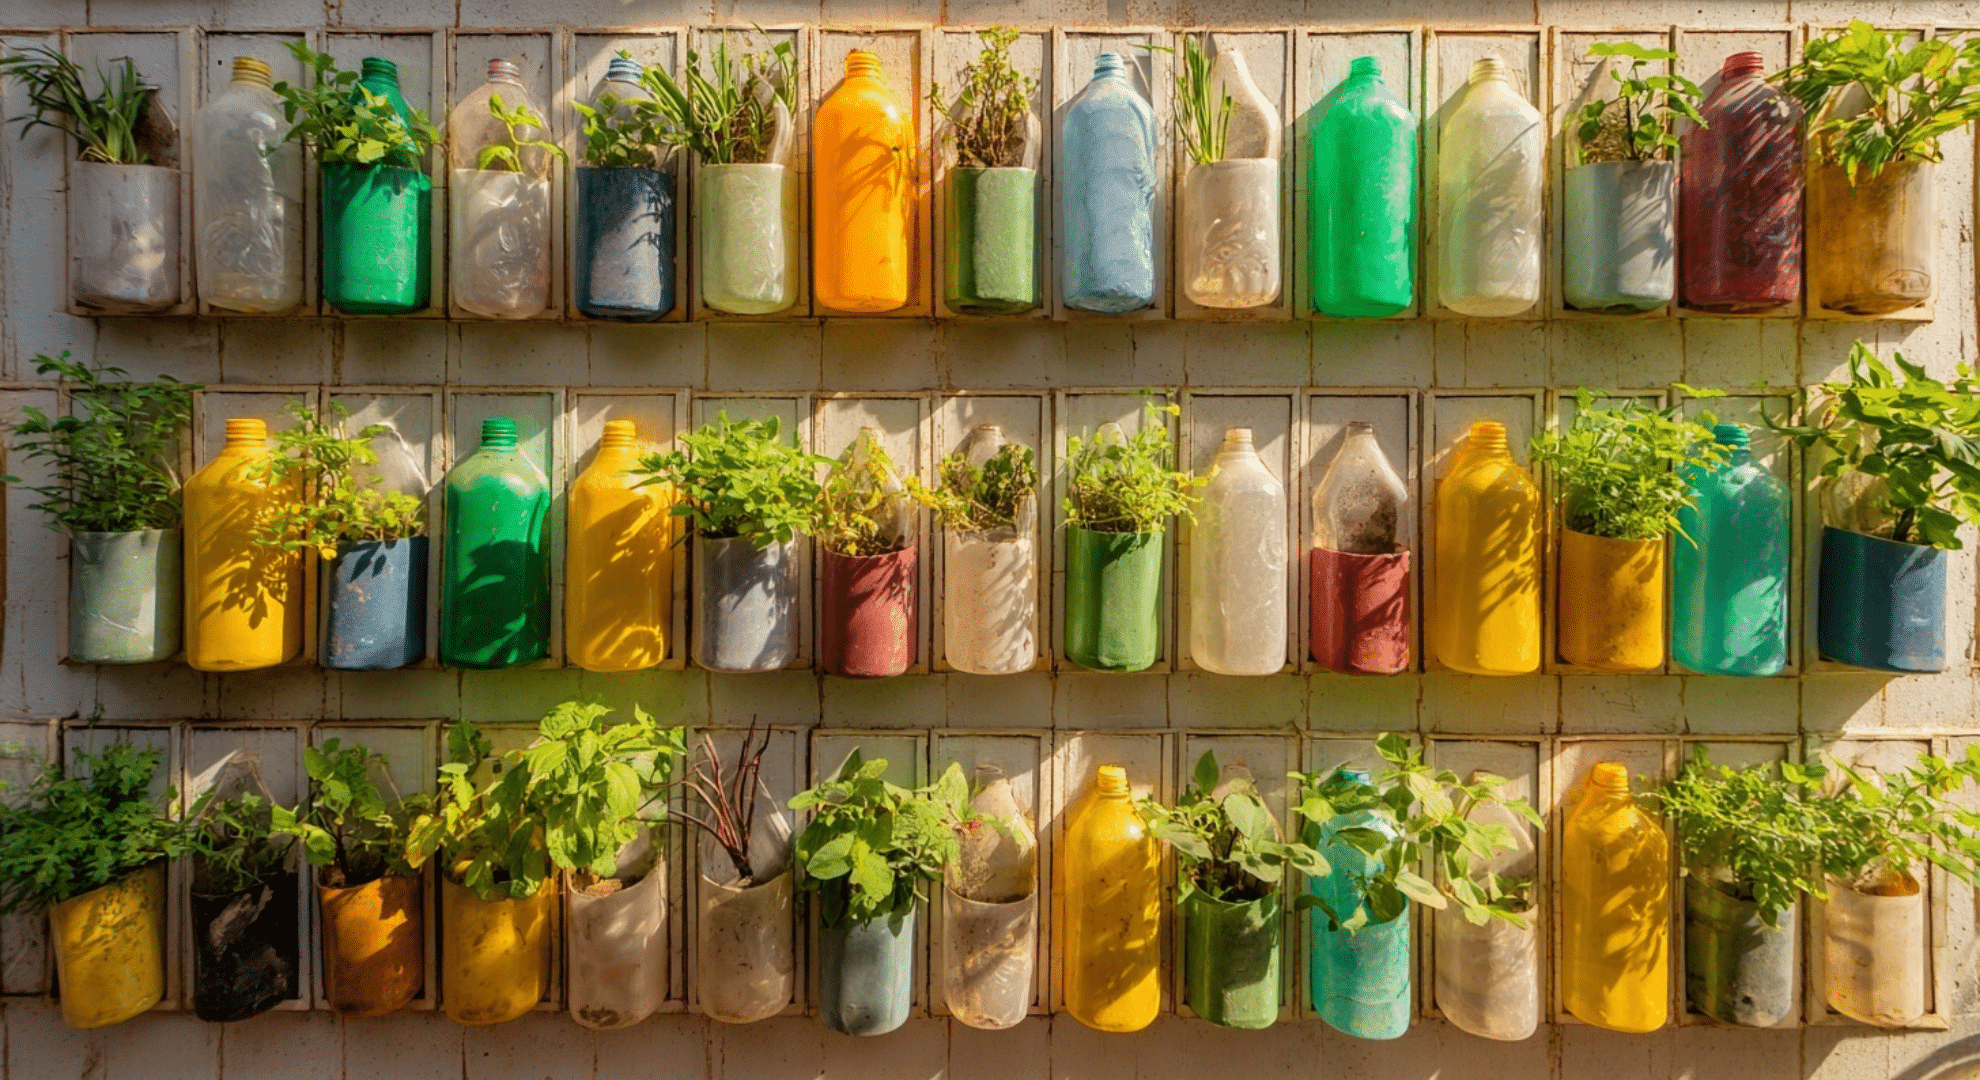
Plastic bottles work well for budget builds. Cut clean openings and space them evenly for a tidy look. Paint or wrap bottles so they do not feel messy.
This setup suits herbs and small greens and works best where light is strong and steady.
Budget-Friendly Ways to Build Vertical Gardens
Building a vertical garden does not have to cost much if you plan it right. Many strong setups start with items that are easy to get or already sitting around.
You can find pallets, crates, bottles, and buckets through local listings, hardware store scrap piles, or neighbors. Old ladders, shelves, and gutters often get thrown away even though they still work well. Reusing these cuts costs fast.
Some parts are worth paying for. Strong screws, wall anchors, and basic waterproof liners prevent collapse and rot. Cheap soil dries out faster, so mid-range soil often saves plants and replacement costs later.
Bottle and fabric setups can cost almost nothing.
Gutter and pallet builds usually sit in the low-to-mid range. Larger frames cost more but last longer when built once and built right.
How to Build a DIY Vertical Garden Step by Step
Step 1: Choose a solid wall or fence location, clear the area, and confirm it can safely support added weight over time.
Step 2: Measure the available space and plan how many panels fit comfortably while allowing room for plant containers to hang.
Step 3: Hold the panel in position with help and check alignment so it sits straight before making any marks.
Step 4: Mark attachment points clearly, then prepare the surface so fasteners go in cleanly and hold securely.
Step 5: Fix the panel in place, securing one point first, rechecking alignment, then securing the remaining points firmly.
Step 6: Attach hanging containers to the panel, spacing them evenly and checking that each one is stable.
Step 7: Place plants into the containers, matching them to light and watering needs, then adjust spacing for balance.
Step 8: Water lightly, check drainage, and inspect the setup, tightening loose parts and changing plants as needed.
If you need a visual tutorial, here is one you can follow for guidance.
Watering Vertical Gardens Without the Headache
Watering is the part that causes most problems in vertical gardens, but it does not have to be stressful. Because plants are stacked, water moves fast.
The top dries out first, while the bottom can stay too wet. The goal is steady, controlled watering.
Start by watering slowly. Give the top plants time to absorb moisture before adding more. This helps water move down instead of rushing past the roots. Trays or catch pans at the bottom stop mess and protect walls and floors.
Drip lines or simple gravity-fed bottles work well if you want less daily work. These systems release water little by little and keep soil from drying too fast. If you water by hand, check moisture with your finger instead of guessing.
Plant choice matters too. Group plants with similar water needs together. That way, one routine works for the whole setup and keeps care simple.
Best Plants for DIY Vertical Gardens
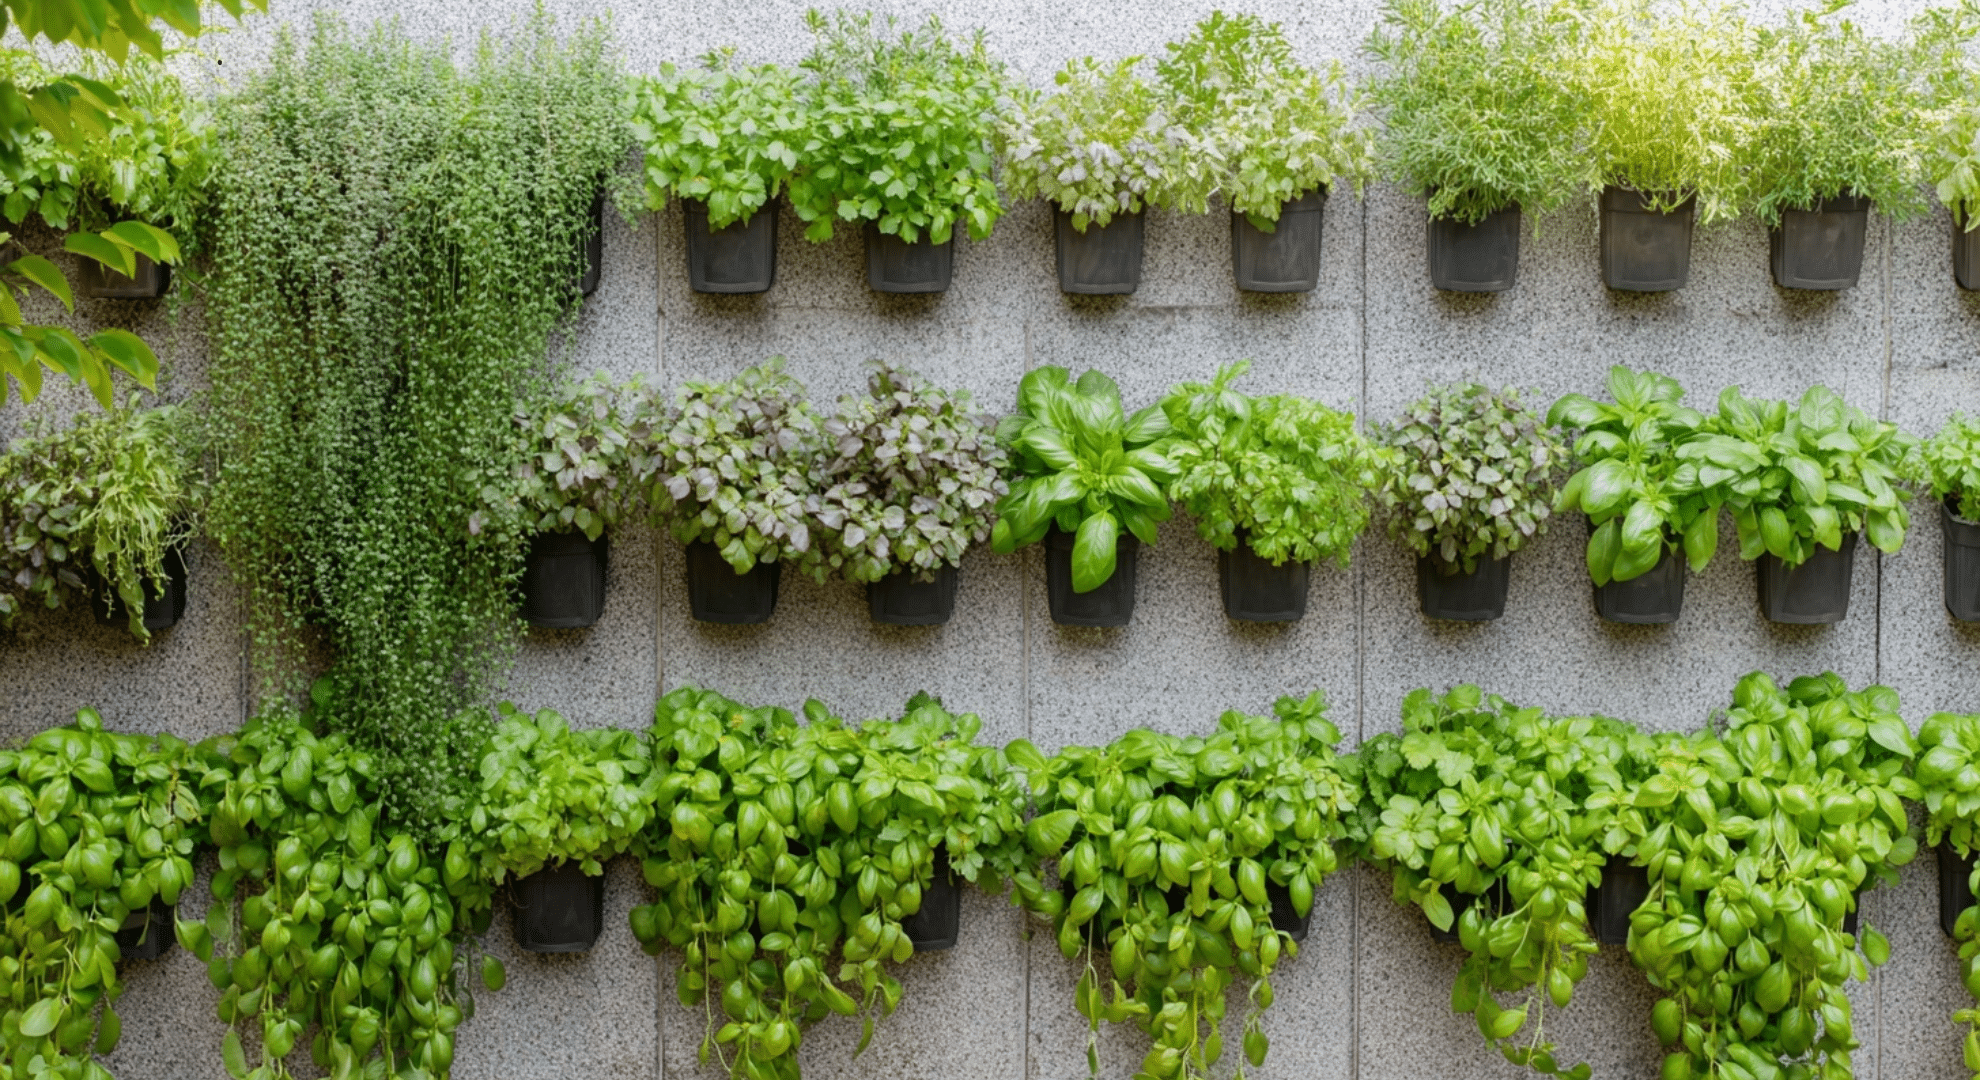
The best plants for vertical gardens are the ones that stay light, flexible, and easy to manage. Herbs like basil, thyme, oregano, mint, and parsley stay compact and grow well in shallow containers.
They bounce back quickly after trimming and do not need deep roots.
Leafy greens are another smart choice. Lettuce, spinach, arugula, and baby kale grow fast and handle tight spaces well. They also work well when planted in rows and harvested often.
For visual interest, flowers and trailing plants help soften the look. Petunias, nasturtiums, ivy, and sweet potato vine grow outward and downward, filling gaps and covering edges.
Some plants struggle in vertical gardens. Large fruiting plants, deep-root vegetables, and heavy climbers often fail because they need more soil, steady moisture, and strong ground support.
These plants stress the structure and dry out too fast, making them poor fits for vertical setups.
Common Vertical Gardening Mistakes to Avoid
Vertical gardens look simple, but small mistakes can cause fast problems. Most issues come from weight, water, or plant choice. Knowing these early helps you avoid damage, wasted money, and plant loss.
- Adding too many pots to one wall without checking weight limits
- Using weak anchors or hooks that loosen over time
- Forgetting drainage holes, which leads to soggy roots
- Letting water drip onto walls, floors, or fences without protection
- Mixing plants with very different water needs in one section
- Choosing deep-root plants that outgrow shallow containers
- Skipping regular checks for loose screws or shifting panels
If you slow down and plan around these points, your setup lasts longer. A lighter load, steady water flow, and smart plant picks keep care simple.
Small checks each week prevent bigger fixes later and help your vertical garden stay healthy and stable.
DIY Vertical Gardens vs. Store-Bought Systems
Both options can work well, but they serve different needs. One gives you control and flexibility, while the other saves time. The better choice depends on budget, space, and how hands-on you want to be.
| Factor | DIY Vertical Garden | Store-Bought System |
|---|---|---|
| Cost | Lower upfront cost using reused or basic materials | Higher cost due to design and brand pricing |
| Custom size | Built to fit your exact wall or space | Fixed sizes with limited adjustment |
| Visual control | Full control over layout, spacing, and finish | Pre-set look with few changes |
| Repair options | Easy to fix or replace one part | Often requires replacing full sections |
| Setup time | Takes longer and needs planning | Faster to install out of the box |
Buying can make sense if you want speed, clean lines, and less effort. DIY works better when budget matters and you want full control. Both can succeed when matched to the right space and expectations.
Caring for Vertical Gardens Long Term
A vertical garden is not a one-time project. It needs light care over time to stay healthy and stable. Small habits done often make a big difference and keep problems from building up.
- Water on a steady schedule, adjusting for heat, wind, and plant size
- Feed plants lightly using diluted fertilizer to avoid buildup in shallow soil
- Watch for dry top rows and wetter bottom rows, then adjust watering speed
- Change plant types with the seasons to match temperature and daylight
- Remove weak or crowded plants early so others have room to grow
- Replace tired plants one section at a time instead of clearing the whole wall
- Refresh soil by topping it up or swapping small sections without taking the frame apart
With simple checks and small updates, your vertical garden stays strong. You do not need to rebuild or restart. Paying attention as things grow keeps the setup useful, clean, and easy to enjoy over the long run.
Conclusion
I put this together because I know how easy it is to overthink vertical gardening. I wanted to show that with a bit of planning, the right plants, and steady care, it can feel simple and even enjoyable.
Everything here was meant to help you avoid early mistakes and build something that fits your space and routine. A diy vertical garden is not about perfection.
It is about making smart choices and letting the setup grow with you.
Now you have the pieces to move forward with confidence. You can pick one wall, one idea, and start there. Take it step by step and adjust as needed.
If you want clearer, practical guides like this, check the other blogs on the website and build at your own pace!