
I started with a leaky faucet and a loose tile. That’s all it took to set off my whole DIY bathroom remodel.
I didn’t know much, but I knew I was tired of a space that didn’t feel like mine.
Bit by bit, I tore it down, learned by doing, and built something better, without draining my wallet.
Now you’re standing where I was.
You want change. You want a bathroom that works and feels good to walk into. This blog is here to guide you; step by step, with real advice, simple tools, and smart tips.
If you’ve been waiting for a sign that you can do this yourself, this is it. Let’s get your hands on the work that matters.
Is a DIY Bathroom Remodel Right for You?
Doing a bathroom remodel by yourself sounds exciting. But is it the right choice for you?
That depends on your skills, your time, and how much you’re willing to learn.
If you’re good with tools and like trying new things, you can likely handle tasks like painting, changing fixtures, or putting in stick-on tiles.
These are beginner-friendly and don’t need much training.
But be honest about what you can and can’t do. Some jobs, like moving pipes, dealing with wires, or changing walls, are more complex. These can cause big problems if done wrong and may cost more to fix later.
Time is another thing to think about. DIY jobs often take longer than planned. If you only work on weekends, the bathroom could stay messy for weeks.
In the end, doing it yourself can save money and feel good. But if plumbing, electric work, or big changes are involved, it’s usually smarter to hire a pro.
Bathroom Remodel Costs and Budget Planning
Remodeling a bathroom by yourself can save you a lot of money, but it’s easy to go over budget if you don’t plan things the right way.
Let’s look at realistic costs you can expect, how to plan a solid budget, and where DIY helps or hurts your wallet:
| Type of Remodel | Cost Range (DIY) | Description |
|---|---|---|
| Cosmetic Refresh | $500 – $2,000 | Paint, new hardware, faucet swap, shower curtain, maybe peel-and-stick tiles |
| Partial Remodel | $2,000 – $6,000 | New vanity, toilet, lighting, fixtures, some tile work |
| Full Gut Remodel | $6,000 – $15,000+ | Strip to studs, new plumbing, full tile work, tub/shower replacement |
Costs Beginners Often Forget
Here are a few things that catch most people off guard:
- Tools: You might need to buy or rent things like a tile cutter, wet saw, or drill.
- Waste Disposal: Dumpsters, haul-away bags, or dump fees add up.
- Water Damage Repair: You might find mold, rot, or leaks.
- Permit Fees: Some places need permits for plumbing or electrical changes.
- Drywall & Subfloor Repairs: Not obvious until you remove old items.
- Unexpected Plumbing Issues: Rusty pipes, old valves, or wrong fittings.
DIY Basement Bathroom Remodel
Renovating a basement bathroom can feel like a big job, but with planning and patience, it’s something many DIYers can handle. Here’s a look at the full remodel, broken into seven simple steps anyone can follow:
Step 1: Remove the Old Materials
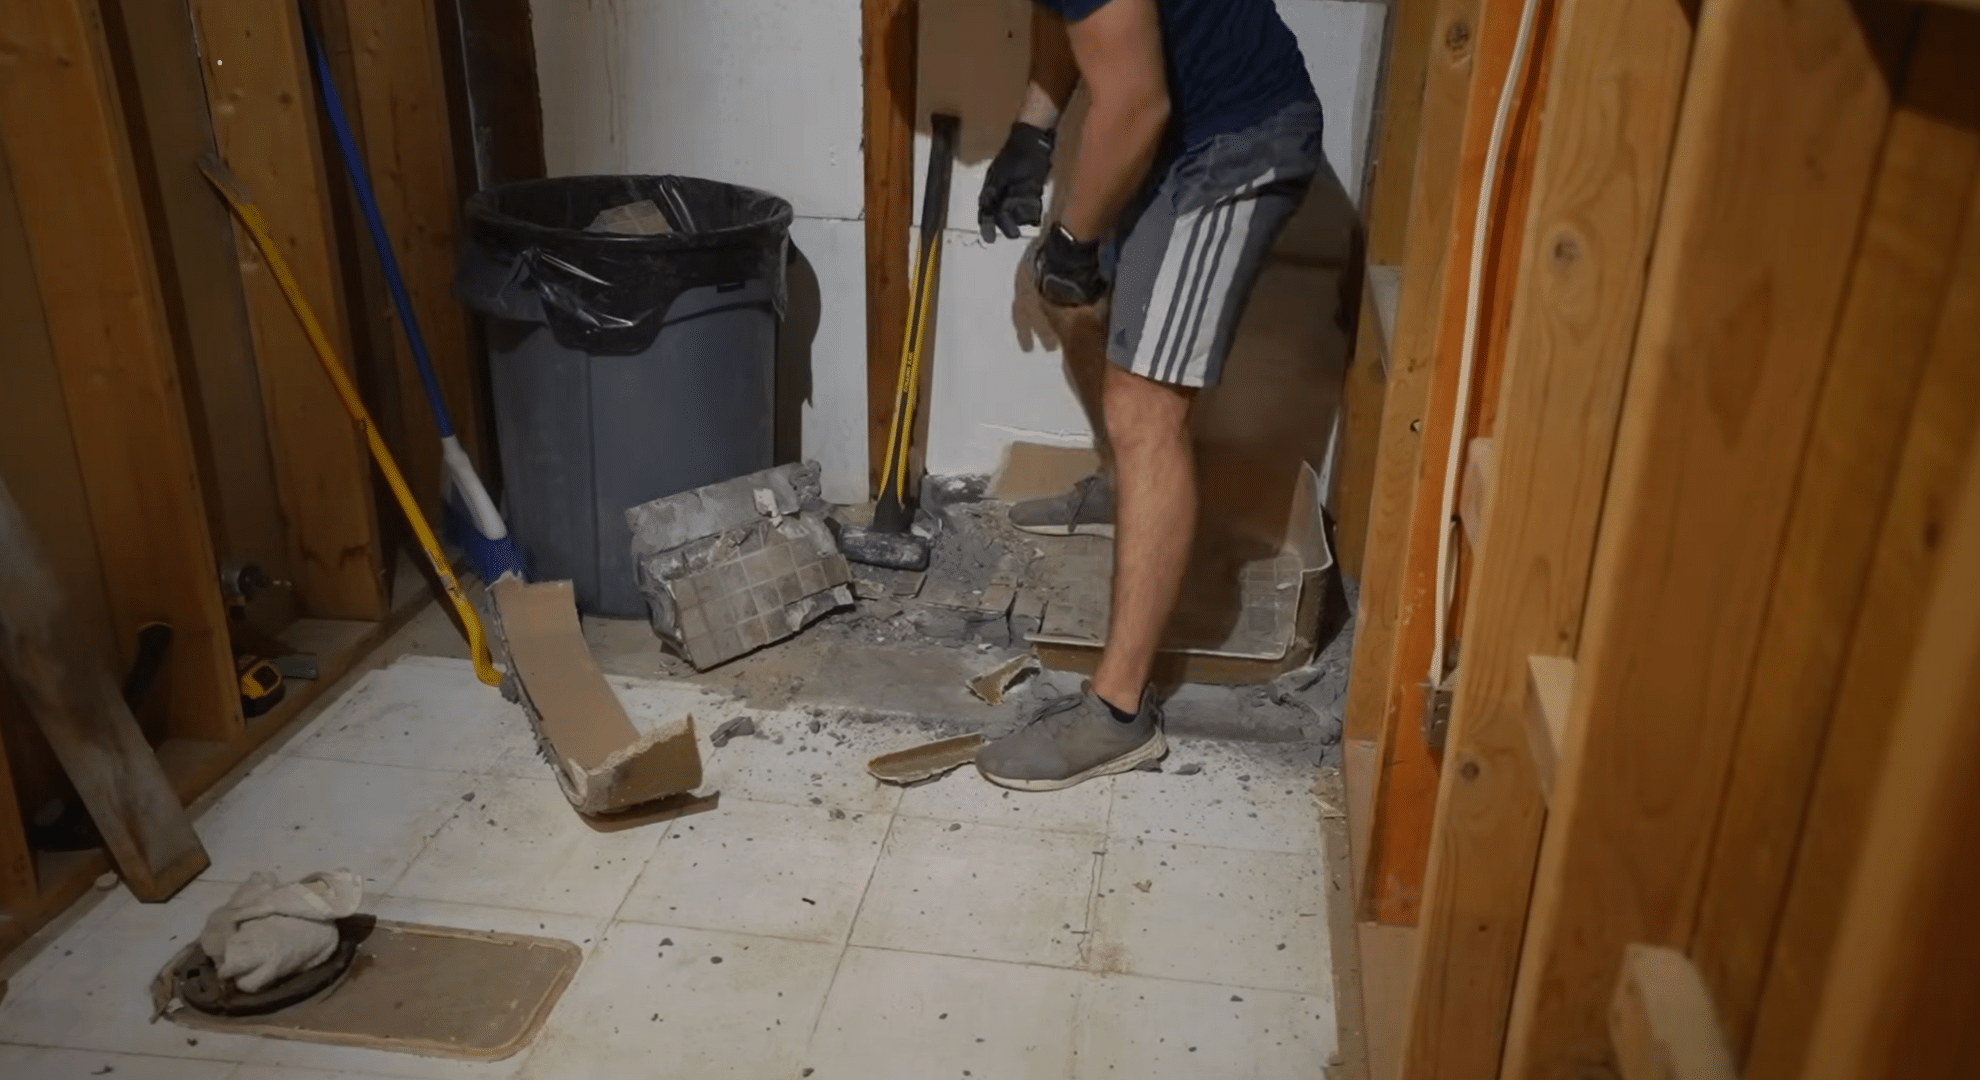
The project begins by clearing out the old setup. This includes taking out the vanity, drop ceiling tiles, fiberglass shower, and linoleum flooring.
The shower base is stuck in mortar, but with some effort, it breaks loose. The area is fully cleared to make space for all the new work ahead.
Step 2: Electrical and Plumbing Setup
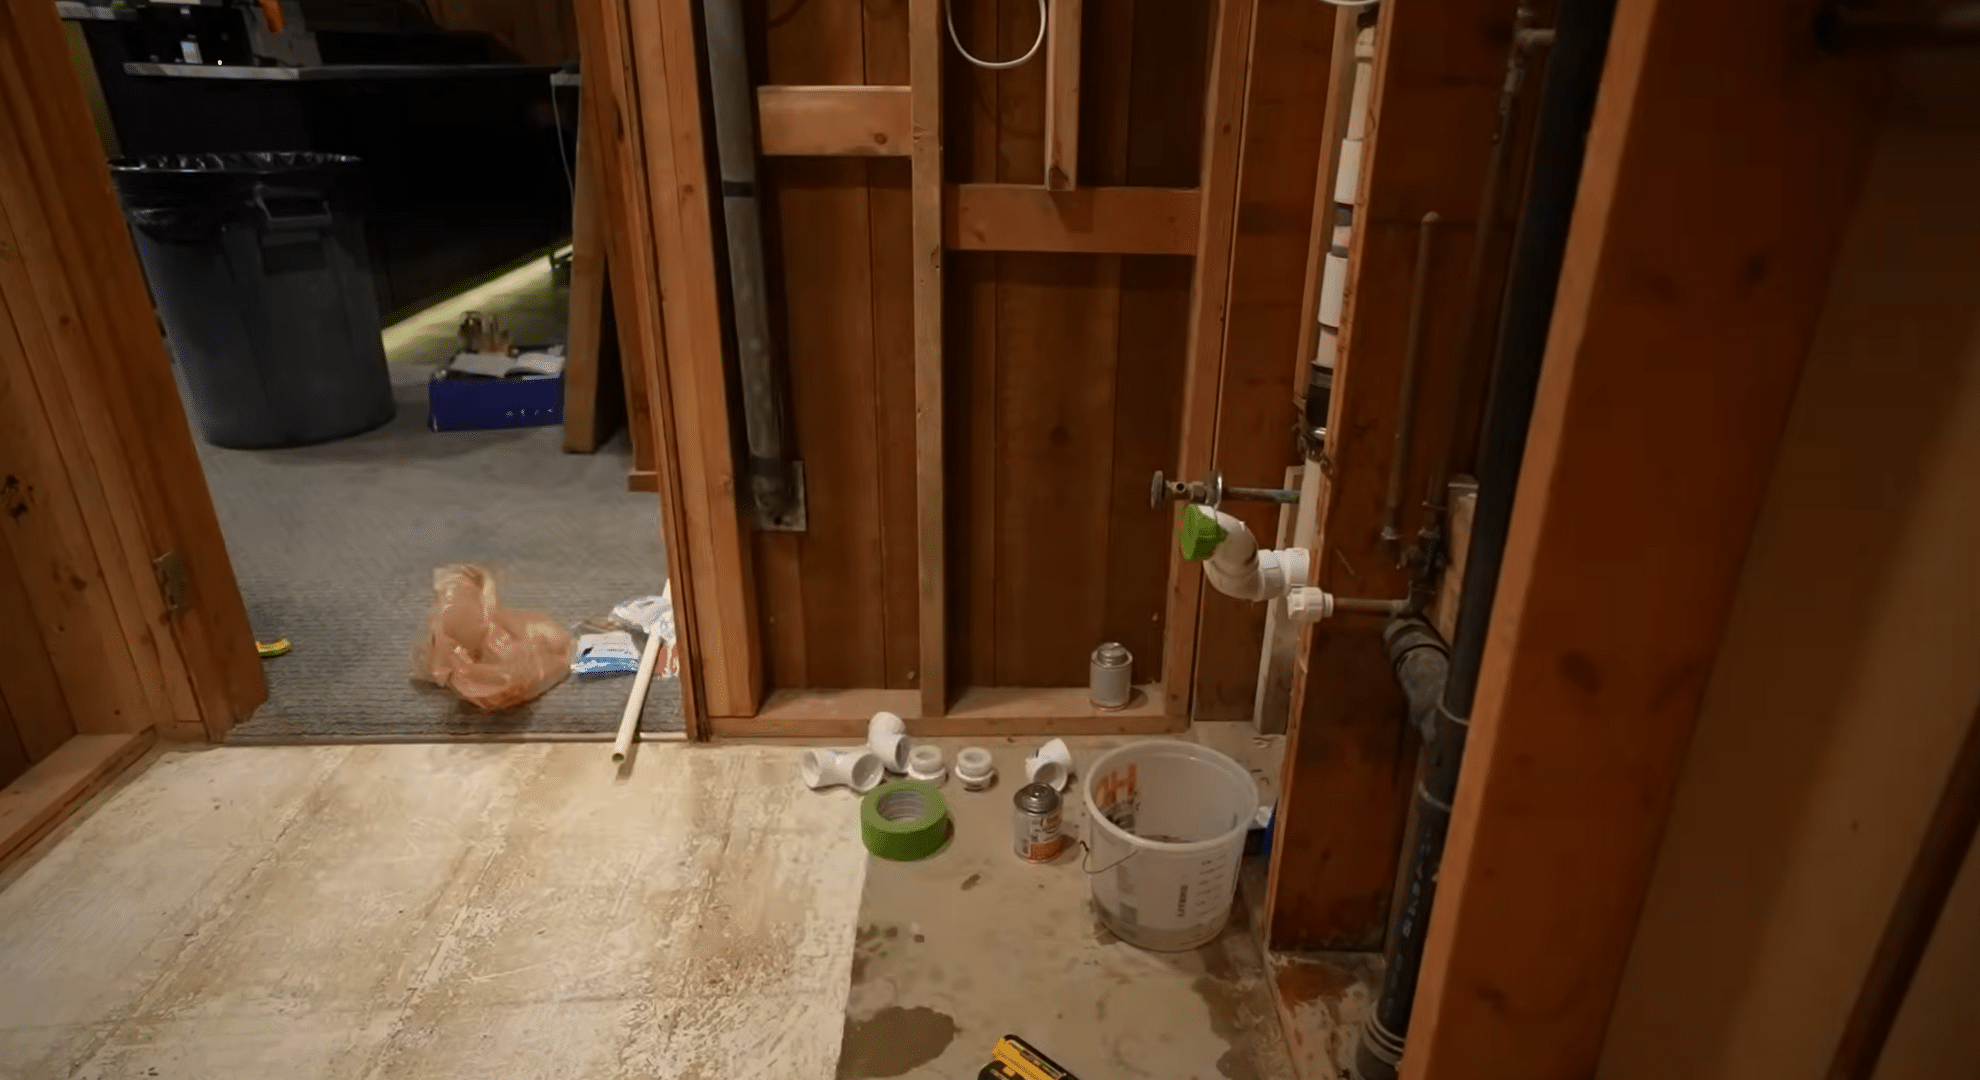
Next comes roughing in electrical and plumbing. New LED lights are added to the ceiling, along with outlets for the mirror and heated floor.
Plumbing lines are adjusted for the vanity and in-wall faucet. A shower mixing valve is installed and connected with PEX pipes, carefully routed around existing lines and supports.
Step 3: Framing, Insulation, and Drywall

Support is added in the ceiling using 2x4s, insulation is placed in exterior walls, and a vapor barrier goes up to protect the shower area.
Drywall sheets are cut and installed throughout, starting with the ceiling. A leak from a bumped pipe leads to a quick repair before continuing with the rest of the installation.
Step 4: Shower Prep and Waterproofing
A custom shelf wall is built inside the shower instead of a niche. Waterproof boards are installed with a slight slope to help drain water.
Every seam and screw hole is sealed with waterproof tape. A new drain and shower base are set, followed by a full water test to make sure everything holds.
Step 5: Heated Floor and Tile Work
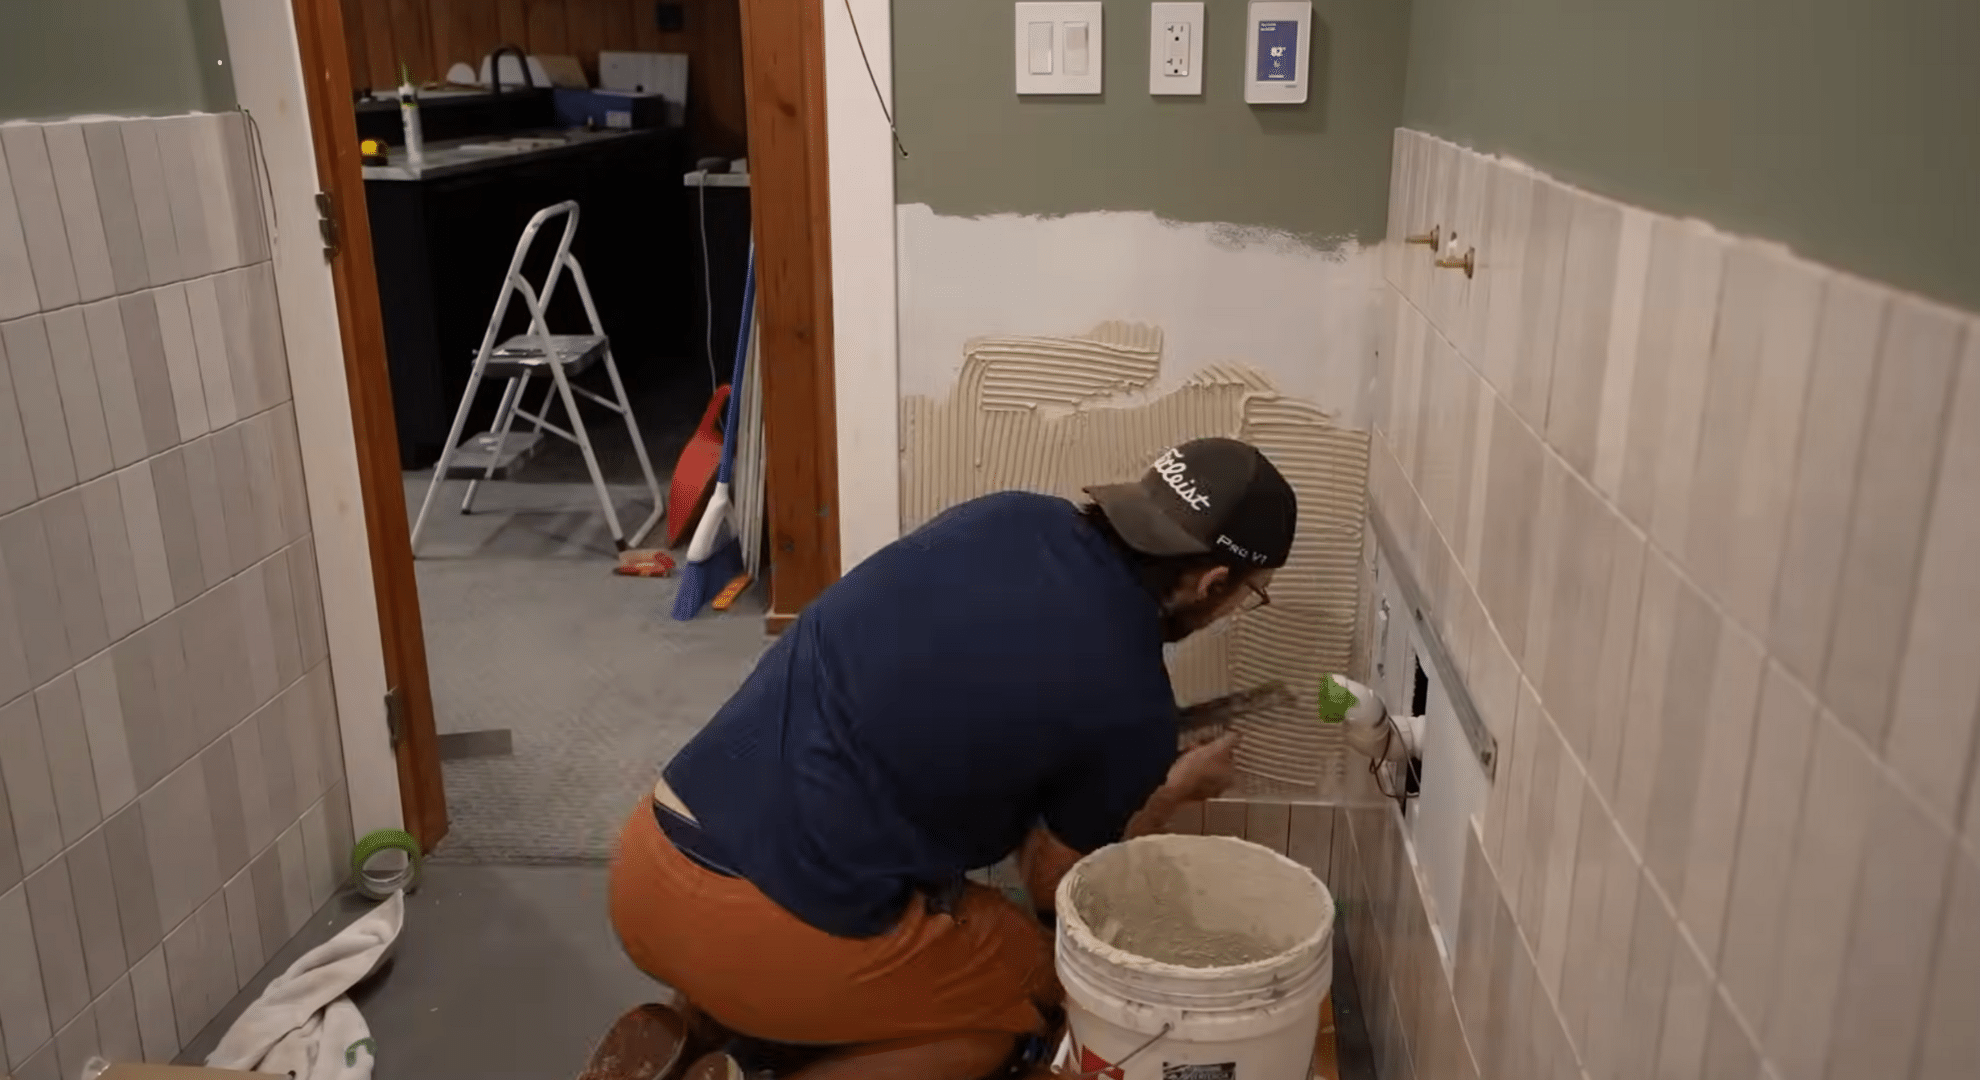
Sticky leftovers from old flooring are cleaned up before laying down a heat membrane. A heating cable is installed, and tiles are pre-cut to speed up the process.
The shower floor is tiled first, followed by large wall tiles that are cut to line up perfectly with the shelf. Extra care is taken due to the shape and size of each tile.
Step 6: Grouting and Final Installs
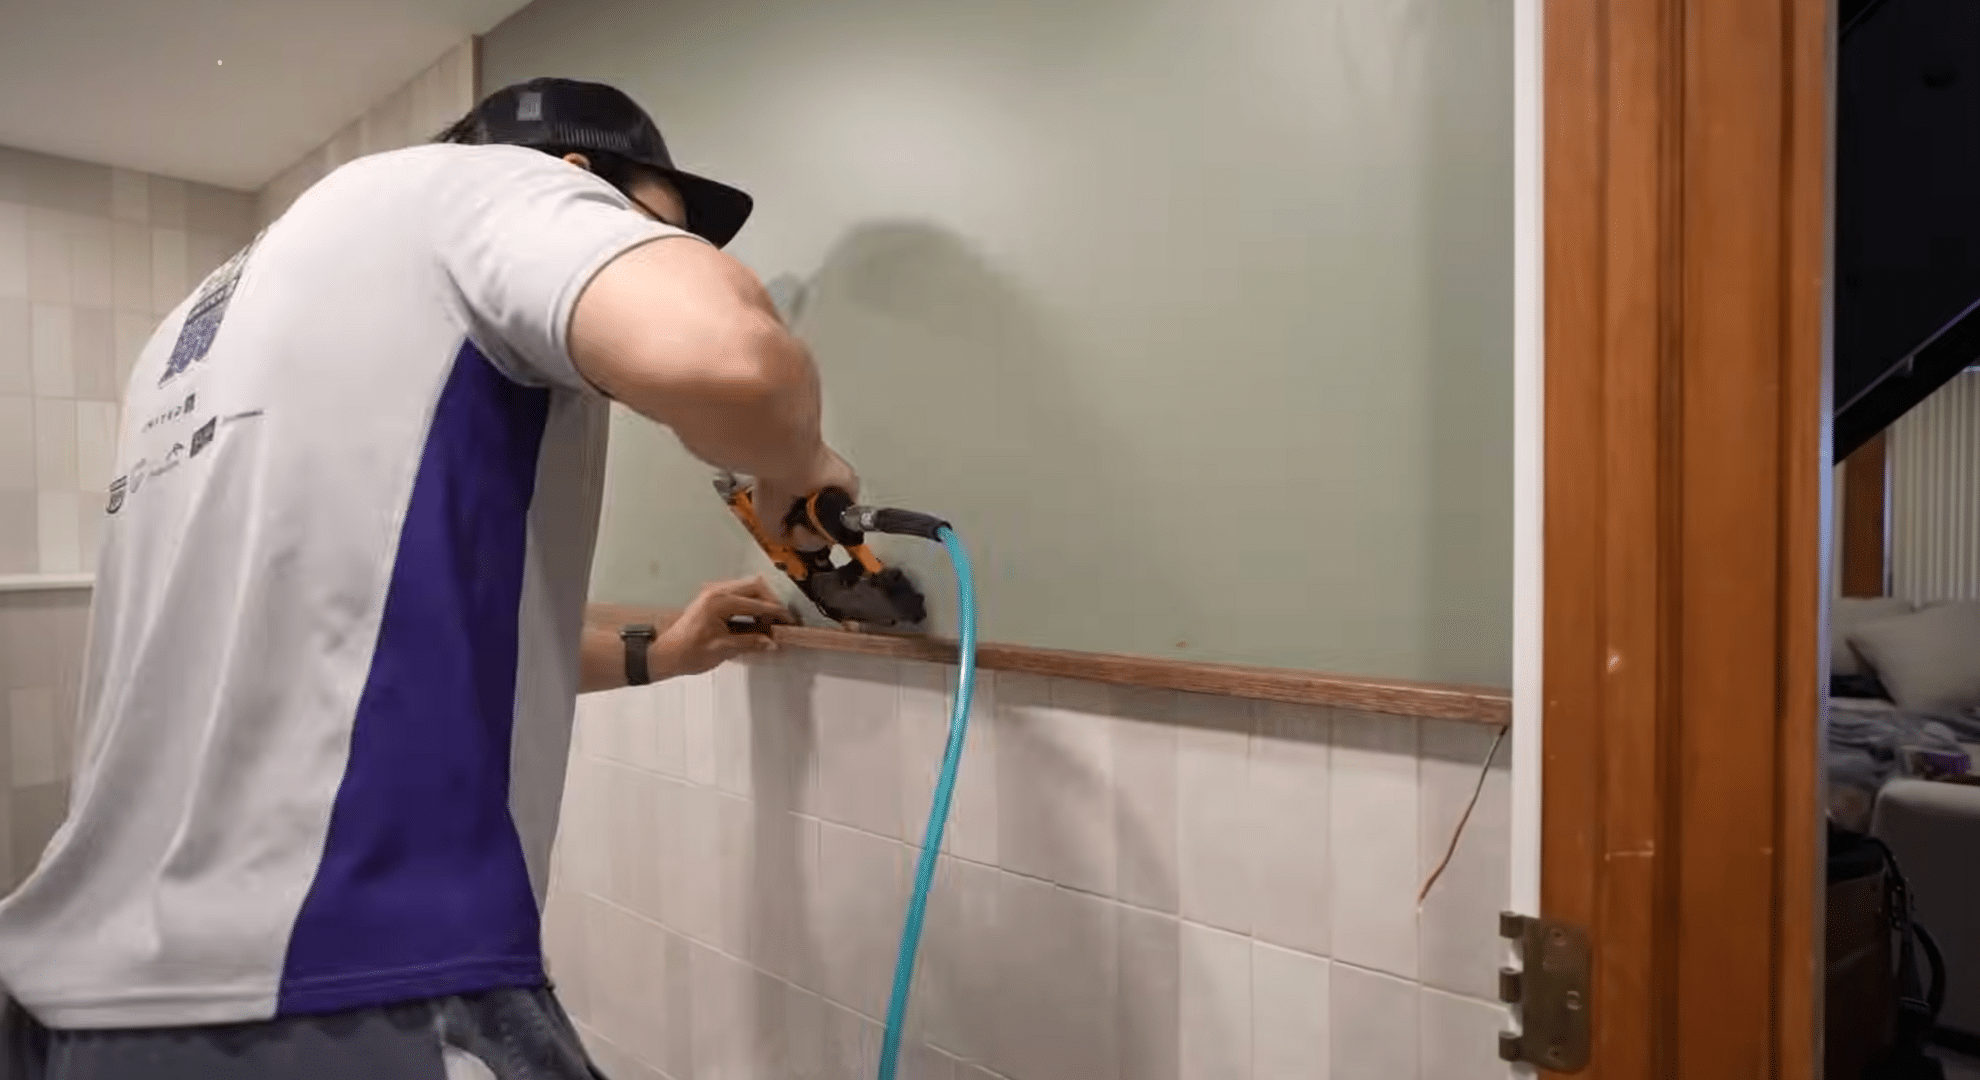
Grout is applied to all tile joints. Silicone is used around plumbing parts with a tape trick to keep lines clean. A custom vanity top is made using plywood, cement board, and a cement finish.
Trim pieces are cut and stained to match. LED strips are added behind wood panels and connected to a motion sensor for hands-free lighting.
Step 7: Final Touches and Clean Finish
The lighting is tested, fixtures are tightened, and all trim is cleaned. Neutral colors, black and gold fixtures, and warm wood tones bring the whole room together.
The project is complete, and the space now feels clean, useful, and well-made, without spending a huge amount of money.
Want a full video tutorial with clear steps you can follow at home?
Bathroom Remodel Ideas That Work for DIYers
You don’t need to be a pro to make real changes in your bathroom. Some simple projects can make a big difference and they’re totally doable on your own. Here are smart DIY ideas that work well and don’t cost a fortune:
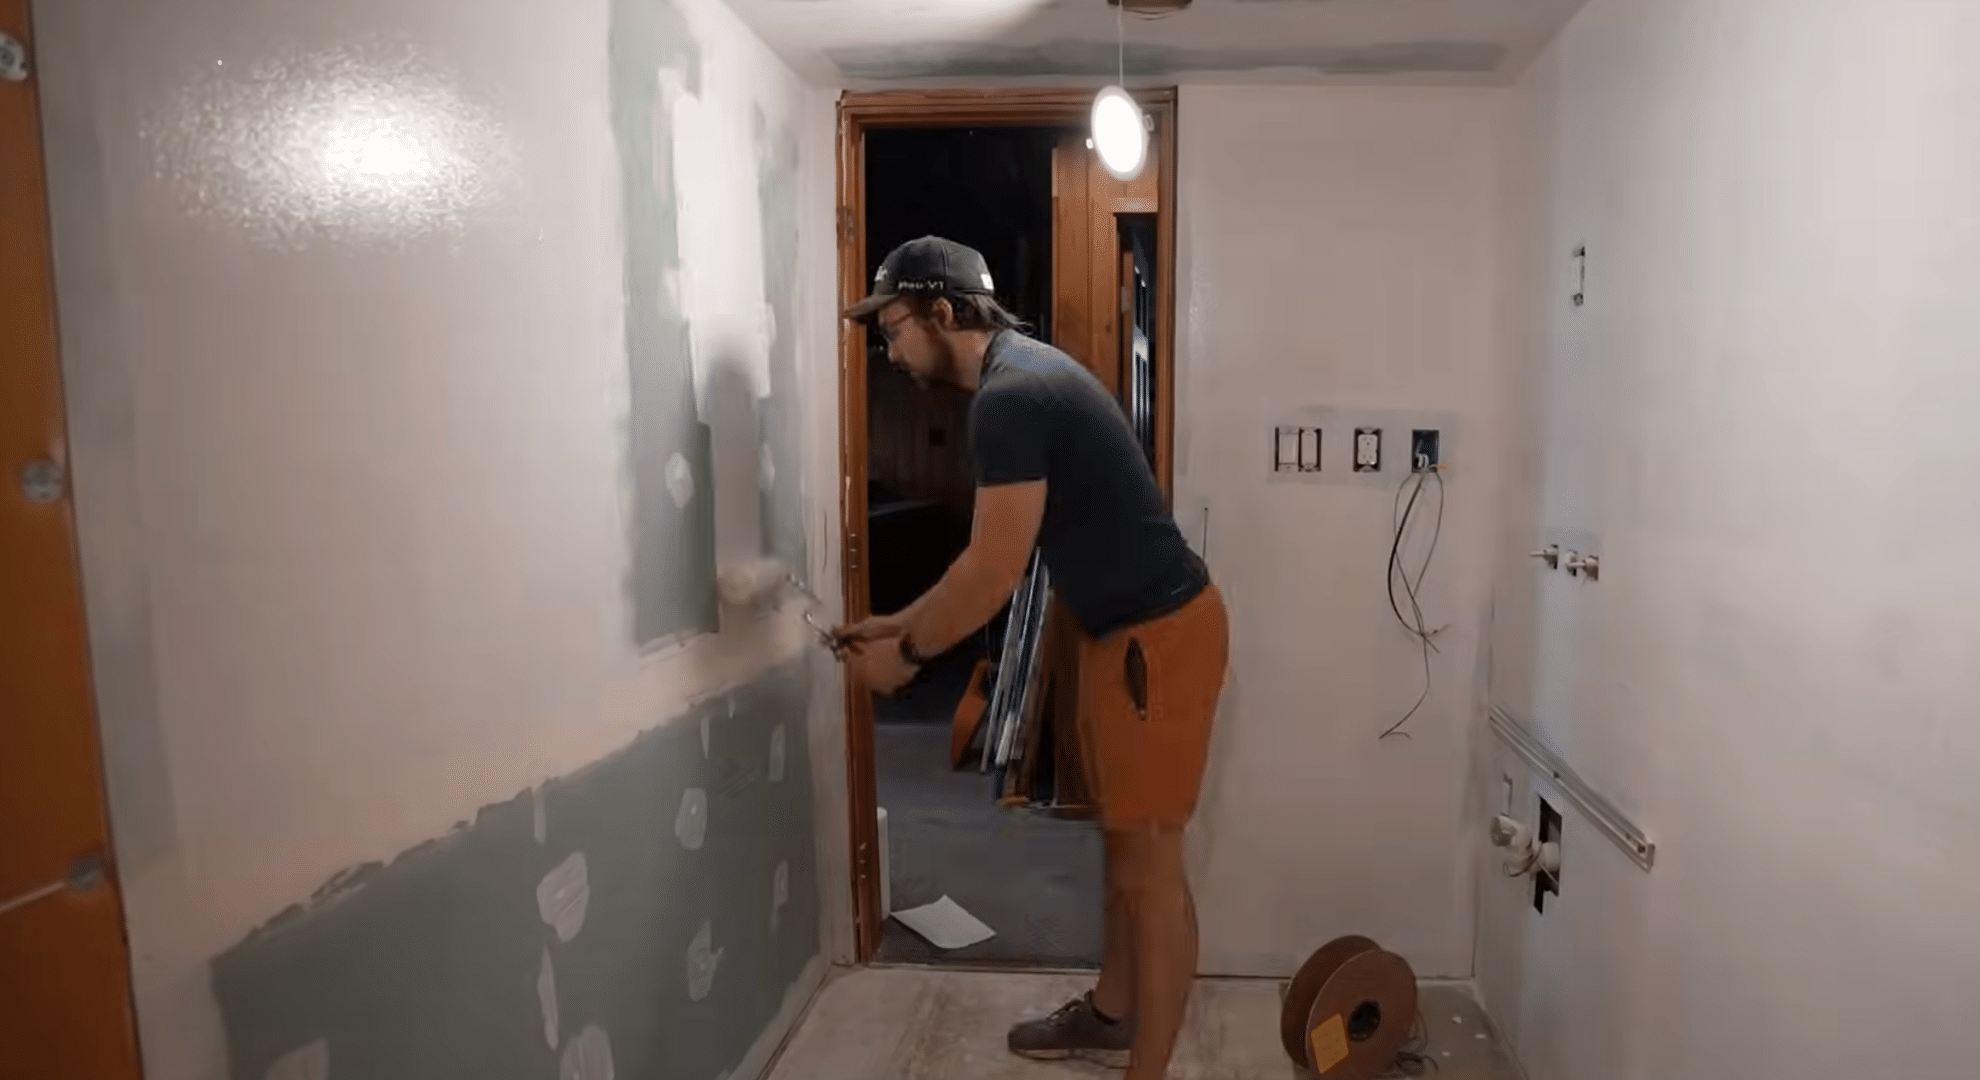
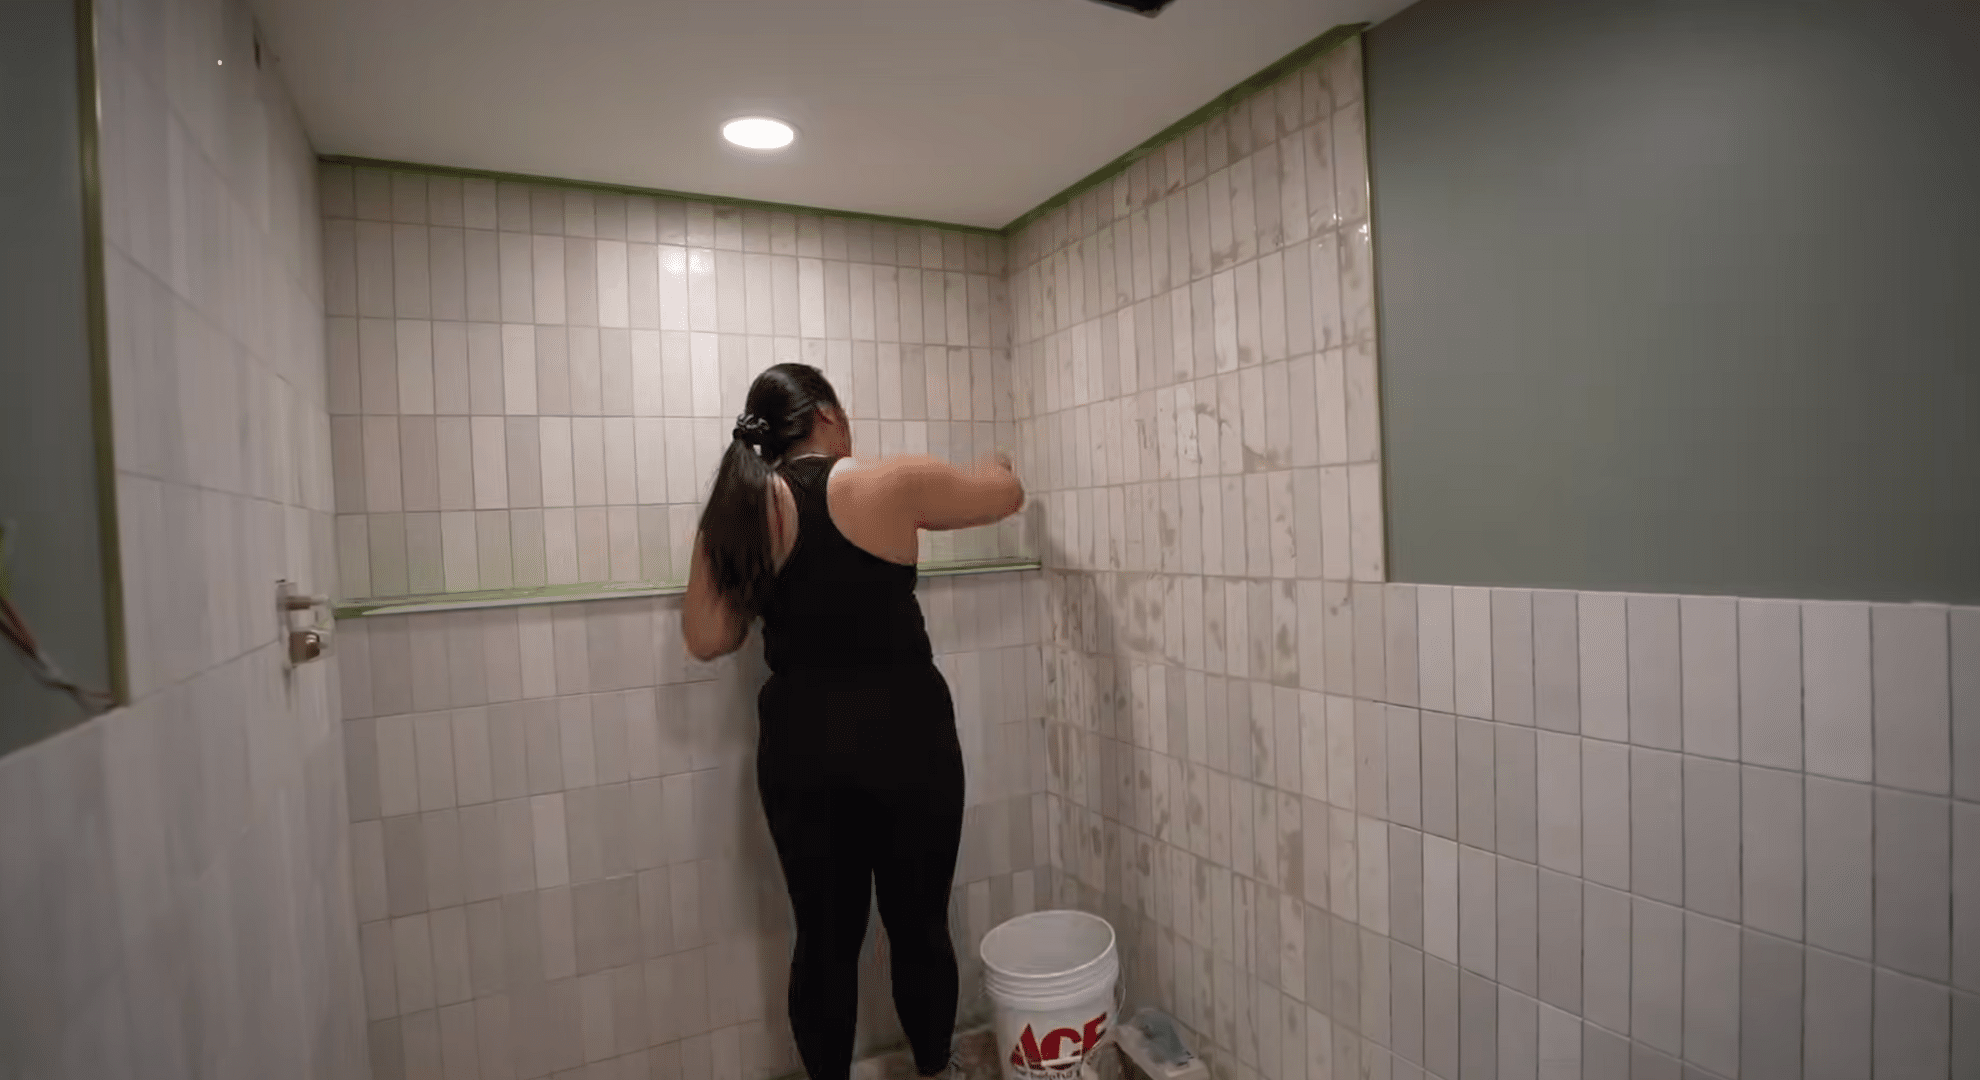
1. Give Cabinets and Walls a Fresh Coat
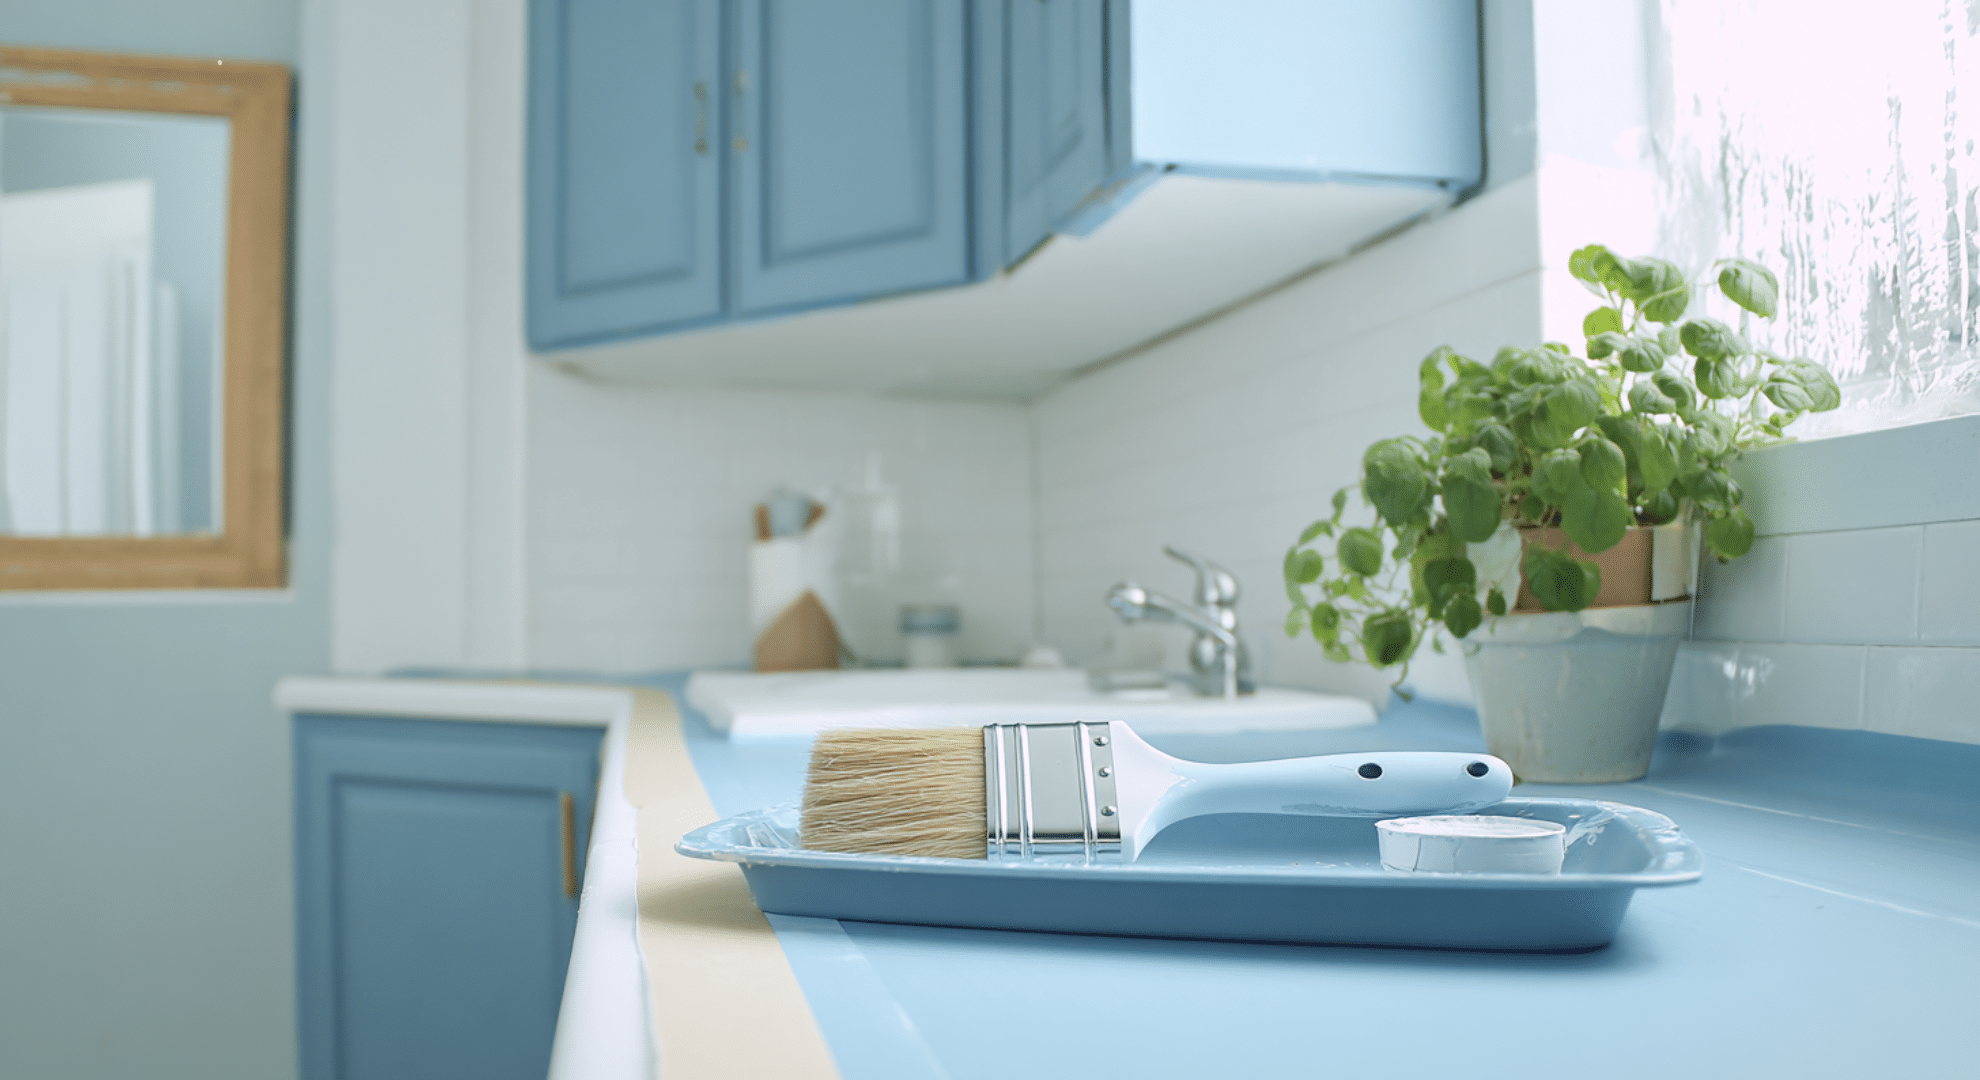
Old paint makes a bathroom look tired. A fresh color on the walls and cabinets can brighten everything up. You don’t need to repaint the whole room, just touch up spots or go bold with one wall.
Use bathroom-safe paint to stop peeling or mildew. It’s an easy fix that feels brand new.
2. Replace Your Old Vanity with a New Look
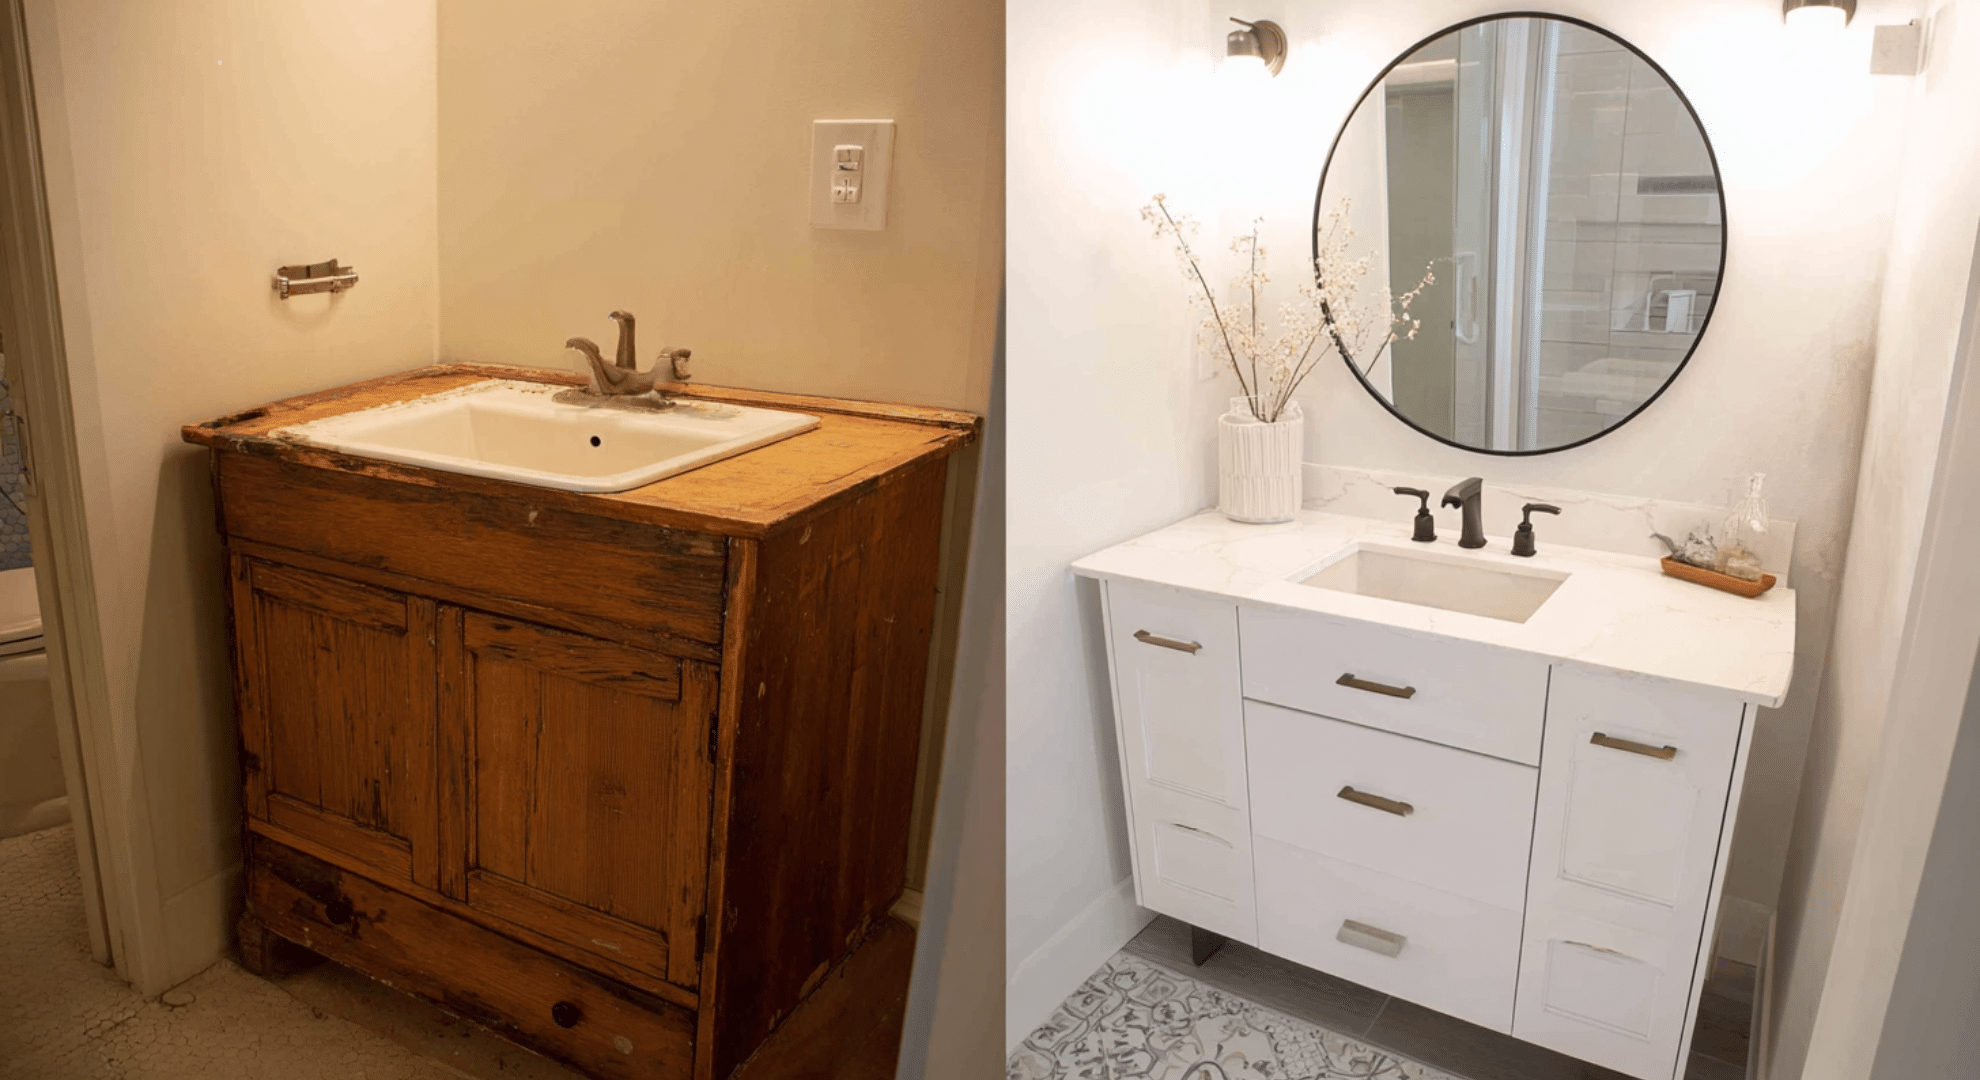
Your sink area gets a lot of use, and it shows. A new vanity with storage below can clean up the space and help you stay more organized. You can find ready-to-use sets at most home stores.
With basic plumbing skills and the water turned off, this is a weekend job you can handle.
3. Lay Down Stick-On Floors That Look Real
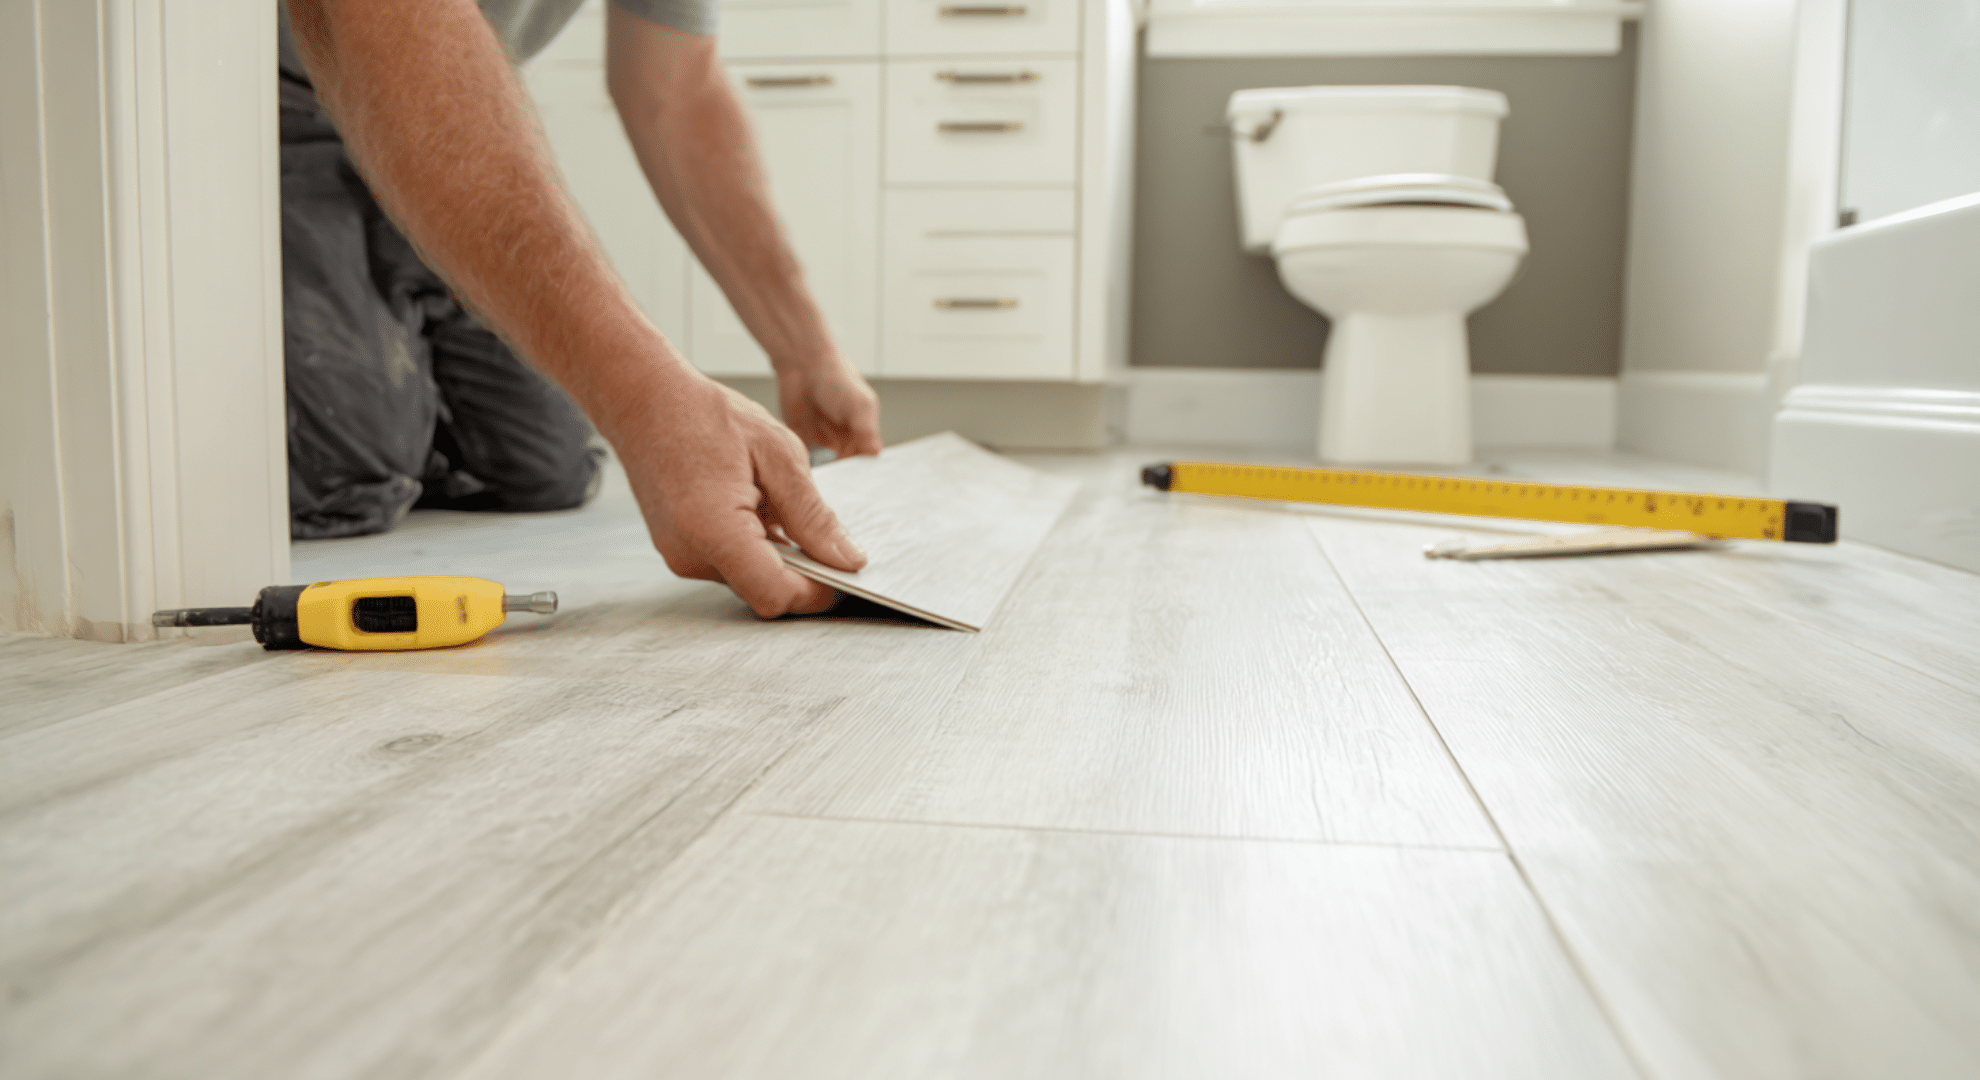
You don’t need to rip up tile to get better floors. Peel-and-stick vinyl planks or tiles come in styles like wood or stone and go right over old flooring.
They’re waterproof, easy to clean, and fast to install. Just measure your space, trim as needed, and press them down. Done in a day.
4. Change Out Old Hardware for a Cleaner Style
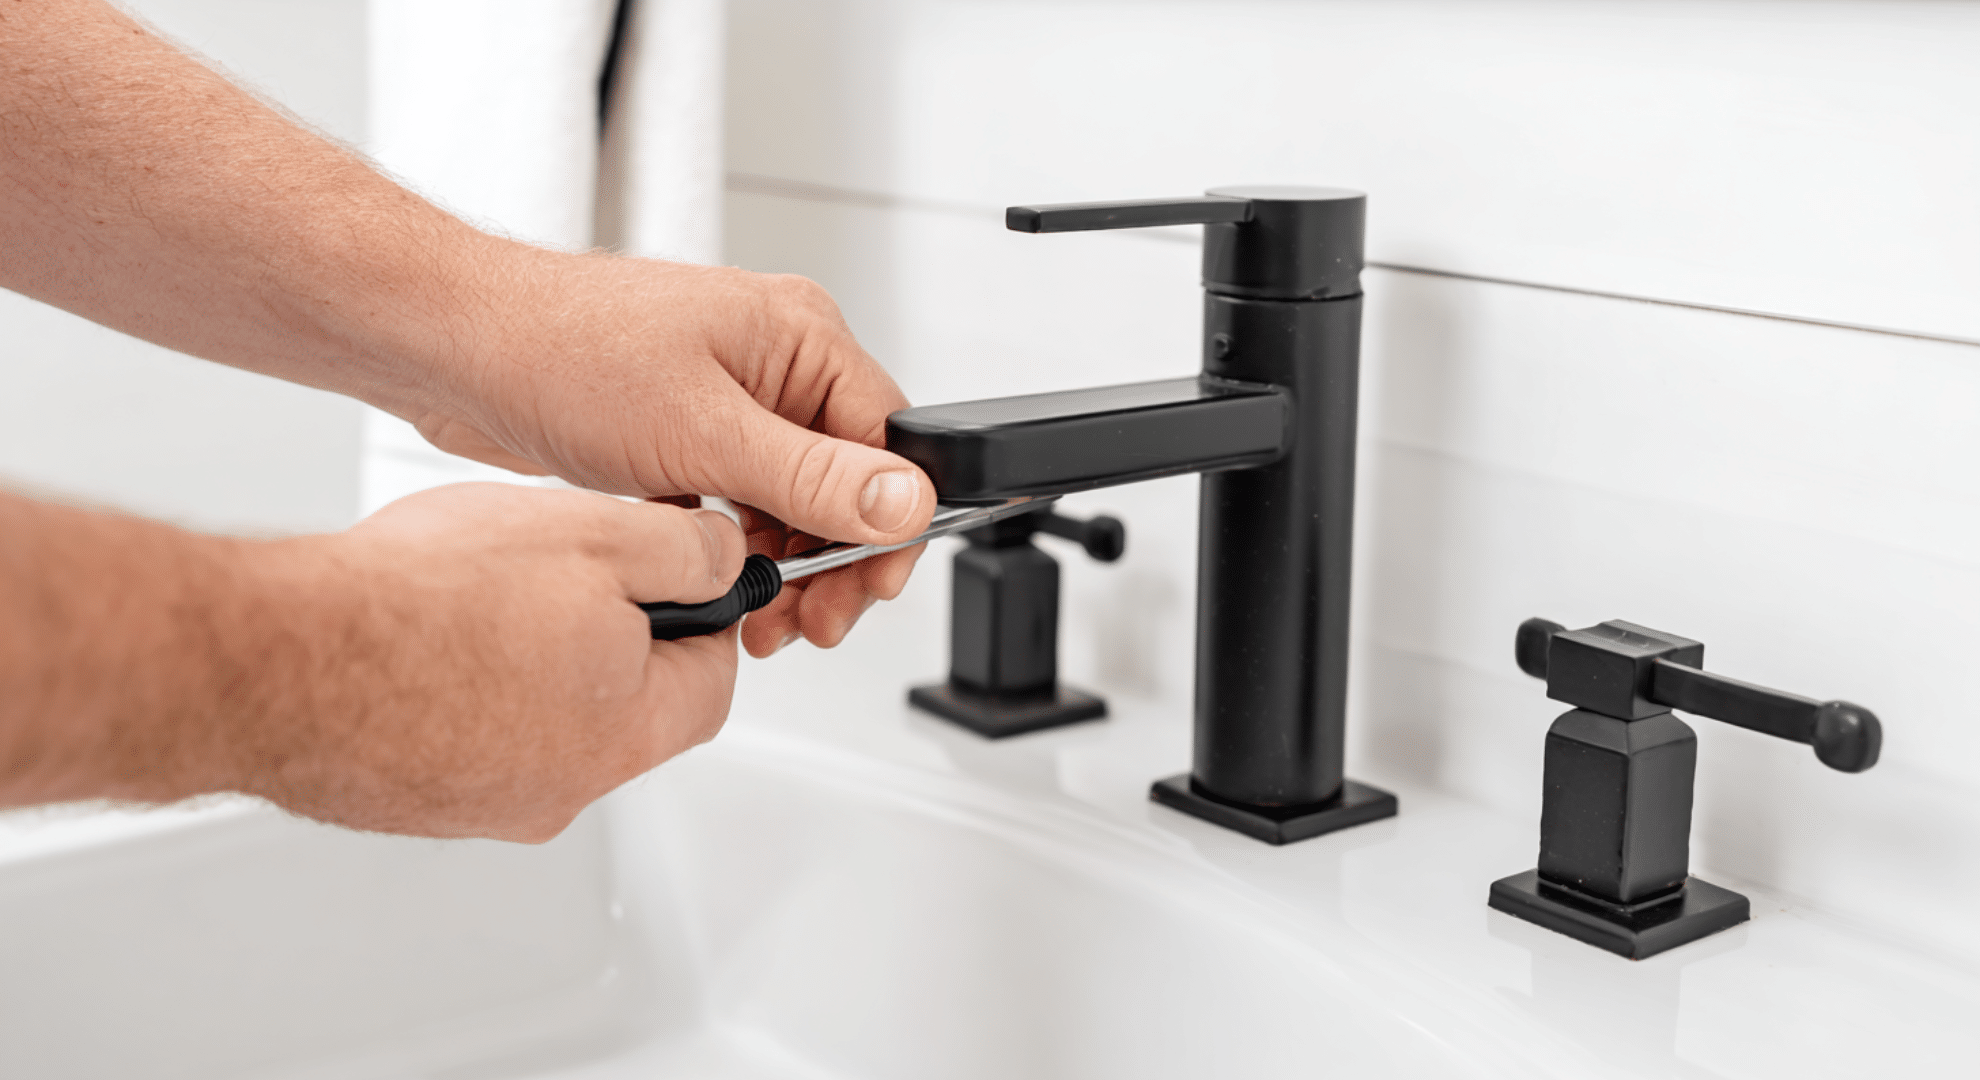
Swapping out knobs, pulls, and faucets is simple but makes the whole room feel new. Try picking one metal finish and using it everywhere, like matte black or brushed brass.
You’ll just need a screwdriver and some time. This update works great for renters too, since many changes are easy to reverse.
5. Frame the Mirror or Hang a Stylish New One
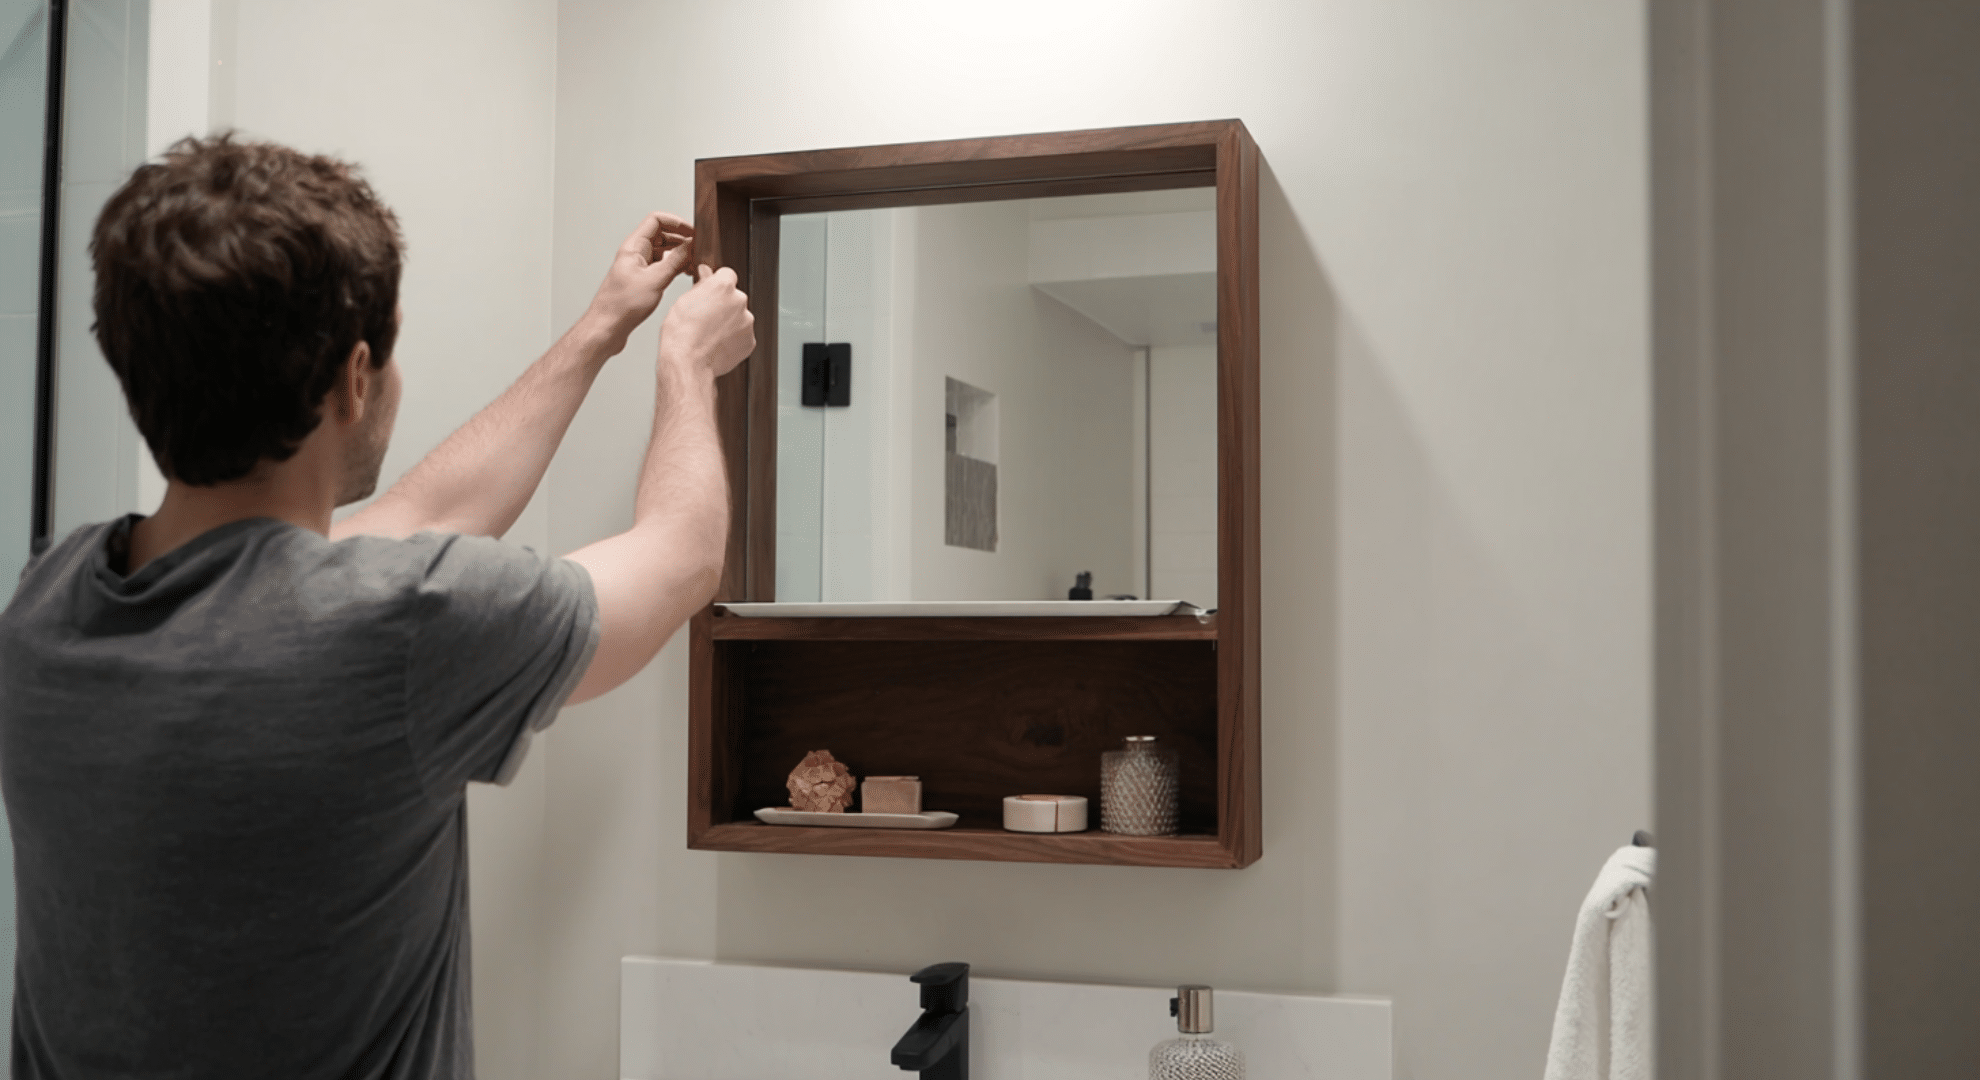
If your bathroom mirror is just a plain glass sheet, it’s time to switch things up. Add a wood or plastic trim frame using glue or mounting tape.
Or replace it with a mirror that adds personality, like a round one or something with shelf space. It makes a big impact for little money.
Planning Your Bathroom Remodel the Smart Way
A smart bathroom remodel starts before any tools come out. Begin by setting clear goals so there is no confusion later. Decide what needs to change, what can stay, and how the space should work when finished.
Measure the room carefully, including walls, doors, plumbing points, and ceiling height, because small mistakes can cause layout problems.
Choose materials that match the skill level of the person doing the work, since some products are harder to install than they look.
Order materials in the right order to avoid delays. Items like tile, vanities, and fixtures should arrive before work begins so the project keeps moving. Good planning saves time, money, and frustration.
How Long a DIY Bathroom Remodel Really Takes
A full DIY bathroom remodel usually takes 2 to 4 weeks, depending on the size of the space, how much is being changed, and how much time is available each day.
If someone works on weekends only, it can take over a month. Simple upgrades like painting or changing fixtures may take just a few days. Bigger jobs like tiling, plumbing, or building a new shower take longer, especially if it’s the first time doing that kind of work.
Waiting for materials to arrive or for things like grout and caulk to dry can also slow things down. Planning ahead, having all tools ready, and doing one job at a time helps keep the project moving.
Common DIY Bathroom Remodel Mistakes
Many bathroom remodel problems come from small mistakes made early. Most of them are easy to avoid with better planning, slower work, and knowing what usually goes wrong before starting.
- Skipping waterproofing steps in showers and around tubs, which can lead to leaks and damage behind walls
- Rushing tile work without dry-fitting first, causing uneven lines and bad cuts
- Measuring only once instead of twice, leading to fixtures that do not fit correctly
- Starting demo without a clear plan, which creates delays and extra costs later
- Using materials that are too hard to install for a first-time DIY project
- Ignoring advice from past DIY remodels, especially about drying time and prep work
Learning from real DIY projects helps avoid repeat mistakes. Taking time to plan, measure, and work step by step makes the remodel smoother and leads to better results that last longer.
Wrapping It Up
Doing a DIY bathroom remodel showed me that I didn’t need to be a pro to make real changes.
With a bit of planning, a steady pace, and the right mindset, I was able to turn a dark, cramped space into something I’m proud of. It wasn’t perfect, but it was mine, and that made it worth it.
Now you’ve got the tools to take that first step. Use what you’ve learned here to build something that works for your home, your budget, and your skill level.
Keep it simple, trust the process, and fix one thing at a time. When you’re ready for more ideas or real-world tips that actually help, browse the other blogs. You’re closer than you think!


