I still remember the first time I made a DIY dollhouse. It wasn’t perfect. The walls were a little crooked, and the roof didn’t sit quite right. But it felt amazing.
I built it with scrap cardboard, a hot glue gun, and furniture I cut by hand: a tiny sofa from folded cardboard, a bed from a matchbox. The whole thing cost me under $15 and took a weekend.
Since then, I’ve built four more, each teaching me something new about scale, materials, and patience.
Now, it’s your turn. You don’t need expensive tools or fancy skills. You just need a bit of time, some basic supplies, and the desire to make something cool.
In this blog, I’ll show you how to build your own dollhouse step by step. You’ll get clear tips, real examples, and simple ideas to bring your project to life.
What Makes a DIY Dollhouse a Good Project
Building a dollhouse by hand isn’t just about saving money. It’s about making something that feels personal.
Many people choose to build instead of buy because they want control over every detail: size, color, layout, even tiny furniture pieces.
For kids, it’s a fun way to build fine motor skills and use their imagination. For adults, it’s a calming, hands-on project that sparks creativity and focus.
You don’t have to be a professional crafter. You just need the want to try something with your hands. A DIY dollhouse makes sense when you have time to enjoy the process and care about how it turns out.
But if you’re in a rush or want a perfect-looking piece fast, a store-bought version might be better. Still, if you’re looking to learn, create, and make something meaningful, this is the kind of project that gives back more than it takes.
DIY Doll House Options You Can Choose From
There’s no one right way to make a DIY dollhouse. Some people like to start with nothing but cardboard and an idea. Others prefer kits with pre-cut parts.
And some find joy in fixing up an old one they found at a yard sale or thrift shop. Each way has its own feel, time demands, and level of control.
What matters most is picking the option that fits your time, skills, and goal.
1. Building a Dollhouse From Scratch
If you want full control over every single detail, this is your path. You’ll need basic tools, patience, and time.
You also need to plan ahead, draw your design, measure carefully, and be ready for trial and error. This works best if you enjoy crafting, aren’t in a rush, and like problem-solving.
It’s great for people who want something one-of-a-kind and don’t mind learning along the way.
2. Using a DIY Dollhouse Kit
Kits are easier to start with. They usually include walls, floors, roof parts, glue, and maybe even furniture. The parts are pre-cut, so you don’t need to measure or saw anything.
This makes them a solid choice for beginners or for people who want a cleaner, simpler build. The downside? You can only customize so much.
Still, you can paint it how you want and add your own small decorations.
3. Flipping or Modifying an Existing Dollhouse
Sometimes you find a used dollhouse that just needs some love. Fixing up an old one can save time, no need to build from scratch but it depends on the condition.
You might repair a broken wall, replace missing parts, or change the look with paint and new furniture. This works well if you like fixing things and don’t mind working with what’s already there.
It’s also a smart option if you’re on a tight budget or want a quick win.
Choosing the Right Materials for Your Dollhouse
Picking the right material for your DIY dollhouse makes the whole project smoother. Some materials are easier to work with. Others last longer or look more polished.
What you choose depends on your budget, skill level, and what kind of dollhouse you want to build; playable, display-only, or a bit of both.
Here’s a quick breakdown to help you decide:
Cardboard is low-cost and easy to cut.
Wood is strong but needs tools.
Foam board is light and great for details.
Cardboard Dollhouses
Cardboard is one of the easiest materials to get started with. You can reuse boxes or buy new sheets at a craft store. It’s great for beginners or kids because it cuts with scissors and glues easily.
You won’t need any special tools. While it won’t last as long as wood, cardboard is perfect for quick projects or temporary builds. It’s also light and easy to move around.
- Cost: Very low, most people already have some at home.
- Durability: Not ideal for long-term play, but okay for gentle use.
- Best use cases: Practice builds, kid crafts and classroom projects.
Wooden Dollhouses
Wood is the go-to if you want something solid and long-lasting. Plywood and MDF are common because they’re smooth and easier to paint.
Solid wood gives more weight and strength but can be harder to work with.
Building with wood takes more time and effort; you’ll need a saw, some clamps, and sanding tools. It’s not the best choice for very young builders unless an adult is helping. But once finished, it can last for years.
- Strength: Very strong and stable.
- Tool requirements: You’ll need tools like a saw, glue, clamps, and sandpaper.
- Safety notes: Sand rough edges and watch fingers around cutting tools.
Foam Board and Lightweight Materials
Foam board is great when you want to make detailed pieces or a mini version of a dollhouse. It cuts with a craft knife and sticks together with hot glue or double-sided tape.
It doesn’t weigh much, which makes it easy to handle. The biggest downside is its softness; too much pressure can leave dents or break parts. But for small builds or if you love detail work, foam board is a smart pick.
- Miniature builds: Best for small, detailed models.
- Detail work: Easy to shape and adjust.
- Pros and limits: Lightweight and simple to use, but not as strong as wood.
Size, Scale, and Doll Compatibility
Getting the size right is a big deal when you’re building a DIY dollhouse. If your doll doesn’t fit through the door or can’t stand up inside the room, it’s frustrating.
Scale affects everything, how big the furniture needs to be, how tall the ceilings are, and even how wide the stairs should go. Knowing the doll size first helps you plan better and avoid do-overs later.
Common Doll Scales Explained
Dolls come in all shapes and sizes, so dollhouses do too. Each type of doll has its own scale, and that scale affects every part of your build. Here’s a breakdown:
Barbie dolls (1:6 scale): Barbies are about 11.5 inches tall. In this scale, one inch equals six inches in real life. Rooms need to be taller and furniture needs to be bigger.
American Girl dolls (1:3 scale): These dolls are around 18 inches tall, so their houses are much larger. You’ll need strong materials and lots of space.
Toddler dolls and baby dolls (varied scales): These vary a lot. Measure the doll’s height and compare it to standard doors or furniture sizes.
Miniatures (1:12 scale): This is the most common for collectors. One inch equals one foot in real life. It’s easier to find furniture and accessories in this size.
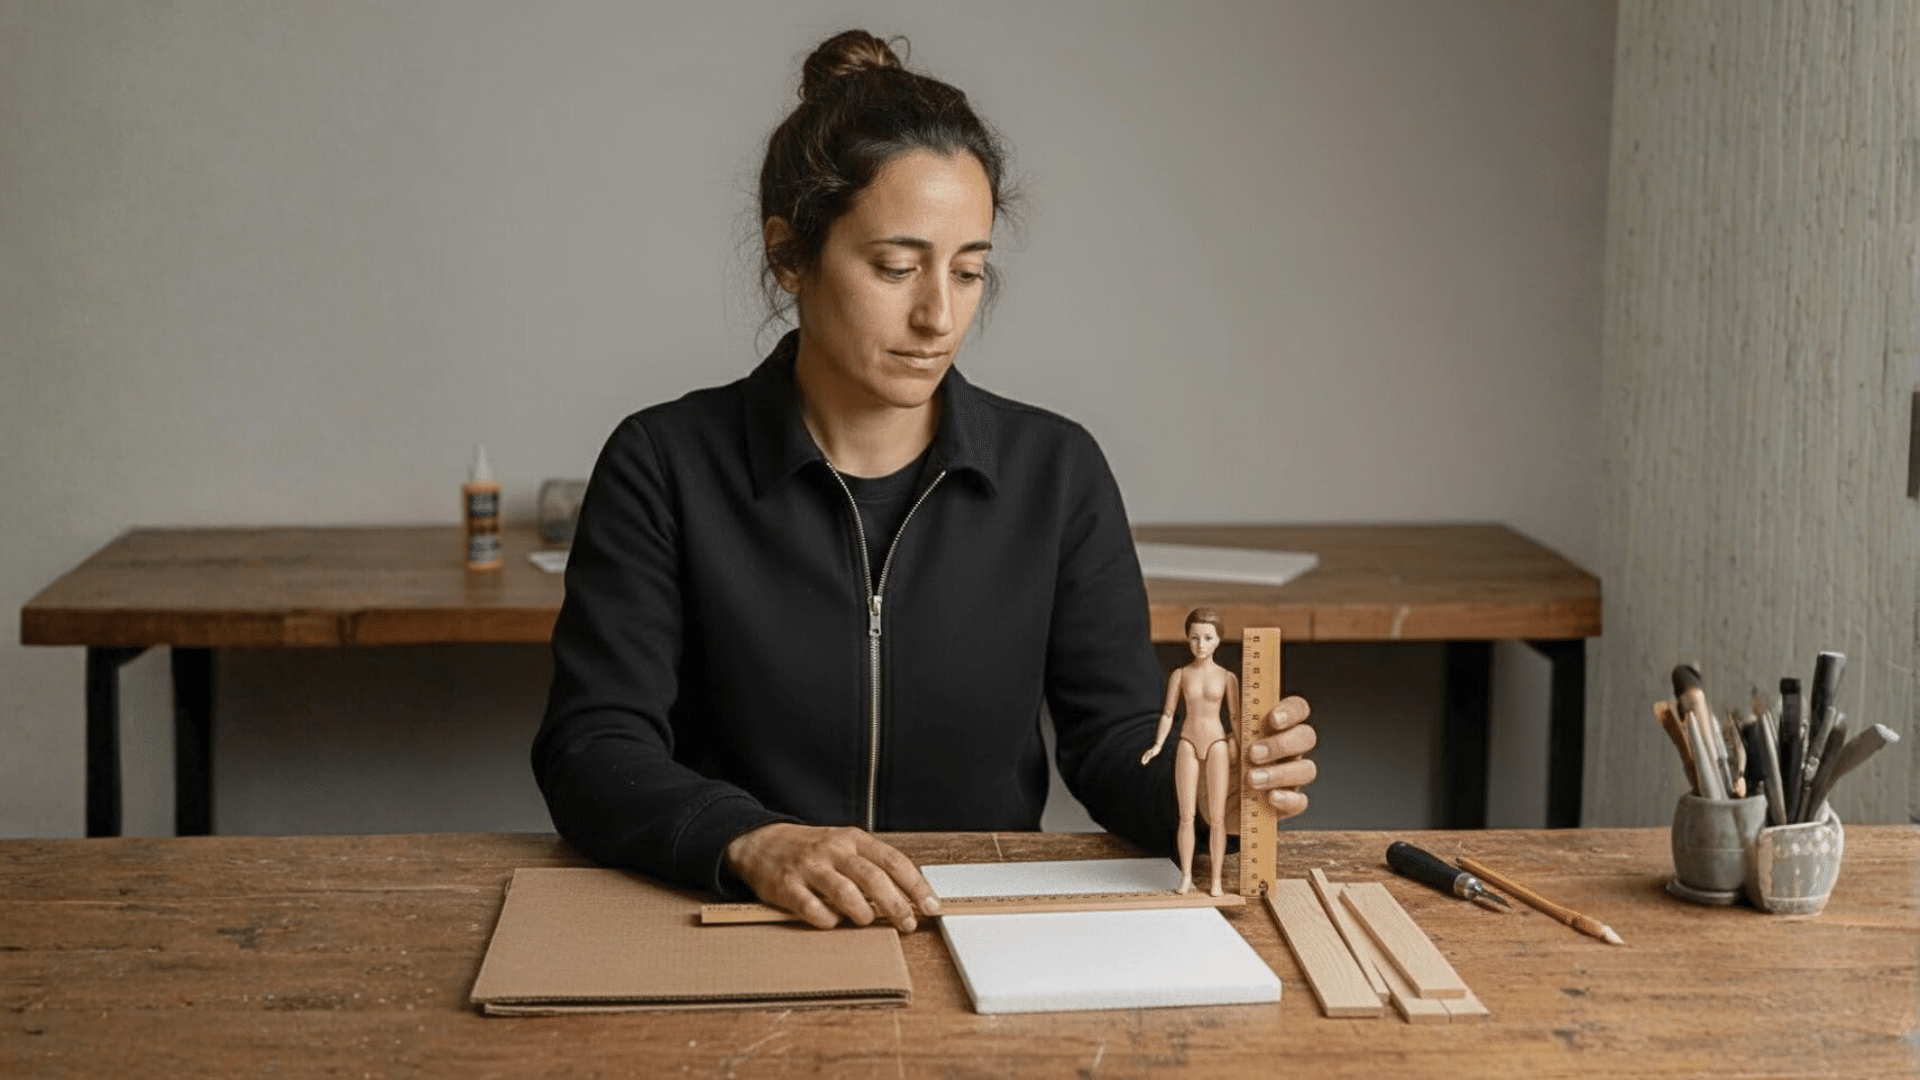
How to Pick the Right Size Before You Build
Before you cut your first wall or glue your first floor, it helps to know exactly what size your dollhouse needs to be. Start by measuring your doll’s height. Then think about how much room the doll needs to move around, stand, or sit.
Room height: Leave at least two inches taller than your doll, so it doesn’t feel cramped.
Door size: Make sure doors are tall and wide enough for dolls to go through easily.
Why scale mistakes cause problems: If your doll is too big for the house, it won’t be fun to play with. Furniture won’t fit right, and everything will feel off. Planning ahead saves you time, effort, and frustration.
Step-by-Step Guide to Building a Dollhouse From Scratch
Making a DIY dollhouse from nothing can feel big at first, but it’s really just one step at a time. Keep things simple, don’t rush, and enjoy the process.
Here are clear steps to help you build a dollhouse that works and looks good, even if it’s your first time:
Step 1: Plan the Layout
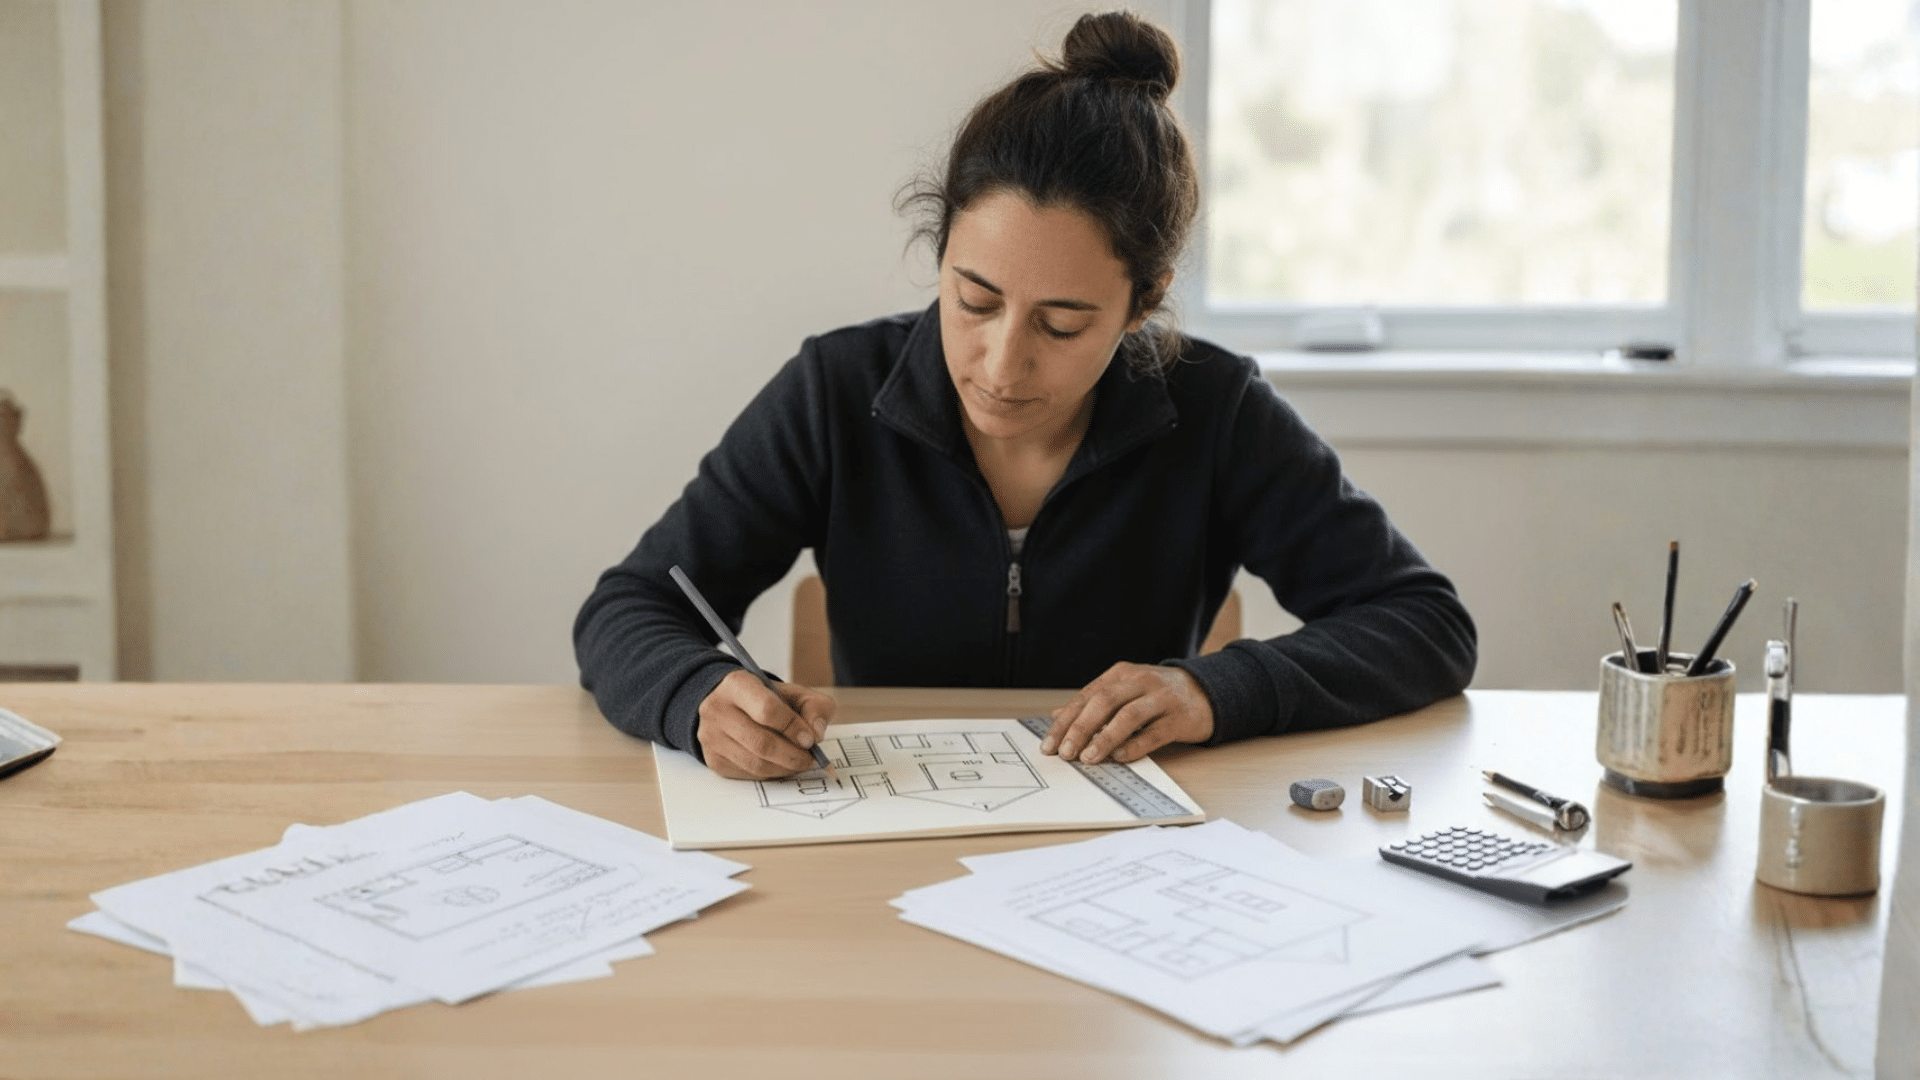
Before cutting anything, decide what kind of house you want. Will it have two floors? Three rooms? Will the back be open so you can reach inside, or closed off? Draw a rough sketch.
It doesn’t need to be fancy, just enough to help you stay on track and figure out what materials you’ll need.
- Pick how many rooms
- Choose open or closed back
- Sketch a simple layout
Step 2: Choose the Right Scale and Materials
Measure your doll’s height and pick the right scale. Then choose the building material (cardboard, wood, or foam board). Don’t buy everything at once. Make a list of what you really need, based on your plan.
- Match doll size to house scale
- Pick material that fits your skill level
- Gather basic tools and supplies
Step 3: Measure and Cut Each Piece
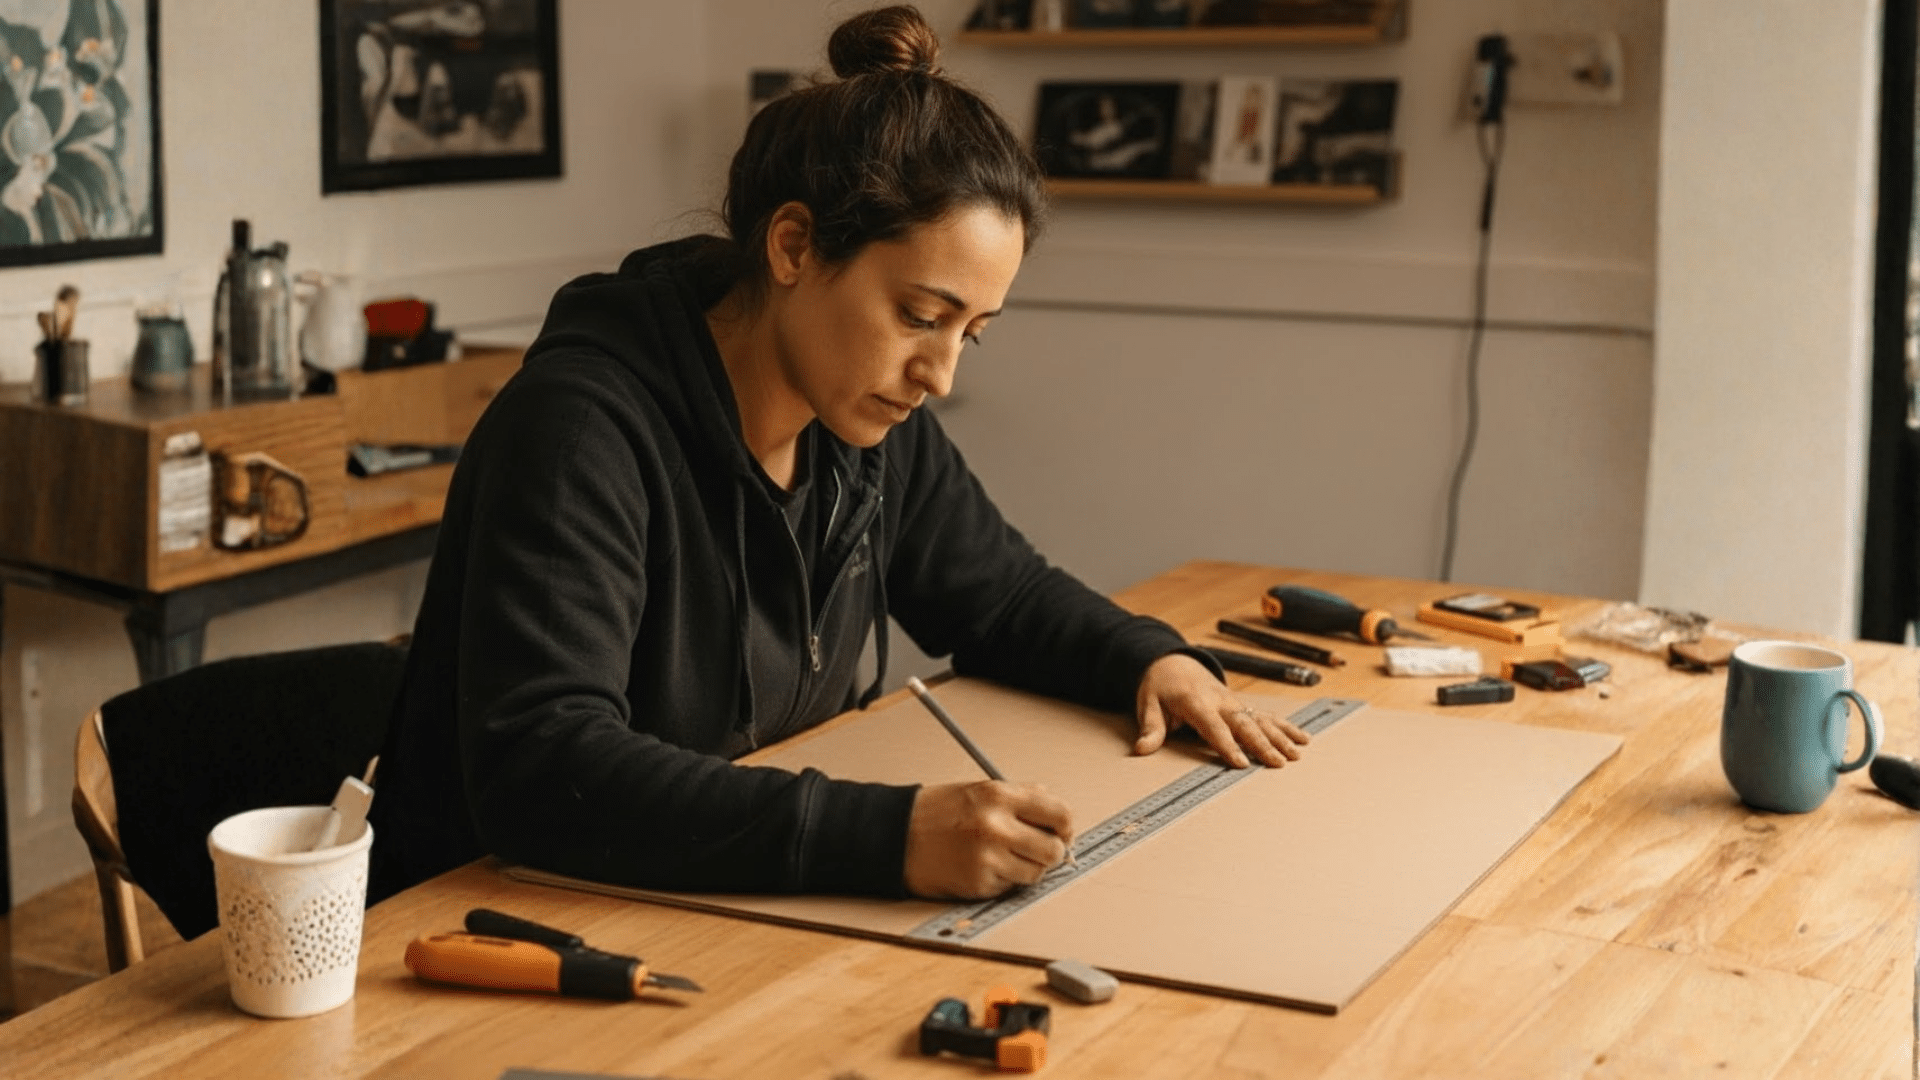
Now it’s time to make your pieces. Use a ruler and pencil to mark your cuts. Take your time with this part—accurate cuts make the rest easier.
If you’re using cardboard or foam board, a craft knife works great. For wood, use a small saw.
- Measure walls, floors, and roof
- Mark clearly before cutting
- Cut slowly to stay neat and even
Step 4: Build the Frame of the House
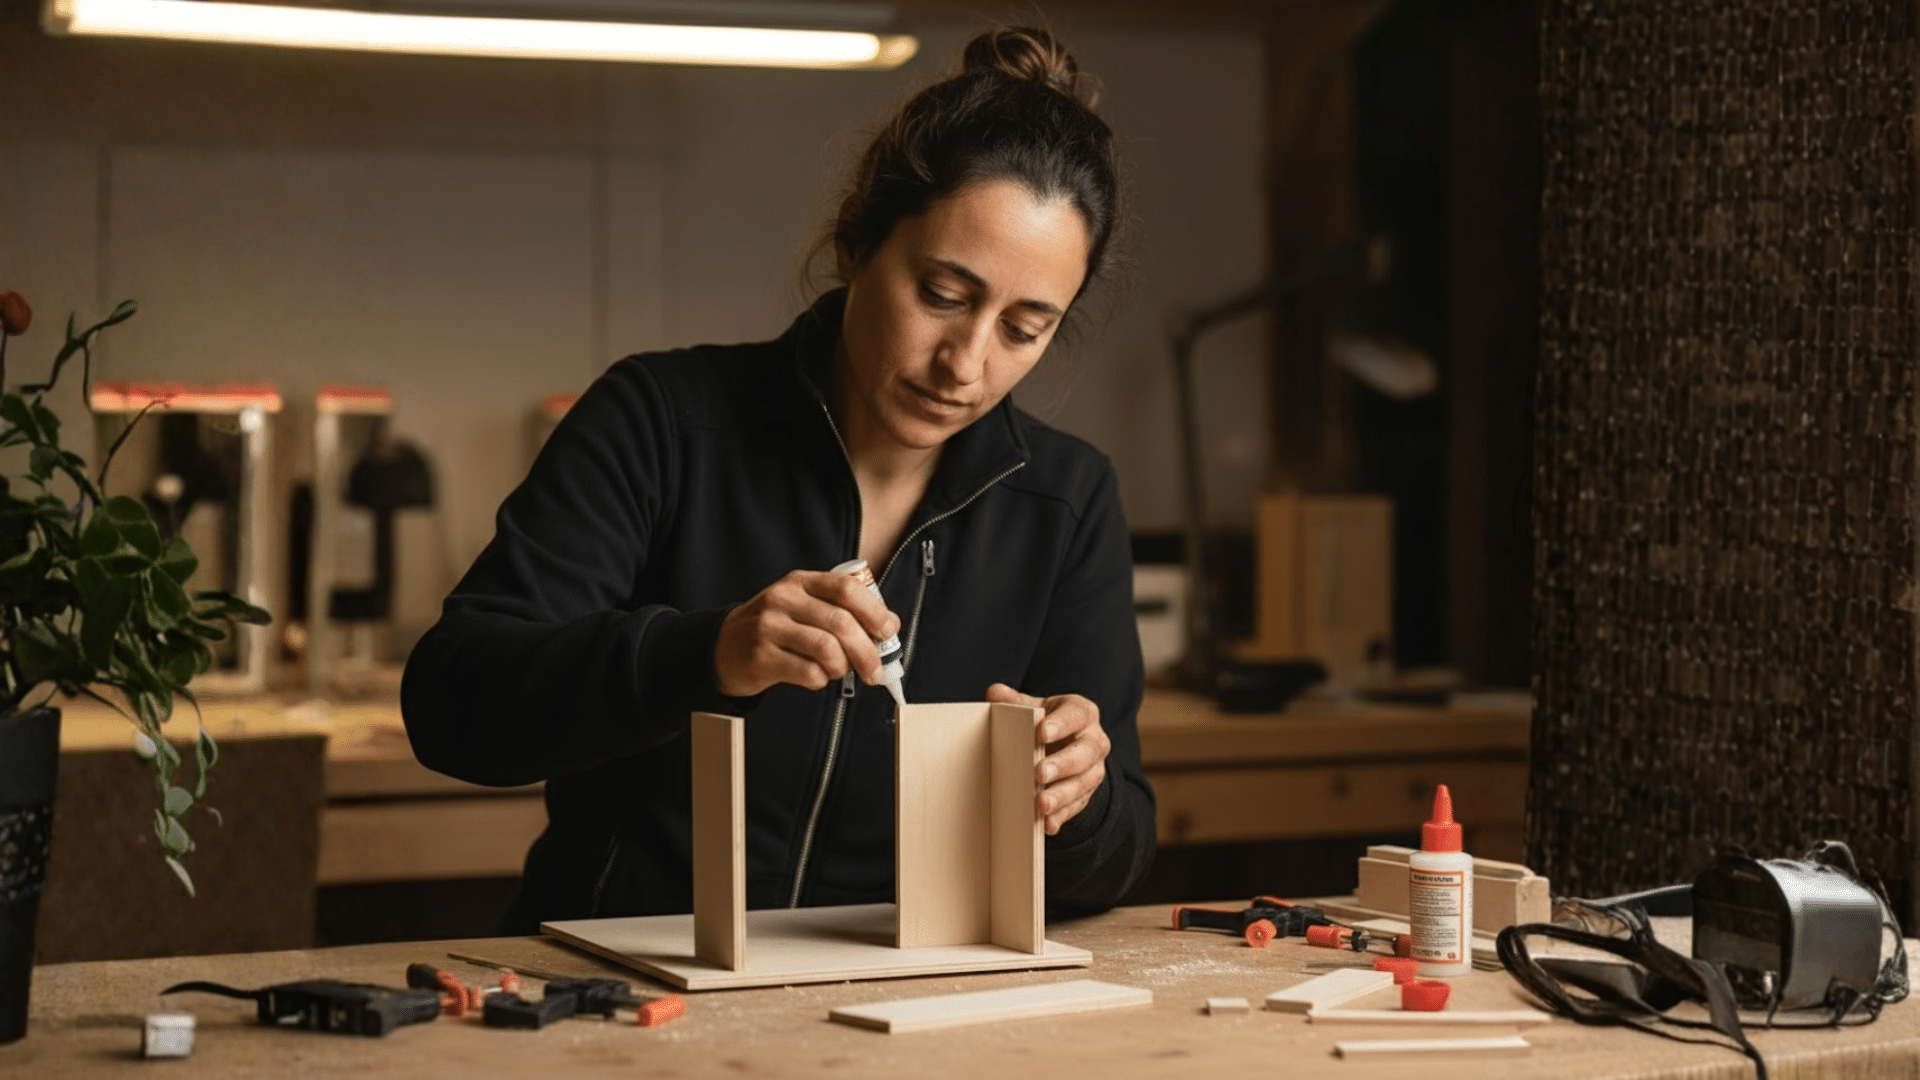
Start with the base and outer walls. Then add the roof and floors. Keep checking that everything lines up before gluing.
If you’re using wood, clamps can hold things while the glue dries. Cardboard and foam board usually hold fast with hot glue.
- Build outer walls first
- Add floors and dividers after
- Let each section dry before moving on
Step 5: Paint and Decorate the Inside
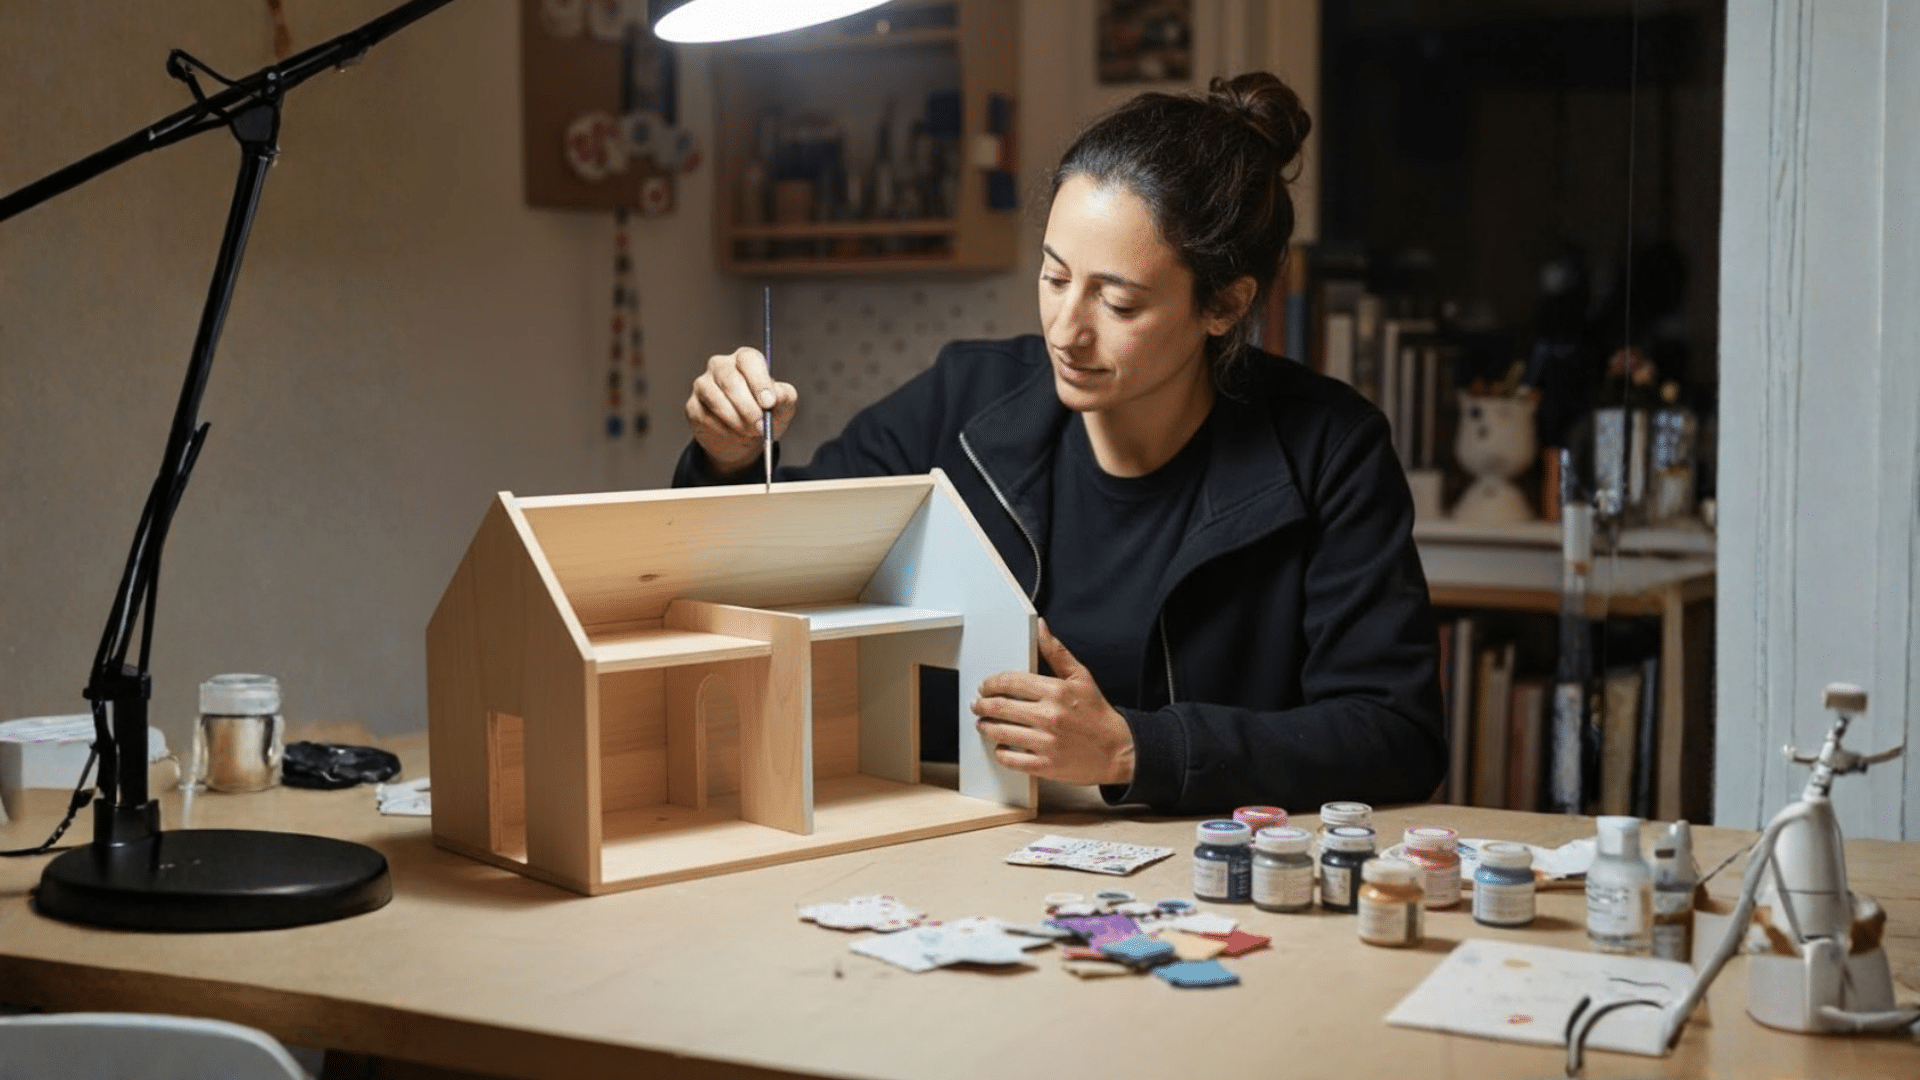
Paint the walls and floors before adding furniture or tiny items. Lighter colors help the inside look bigger. You can also use paper, fabric, or stickers to decorate walls and floors. Keep it simple and fun.
- Paint before adding furniture
- Use paper or fabric for wallpaper or rugs
- Let each layer dry
Step 6: Add Windows, Doors, and Furniture
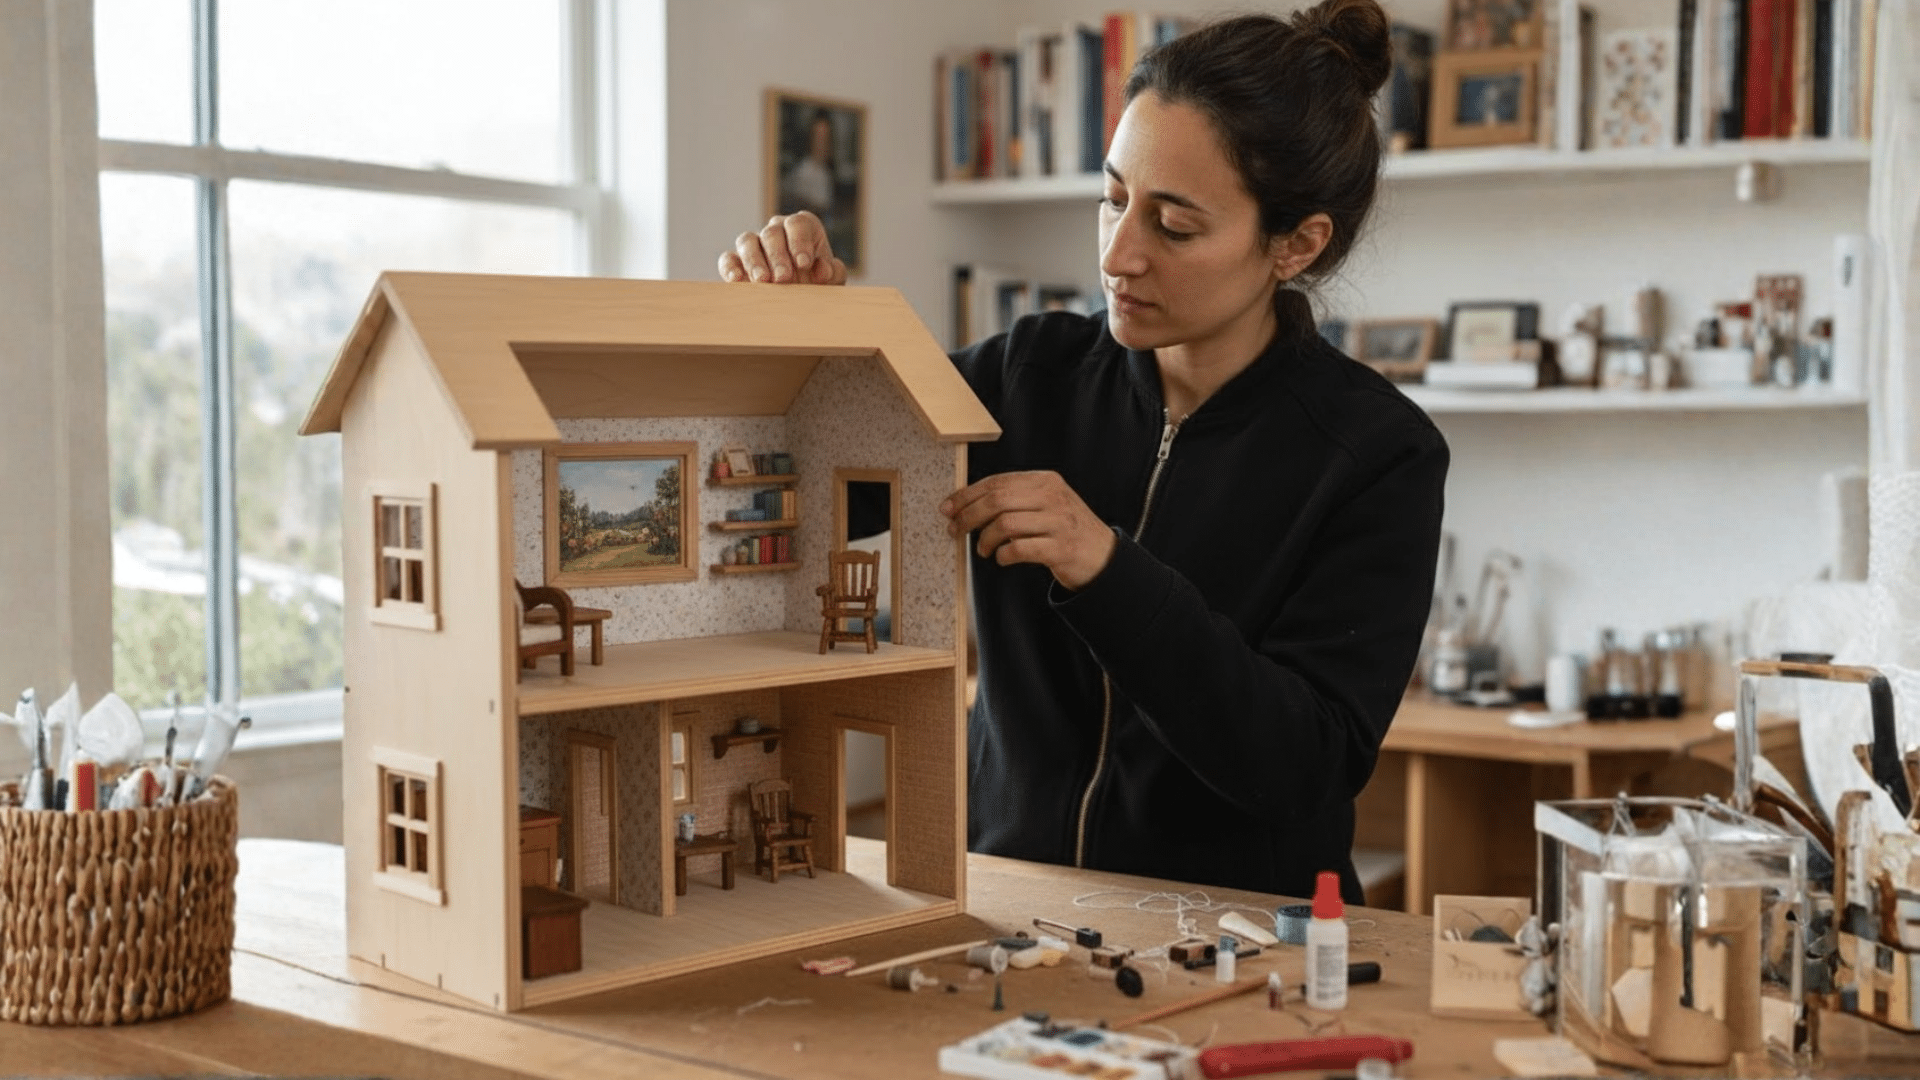
Cut out spaces for windows and doors if you didn’t earlier. You can make windows from clear plastic or skip them. Add simple homemade or store-bought furniture.
Glue things down if the dollhouse is for display or leave them loose for play.
- Keep furniture size matched to doll scale
- Add homemade touches like curtains or shelves
- Use glue if it’s for display
Step 7: Final Touches and Fixes
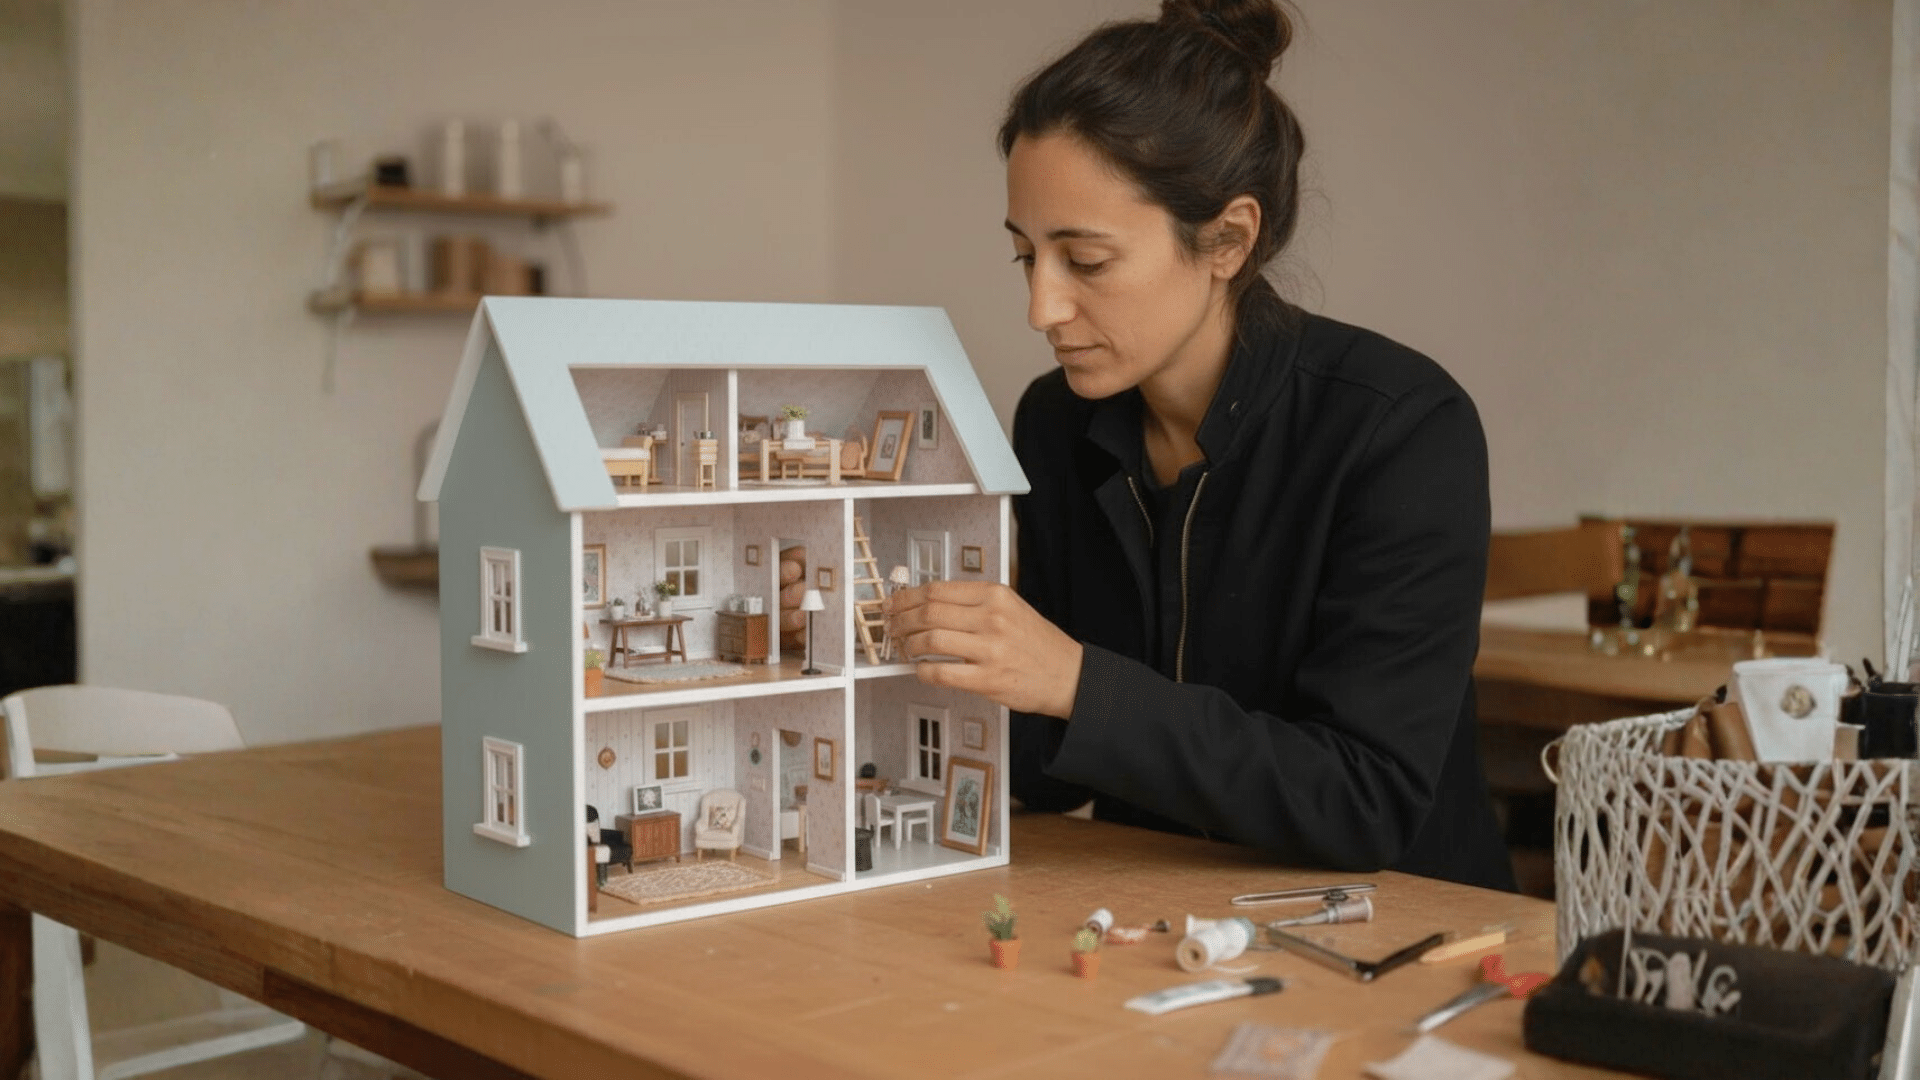
Step back and look at your house. Fix any loose spots, repaint where needed, and add little details like lights, rugs, or small toys. These final steps bring it all together and make the house feel complete.
- Check for wobbly parts
- Add final decorations
- Be proud of what you made
Building a dollhouse from scratch doesn’t have to be hard. It just takes a bit of time, a little planning, and the want to try. Each step builds on the one before.
And at the end, you have something you made with your own hands, and that’s pretty cool.
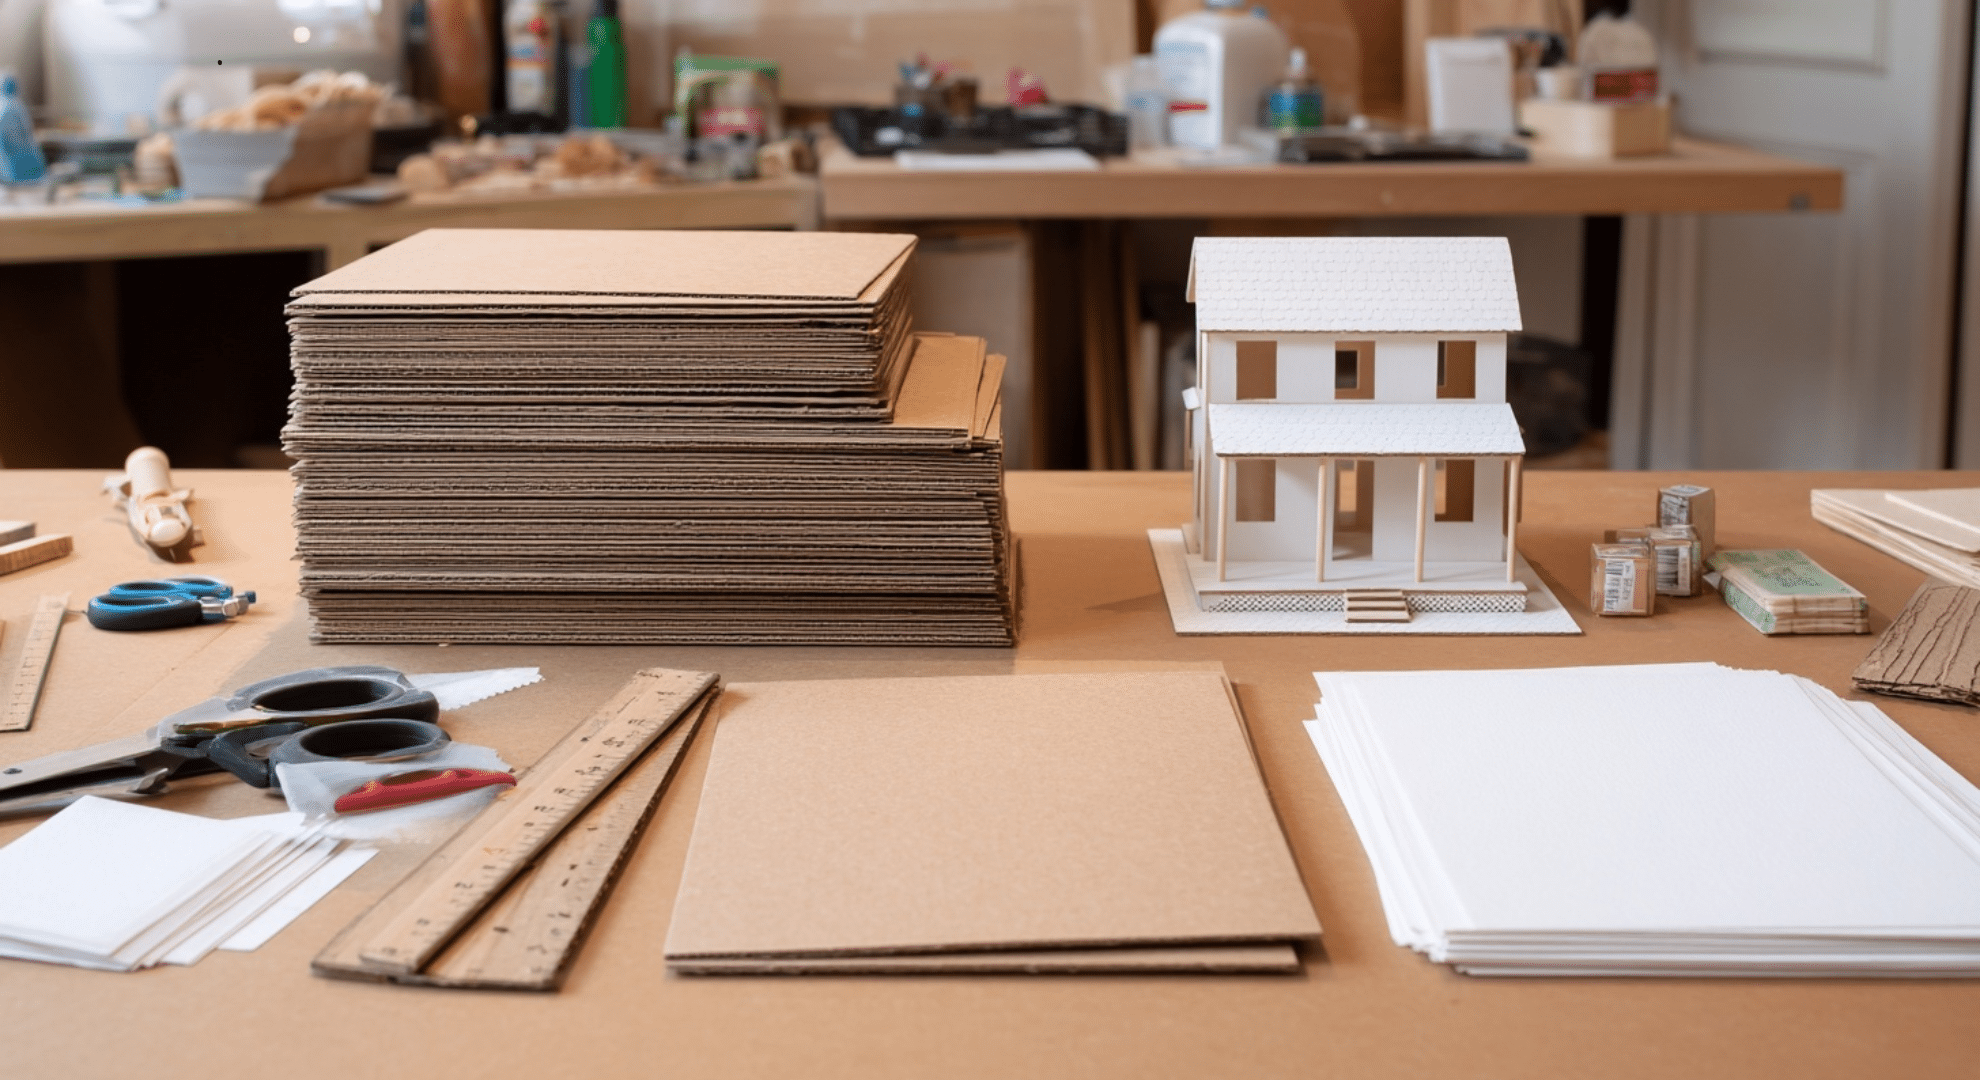
Beginner Project: Simple Two-Room Cardboard Dollhouse
A two-room, single-storey build designed for Barbie-scale dolls (1:6).
Estimated cost: $10–$20
Time: 1–2 days
Difficulty: Very Easy
Cut List:
| Piece | Dimensions | Qty |
|---|---|---|
| Base / Floor | 24″ x 12″ | 1 |
| Back wall | 24″ x 14″ | 1 |
| Side walls | 12″ x 14″ | 2 |
| Room divider | 12″ x 14″ | 1 |
| Roof panels | 24″ x 8″ | 2 |
Door openings: 4″ wide x 10″ tall
Windows (optional): 3″ wide x 4″ tall
Safety Tips for Kids and Family Use
Making a DIY dollhouse can be a great family project, but safety should always come first, especially if kids are helping. Some tools, glues, and materials can be risky without the right setup.
Planning ahead can keep things fun and safe. It’s also a good chance to teach kids how to use tools the right way, follow instructions, and stay focused while they build.
Here are some simple safety tips to follow:
- Always supervise kids when using scissors, craft knives, or glue guns.
- Use kid-friendly tools when possible like safety scissors and low-temp glue guns.
- Keep sharp tools, hot glue, and paints out of reach when not in use.
- Make sure kids work on a flat, stable surface to avoid slips.
- Avoid strong-smelling glues or paints unless you’re in a well-aired space.
- Use masks or old clothes when painting or sanding to protect skin and lungs.
- Teach kids to clean up tools and scraps to prevent cuts or messes.
Being safe doesn’t slow down the fun, it makes the whole build smoother. When kids know how to handle tools and materials the right way, they build confidence along with the house.
And when grown-ups stay nearby to guide them, everyone can enjoy the process without worry.
Common DIY Dollhouse Mistakes to Avoid
Building a dollhouse can be fun and rewarding but it’s easy to run into problems if you don’t plan ahead.
Many beginners make the same simple mistakes, which can lead to frustration, wasted materials, or a dollhouse that doesn’t quite work the way you wanted.
Knowing what to watch out for can save you time, money, and stress. Here are the most common mistakes to avoid:
Starting too complex: Trying to build a huge house with tons of rooms or tiny details right away can burn you out. Start small. Learn as you go. You can always add more later.
Using the wrong scale: If the rooms, doors, or furniture don’t match your doll’s size, everything will feel off. Measure your doll first and plan the scale around it.
Rushing the steps: Skipping planning, gluing pieces too soon, or painting before parts dry can ruin the look and make the structure weak. Go slow. Let things dry. Take your time.
Overspending: You don’t need to buy everything at once. A lot of supplies can be reused or made from things around the house. Make a simple budget and stick to it.
Avoiding these mistakes makes the whole process smoother and more fun.
A good dollhouse doesn’t have to be perfect; it just has to work well, hold together, and feel like something you built. Start simple, plan smart, and enjoy the build.
Cost, Time, and Difficulty Expectations
Before you start, it helps to know what you’re getting into. Building a DIY dollhouse can be quick and simple or take weeks, depending on your choices.
Here’s a basic look at what to expect based on the type of project you choose:
| Build Type | Approx. Cost | Time Needed | Difficulty Level |
|---|---|---|---|
| Cardboard (basic, small) | $5–$20 | 1–3 days | Very Easy |
| Foam board (miniature or display) | $10–$30 | 2–5 days | Easy |
| DIY kit (with parts included) | $25–$100 | 3–7 days | Medium |
| Wood (scratch-built) | $30–$150+ | 1–3 weeks or longer | Hard (more tools needed) |
| Flipping a thrifted dollhouse | $10–$50 | 2–6 days | Medium to Hard |
These numbers can vary depending on how detailed you get and what materials you already have.
The more complex the project, the more time and tools you’ll need, but even simple builds can be fun and satisfying.
DIY Dollhouse Ideas by Doll Type
The kind of doll you’re building for makes a big difference in how you design your dollhouse. Bigger dolls need taller rooms and stronger materials.
Smaller ones let you add more detail in tighter spaces. Choosing the right setup for your doll helps make sure the house fits, works well, and looks just right.
Here are some ideas to match your build to the type of doll you have:
Barbie Dollhouses
Barbie dolls are about 11.5 inches tall, so they need higher ceilings and wider doorways. A good height for each room is at least 13 to 14 inches.
Most Barbie houses use a 1:6 scale. Lightweight materials like foam board or cardboard work well if you want a portable house, but wood gives more strength for long-term play.
Ideas:
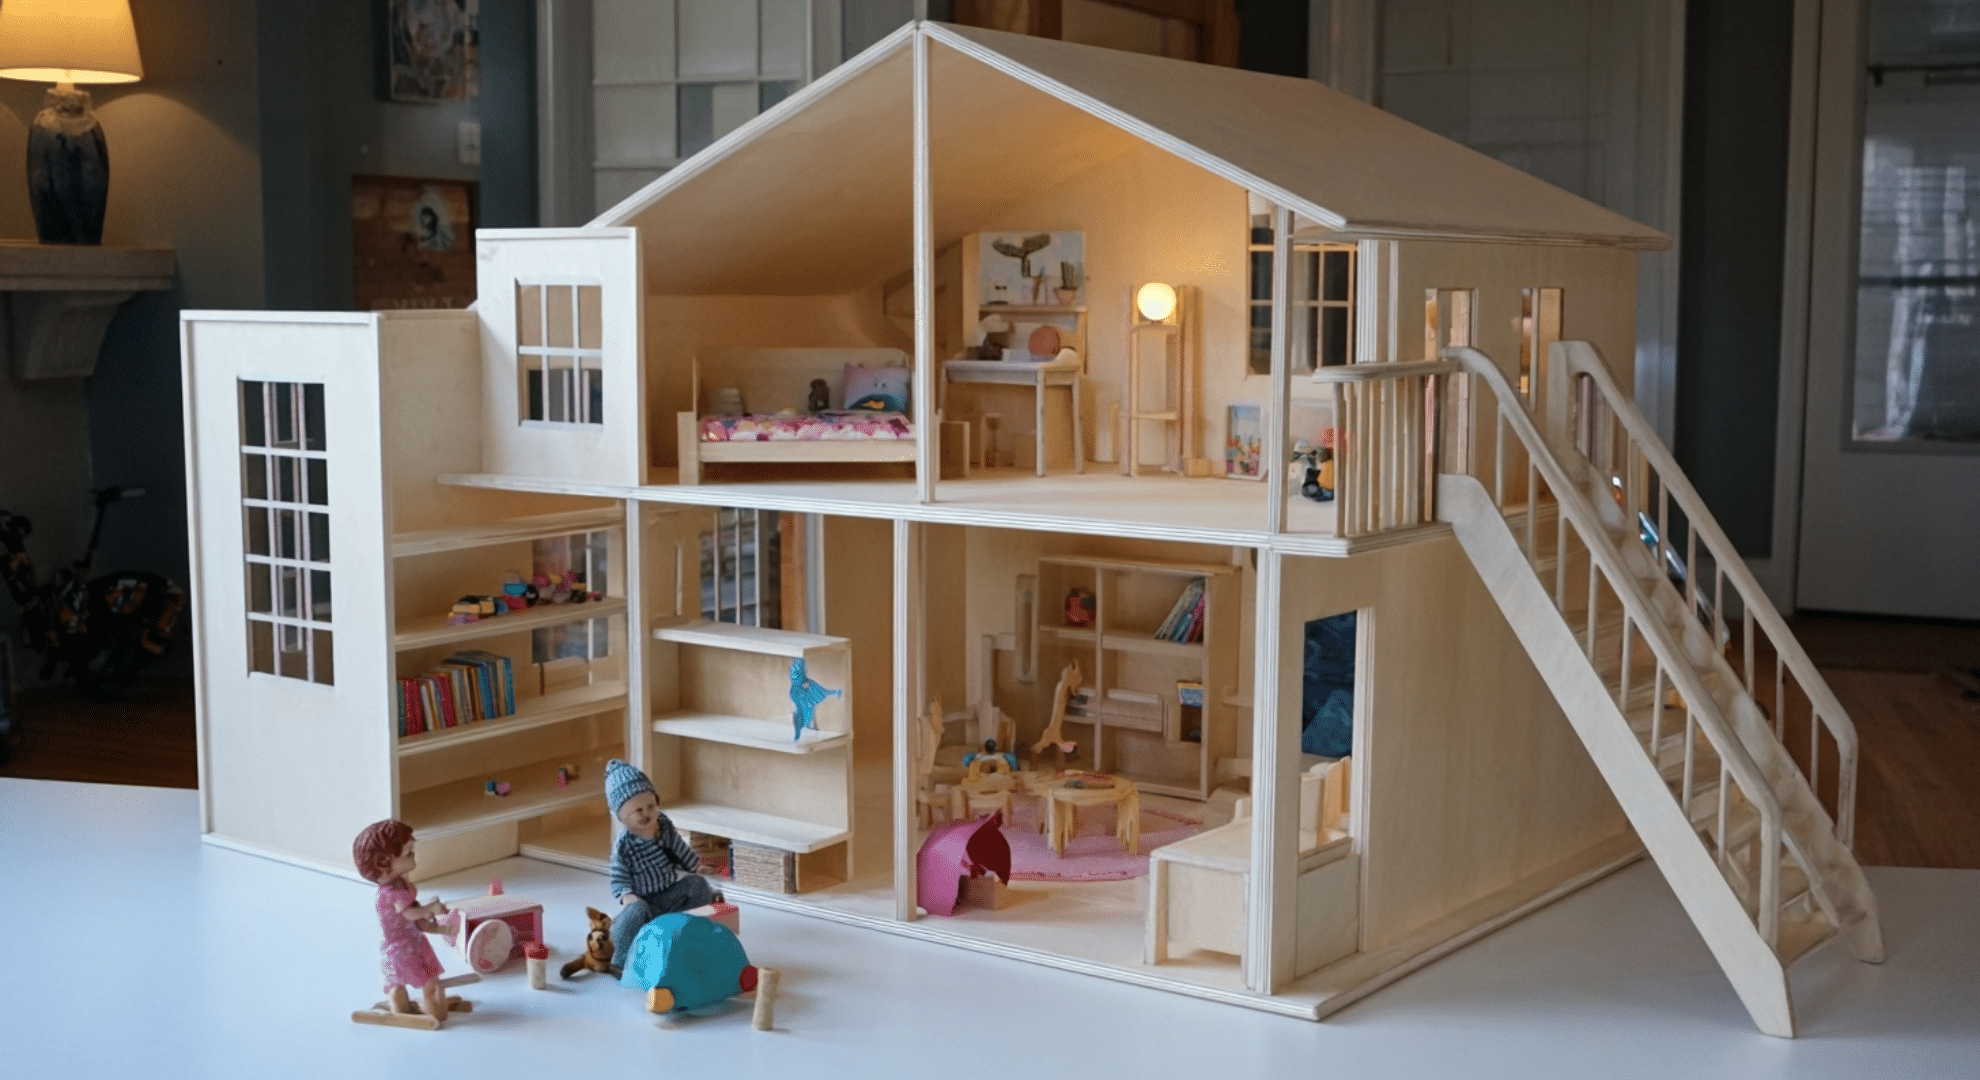
- Two-story modern home with open back
- Foldable cardboard travel house
- Stylish room themes like a fashion studio or salon
American Girl Dollhouses
These dolls are around 18 inches tall, which means you need large rooms, wide stairs, and big furniture. The scale is closer to 1:3.
These houses take up more space and need strong materials like plywood or MDF. They’re more like mini playrooms than dollhouses, so keep the structure simple but sturdy.
Ideas:
- One-room playhouse with shelves and accessories
- Loft-style open home with furniture you can move around
- DIY bunk bed and kitchen set for pretend play
Toddler-Friendly Dollhouses
If you’re building for toddlers or younger kids, focus on safety and simplicity. Use soft edges, strong glue, and avoid small parts.
Stick with large furniture and wide-open rooms. Foam board or thick cardboard is a good choice, and the design should be strong enough to handle rougher play.
Ideas:
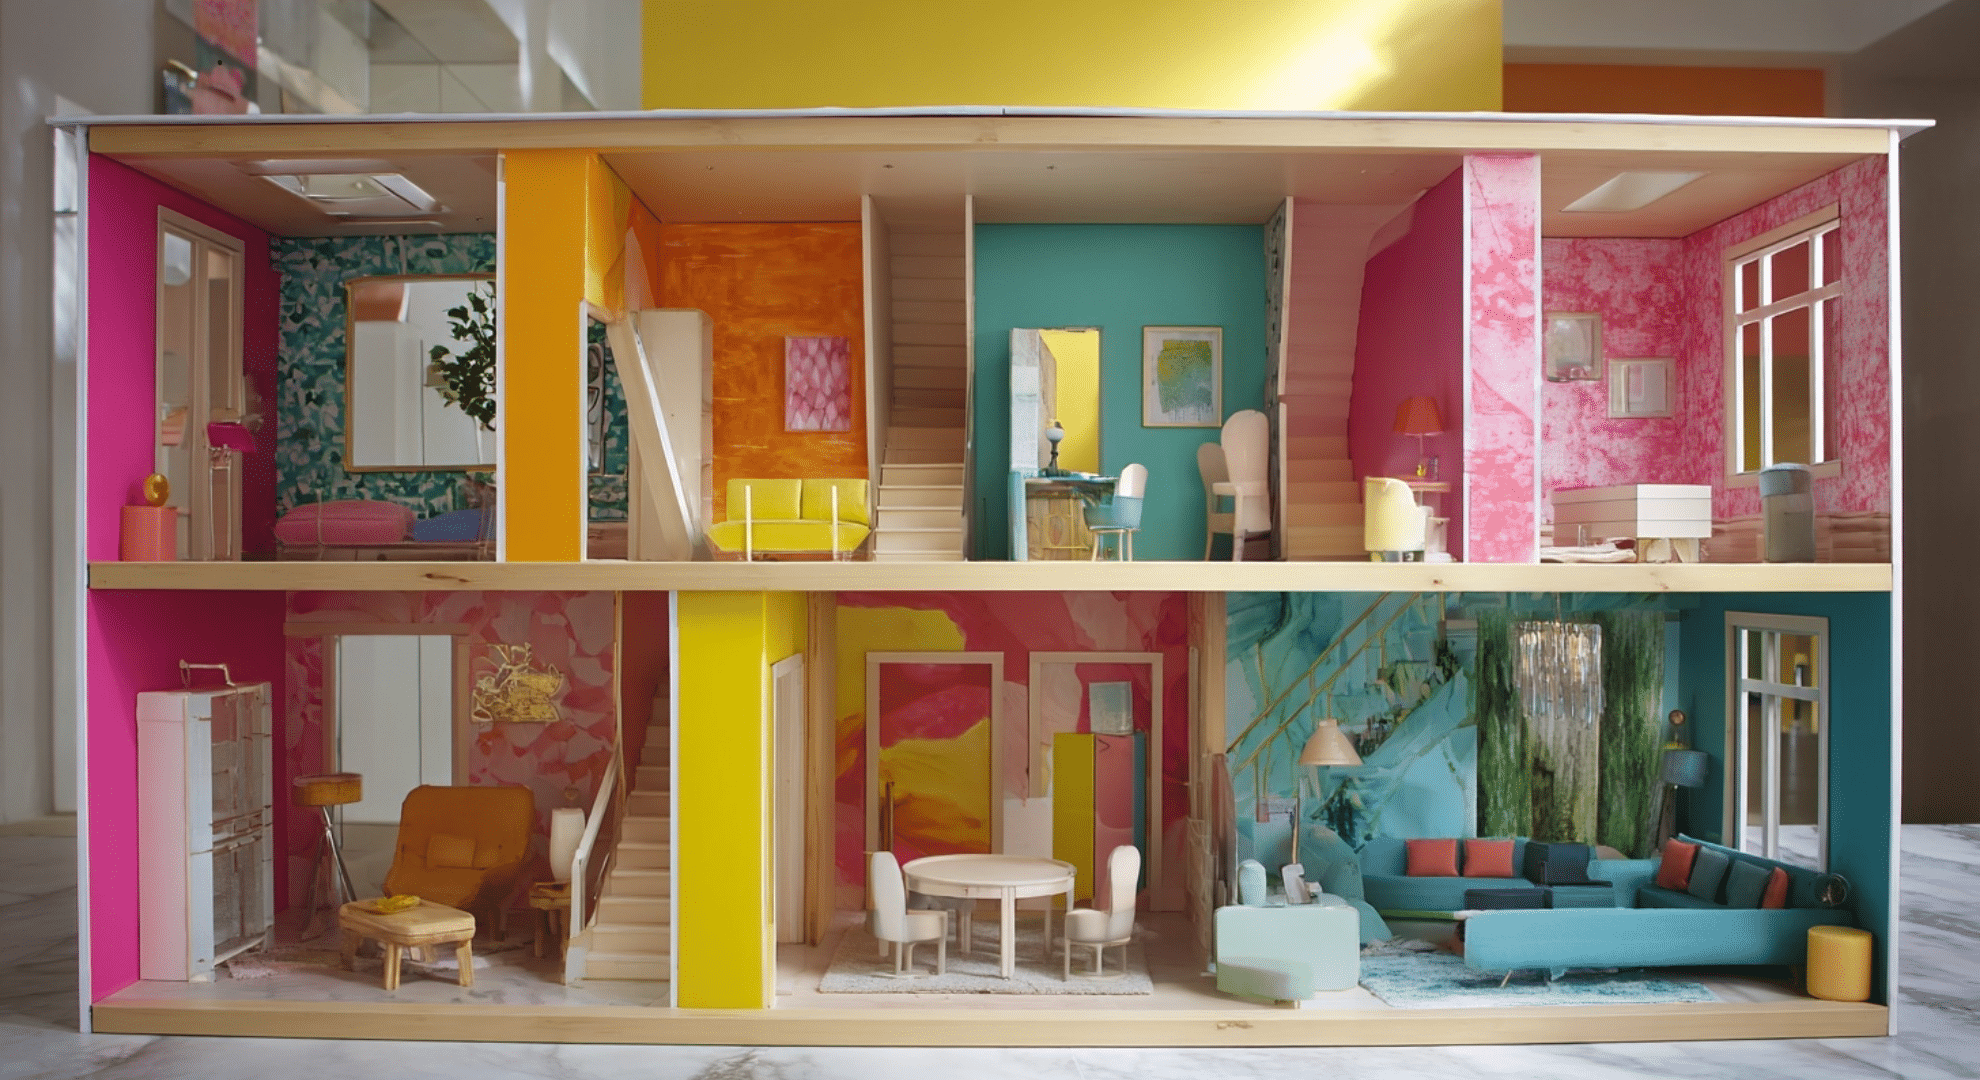
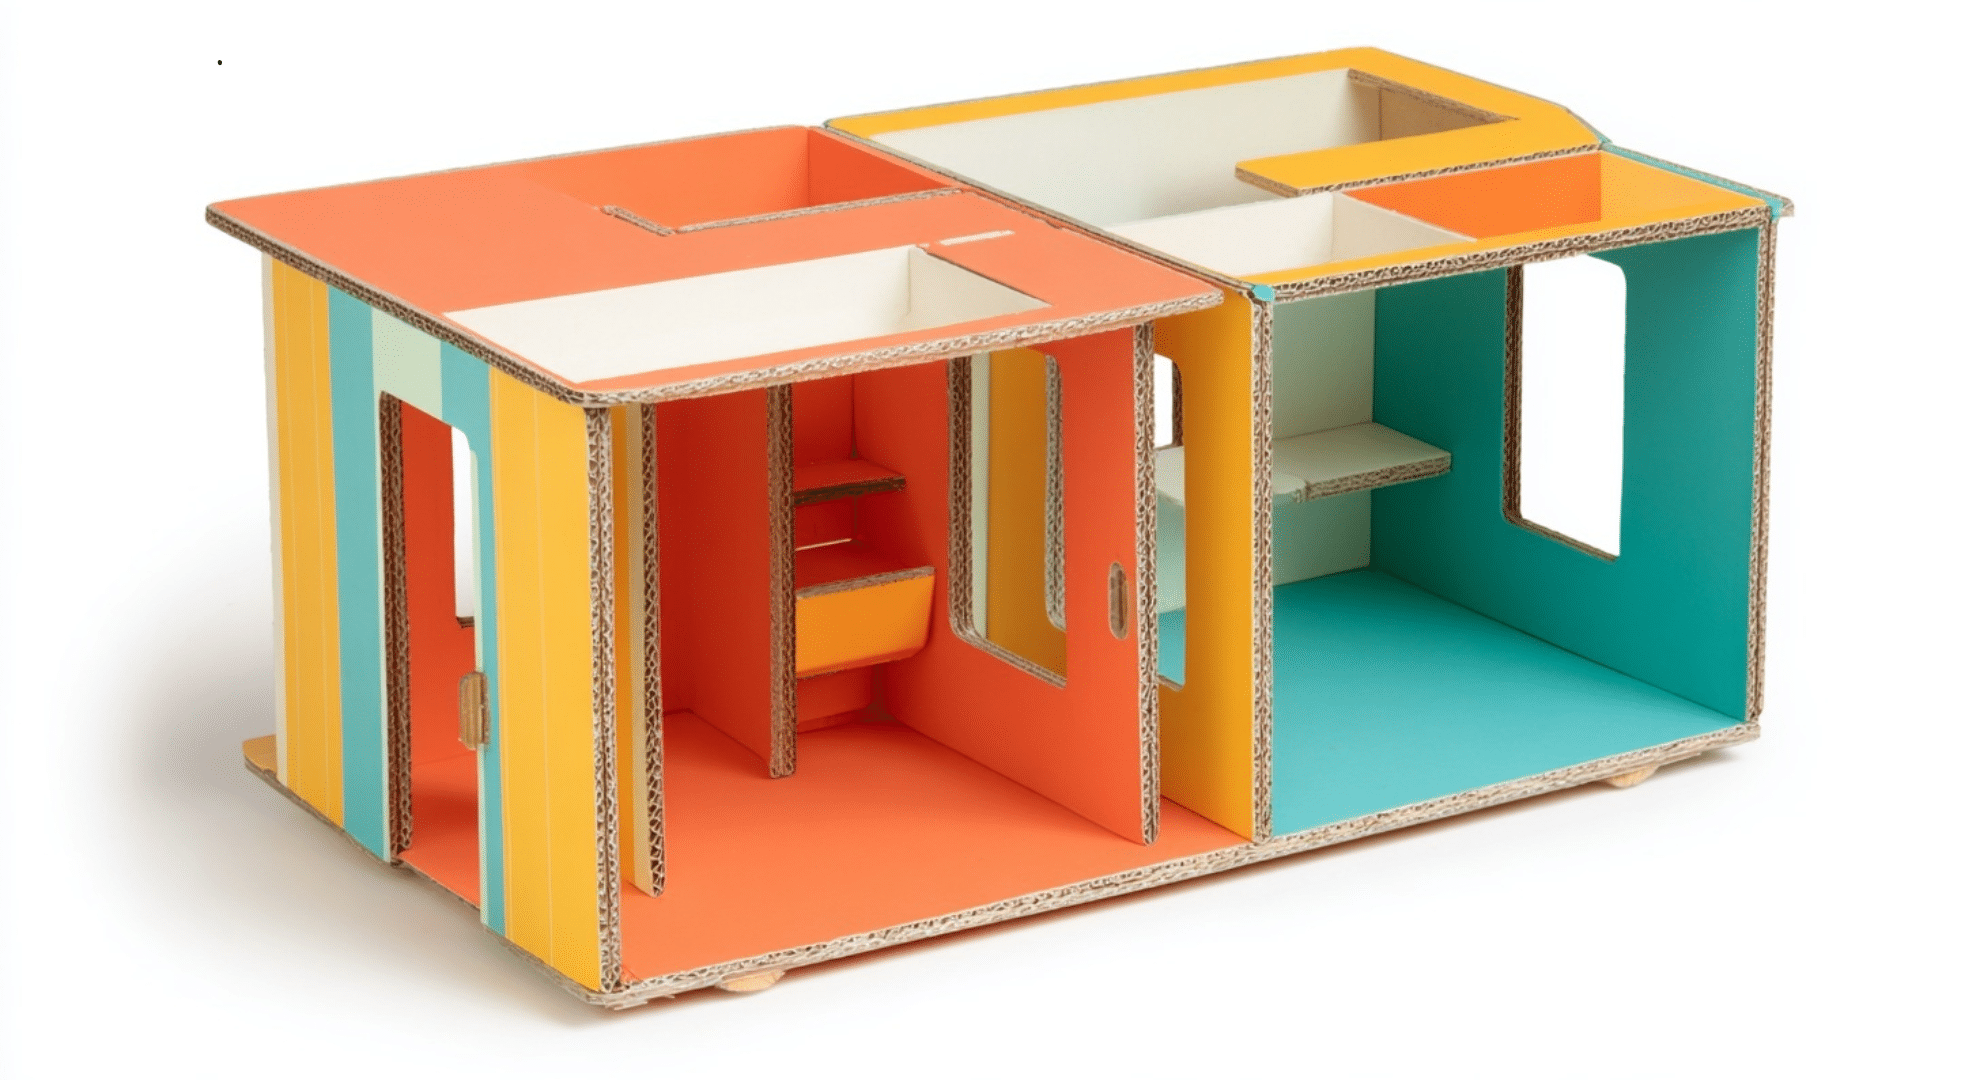
- Bright, colorful one-floor house with big open rooms
- Chunky wood or cardboard furniture
- Add handles for easy lifting and moving
Miniature Collector Houses
Miniature houses are usually built at a 1:12 scale, which means one inch equals one foot. These are often made for display, not play.
They use small parts, paint detail, and sometimes even working lights. Foam board or thin wood works great here, and kits are popular for this style.
Ideas:
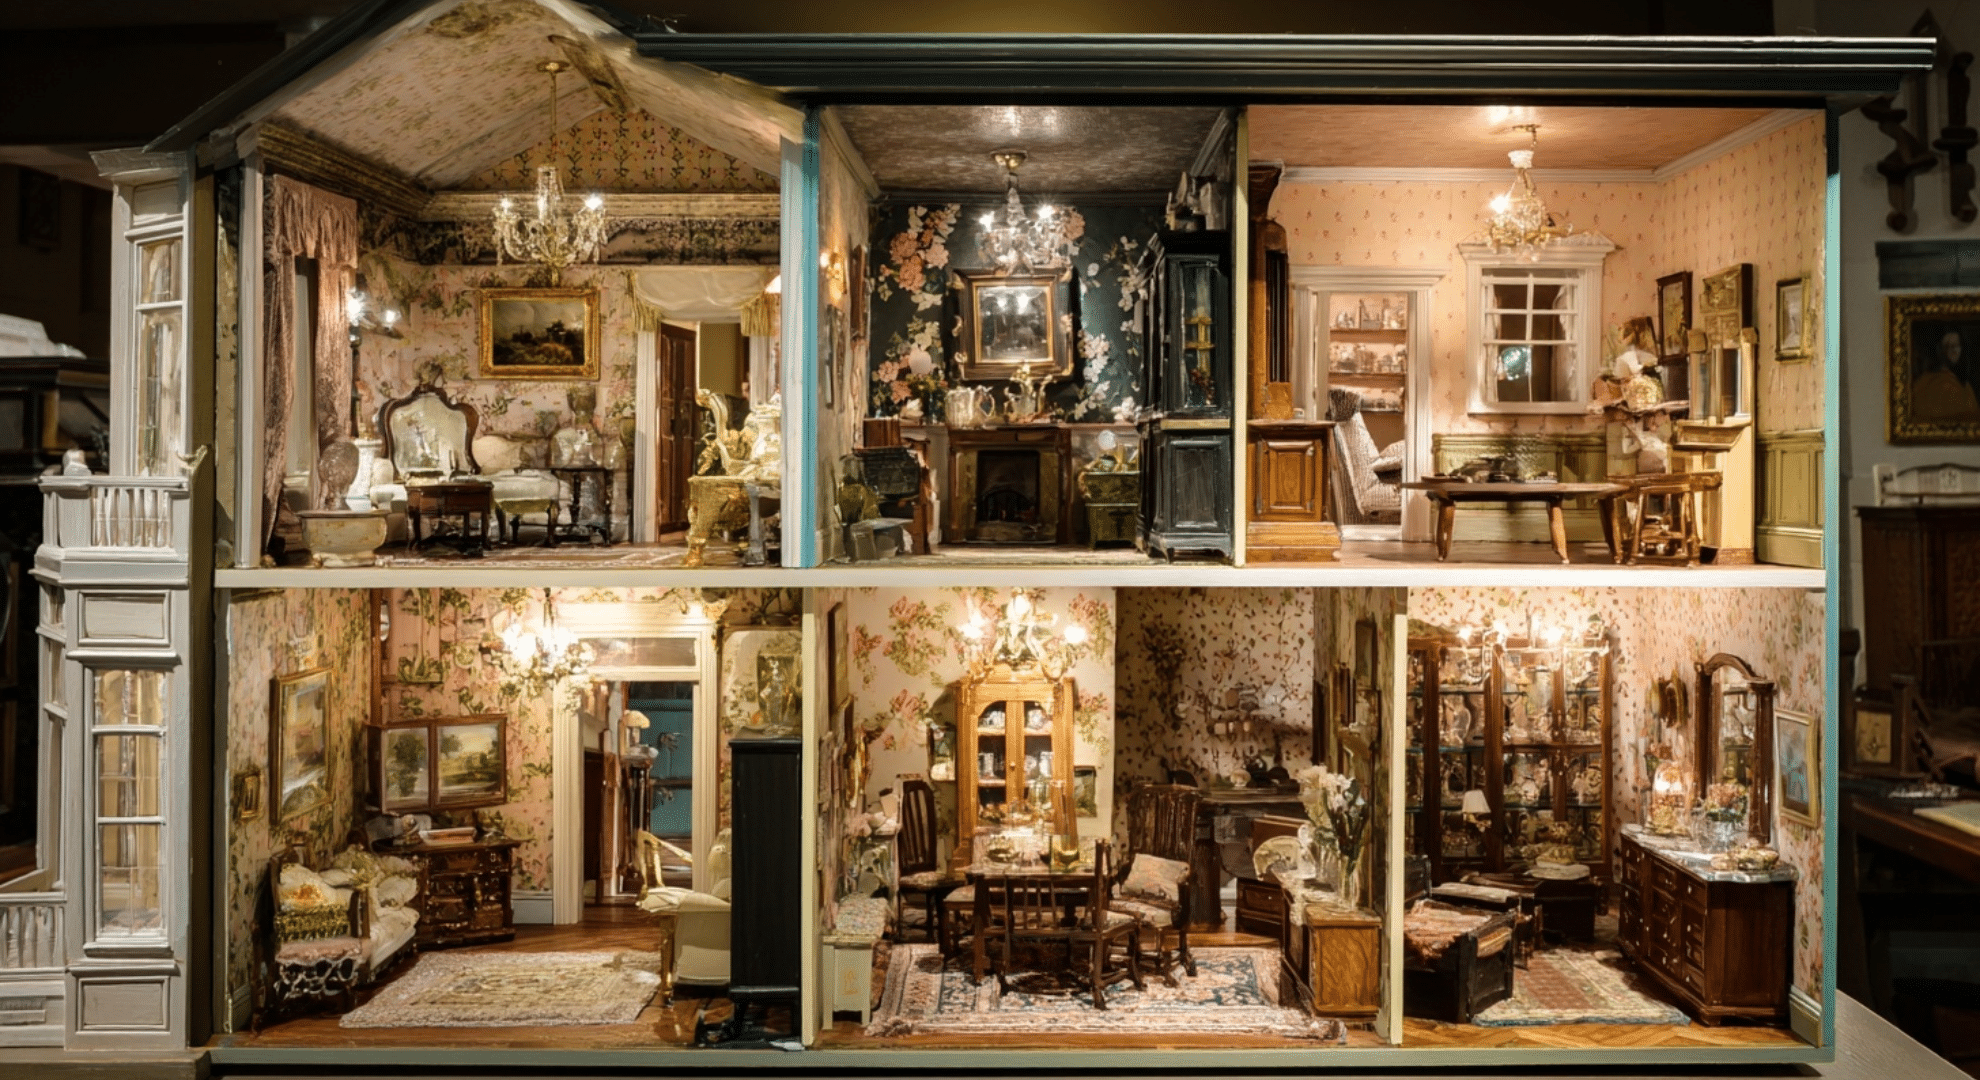
- Victorian-style home with working windows
- Tiny cottage with handmade furniture
- Detailed room boxes showing just one space like a kitchen or library
Matching your DIY dollhouse to the doll’s size makes the whole build easier and more fun. You get better results, fewer problems, and a house that fits the doll just right. Choose the right scale, think about how it’ll be used, and then build something that works for both you and your doll.
DIY vs. Kits For the Build
Both building from scratch and using a kit come with different advantages. One gives you full control and creativity. The other gives you a clear path to follow with less guesswork.
Your choice depends on how much time you have and how hands-on you want to be.
| Feature | DIY From Scratch | DIY Kit |
|---|---|---|
| Creativity | High. You design everything | Medium. Some parts are pre-made |
| Time Needed | More time based on your design | Less time. Most parts are ready |
| Tools Required | More tools may be needed | Few tools needed |
| Cost | Can be cheap or more expensive | Usually higher upfront cost |
| Skill Level | Good for crafters or patient beginners | Easy for kids and first-timers |
| Customization | Full control over design and size | Can change paint and small parts |
If you enjoy building every part yourself and want more freedom, go with full DIY. If you want something easier to finish with less stress, a kit might be the better choice.
How to Involve Kids in the Build
Building a DIY dollhouse is a fun way to spend time with your kids and help them learn hands-on skills. You don’t have to give them the tricky parts. Just choose simple tasks that match their age and interests.
Younger kids can help pick paint colors, decorate with stickers, or choose where each room goes. They can also help with gluing big pieces together using safe glue and placing large furniture items inside the house.
Older kids can help measure, cut cardboard with safety scissors, and even help paint walls or furniture. Giving them their own part of the project, like decorating one room, helps keep them focused and proud of their work.
Let kids make choices. It doesn’t need to be perfect. If a window ends up uneven or a chair looks silly, that just makes the dollhouse feel more personal.
It becomes a shared project you both can remember and enjoy.
How to Make Your Dollhouse Last Longer
After all the work you put in, you’ll want your dollhouse to hold up over time. A few simple habits and choices during the build can make a big difference in how well it holds together and how long it stays looking good.
Here are some easy ways to keep your dollhouse strong and sturdy:
- Use strong glue like wood glue or tacky glue for long-term hold instead of basic school glue
- Seal painted surfaces with a clear coat or craft sealer to prevent chips and fading
- Avoid placing it in direct sunlight which can warp materials and fade colors
- Store it somewhere dry to avoid moisture damage or mold
- Reinforce corners and joints with extra glue or small wooden supports inside
- Keep it off the floor if possible to protect from pets, spills, or accidents
- Do regular touch-ups with paint, glue, or new parts when things start to wear
With just a little care now and then, your DIY dollhouse can last for years, ready for display, play, or even passing on to someone else down the line.
Common Problems and Quick Fixes
Every build hits a snag at some point. Here are the most common ones and how to get past them quickly.
Problem 1: Walls Won’t Stay Straight
Quick Fix: Reinforce inner corners with small cardboard triangles before the walls fully set. This adds just enough support to keep everything square while the glue cures.
Problem 2: Glue Joints Separating
Quick Fix: Hot glue works fast but isn’t always strong on large flat surfaces. Switch to tacky glue or wood glue for wall-to-floor joints and let it cure overnight.
Problem 3: Cardboard Warping
Quick Fix: Moisture from paint or glue pulls the surface unevenly. Paint both sides of each panel and let the pieces dry flat under a heavy book.
Problem 4: Furniture Doesn’t Fit Through Doors
Quick Fix: Door openings were likely cut too small for the doll’s scale. For Barbie, doors should be at least 4″ wide x 10″ tall; widen carefully with a craft knife.
Conclusion
Building a diy dollhouse showed me how fun and calming it can be to make something by hand. It gave me a break from screens and let me focus on small, creative steps.
The best part was seeing it all come together and knowing I made it myself.
You now have everything you need to start your own dollhouse project. Take what you’ve learned, think about what works best for you, and begin with simple steps. Choose the right size, materials, and tools, and enjoy the building process at your own pace.
Even small progress counts. What matters most is that the dollhouse feels like yours.
If this was helpful, keep going and check out other blogs with more tips, ideas, and how-tos for your next build. There’s plenty more to find!