I used to think planning a garden meant just digging holes wherever there was space.
My tomatoes crowded my peppers, my cucumbers suffocated everything nearby, and half my plants barely produced anything. That first season taught me that good vegetable garden layout plans and spacing aren’t just suggestions, they’re the difference between a struggling garden and one that actually feeds you.
You’ll find that giving each plant the right amount of room isn’t complicated once you understand the basics.
In this guide, you’ll find practical spacing guidelines for popular vegetables, layout ideas that maximize your harvest, and simple tricks to avoid the crowding mistakes I made. Your garden deserves better than guesswork.
Understanding Your Garden Space
Before you start mapping out rows and beds, you need to know what you’re actually working with. I spent my first year planning an elaborate layout on paper, only to realize my yard had way less sun than I thought it did.
Walk your space at different times during the day. You’ll notice which areas get full sun, partial shade, or stay mostly dark. Vegetables need at least six hours of direct sunlight, so mark those sunny spots first.
Check your soil drainage too. Stand in your garden area after a good rain and see where water pools.
Those soggy spots will drown most vegetables, so you’ll either need raised beds there or choose a different location.
Measure your available space accurately. You don’t need fancy tools—a tape measure works fine. Knowing your dimensions helps you calculate how many plants actually fit without overcrowding. This simple groundwork saves you from redesigning everything mid-season.
Vegetable Garden Layout Ideas for Every Space
Your garden layout should match your actual space, not some perfect picture you saw online. I’ve tried different methods over the years, and each one works better for specific situations. You’ll find that choosing the right layout makes gardening easier and more productive:
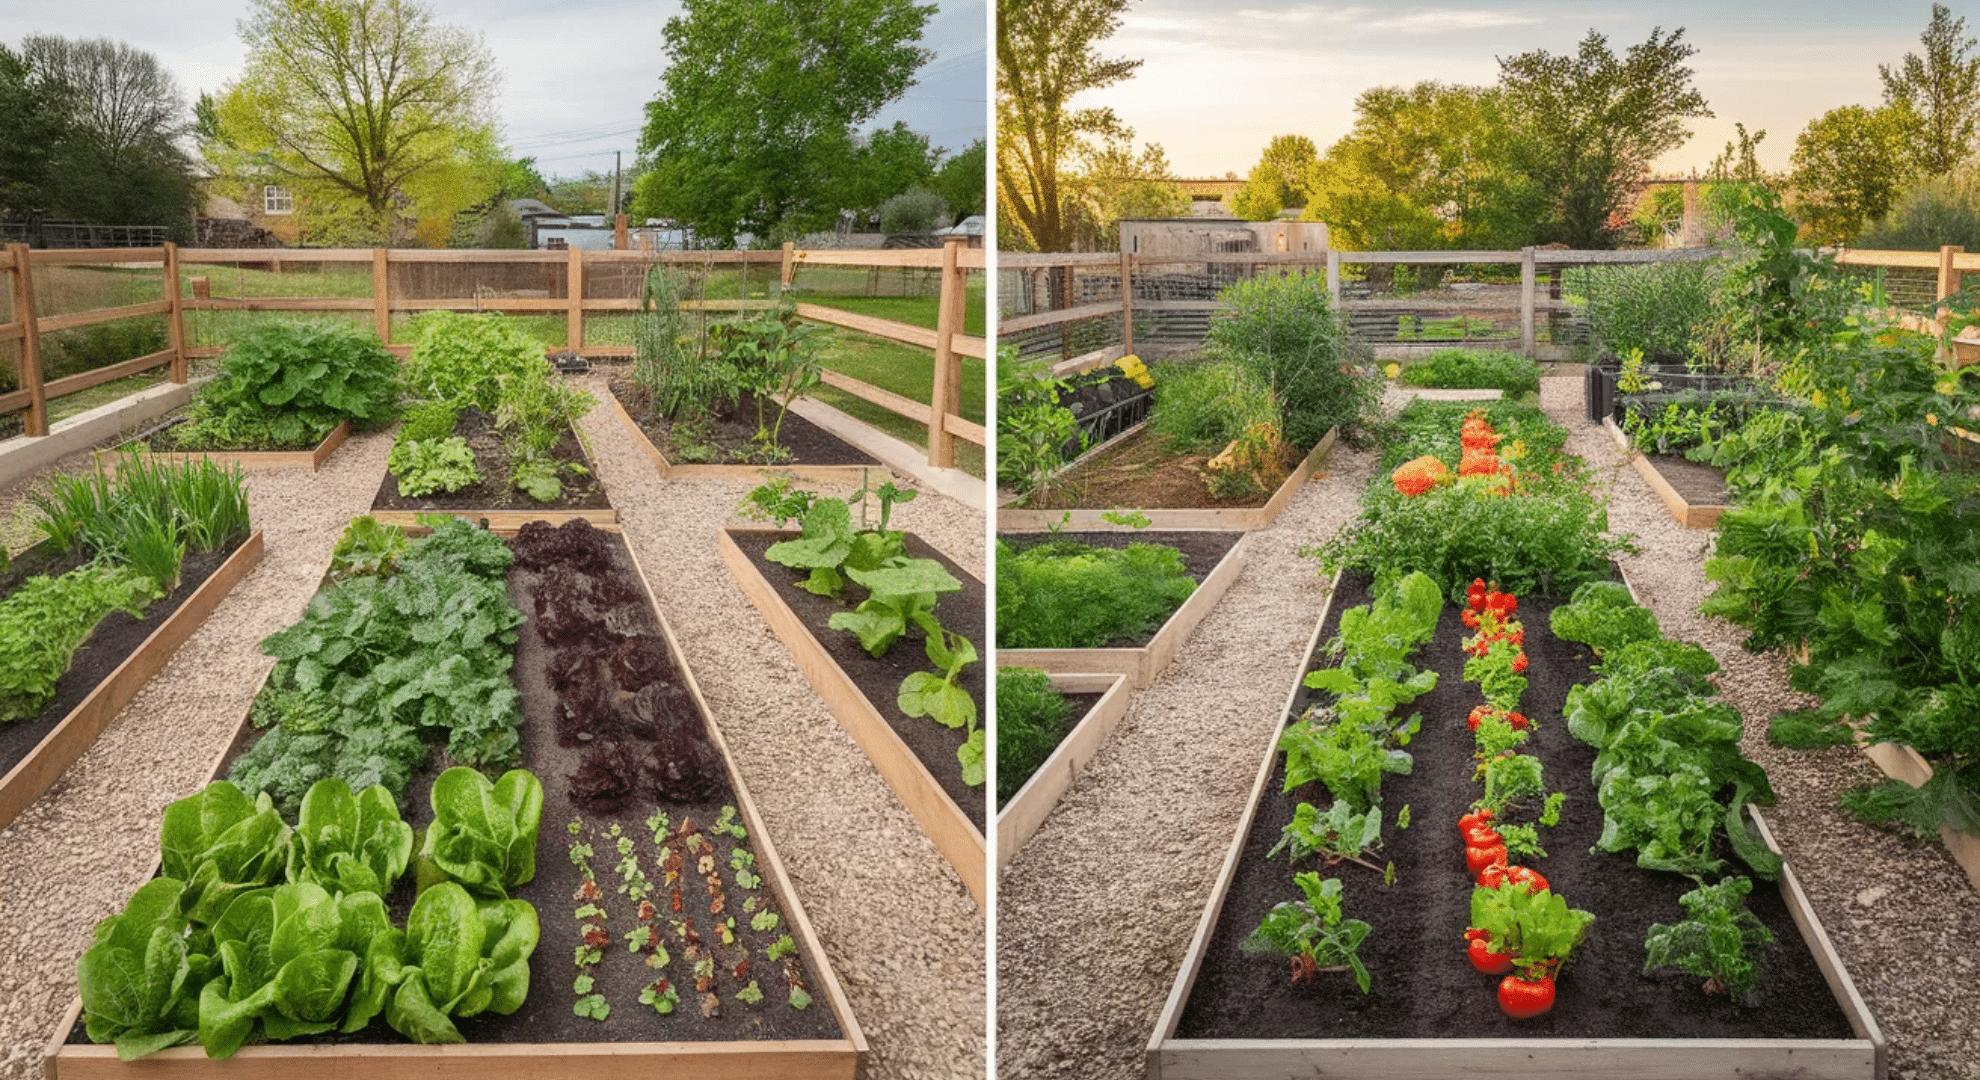
Row Vegetable Garden Layout
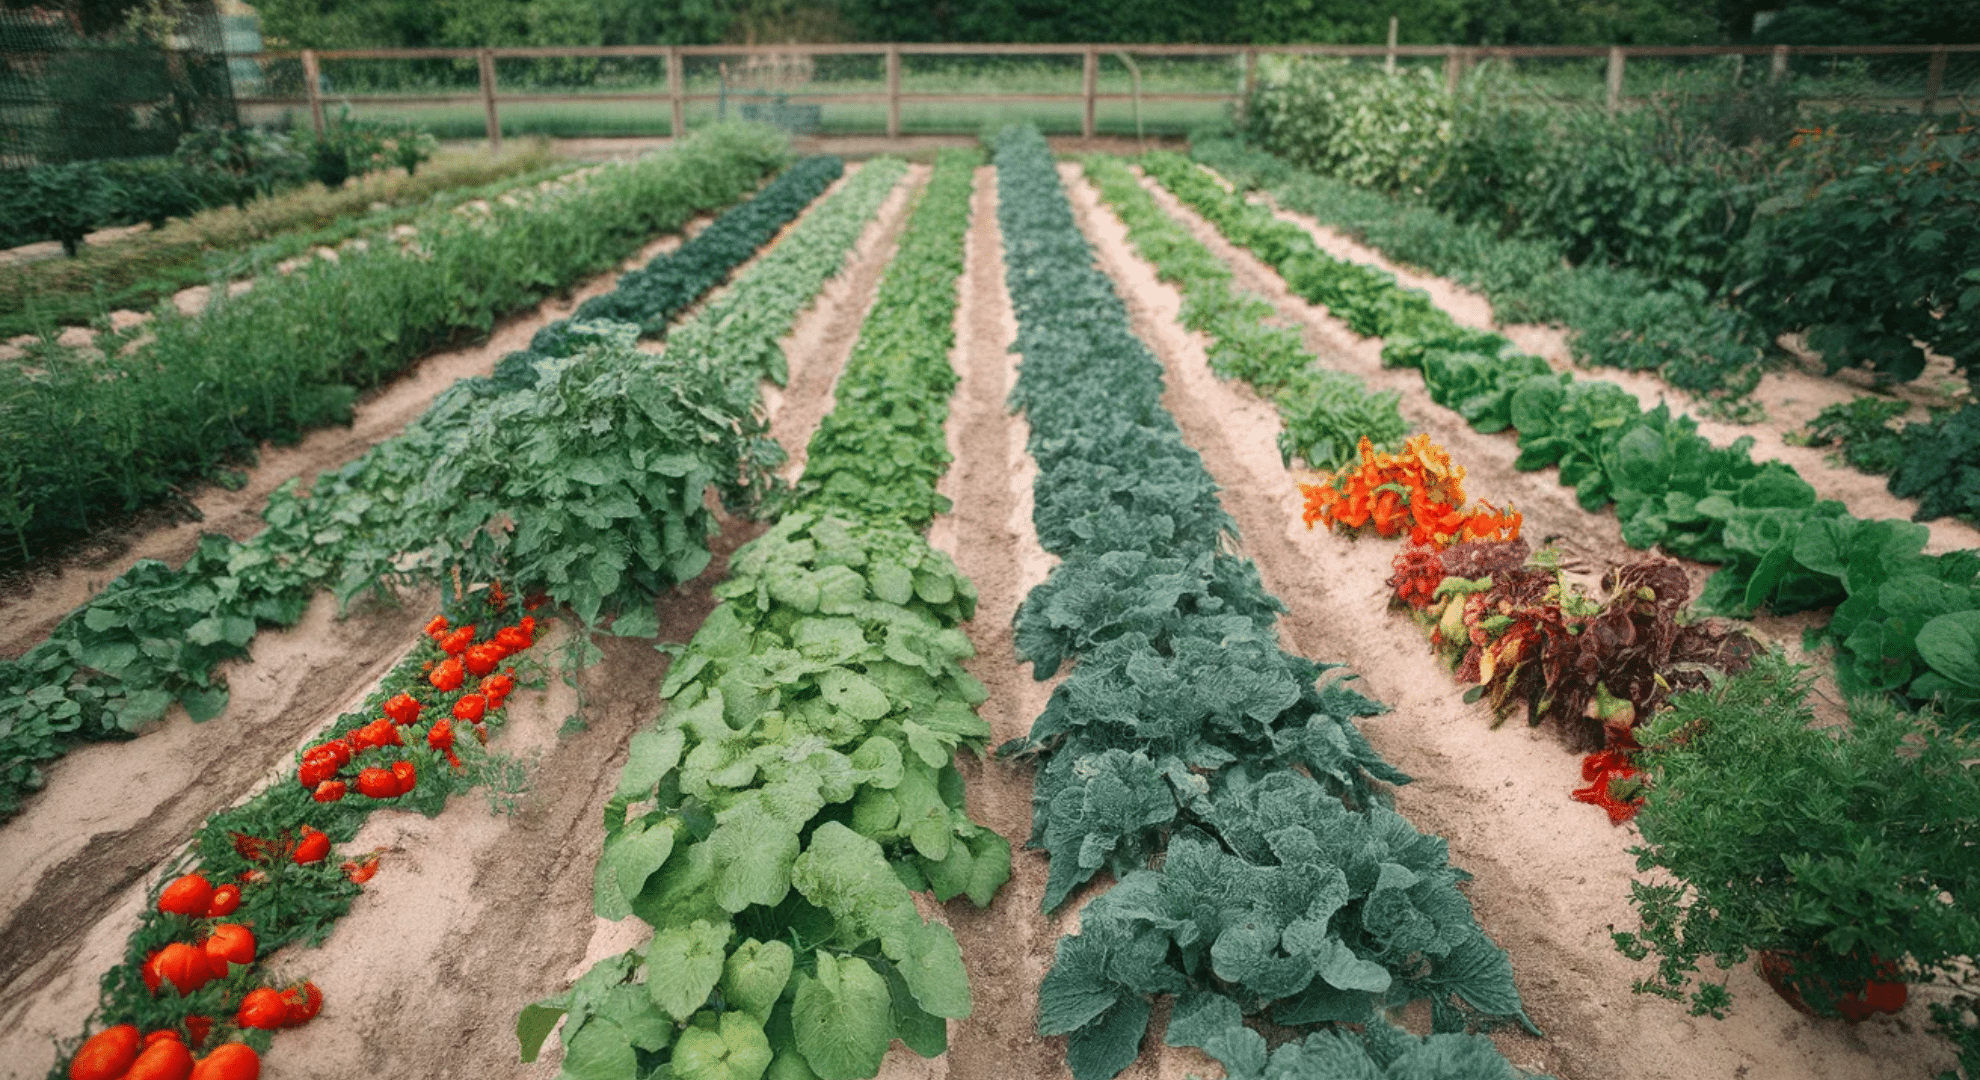
Traditional rows work beautifully if you’ve got room to spread out. I use this method in my bigger garden plot because it makes weeding and harvesting straightforward.
Space your rows about 2-3 feet apart so you can walk between them comfortably. Plant your vegetables in straight lines within each row. Taller plants like tomatoes and corn go on the north side so they don’t shade shorter crops.
The downside? Rows take up more space than other methods. Those walking paths between rows don’t produce anything, which feels wasteful in small yards. You’ll also need to weed more area.
But rows make crop rotation simple year after year. You can easily run a tiller between them if you prefer mechanical cultivation.
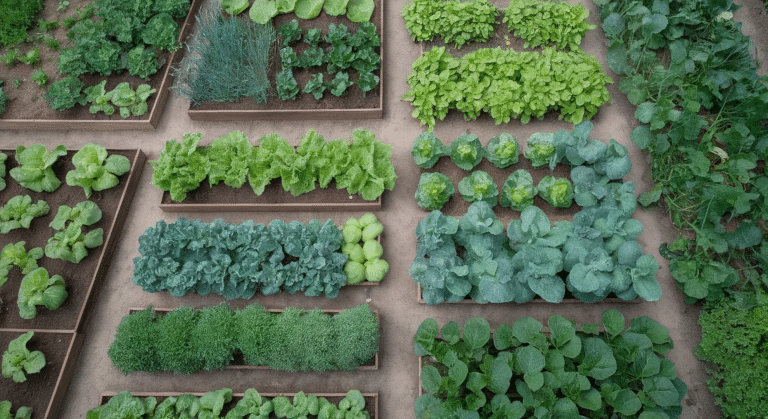
Square Foot Gardening
This method changed everything for my tiny side yard. You divide raised beds into one-foot squares and plant different amounts in each square based on plant size.
Build a 4×4 foot bed and mark it into sixteen squares using string or wood strips. Large plants like peppers get one per square. Medium plants like lettuce get four per square. Small plants like radishes get sixteen per square.
I’ve grown more vegetables in a 4×4 bed than I used to get from a 10-foot row. Everything stays within arm’s reach, so you never step on your soil and compact it.
The catch is you’ll need to add compost frequently since plants grow close together and use nutrients quickly. Water requirements go up too. But for balconies, patios, or small yards, nothing beats this system.
Vertical Gardening
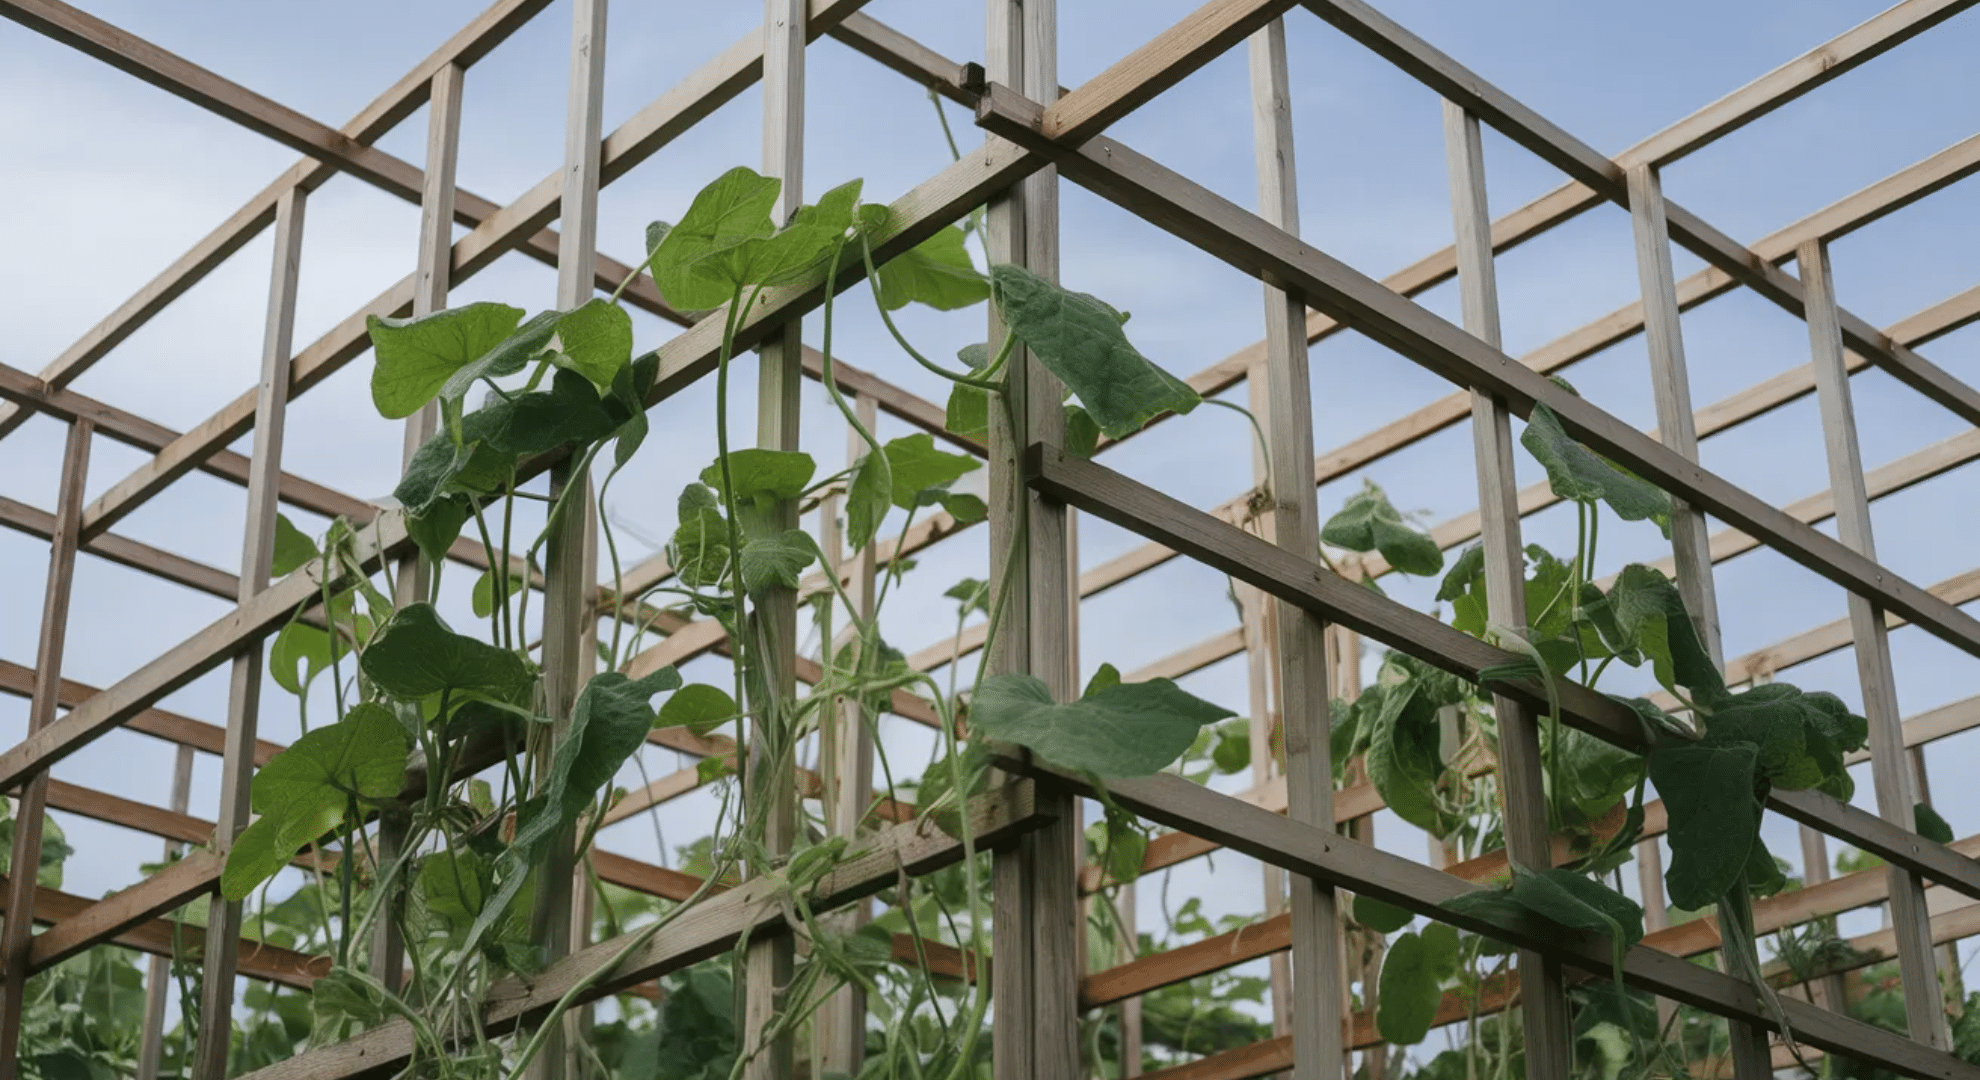
Growing up instead of out saves serious space. I started using trellises when I ran out of ground room, and now I prefer vertical growing for certain crops.
Cucumbers, pole beans, peas, and small squash varieties climb naturally. Install sturdy trellises, cattle panels, or A-frame structures before planting. As plants grow, guide them upward and let gravity work in your favor.
You’ll harvest cleaner vegetables since they’re off the ground. Air circulation improves, which means fewer disease problems. I can walk under my cucumber trellis and pick without bending over.
Set vertical structures on the north side of your garden so they don’t shade other plants. Space climbing plants 6-12 inches apart at the base, depending on variety. They’ll fill in as they grow upward.
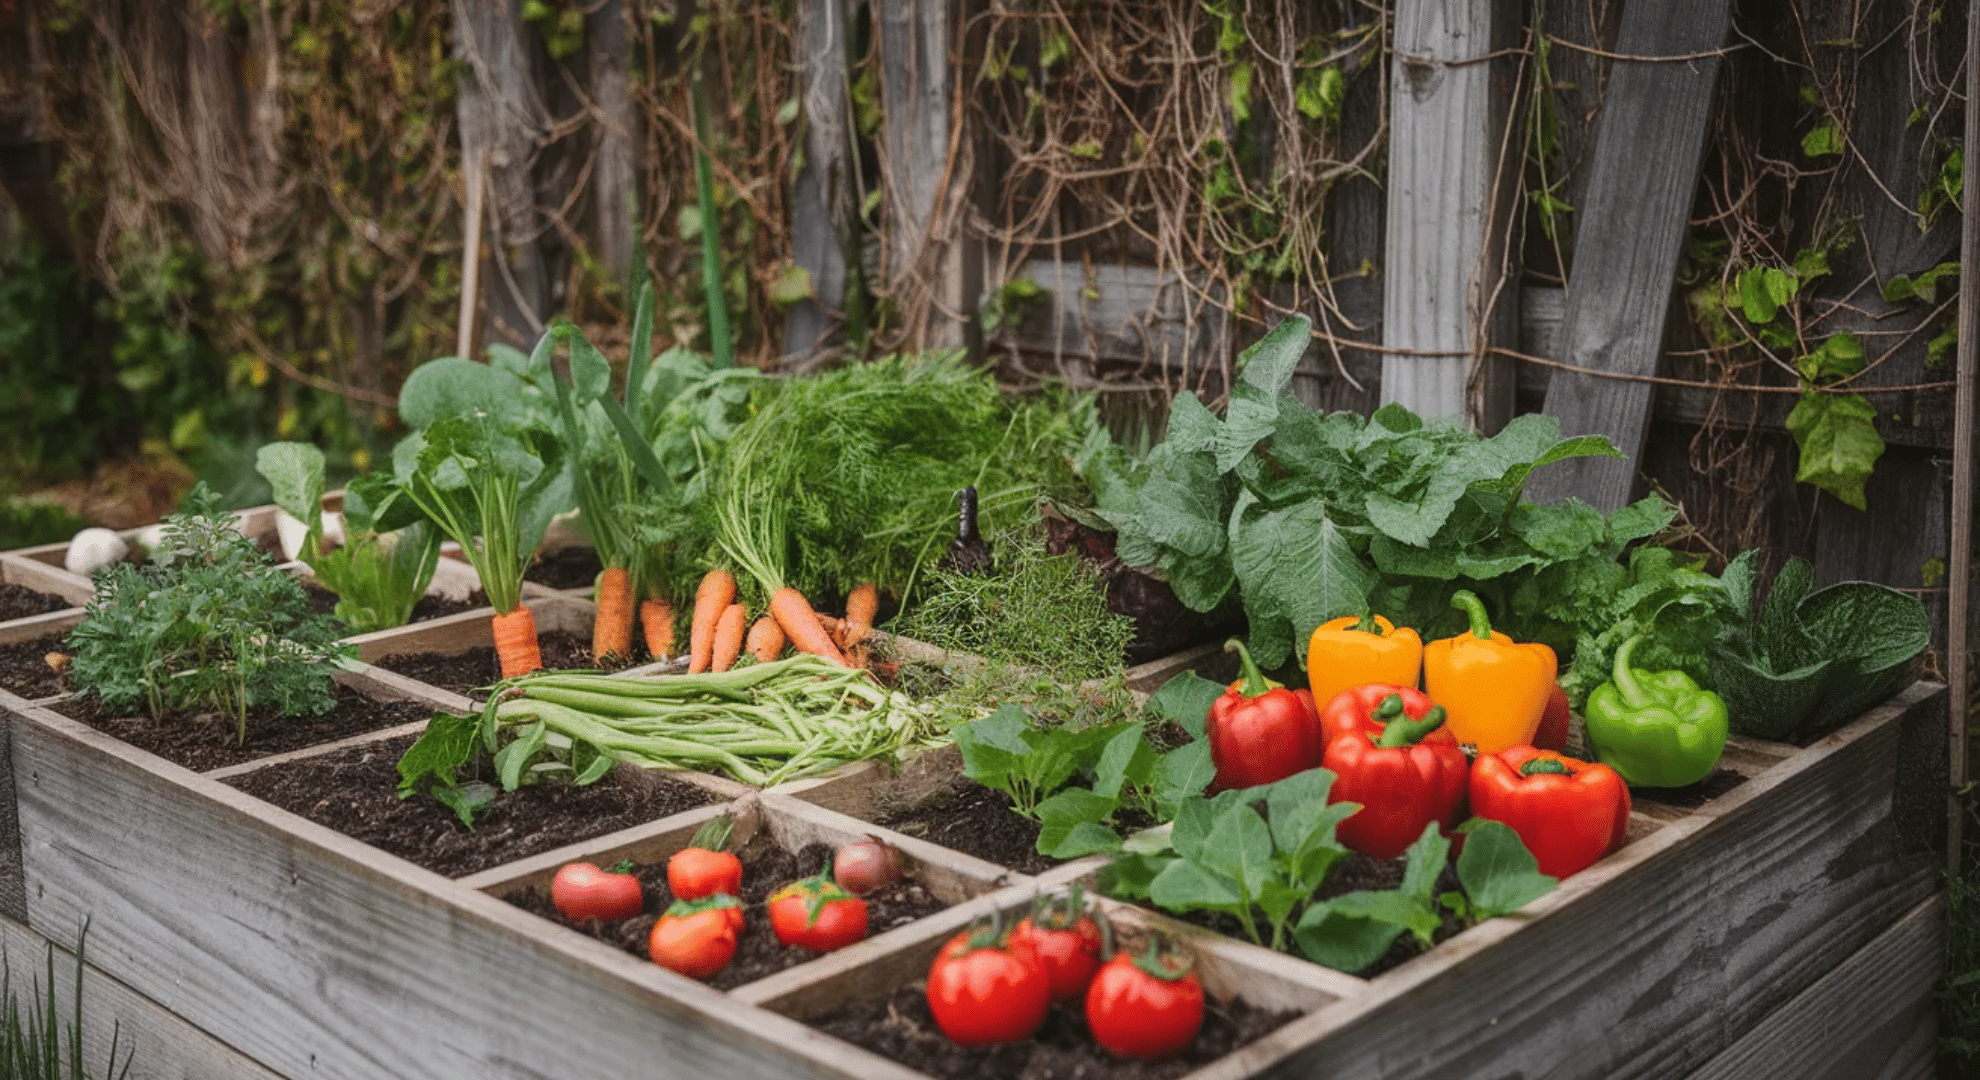
Raised Bed Gardening
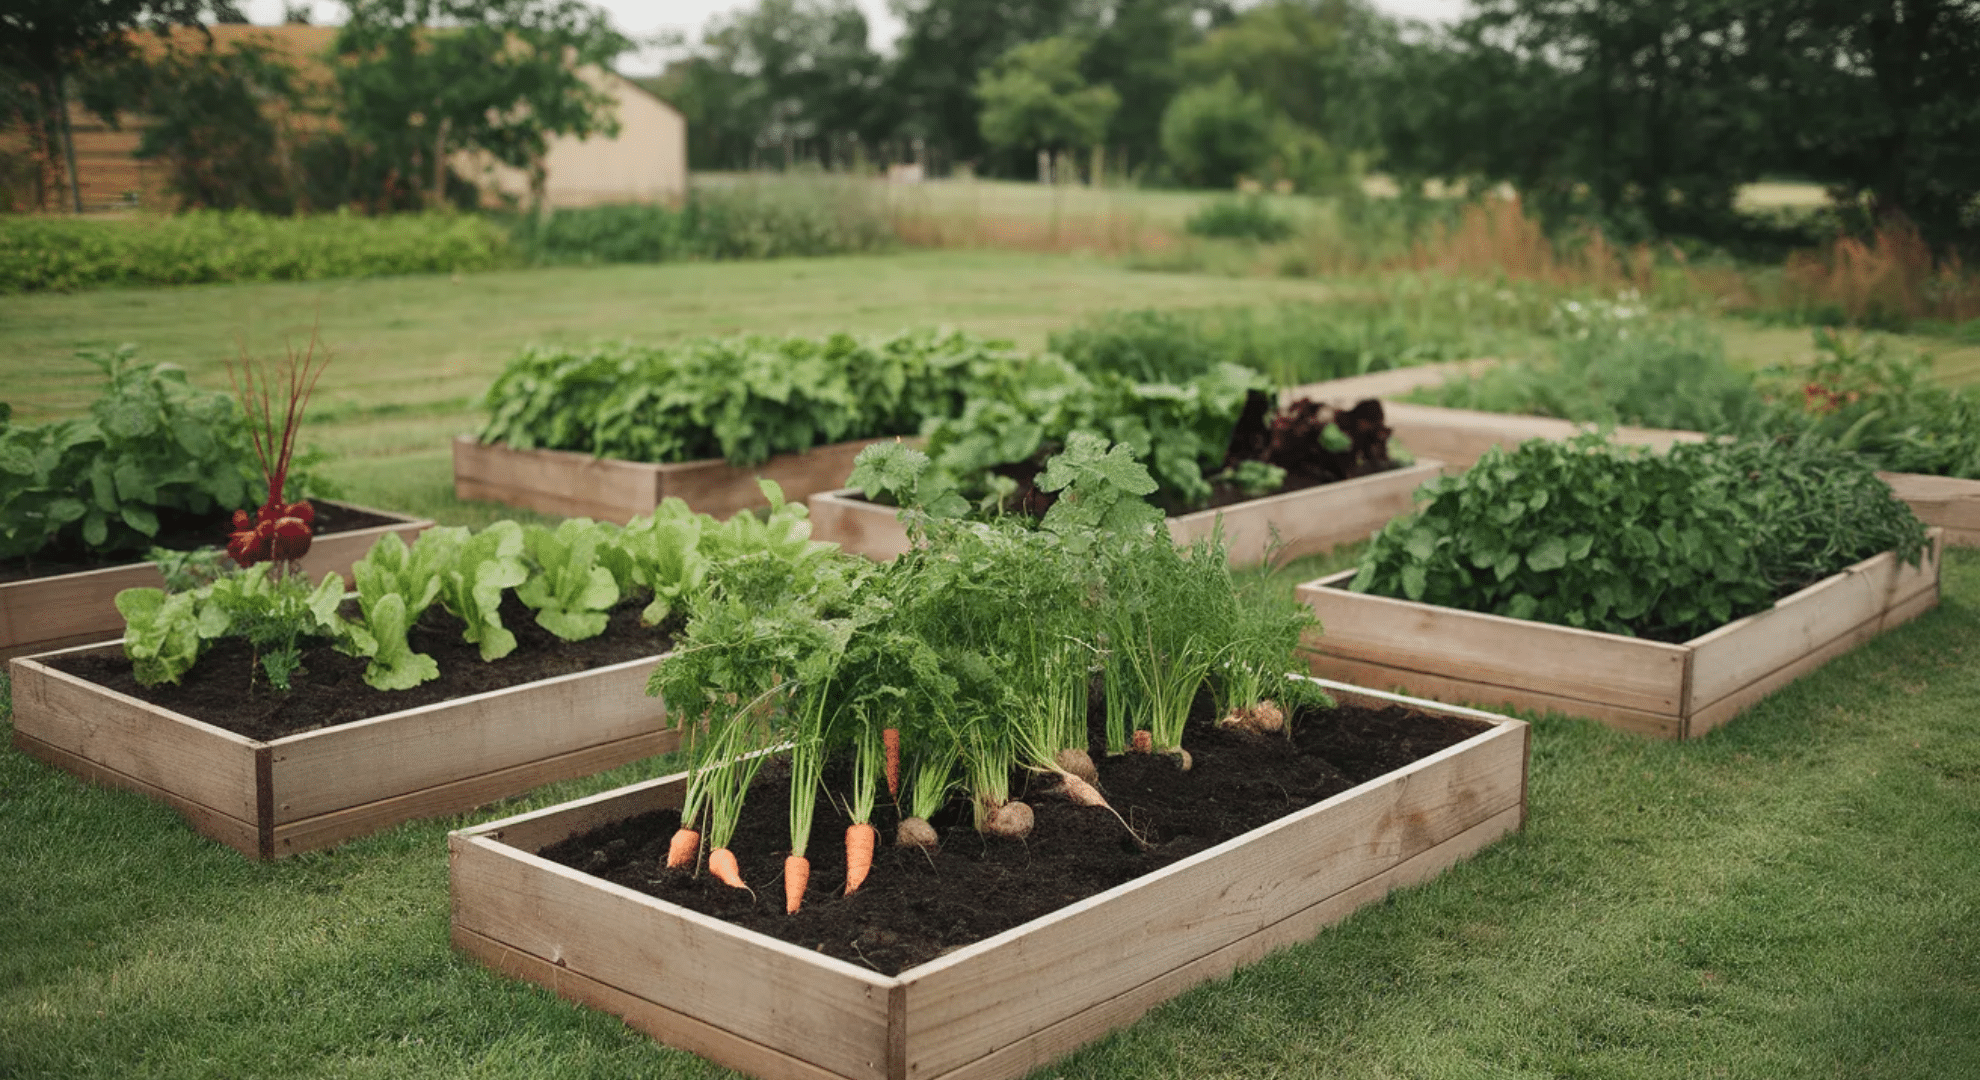
Raised beds give you complete control over your soil, which matters more than most people realize. I built mine when I got tired of fighting clay soil and poor drainage.
Make beds 4 feet wide maximum so you can reach the center from either side. Length doesn’t matter—go as long as your space allows. Height can range from 6 inches to 2 feet. Taller beds cost more but require less bending.
Use untreated wood, composite boards, or galvanized metal for sides. Fill beds with a mix of topsoil, compost, and other amendments. Your plants will grow faster in this loose, rich soil.
Space plants closer together than you would in ground-level gardens. The improved soil supports higher density. I fit 5 tomato plants in a 4×8 bed using 18-inch spacing. In my regular garden, I’d space them 24-36 inches apart.
Raised beds warm up earlier in spring and drain better after rain. You’ll start planting sooner and lose fewer plants to waterlogged roots.
Optimizing Plant Spacing for Maximum Yield
Getting spacing right means better airflow, healthier plants, and harvests that actually match what seed packets promise.
I’ve learned that crowding plants to fit more in doesn’t increase yield, it just creates problems.
| Vegetable | Spacing Between Plants | Spacing Between Rows | Notes |
|---|---|---|---|
| Tomatoes | 24-36 inches | 3-4 feet | Determinate varieties need less space |
| Peppers | 18-24 inches | 24-30 inches | Closer spacing in raised beds works fine |
| Cucumbers | 12 inches | 4-5 feet | Use 6 inches if growing vertically |
| Lettuce | 6-8 inches | 12 inches | Harvest outer leaves for continuous growth |
| Carrots | 2-3 inches | 12-18 inches | Thin seedlings early for straight roots |
| Beans (bush) | 4-6 inches | 18-24 inches | Plant in blocks for better pollination |
| Beans (pole) | 6-8 inches | 30-36 inches | Requires trellis or support structure |
| Squash | 24-36 inches | 4-6 feet | Needs room to sprawl unless trellised |
| Zucchini | 24-30 inches | 3-4 feet | One plant produces plenty for most families |
| Broccoli | 18-24 inches | 24-36 inches | Side shoots develop after main head harvest |
| Cabbage | 15-18 inches | 24-30 inches | Tight spacing produces smaller heads |
| Onions | 4-6 inches | 12-18 inches | Closer spacing for green onions |
| Radishes | 2 inches | 6-12 inches | Fast growers, good for succession planting |
| Spinach | 3-4 inches | 12 inches | Tolerates closer spacing in cool weather |
| Peas | 2-3 inches | 18-24 inches | Plant densely for mutual support |
These measurements give your plants enough room to develop properly without wasting space.
You can adjust slightly based on your soil quality and whether you’re using raised beds or traditional rows.
Advanced Garden Layout Techniques for Efficiency and Beauty
Once you’ve mastered basic spacing, these techniques take your garden from functional to impressive. I started using these methods when I realized my garden could feed me and look good at the same time.
The 70/30 Rule
Use 70% of your space for reliable, structural plants you know will produce. The remaining 30% goes to experimental or decorative crops. I fill most of my beds with tomatoes, peppers, and beans because they’re dependable. That leftover 30% is where I try unusual varieties or pretty edibles like rainbow chard.
This balance keeps you from gambling your whole harvest on untested crops. You’ll still eat well even if your experiments flop.
The Rule of Three in Garden Design
Plant in groups of three, five, or other odd numbers instead of even rows. Three pepper plants clustered together look more natural than two sitting side by side. Five lettuce heads arranged in a small group create visual interest.
I’ve noticed grouped plants also support each other better. They create microclimates that hold moisture and block wind. Your garden looks intentional rather than randomly scattered.
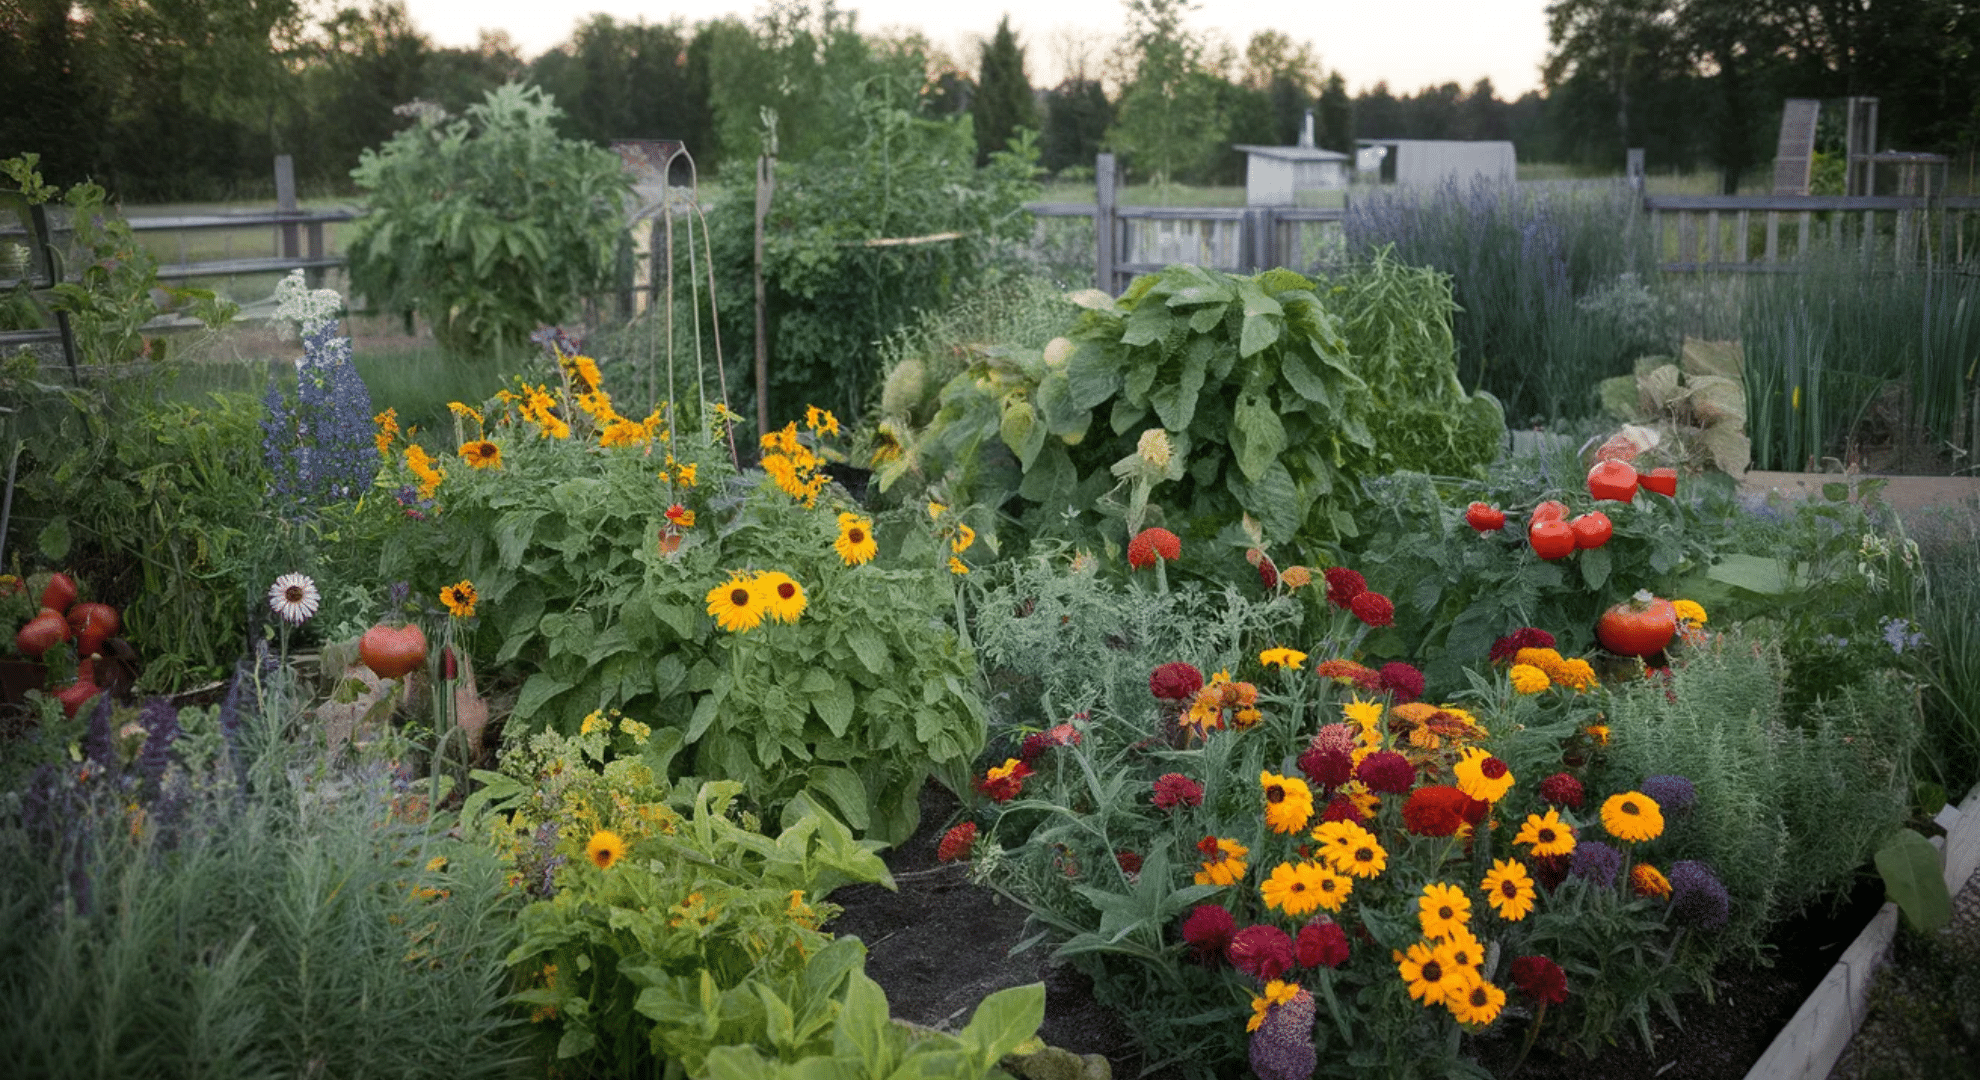
Companion Planting
Some plants genuinely help each other grow. Basil near tomatoes improves flavor and repels pests. Marigolds throughout the garden deter aphids and beetles. Beans fix nitrogen in soil, benefiting heavy feeders planted nearby.
I plant carrots with onions because onion smell confuses carrot flies. Cucumbers grow well near beans and peas. Avoid planting tomatoes near brassicas or potatoes near cucumbers, they compete for nutrients and attract similar pests.
Practical Tips for Layout Success
These simple practices have saved me from countless mistakes over the years. You’ll avoid the common pitfalls that turn garden planning into a frustrating guessing game.
- Start small and expand gradually. I began with one 4×8 bed and added more each season as I learned what worked. You’ll feel less overwhelmed and actually enjoy the process.
- Draw your layout on paper first. Sketch your beds and mark where each crop goes. This prevents impulse planting that leads to spacing disasters you can’t fix later.
- Leave pathways wide enough. Make walkways at least 18-24 inches across. You’ll need room for wheelbarrows, harvest baskets, and comfortable movement without trampling plants.
- Plan for succession planting. Don’t fill every square inch on day one. Leave space to plant quick crops like lettuce and radishes multiple times throughout the season.
- Consider mature plant size, not seedling size. That tiny tomato transplant becomes a 4-foot sprawling bush. I learned this the hard way when my cucumbers took over half the garden.
- Account for sunlight changes. Tall plants cast shadows as they grow. Place them where their shade won’t hurt sun-loving crops beside them.
- Keep a garden journal. Write down what you planted where, spacing you used, and what worked. You’ll make better decisions next year instead of repeating the same mistakes.
These habits take minutes to implement but make the difference between chaos and a garden that actually produces. You’ll thank yourself halfway through the season when everything’s thriving instead of competing for space.
Seasonal and Environmental Factors to Consider
Your layout needs to adapt to weather patterns and changing seasons. I used to plan the same way every year until I realized spring gardens need different spacing than summer ones.
Cool-season crops like lettuce and spinach can grow closer together in spring when temperatures stay mild. You’ll fit more in without crowding issues.
But summer heat requires wider spacing for airflow, crowded tomatoes and peppers get diseases fast.
Wind direction matters too. I place taller plants as windbreaks for delicate crops behind them. In hot climates, afternoon shade from strategic placement helps sensitive plants survive.
Consider your frost dates when planning layout timing. You don’t want empty space waiting for warm-weather crops while cool-season plants could be growing there. Stagger your plantings based on when each vegetable can actually go outside.
Interactive Tools and Resources for Planning Your Garden
Digital tools make layout planning easier than sketching on graph paper. I still draw rough ideas by hand, but these resources help me visualize spacing and calculate exactly what fits.
GrowVeg Garden Planner lets you drag and drop vegetables into beds. It automatically shows proper spacing and warns you about companion planting issues. You’ll see your whole season mapped out before you plant anything.
Smart Gardener creates customized planting schedules based on your location. It tells you exactly when to plant each crop and how much space you need.
The Old Farmer’s Almanac Garden Planner includes thousands of plant varieties with built-in spacing guides. I use this when trying new vegetables I’m unfamiliar with.
Seedtime Garden Planner offers free printable templates if you prefer paper planning. You can sketch layouts and keep them in a binder year after year.
Garden Plan Pro works great for square foot gardening specifically. It calculates how many plants fit in each square.
These tools save hours of math and prevent expensive spacing mistakes. You’ll start each season confident your layout actually works.
Conclusion
I’ve watched my gardens upgrade once I stopped guessing and started using proper vegetable garden layout plans and spacing.
The difference between cramped, struggling plants and a thriving harvest really comes down to giving each crop the room it needs. You’ve now got practical layouts for any space size, spacing guidelines that actually work, and techniques to make your garden both productive and attractive.
Don’t overthink it; start with one method that fits your situation and adjust as you learn what works best. Your first season might not be perfect, but you’ll grow more confident with each planting.
Ready to find more ways to boost your harvest? Check out other gardening blogs for tips on soil preparation, pest control, and seasonal planting schedules that keep your garden producing all year long!


2 Responses
This is amazing!! As a new(ish) gardener with a lot of ambition, your guide will be incredibly helpful. Thank you!
This was very helpful for me as a beginner! Thanks for posting!