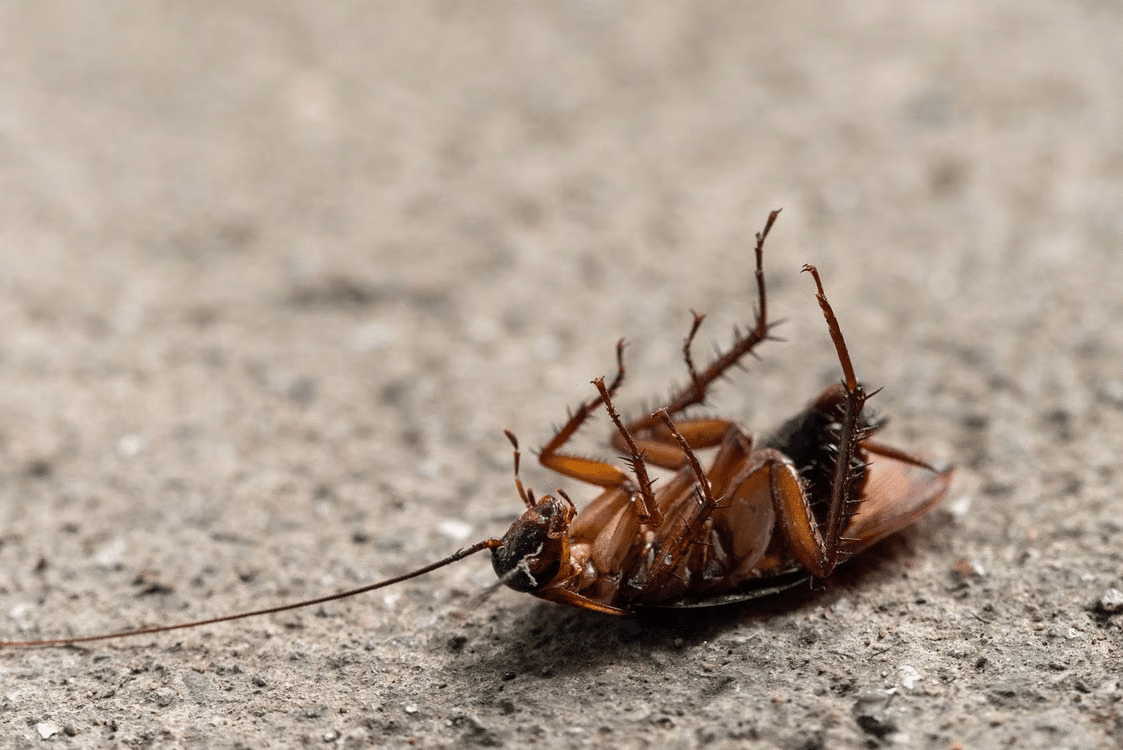
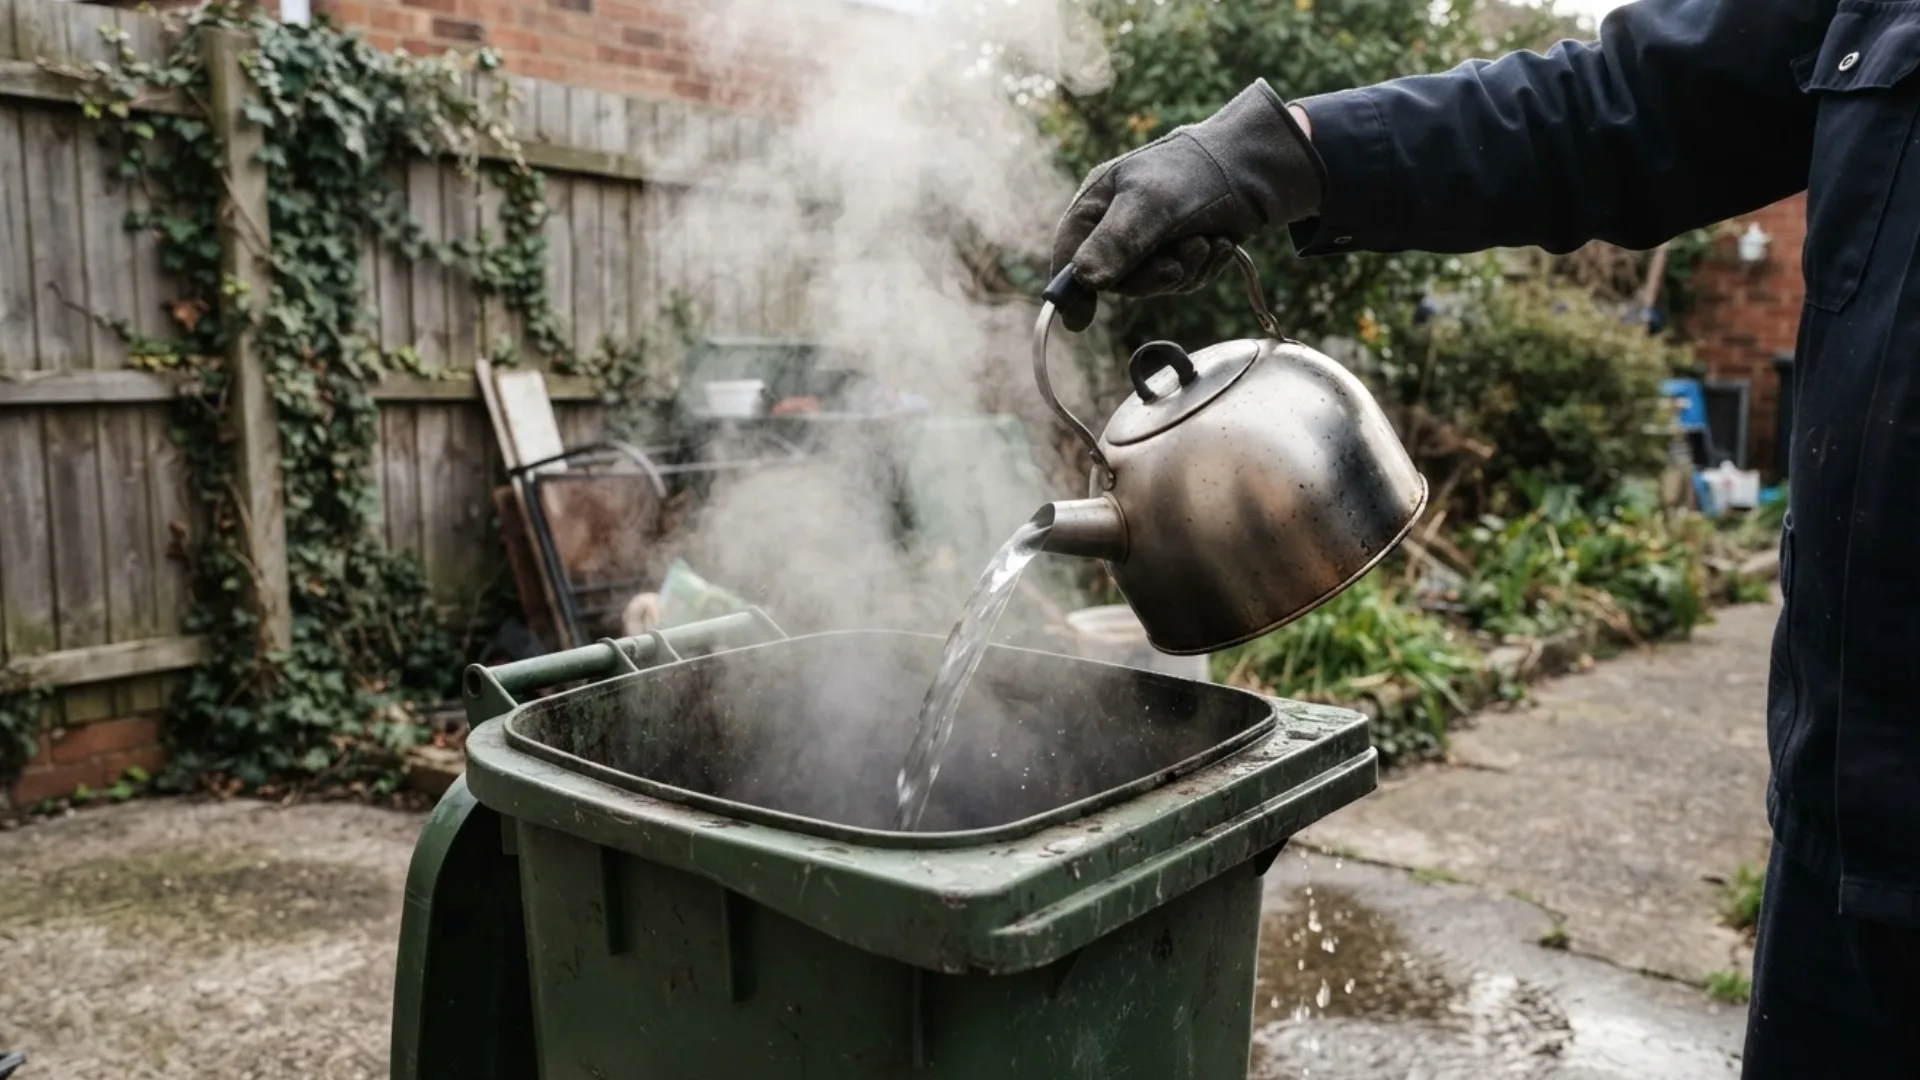
Spider mites are one of those pests that seem to appear out of nowhere and multiply before you even notice.
By the time you spot yellow stippling on the leaves, a dusty bronze tint, or fine webbing tucked into the corners, the infestation is already a few steps ahead of you.
That is the frustrating part!
A single spray rarely finishes the job, since these mites cycle through eggs, nymphs, and adults faster than most contact treatments can keep up.
Whether the problem is on a windowsill houseplant or spreading through the garden, the fix is not a random pile of remedies.
It is always a plan, done in order, that actually breaks the cycle.
Recognizing Spider Mites Before They Take Over
Spider mites are arachnids, not insects, closely related to spiders and ticks. They feed by piercing plant cells and drawing out the contents, leaving behind damaged, discolored tissue.
Two-spotted spider mites are among the most common culprits behind both houseplant and garden trouble. Under warm conditions, populations can explode fast.
UC IPM notes that at 75°F, mites can develop from egg to adult in roughly two weeks. They are small enough to need a hand lens, and color shifts by species and stage, so spotting “tiny bugs” does not confirm what they are.
Check under leaves, along veins, in leaf axils, and for fine webbing.
Why Spider Mites Keep Surviving Treatment?
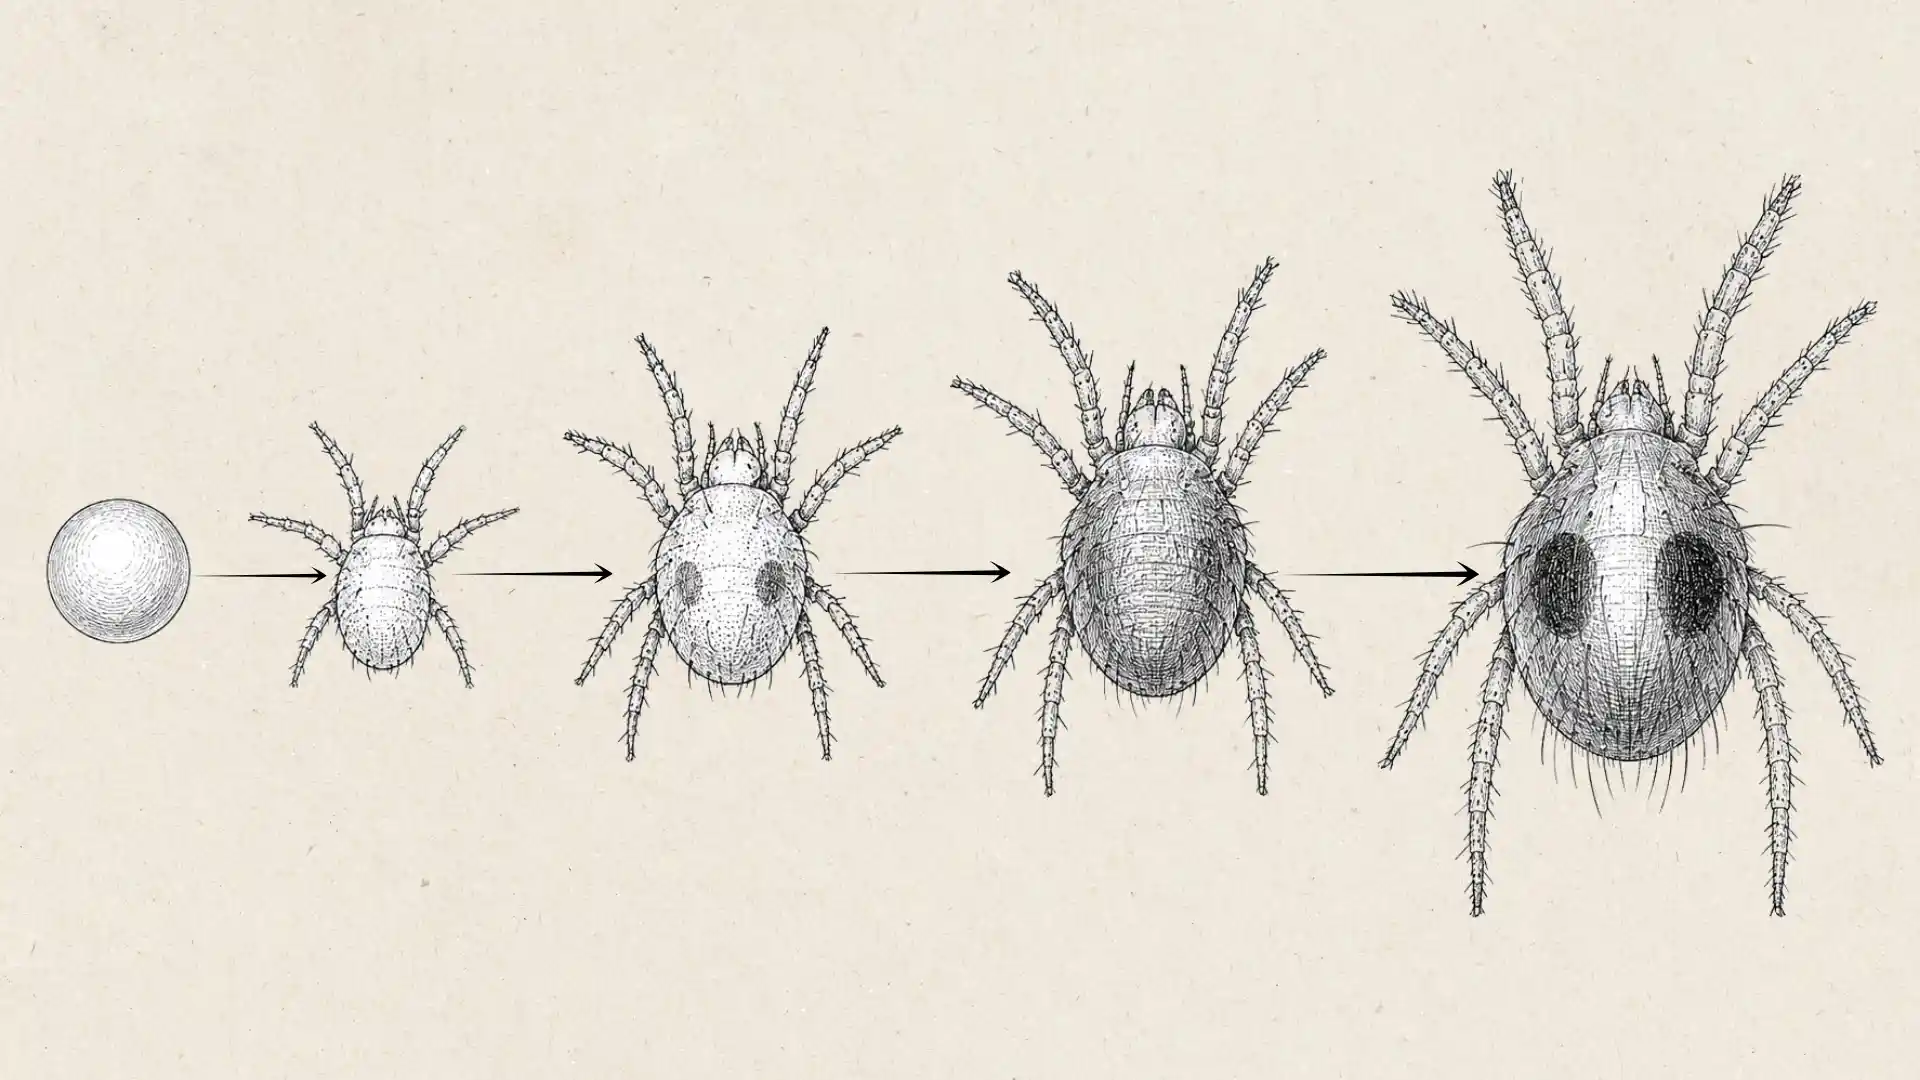
Control depends on knowing the stages, since a treatment can wipe out visible mites while eggs or hidden mites keep the infestation alive.
- Egg: Tiny, laid near leaf undersides, often missed by a single spray.
- Larva: Hatches with three pairs of legs and starts feeding right away.
- Nymph: Gains a fourth pair of legs, feeding damage builds as it develops.
- Adult: Feeds, reproduces, and under warm, dry conditions multiplies fast.
Multiple stages often live on one plant at once, so incomplete coverage lets the cycle restart. Repeat treatment paired with monitoring breaks it; one spray rarely does.
The real key to getting rid of spider mites is not killing what you see today. It is interrupting the life cycle with thorough coverage, repeat applications per the label, and steady monitoring.
Telling Spider Mites Apart From Other Plant Problems
Most spider mite infestations show themselves through a handful of visible clues, even before you spot the mites themselves.
Watch for
- Fine yellow or pale stippling across the leaf surface
- Dull, faded, or bronzed foliage
- Fine silk webbing near stems or leaf junctions
- Curling or drying leaves
- Premature leaf drop
- Tiny moving specks beneath the leaves
Webbing is not required to confirm an infestation. Early stages often show up as stippling well before webbing appears.
| Symptom | Likely Cause | Where It Typically Appears |
|---|---|---|
| Fine stippling with tiny moving specks | Spider mites | Undersides of leaves, along veins |
| Fine webbing with stippling | Spider mites | Leaf axils, stems, growing tips |
| Sticky leaves or honeydew | Aphids, scale, or mealybugs | Leaf surfaces, stems |
| Cottony clusters on stems or leaves | Mealybugs | Leaf joints, stem crevices |
| Distorted new growth without stippling | Other mites or pests | New shoots, growing tips |
| General yellowing with no pests visible | Watering, nutrition, or root issue | Older or lower leaves first |
Try This: The White Paper Test
Hold a sheet of white paper beneath a suspect leaf or branch, then tap the foliage firmly. Tiny specks that fall and start moving across the paper are a strong sign of spider mites.
Reading the table side by side makes the pattern clear fast.
Cottony clusters point to mealybugs, a similar cottony-clustered pest that is often mistaken for spider mites at first glance, while fine stippling with moving specks almost always points back to mites themselves.
How to Get Rid of Spider Mites: 7 Steps
These steps work best when followed in order rather than picked at random. Each one builds on the last, so skipping ahead usually means the infestation just comes back.
Step 1: Isolate the Infested Plant
Move the plant away from other houseplants right away since spider mites travel easily between neighboring foliage. Check nearby plants too, even if they look fine, because an infestation rarely stays confined to one spot.
For outdoor plants, isolation is not practical, so inspect susceptible plants growing close by instead.
Extension guidance often recommends treating nearby susceptible houseplants together when mites have already started spreading, rather than waiting for visible damage to show up on each one.
Step 2: Remove the Worst-Affected Leaves
Before reaching for any product, cut down the sheer number of mites the plant is carrying:
- Prune heavily damaged or heavily infested foliage where it makes sense.
- Bag and discard the removed material instead of composting it.
- Avoid stripping healthy leaves the plant still needs.
- Treat pruning as a population reducer, not a standalone fix.
Removing the worst leaves lowers the mite count fast, but eggs and mites elsewhere on the plant will still need direct treatment.
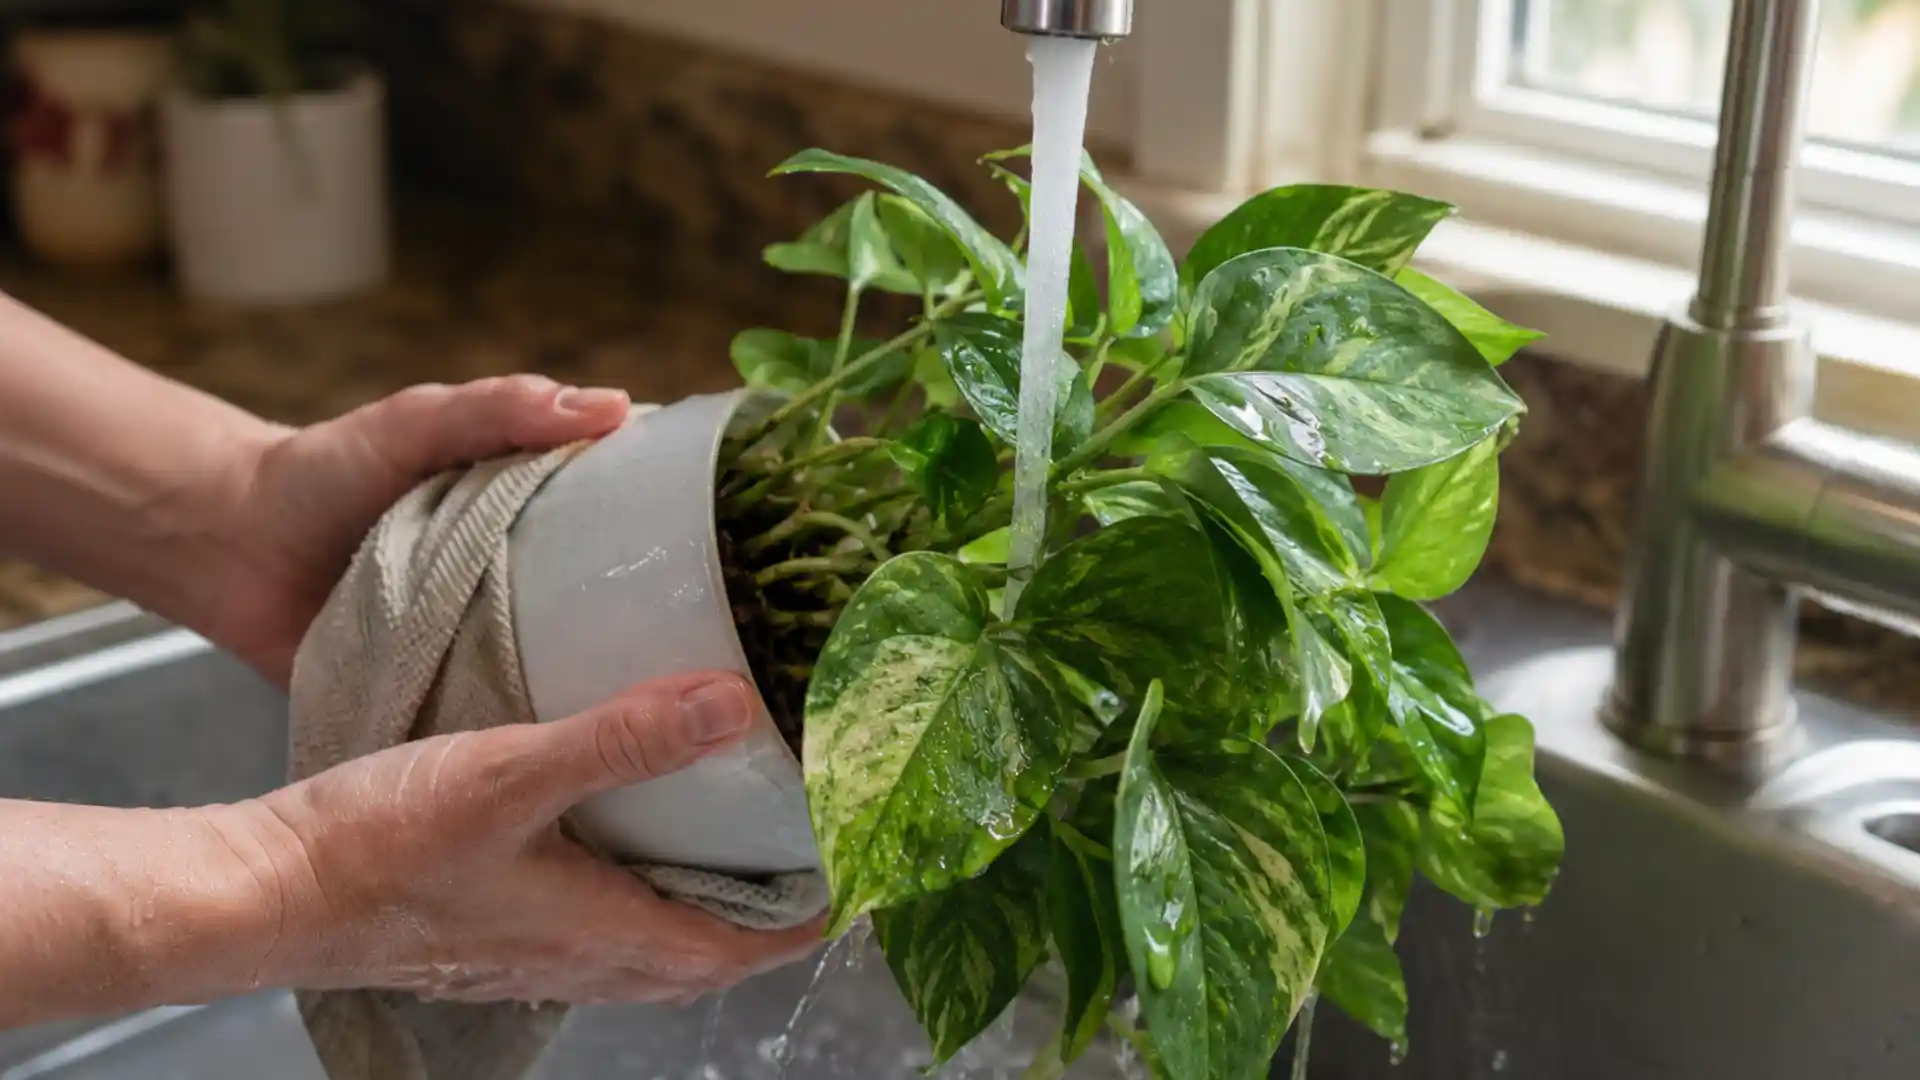
Step 3: Wash the Plant Thoroughly
Take manageable houseplants to a sink, shower, or outdoors and rinse them with a strong but plant-safe stream of water.
Focus on the undersides of leaves, stems, and leaf joints, since that is where mites and their webbing tend to collect.
Water works by physically dislodging mites rather than poisoning them, which makes it a useful first move even before reaching for a product.
Step 4: Apply an Appropriate Spider Mite Treatment
Once washing has knocked down the visible population, a targeted product handles what is left behind.
Insecticidal Soap
Works through direct contact, so it only kills mites it actually touches. Thorough coverage matters more than the product itself, especially on the undersides of leaves where mites hide.
A single pass rarely gets everything, so repeat applications are often necessary.
Horticultural Oil
Kills mites on contact by coating and suffocating them, which means complete coverage is just as critical here.
Always follow the product label for the correct dilution and plant compatibility, and test it on a small section of foliage before treating the whole plant.
Neem Oil
One possible botanical option among several, not a guaranteed fix. Neem products vary widely in formulation and strength, so following the specific label matters more than the “natural” label on the bottle.
Being plant-derived does not automatically make it gentler or safer for every plant.
UC IPM lists horticultural oils and plant-based oils, including neem, among viable treatments, while stressing full coverage, patch testing for plant injury, and repeat applications.
Step 5: Repeat Treatment on a Schedule
A single spray often looks like it worked, then the mites reappear within a week or two. Contact treatments only kill what they physically reach, so eggs and hidden individuals frequently survive the first round.
Reinspect the plant often, and follow the product label’s exact reapplication interval rather than guessing.
Keep monitoring even after the plant looks clean, since new mites can hatch days after treatment. This is usually the step that explains why gardeners report the same infestation returning again and again.
Step 6: Treat the Surrounding Plants and Growing Area
An infestation rarely stays limited to the plant where it started, so the space around it needs attention too:
- Inspect any plants that were sitting near the infested one
- Wipe down plant stands, shelves, and windowsills
- Clear away fallen leaves and other debris nearby
- Do not assume the problem stayed on the original plant
Mites move, and so does the webbing and debris they leave behind, so the growing area needs the same attention as the plant itself.
Step 7: Keep Monitoring Until No New Damage Appears
Check the undersides of leaves every few days while the infestation is still active, and watch for fresh stippling rather than relying on spotting the mites themselves.
Keep monitoring even after treatment stops, since damage can lag behind the actual mite activity.
Not seeing webbing anymore does not confirm the infestation is gone; it just means it is no longer obvious.
The Best Ways to Treat Spider Mites
Treating spider mites well means matching the method to how bad the infestation actually is, rather than reaching for the strongest option first.
- Physical Removal: Water spray, leaf wiping, and pruning work well for light infestations. They also pair easily with any other method on this list.
- Insecticidal Soap and Horticultural Oil: These remain the best-supported home-garden options, acting through direct contact. Coverage on every leaf surface matters more than just spraying the top of the plant.
- Biological Control: Predatory mites like Phytoseiulus persimilis work well in suitable indoor setups and gardens. They are not the right fit for every climate, and broad-spectrum pesticides should be avoided.
- Miticides for Severe Infestations: Unlike general insecticides, miticides are formulated specifically to target mites. Only use products labeled for spider mites and the plant in question, and rotate products to manage resistance.
For valuable trees or severe outdoor infestations that do not respond to home treatment, bringing in a qualified professional is worth the cost.
Most infestations respond well to the right combination from this list, applied consistently rather than as a one-time fix.
Do Home Remedies for Spider Mites Work?
Home remedies land somewhere between genuinely useful and quietly risky.
Water spray earns its place as a real physical control, while dish soap, rubbing alcohol, and humidity tricks get repeated online more often than they deserve.
Neem oil sits in between, useful but not a guaranteed fix. Knowing which is which saves both the plant and the effort.
| Remedy | Does It Work? | Key Caution |
|---|---|---|
| Water Spray | Yes, effective for reducing populations and washing off webbing | Won’t reach mites hidden in leaf folds or heavy webbing on its own |
| Dish Soap | Not recommended in concentrated household form | Can strip the leaf’s protective coating and cause burn or injury |
| Rubbing Alcohol | Limited, localized use only | Can scorch leaf tissue, so test on one leaf before wider use |
| Neem Oil | Yes, as one botanical option | Needs repeat applications since it rarely kills eggs on contact |
| Increasing Humidity | Supportive, not curative | Slows mite activity but does not remove mites already on the plant |
What Not to Do When You Have Spider Mites?
A few common mistakes explain why spider mite infestations keep coming back even after treatment. Avoiding these matters as much as the treatment itself.
- Don’t treat once and stop, since surviving mites and eggs often reinfest the plant.
- Don’t spray only the tops of leaves, as mites hide and feed on the undersides.
- Don’t reach for any insecticide labeled “pest control,” since many are not effective against mites and can wipe out natural predators instead.
- Don’t apply oils or soaps during extreme heat or drought stress, and always check label precautions for sensitive plants.
- Don’t assume a healthy-looking plant is pest-free, since damage can lag behind actual mite activity.
Most reinfestations trace back to one of these habits rather than a treatment that truly failed. Getting these right is often what separates a resolved infestation from a recurring one.
How to Get Rid of Spider Mites on Outdoor Plants?

Outdoor infestations call for different priorities depending on what is growing. What works for a tomato plant is not always right for a mature tree.
Vegetables and Herbs
Edible crops need extra care since anything applied ends up close to what you’ll eventually eat.
This matters most for beginner-friendly crop picks like tomatoes and leafy greens, which tend to draw mites quickly in warm weather.
- Prioritize water management and physical removal before reaching for a product.
- Check pesticide labels carefully to confirm they are approved for edible crops.
- Observe pre-harvest intervals whenever the label specifies one.
Flowers and Ornamentals
Ornamentals give more room to experiment, but protecting natural predators still matters here.
- Wash foliage with a strong water spray wherever it is practical.
- Protect beneficial predators by avoiding unnecessary broad-spectrum sprays.
- Use labeled soaps or oils only when washing alone is not enough.
Trees and Shrubs
Larger plants bring their own challenges, starting with correctly identifying what’s actually causing the damage.
- Identify the specific spider mite species when possible, since behavior varies by type.
- Consider seasonal activity, as not all spider mites follow the same patterns.
- For large trees, skip improvised spraying and bring in a certified arborist when needed.
How Long Does It Take to Get Rid of Spider Mites?
Light infestations can come under control in about one to two weeks with consistent treatment and monitoring.
Severe infestations often take several weeks of repeated applications before the population is fully knocked down.
The exact timeline shifts based on the mite species involved, temperature, plant type, how far the infestation has spread, and which treatment method is used.
Warmer conditions speed up mite reproduction, which can stretch out recovery time even with regular treatment.
There is no realistic version of this where spider mites disappear in 24 hours, no matter what a product label promises.
How to Prevent Spider Mites From Coming Back?
Prevention comes down to a handful of habits, most of which take only a minute or two once they are part of your routine.
- Inspect new plants before bringing them home, checking leaf undersides and stems, and quarantine anything questionable.
- Check plants regularly as part of routine watering, paying closer attention during hot, dry stretches.
- Avoid drought stress by watering appropriately, without swinging to the other extreme of overwatering.
- Keep foliage clean by rinsing plants periodically to cut down on dust buildup.
- Protect beneficial predators outdoors by skipping broad-spectrum insecticides that wipe out natural enemies along with the mites.
These habits work because they target the exact conditions spider mites thrive in: dust, dry stress, and unchecked new arrivals.
Staying consistent with this combination does more in the long term than any single treatment applied after the fact.
When Should You Throw Away a Plant With Spider Mites?
Not every infested plant is worth saving, and knowing when to let one go can protect the rest of the collection.
- The infestation is severe, with mites covering most of the plant despite treatment attempts.
- Leaf loss is extensive enough that the plant has little healthy foliage left to recover from.
- The same plant keeps getting reinfested even after consistent, correct treatment.
- The plant is low-value or easily replaceable, making the time and cost of treatment hard to justify.
- The plant has become a persistent source of mites, repeatedly infecting others nearby.
A valuable or sentimental plant with a manageable infestation is usually worth treating through, especially when caught early.
Discarding makes more sense when the numbers stop adding up, whether that is the plant’s condition, its cost, or the risk it poses to everything around it.
That’s a Wrap
Spider mites test patience more than skill. Once you understand their life cycle and stay consistent with treatment, the upper hand shifts back to you.
I have seen plants that looked completely written off pull through once the actual cycle got interrupted instead of just the visible mites.
Getting rid of spider mites is not about one perfect spray; it is about catching them early, treating thoroughly, and checking back often enough that they never get comfortable again.
Keep an eye on the ones you love most, and don’t hesitate to start over with the ones that don’t.
Have you dealt with a stubborn spider mite infestation? Share what finally worked for you in the comments.
Frequently Asked Questions (FAQs)
Can Spider Mites Survive Without a Host Plant?
Not for long. They rely on plant tissue for food and moisture, so away from a suitable plant, they typically die within a few days.
Do Spider Mites Bite Humans?
They do not feed on humans or pets, so bites are not a concern. Any skin irritation from handling infested plants is usually unrelated to the mites themselves.
What Kills Spider Mites Instantly?
Nothing works instantly across an entire population, since eggs and hidden mites often survive the first application. A thorough water spray followed by a labeled treatment gets closest to immediate results.
Can Spider Mites Spread to Other Houseplants Without Direct Contact?
Yes, they travel through air currents, on clothing, and via any surface a plant touches, so nearby plants are always at some risk.
Why Do Spider Mites Keep Coming Back After Treatment?
Usually because eggs or mites in hidden spots survived the first round, or because a nearby infested plant reinfected the treated one.