Marigolds are resilient plants that tolerate most beginner gardener mistakes, making them a great option.
Toss a few seeds in soil, add water, and let nature handle the rest.
Yet knowing how to plant marigold seeds correctly turns scattered luck into consistent, bushy blooms season after season. Timing matters, spacing matters, and so does picking the right spot before you even touch a trowel.
This blog walks through every stage, from soil prep to transplant day, without the fluff or guesswork.
Marigolds reward patience with color that refuses to quit, on a windowsill or in a garden bed.
Marigold Seed Starting at a Glance
Marigold seeds are among the simplest options for novice gardeners to cultivate.
Germination rates stay high across most varieties, making failure rare with basic care.
Mule marigolds, a hybrid cross, stand out for continuous blooming but produce no viable seeds. Seed size varies noticeably, with African types producing larger seeds than French or signet varieties.
Storage matters too, since seeds lose viability after roughly one year in typical conditions.
Dark, cool containers greatly prolong shelf life.
Beginners start small, testing one variety before expanding into multiple types in beds and containers.
Seed-Starting Calendar: When to Plant Marigold Seeds
Marigolds prefer warm weather, so wait until the danger of frost has passed before planting their seeds.
Soil temperature matters more than the calendar here; aim for at least 60°F before you plant.
Want an early start? Start seeds indoors six weeks before that final frost hits your area. Transplant once nights stay warm and consistent. In warmer zones, you can even sow a second round in late summer for fall color.
Adjust by one or two weeks depending on seasonal weather fluctuations in your area.
| Zone | Indoor Start | Outdoor Transplant | Direct Sow |
|---|---|---|---|
| Zone 3-4 | Late April | Early June | Early June |
| Zone 5-6 | Mid-April | Late May | Late May |
| Zone 7-8 | Late March | Mid-April | Mid-April |
| Zone 9-10 | Early March | Late March | Late March |
Marigold Growing Tips Gardeners Learn the Hard Way

Reddit gardeners claim that marigolds are almost foolproof if you stop overthinking.
Surface sowing works better than burying seeds deep, since buried seeds run out of energy before breaking through. Many toss seeds directly onto mulch or clay soil with zero prep, and get bushy, blooming plants anyway.
Snails pose a bigger threat to seedlings than soil quality does.
Fresh, self-collected seeds germinate faster than store-bought ones.
Pinching young plants encourages fuller, bushier growth. Bottom watering suits container-grown marigolds best.
Consensus favors starting indoors under grow lights, hardening off, then transplanting after frost.
Choose the Right Spot Before You Sow
Location is crucial for marigolds. Pick a spot that gets six to eight hours of direct sun daily.
Shade inhibits growth and quickly diminishes blooms.
Soil drainage is just as important as sunlight because standing water can rot roots in just a few days. Different types suit different spots too. Dwarf French varieties fit neatly along walkways or edges.
Taller African types need room to spread, so place them toward the back of beds.
Signet marigolds suit herb gardens or vegetable rows because their edible flowers complement kitchen crops.
Test your soil pH before planting. Marigolds prefer slightly acidic to neutral ground. For layout ideas, front-yard bed inspiration can help you decide where dwarf French types look best against taller neighbors.
What You Need to Plant Marigold Seeds
Gathering the right supplies upfront makes the whole process smoother from start to finish.
Fresh marigold seeds, a seed-starting mix or loose, well-draining growing medium, seed trays, small pots or a prepared garden bed, plant labels, and a bright growing location or grow light for indoor seedlings.
Ordinary garden soil rarely works well in small containers.
It packs down tightly, leaving little room for oxygen to reach developing roots.
Compacted soil also drains poorly, trapping moisture around seeds and inviting rot or fungal disease.
Garden soil often carries weed seeds, pests, and pathogens that thrive in contained, humid environments.
Decide Between Garden Beds, Containers, and Seed Trays
Your planting method determines the growth of marigolds and the effort needed.
- Garden beds: Best for larger displays and deep root development; require more space and weeding.
- Containers: Ideal for patios or small yards; need frequent watering since soil dries out faster.
- Seed trays: Ideal for indoor starts and controlled germination; easy to transplant once seedlings toughen.
How to Plant Marigold Seeds Step by Step
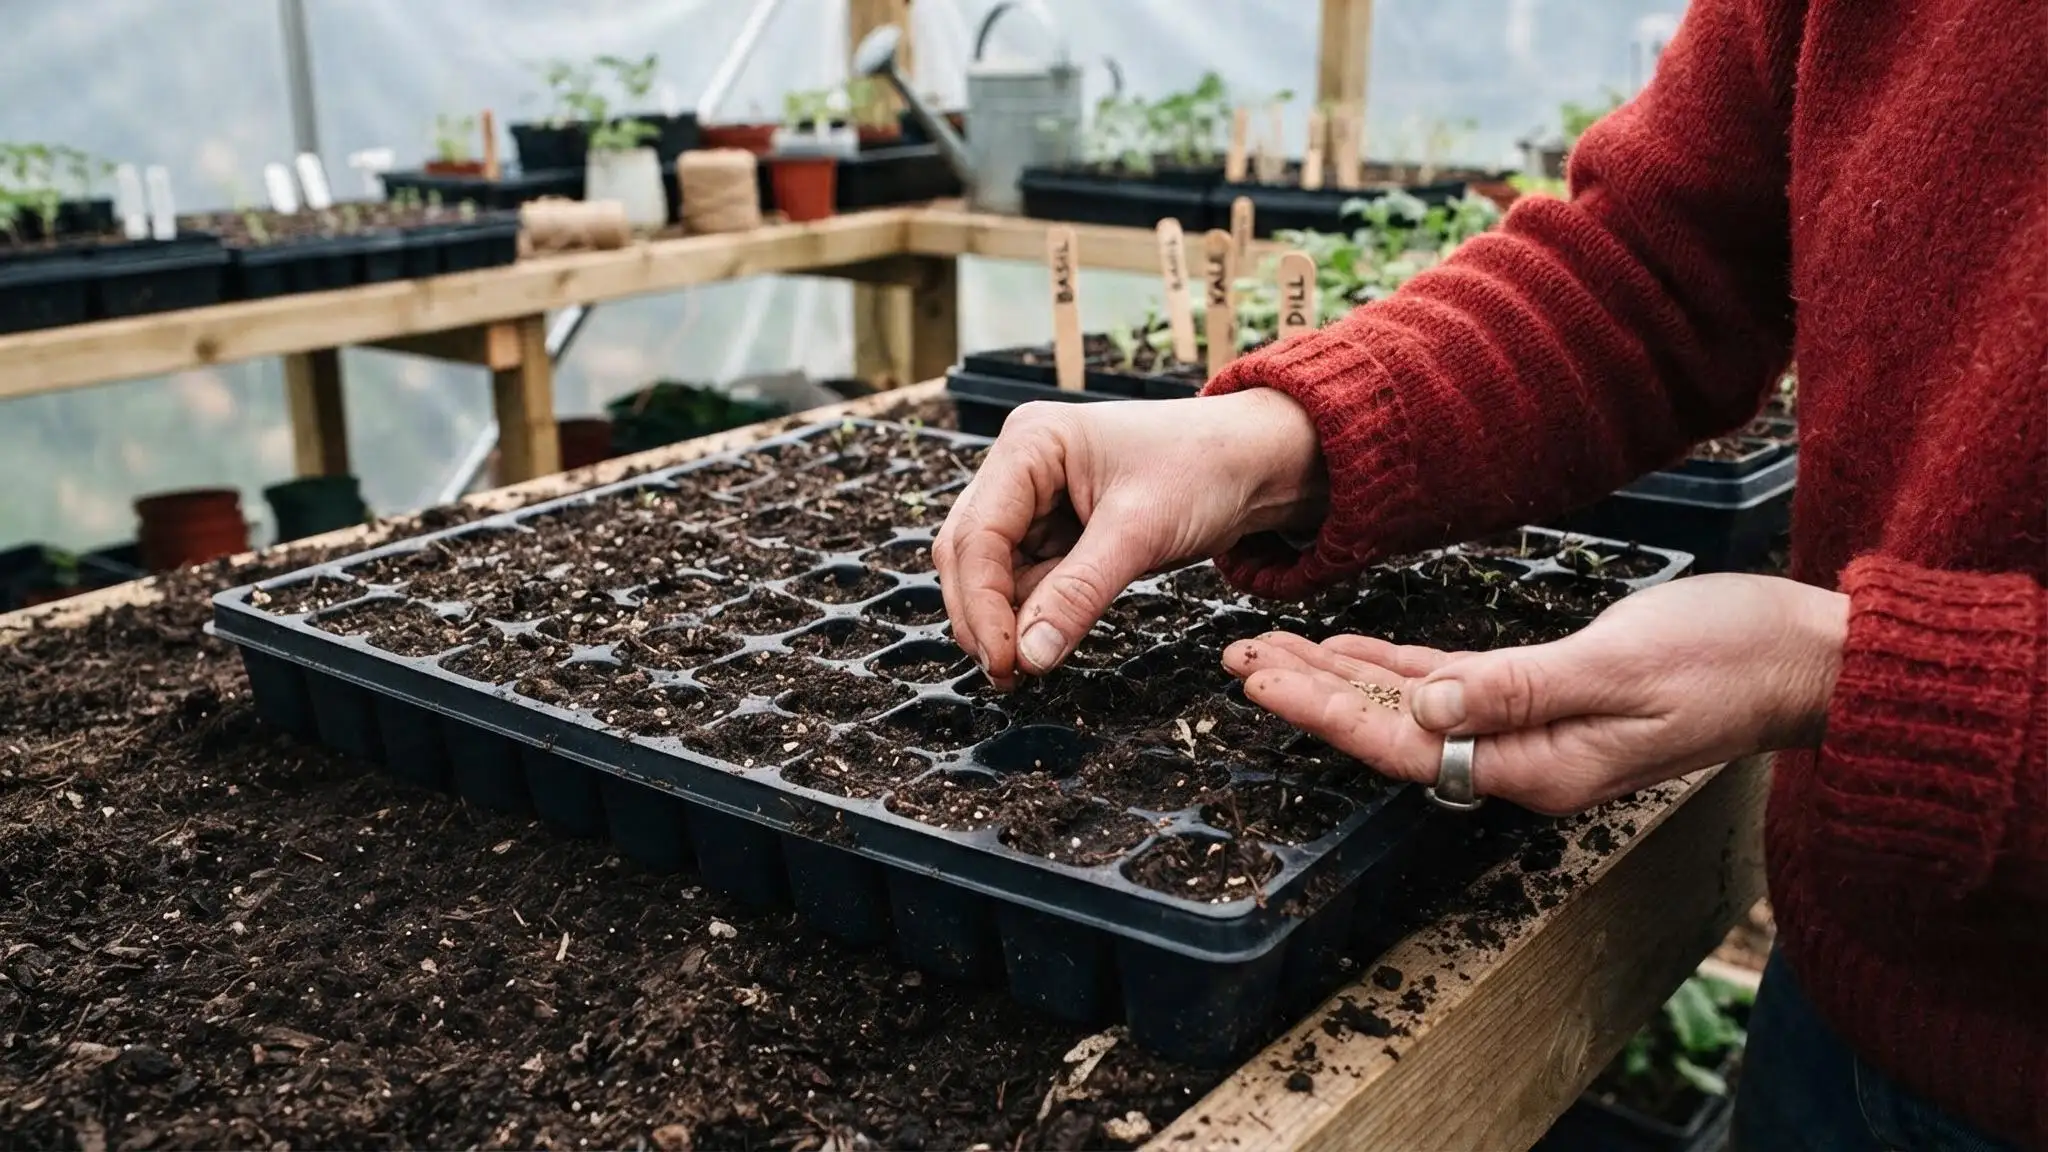
Follow these easy steps to ensure your marigolds grow healthy and thrive from the beginning.
Step 1: Loosen and Prep Your Soil
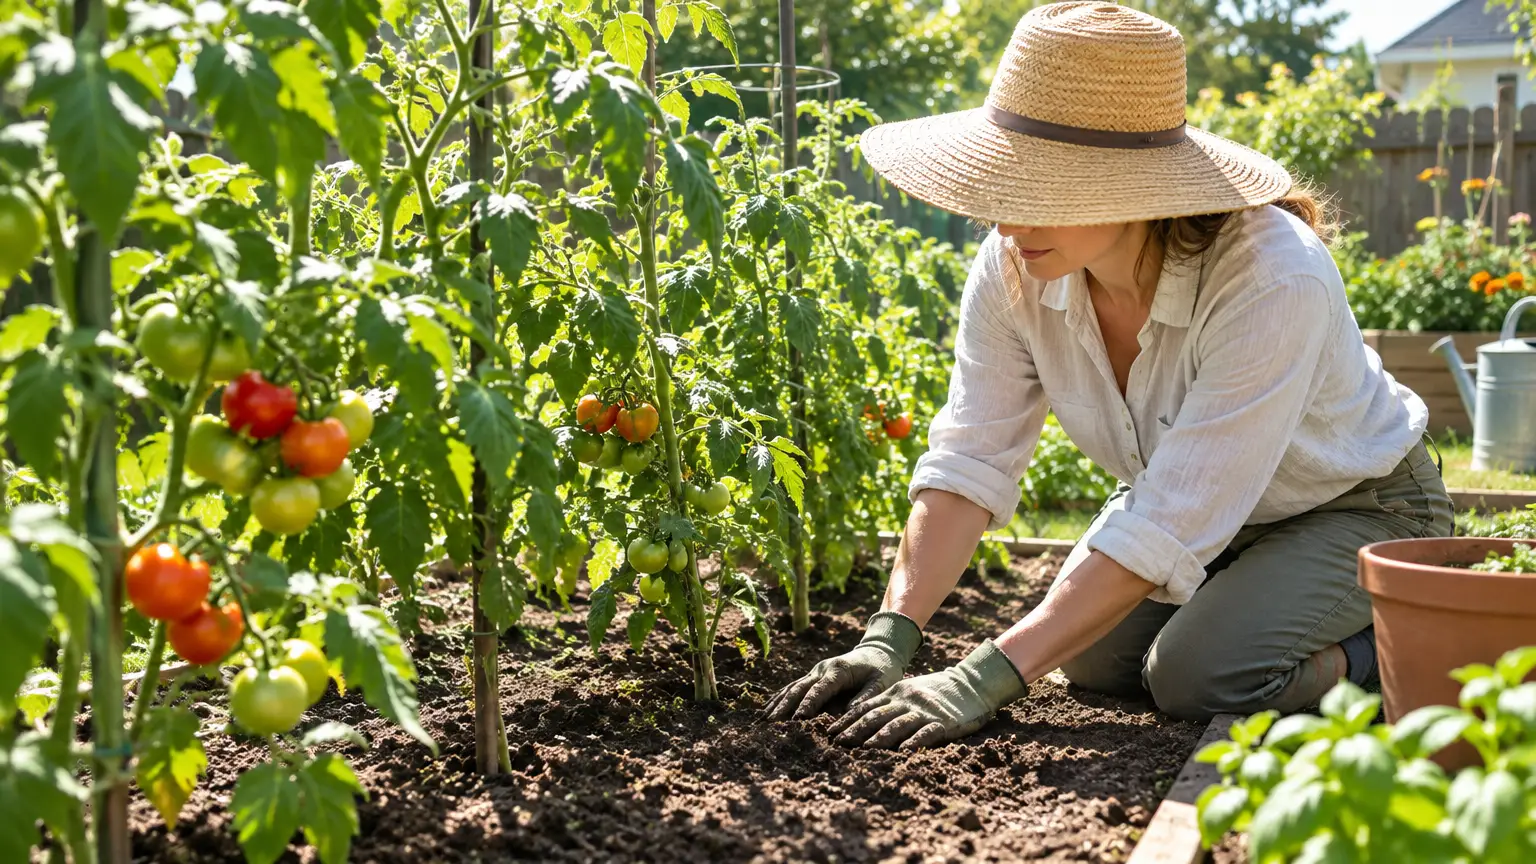
Break up compacted dirt with a hand trowel or fork. Remove rocks, weeds, and debris that block root growth.
Work in a thin layer of compost to boost fertility without overwhelming the soil. Avoid heavy clumps, since seeds struggle to push through dense soil. Rake the surface smooth and level before sowing.
This step sets the foundation for strong germination and prevents early struggles for young roots.
Step 2: Space Your Seeds Properly
Place seeds roughly one inch apart along shallow rows or scattered patches.
Crowded seeds compete for nutrients and airflow later on. Press each seed gently into the soil surface using your fingertip. Avoid burying them too deep, since shallow placement helps seeds reach sunlight faster.
Leave enough room between rows for easy access during watering and weeding.
Proper spacing now saves you thinning headaches down the road.
Step 3: Cover Seeds With a Thin Layer
Sprinkle a light dusting of fine soil over each seed.
Keep the layer thin, since thick coverage blocks emerging sprouts.
Gently pat down with your palm to ensure good soil contact. Skip this step entirely if surface sowing, since marigold seeds need some light to germinate. Add a light straw mulch on top if planting outdoors early.
This contact between seed and soil speeds up sprouting.
Step 4: Water With a Gentle Touch
Use a fine mist or watering can with a soft spout. Heavy streams displace seeds and wash away topsoil instantly.
Keep soil consistently damp, never soggy, during the germination window.
Check moisture daily, since dry spells stall sprouting completely.
Morning watering works best, giving excess moisture time to evaporate before evening.
Consistency matters more than volume when seeds are just settling in.
Step 5: Thin Out Crowded Seedlings
Once seedlings reach two inches tall, remove the weaker ones nearby.
Snip extras at soil level instead of pulling to protect neighboring roots.
Aim for six to ten inches between remaining plants, depending on variety size. Thinning reduces competition for water, light, and nutrients. Crowded seedlings often grow leggy and produce fewer blooms later.
This final step gives remaining plants room to establish strong roots.
What Marigold Seedlings Need After They Sprout
Here’s what young sprouts require for healthy growth.
| Need | Why It Matters |
|---|---|
| Air circulation | Prevents mold and strengthens young stems |
| Consistent humidity | Supports smooth root and leaf expansion |
| Protection from drafts | Shields fragile sprouts from sudden stress |
| Adequate spacing | Reduces competition among neighboring plants |
| Clean growing surface | Lowers risk of pest or disease buildup |
| Gradual acclimation | Prepares sprouts for eventual outdoor exposure |
How to Plant Marigold Seeds Indoors
Starting seeds indoors gives marigolds a head start before outdoor conditions turn favorable.
- Choose seed trays or small pots with drainage holes.
- Fill containers with a sterile seed-starting mix, not garden soil.
- Sow seeds a quarter-inch deep, one per cell.
- Place trays in a warm spot, ideally 70-75°F.
- Cover trays with plastic wrap to trap humidity until sprouts appear.
- Set trays under grow lights or on a bright windowsill.
- Rotate trays daily for even light exposure on all sides.
- Remove plastic covering once seedlings emerge.
- Harden off seedlings outdoors for a week before transplanting.
How Long Do Marigold Seeds Take to Germinate?
Under ideal conditions, sprouts should appear within five to seven days.
Cooler temperatures slow things down considerably, sometimes stretching the wait to two weeks.
Warmth speeds the process, so indoor starts often sprout faster than outdoor ones. Fresh seeds germinate faster than older, stored ones. Humidity also plays a role, since dry conditions delay sprouting significantly.
Check trays daily once day four arrives, watching for tiny green shoots breaking the surface.
Variety also affects timing slightly, with French types sometimes edging ahead of African ones.
Patience during this period helps produce strong seedlings.
Marigold Seedling Care Until the First Flowers
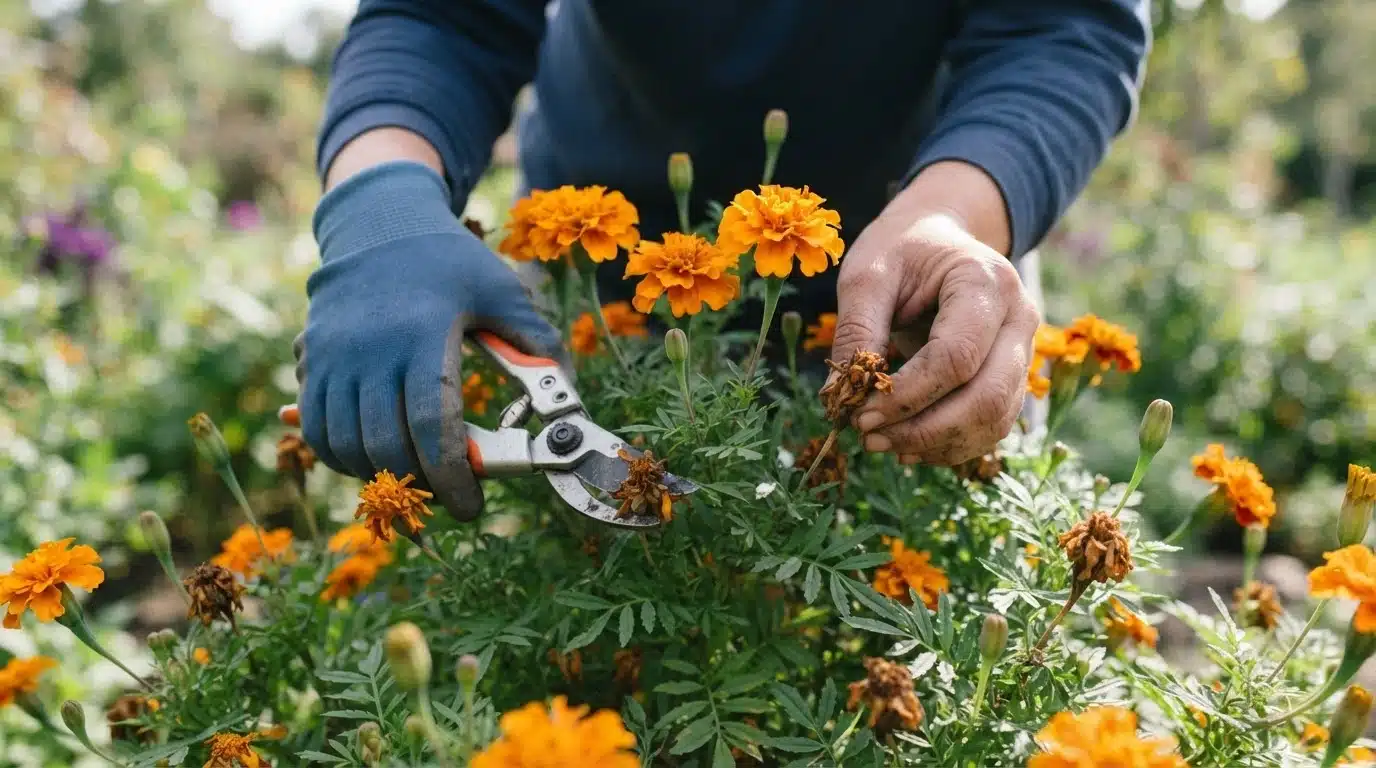
Young seedlings require consistent care to develop the strength necessary for outdoors.
Watering Needs
Keep soil lightly moist, checking with a fingertip before each watering session.
Overwatering invites fungal issues like damping-off, which kills seedlings quickly.
Water from the base when possible, letting trays soak up moisture through drainage holes. This keeps delicate stems dry and reduces disease risk. Reduce frequency slightly as roots strengthen over the following weeks.
Balanced moisture builds resilience without stressing tender young plants.
Light Requirements
Position seedlings near a sunny window or under grow lights daily. Insufficient light causes stretching, leaving stems thin and weak-looking. Aim for at least twelve hours of brightness for compact, sturdy growth.
Rotate pots regularly to prevent seedlings from leaning toward one light source.
Natural sunlight works well once temperatures allow occasional window ventilation.
Strong light exposure now prevents leggy, fragile plants later during transplant.
Temperature Control
Maintain indoor temperatures between 65 and 75°F for steady development.
Cold drafts near windows can shock tender seedlings overnight. Avoid placing trays close to heating vents, since dry heat stresses young leaves. Consistent warmth encourages faster root establishment underground.
Sudden temperature swings weaken stems and slow overall progress.
Stable conditions now translate to sturdier plants once they head outdoors.
Feeding Seedlings Lightly
Introduce a diluted liquid fertilizer once true leaves are fully formed.
Use quarter-strength solutions to avoid overwhelming delicate root systems.
Feed every two weeks, never daily, to prevent nutrient burn. Skip fertilizing completely during the first week after germination. Excess nutrients push weak, leggy growth instead of sturdy stems.
Light, occasional feeding supports steady development without shocking young plants.
How to Harden Off Marigold Seedlings
Move seedlings outdoors for short periods, starting with an hour daily.
Gradually increase outdoor time over seven to ten days. Initially, protect seedlings from harsh wind and direct midday sun. This gradual exposure toughens stems and prepares leaves for outdoor conditions.
Skipping this step often shocks plants, causing wilting or stunted growth.
Patience during hardening off helps ensure a smoother, more successful transition outdoors.
How to Transplant Marigold Seedlings without Setbacks
A smooth transplant keeps seedlings from stalling or wilting once they hit the ground.
- Transplant on a cloudy day or in the early evening.
- Dig holes slightly larger than each seedling’s root ball.
- Handle seedlings by their leaves, never by fragile stems.
- Loosen roots gently if they appear tightly circled or bound.
- Set seedlings at the same depth they grew in their containers.
- Backfill holes firmly, eliminating air pockets around roots.
- Water immediately after planting to settle soil around roots.
- Space plants according to their mature spread, not current size.
- Shield new transplants with a cloche if a cold snap threatens
Marigold Seed Planting Problems: What Went Wrong?
Troubleshoot common setbacks with this quick problem-and-fix reference.
| Problem | Likely Cause | Fix |
|---|---|---|
| Seeds never sprout | Old or expired seed stock | Use fresh seed within one year of purchase |
| Sprouts collapse suddenly | Damping-off from excess moisture | Improve airflow and reduce watering frequency |
| Weak, pale seedlings | Insufficient light exposure | Move closer to light source or extend hours |
| Slow, uneven sprouting | Soil temperature too low | Use a heat mat to warm the growing area |
| Seedlings toppling over | Container too small or unstable | Upgrade to deeper, sturdier pots |
| Mold on soil surface | Poor ventilation, stagnant air | Add a small fan for gentle circulation |
| Stunted growth | Nutrient-deficient starting mix | Introduce light feeding once true leaves form |
A Simple Marigold Seed-Starting Schedule
For best results, plan in weeks rather than specific calendar dates.
Start indoor sowing six to eight weeks prior to your area’s anticipated last frost.
Around week three, thin seedlings and start light feeding once true leaves appear.
In week five, harden off seedlings by taking trays outside for short periods each day.
By week seven or eight, seedlings should handle full transplant into garden beds or containers. Late-season gardeners can sow a second batch directly outdoors in early summer for continuous blooms through fall.
Frequently Asked Questions (FAQ’s)
1. Do Marigold Seeds Need Light to Germinate?
No, but surface sowing with minimal covering works best for quick sprouting.
2. Can I Save Marigold Seeds from This Year’s Flowers?
Yes, dried seed heads produce viable seeds for next season’s planting.
3. Why Won’t My Marigold Seeds Germinate?
Old seed stock or overly wet soil are the most common culprits.
4. Should I Soak Marigold Seeds Before Planting?
Soaking isn’t necessary, though it can speed germination by a day or two.
5. How Many Marigold Seeds Should I Plant per Hole?
Plant two to three seeds per spot, then thin to the strongest seedling.
End Note!
Every gardener seems to land on a slightly different routine that works for them, from tossing seeds straight onto clay with zero prep to babying trays under grow lights for weeks before transplant.
Both approaches yield good results.
Choose what suits your patience, climate, and space, then tweak as seasons show what your marigolds need.
Have you had better luck direct sowing outdoors or starting marigold seeds indoors first?
Drop your approach, or any questions about your own setup, in the comments below.