Every plant you see started out as a small, quiet seed. Getting that seed to sprout depends on just a few simple factors.
Learning how to germinate seeds is easier than most people expect. It just takes moisture, warmth, and a little patience. Some seeds pop up within days, while others take much longer.
I still remember my first tray of seedlings poking through the soil, and I barely used any equipment to get there.
Basic supplies from around your home often work just fine. Once seeds get what they need, roots and shoots follow on their own.
Understanding these basics makes starting your garden much less confusing. Grab your seeds, and let’s get them growing.
What Do Seeds Need to Germinate?
Seeds rely on a few basic conditions before they sprout. Consistent moisture softens the seed coat and signals it to wake up, though soggy soil can cause rot instead of growth.
A seed that dries out partway through germination often stalls and fails to recover.
Temperature has a similar effect, since warmth speeds up germination while cooler conditions slow it down. Warm-season crops need more heat than cool-season varieties, and each type has its own ideal range.
Oxygen matters too, since seeds breathe as they grow, and packed or waterlogged soil limits airflow.
Light requirements also differ by species, with some seeds favoring the surface and others needing darkness to develop.
Supplies You’ll Need
Getting started with seed germination has never felt expensive to me. Most supplies are easy to find at any garden center, and here is a quick look at estimated costs:
| Supply | Estimated Cost Range |
|---|---|
| Seed trays or pots | $3 to $15 |
| Seed-starting mix | $5 to $12 per bag |
| Seed packets | $2 to $5 per packet |
| Watering can or spray bottle | $5 to $15 |
| Paper towels | $2 to $5 per roll |
| Peat pellets | $5 to $10 per pack |
| Rockwool cubes | $6 to $15 per pack |
| Garden trowel or hand fork | $5 to $12 |
Prices can vary by brand, retailer, and region, so treat these as rough estimates. Buying a few basics upfront is usually enough to get started with most methods.
Simple and Effective Ways to Germinate Seeds
Every gardener finds a method that fits their space and style. I’ve researched each of these methods closely, and here are five simple ways to get started:
1. Germinate Seeds in Soil
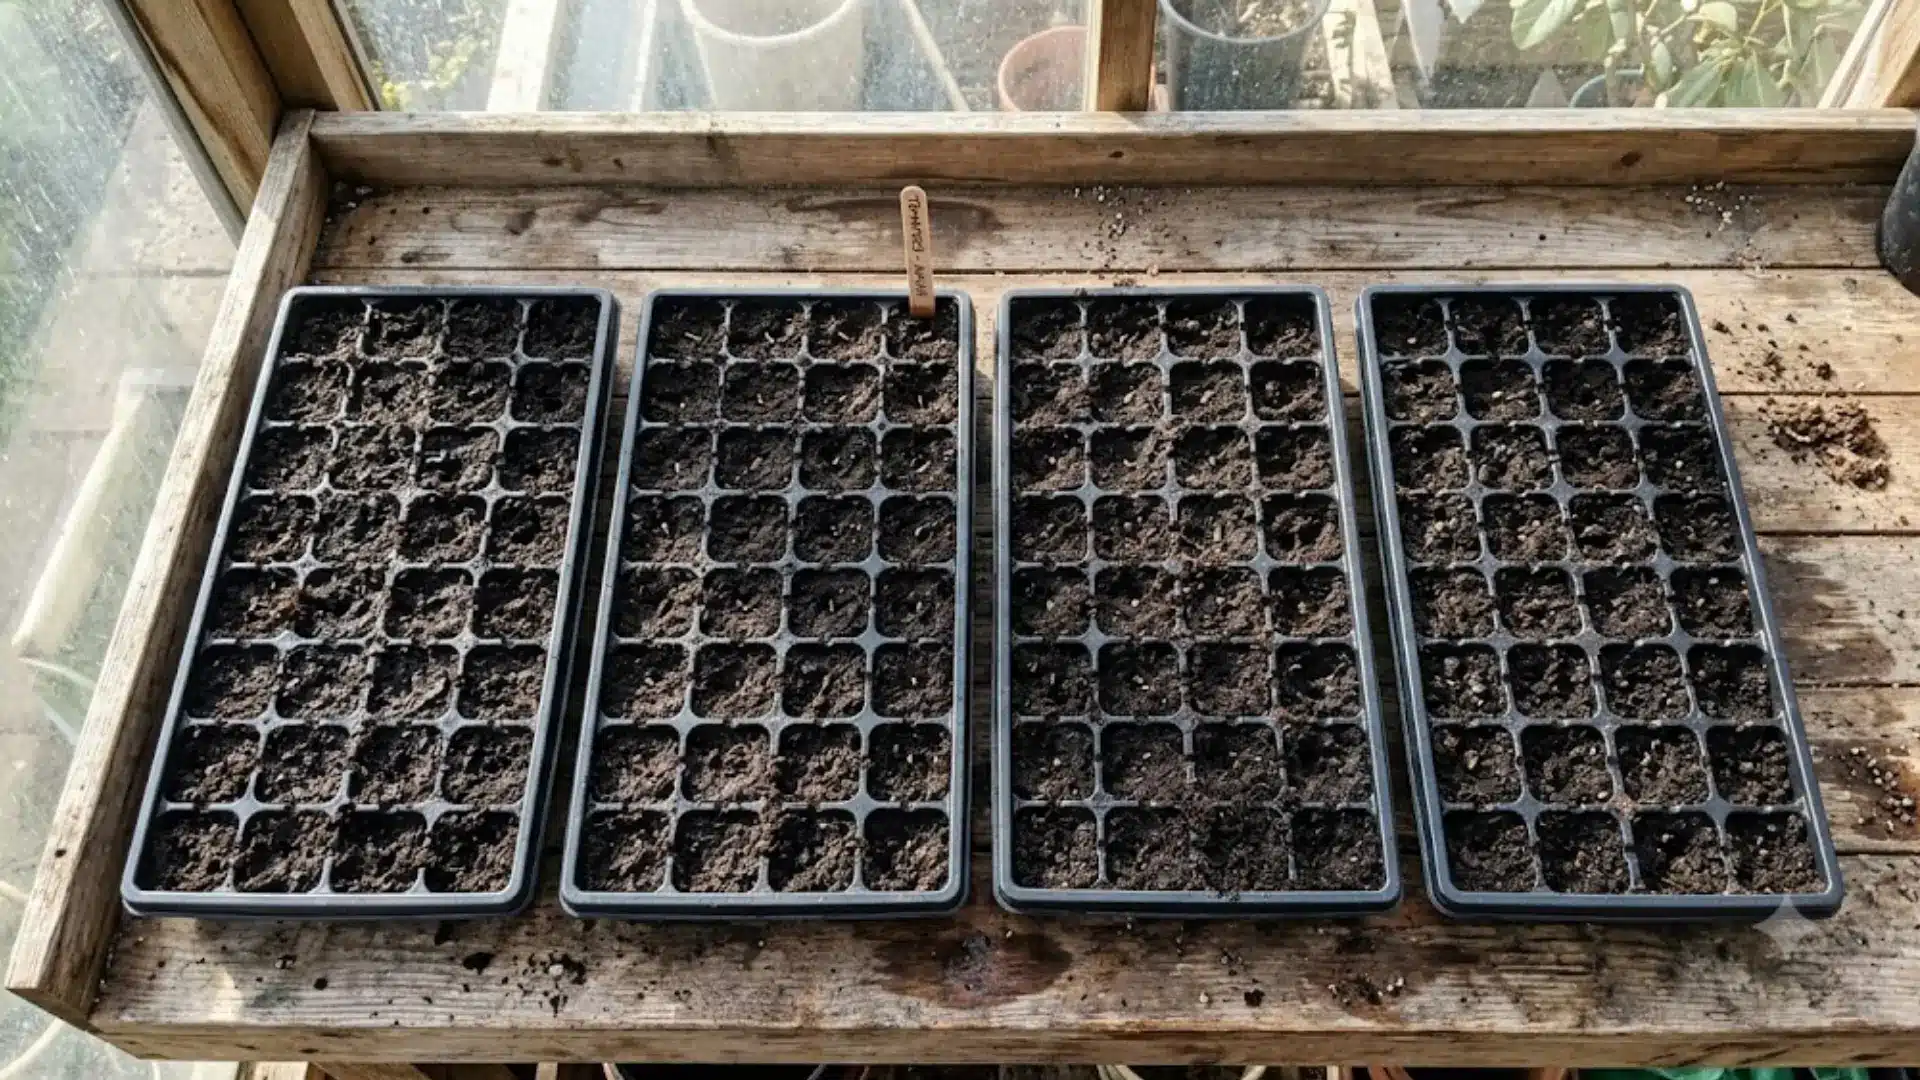
This is the most familiar way to start seeds at home. It works well for most vegetables, herbs, and flowers:
- Fill clean trays or pots with a light, sterile seed-starting mix instead of regular garden soil.
- Plant seeds at a depth about two to three times their width, following the seed packet guide.
- Water gently until the mix feels moist all the way through, like a wrung-out sponge.
- Keep the tray near 65 to 75 degrees Fahrenheit, or use a heat mat for faster sprouting.
Starting in soil gives seedlings a steady environment to develop strong roots. It also makes the move to a garden bed easier later on.
2. Germinate Seeds Using the Paper Towel Method
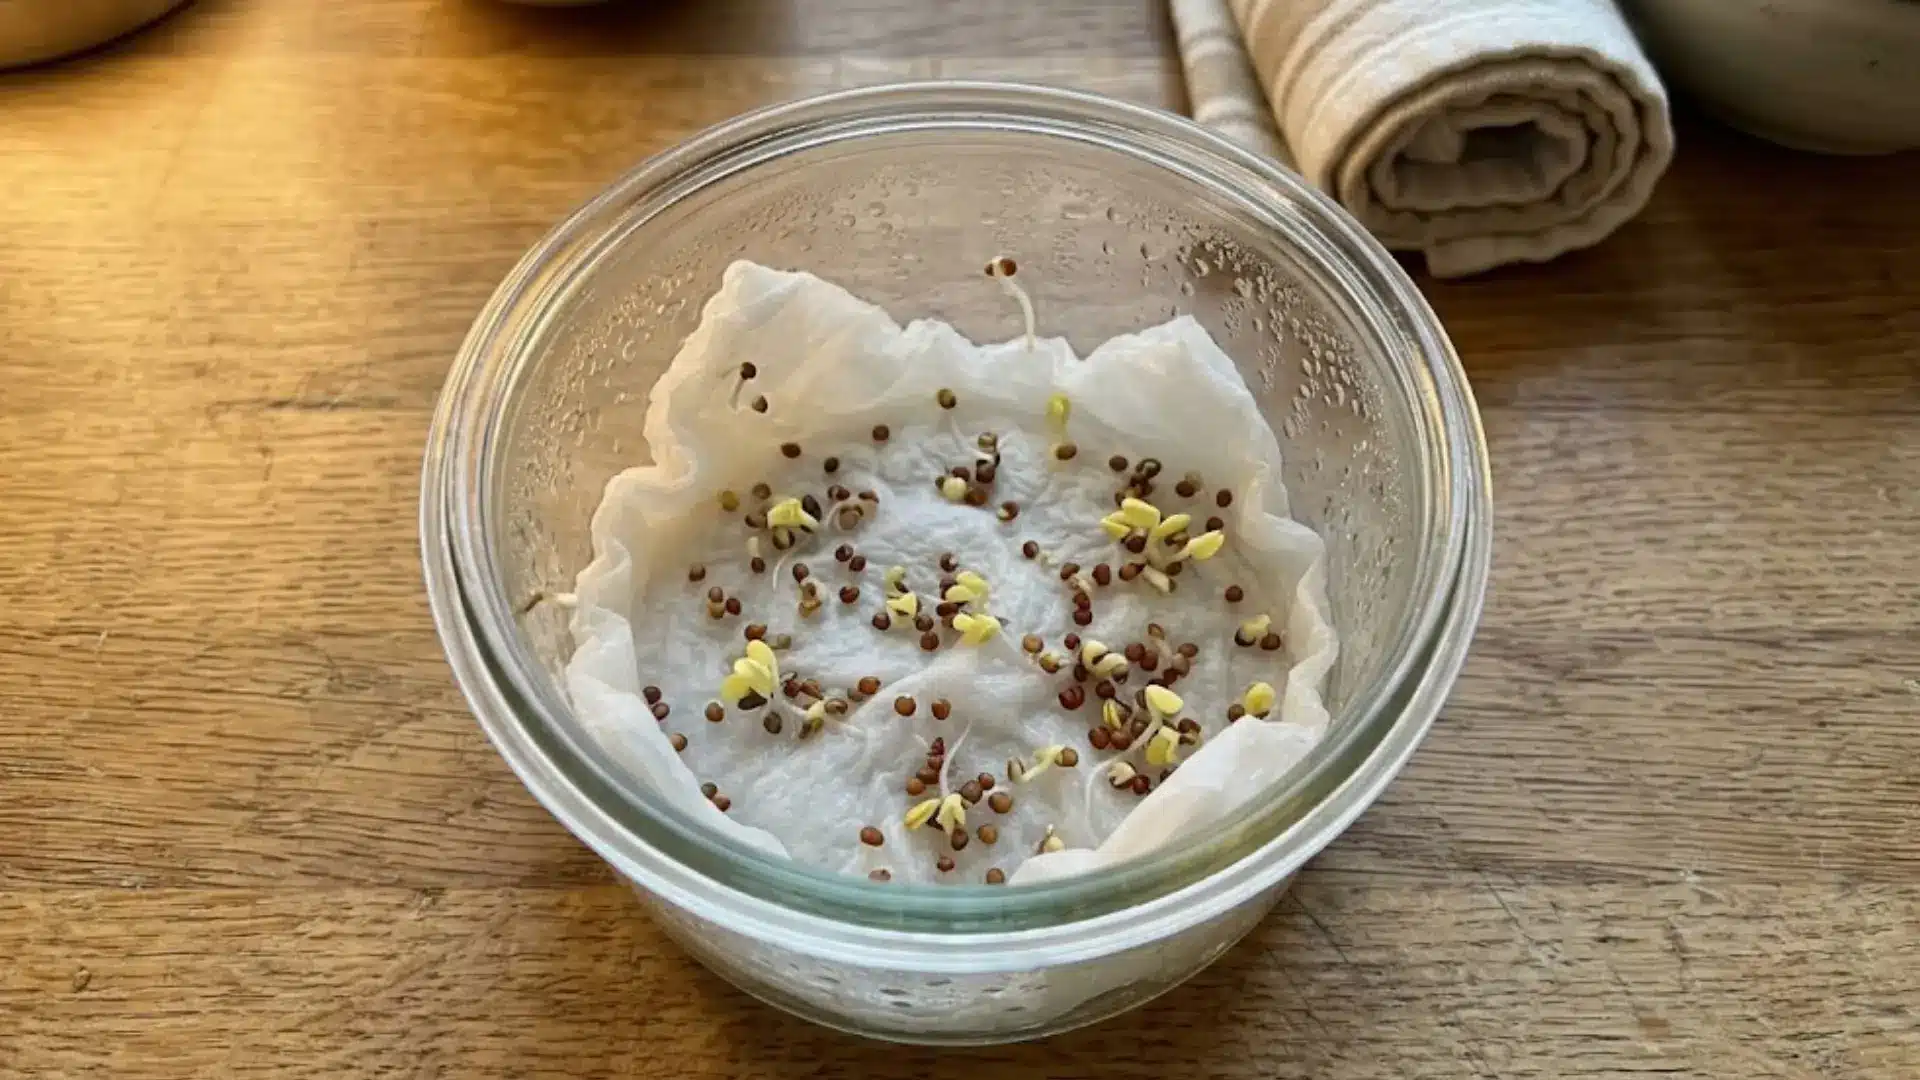
This method lets you check germination before adding soil to the mix. It works especially well for testing older or leftover seeds:
- Dampen a paper towel with room-temperature water until it feels moist but has no dripping water.
- Spread seeds evenly across one half of the towel, then fold the other half over them.
- Seal the folded towel inside a plastic bag or shallow container to hold in moisture.
- Check daily, and once you see a small white root, move the seed gently into soil.
This approach helps you spot healthy seeds early in the process. It also reduces wasted space on seeds that never sprout.
3. Germinate Seeds in Peat Pellets
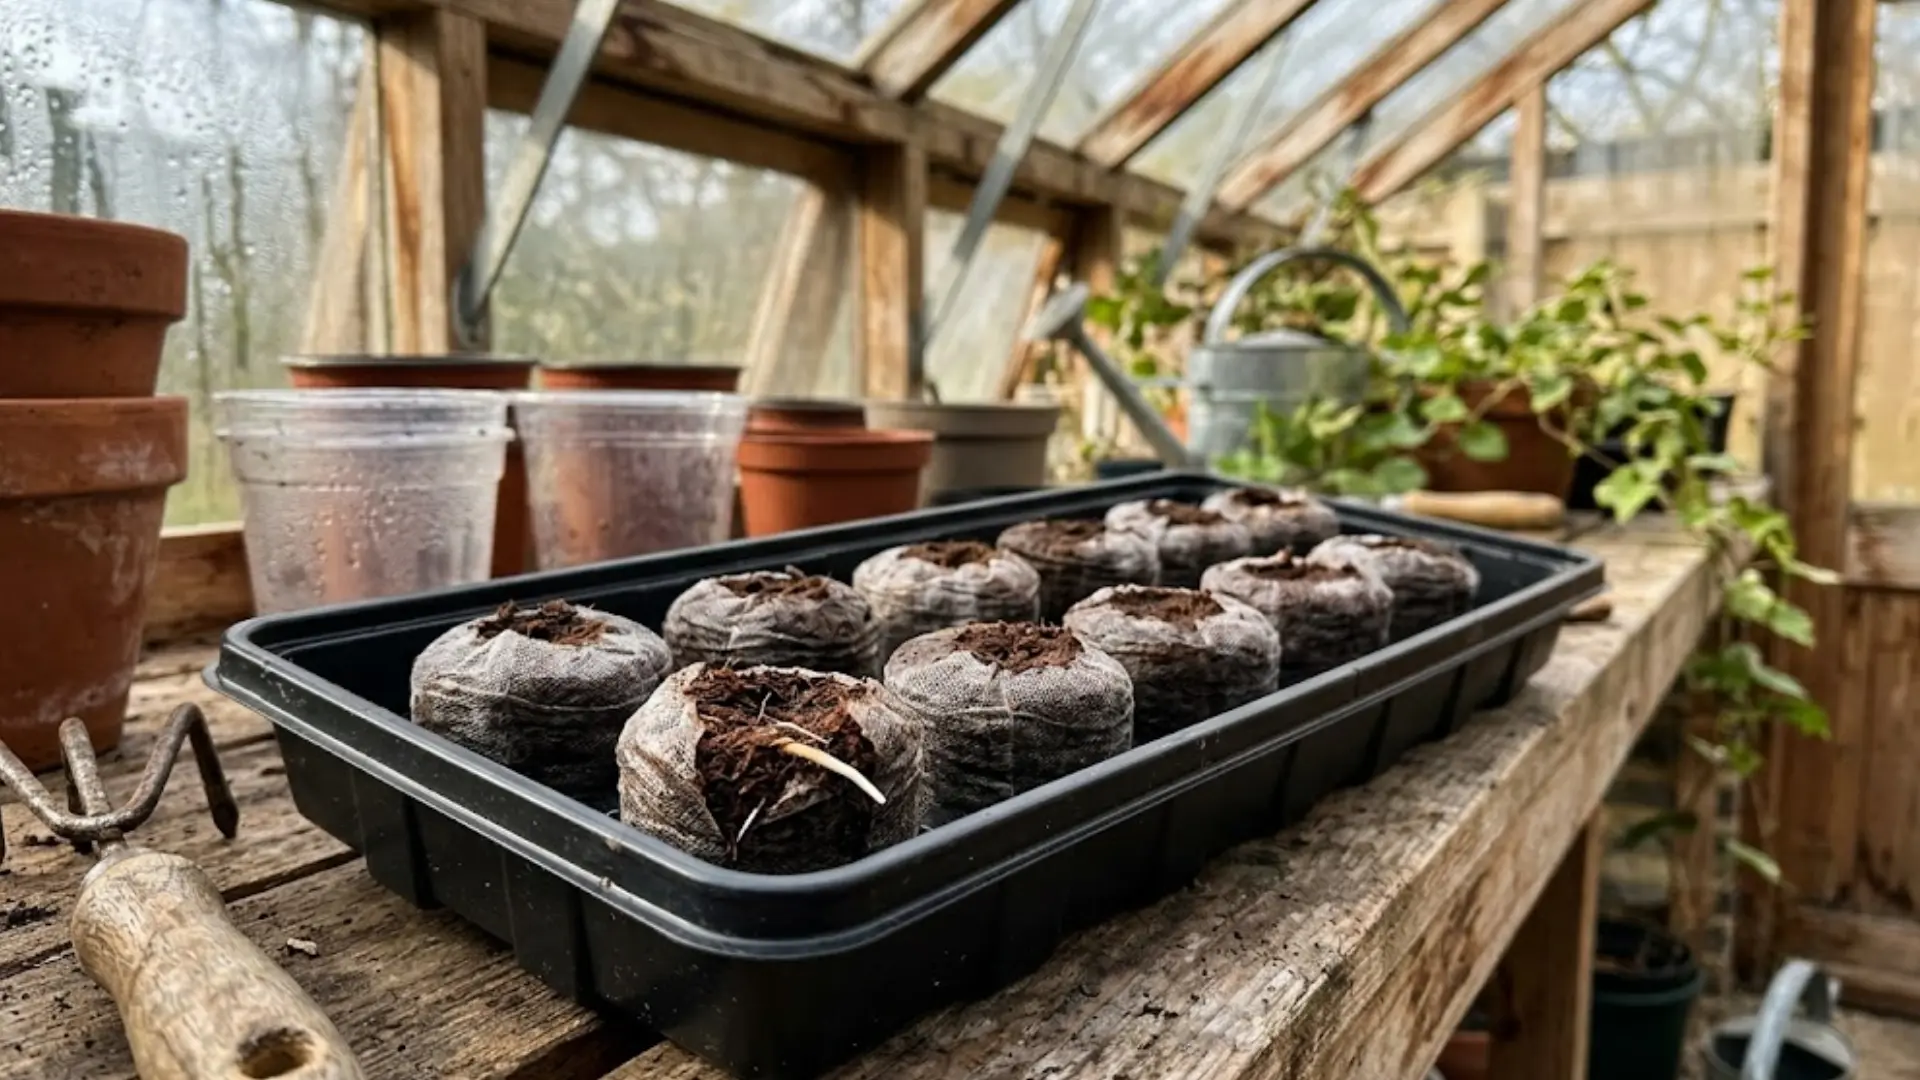
Peat pellets simplify the germination process for many home gardeners. Each pellet expands once it absorbs water:
- Soak dry, compressed pellets in warm water for about ten minutes until they fully expand in size.
- Plant one or two seeds per pellet, tucking them into the small hole at the correct depth.
- Keep pellets moist by misting often, since their small size dries out faster than trays of soil.
- Once white roots poke through the mesh covering, transplant the whole pellet directly into a larger pot.
Since each pellet holds one seed, there is less risk of disturbing roots. This makes the pellet method gentle on young seedlings.
4. Germinate Seeds in Rockwool Cubes
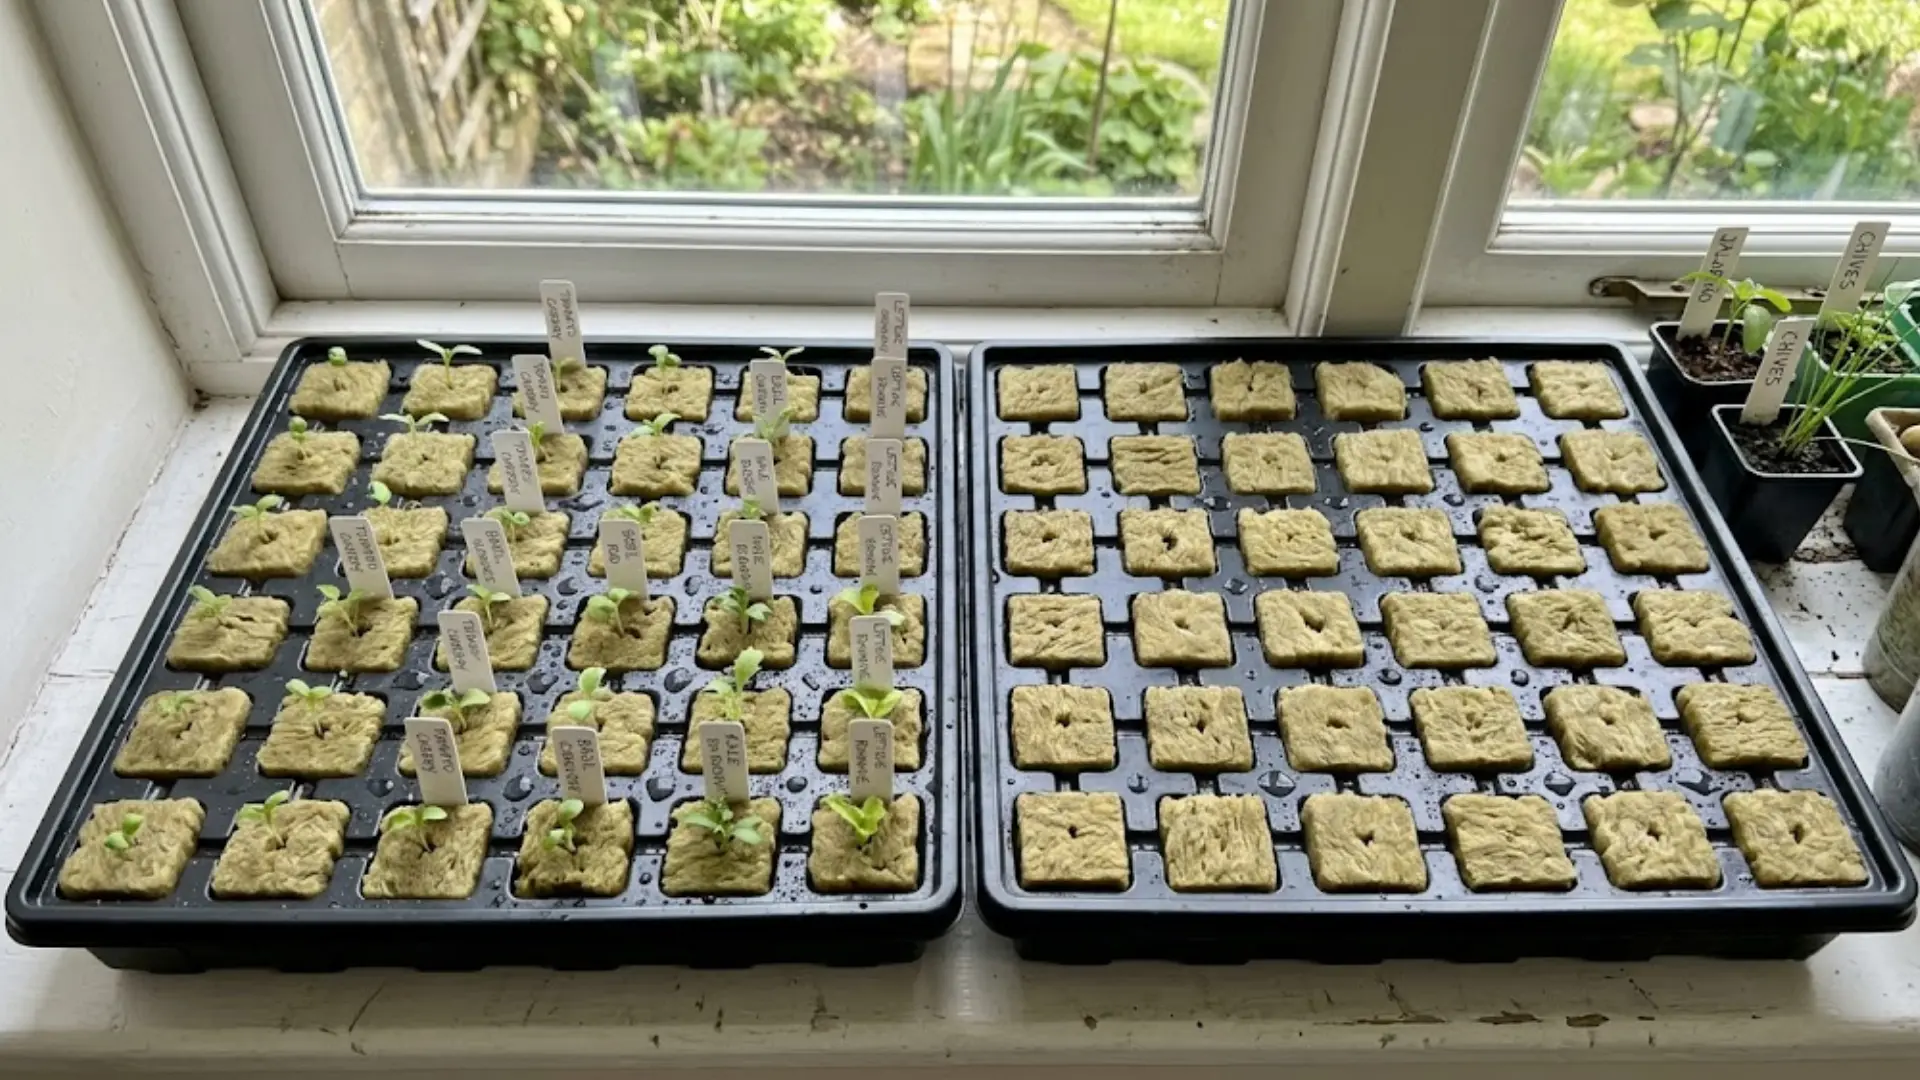
Rockwool cubes are a popular choice for hydroponic and soilless setups. They hold moisture well while still allowing airflow:
- Soak rockwool cubes in water adjusted to a pH between 5.5 and 6.5 before planting any seeds.
- Insert one seed into each pre-made hole at the top of the cube, about a quarter-inch deep.
- Keep cubes consistently damp using a humidity dome, since rockwool dries out faster than soil mixes.
- Once roots grow through the bottom of the cube, move seedlings into a hydroponic or soilless system.
Rockwool cubes work especially well for growers using soilless systems, and they transfer easily into a larger DIY hydroponic tower setup once roots develop.
5. Germinate Seeds by Direct Sowing
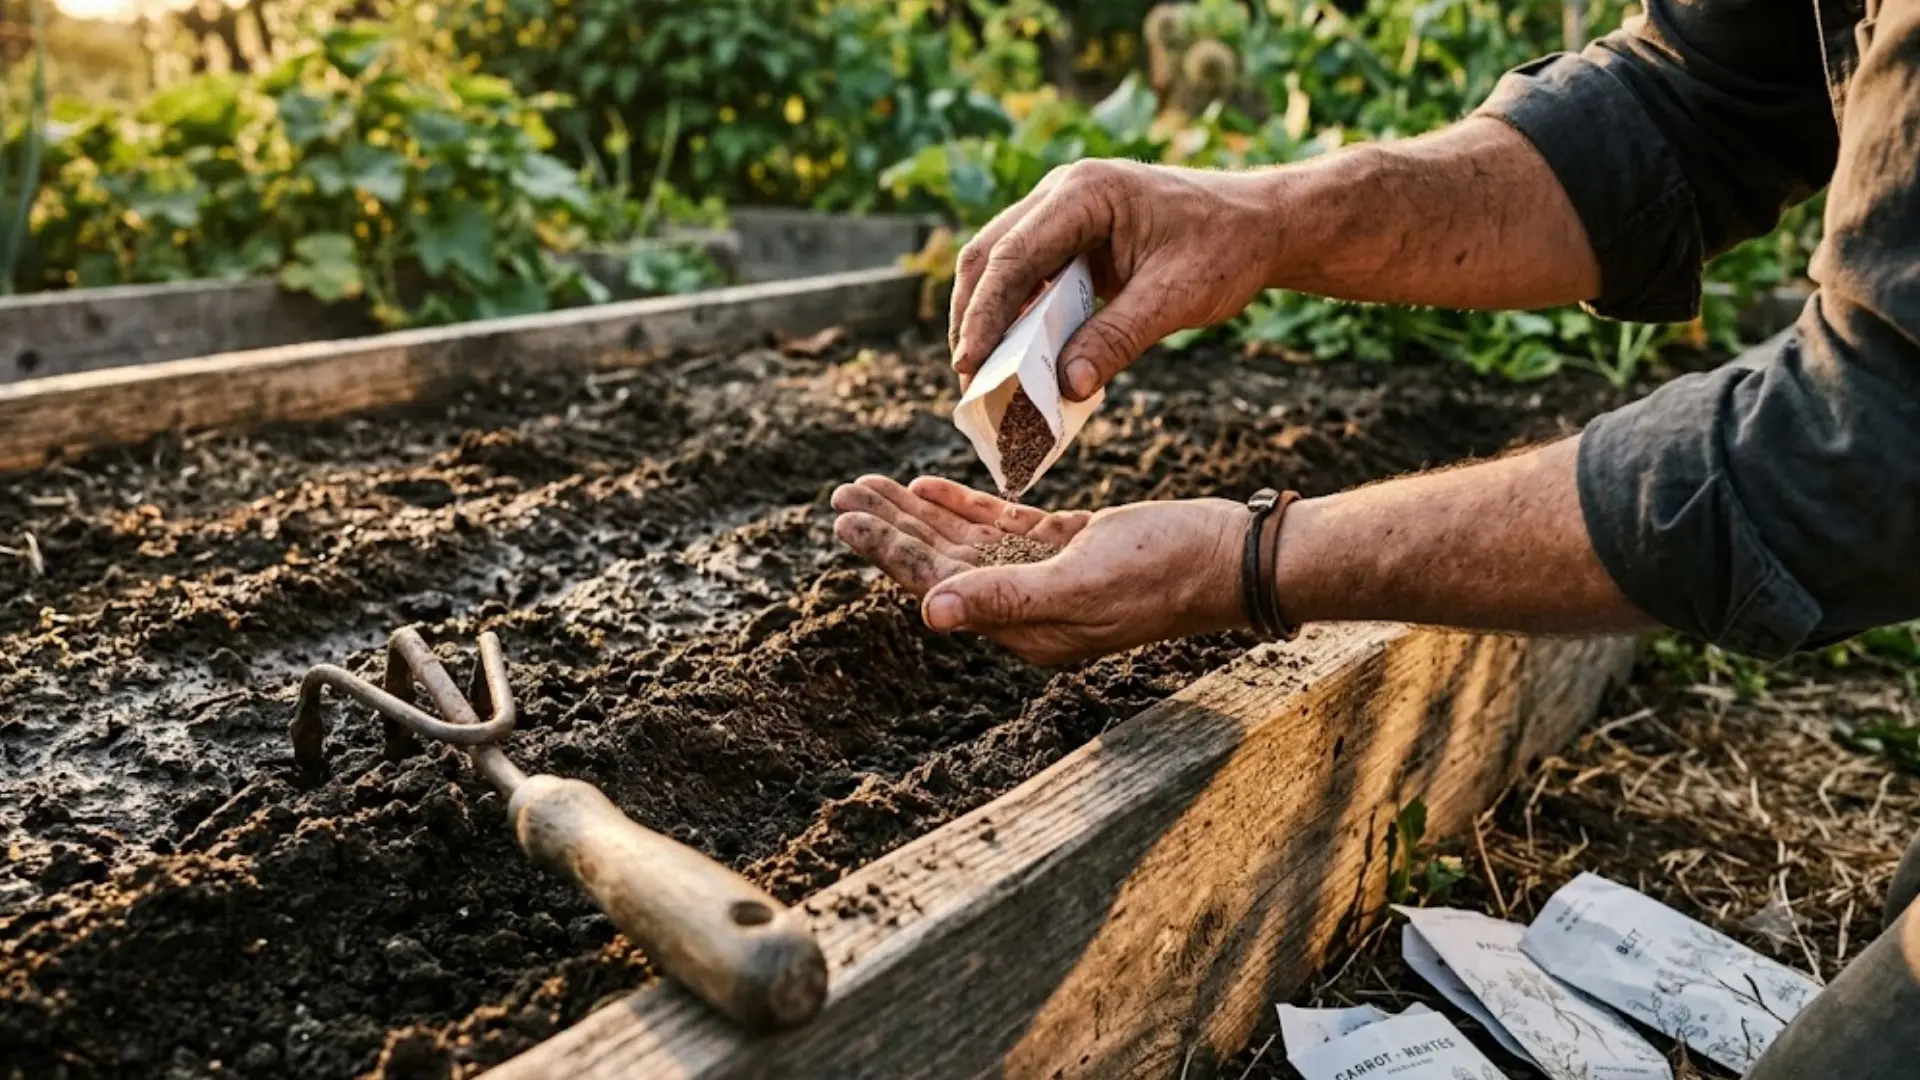
Direct sowing skips trays and pots entirely by planting seeds outdoors. It works best for crops that dislike having their roots disturbed:
- Loosen the top six to eight inches of garden soil so roots can spread without much resistance.
- Plant seeds at the depth listed on the packet, usually about two to three times the seed width.
- Water gently right after planting so the soil stays moist without washing seeds away from their spot.
- Once seedlings reach two to three inches tall, thin them out to give each plant enough space.
This method does not require transplanting, which suits sensitive-root crops like carrots or beans. For raised beds, build soil layers correctly first.
How Long Does It Take for Seeds to Germinate?
Germination time depends on the seed type and the growing conditions provided. Here is a quick look at common germination windows:
| Category | Examples | Germination Time | Ideal Soil Temp |
|---|---|---|---|
| Vegetables (warm-season) | Tomatoes, peppers | 5 to 14 days | 70 to 85°F |
| Vegetables (cool-season) | Beans, peas | 5 to 14 days | 50 to 75°F |
| Root crops | Carrots | 7 to 21 days (longer if cool) | 60 to 80°F (optimum 70 to 80°F) |
| Leafy greens | Lettuce, spinach | 2 to 14 days | 55 to 70°F (can sprout cooler) |
| Herbs | Basil | 5 to 10 days | 70 to 80°F |
| Flowers | Marigolds, sunflowers, zinnias | 4 to 14 days | 65 to 80°F (optimum 70 to 75°F) |
I always keep this chart handy since timing shifts with soil temperature, moisture, and seed freshness. When in doubt, I check the seed packet for the most accurate estimate.
Why Are My Seeds Not Germinating?
Seeds sometimes fail to sprout even when you follow every step carefully. A few common issues usually explain the delay.
Old seeds lose strength over time, which lowers the chance of sprouting. Soil that stays too dry or too wet can also stop growth early on.
Temperature matters as well, since each seed type needs a certain range to wake up. Planting too deep can trap a seedling before it ever reaches the surface.
Some seeds also need extra steps first, like scarification, cold stratification, or soaking. Others simply need the right amount of light or darkness to germinate.
Sometimes the answer is patience, since some seeds take several weeks to appear.
How to Tell If a Seed Has Germinated?
Knowing the difference between a sprouted seed and a dud takes a bit of practice. Here’s what I check for when I inspect my seeds:
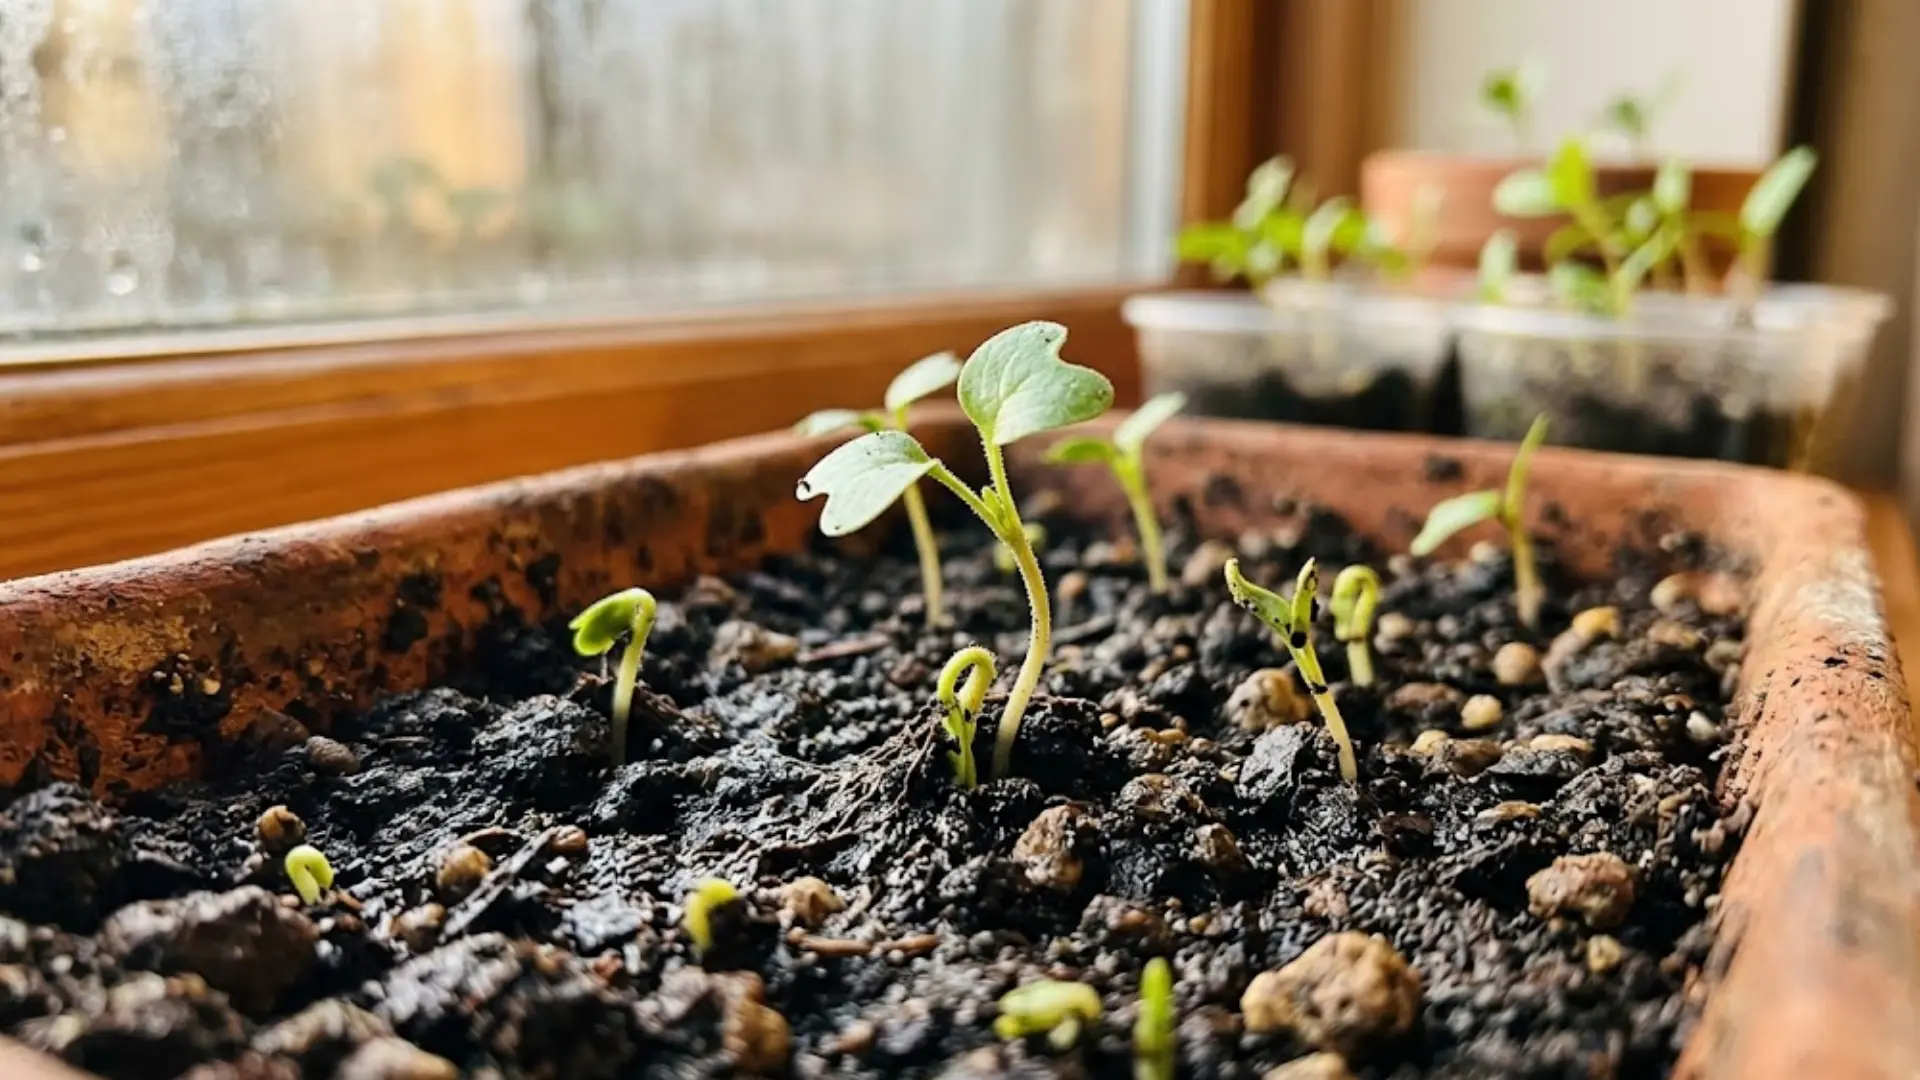
- A tiny root, called the radicle, breaks through the seed coat first and points downward.
- A small shoot pushes upward next, reaching toward light as it searches for the surface.
- Germination is complete once the root appears, though seedling emergence happens once the shoot breaks through the soil.
- Healthy early growth looks pale or yellow at first, then turns green once light hits the leaves.
- Transfer paper-towel-germinated seeds once the root reaches about a quarter to half an inch long.
These early signs help me know a seed is on track and growing well. Watching closely at this stage makes it easier to catch problems before they spread.
What to Do After Seeds Germinate?
I always think of sprouting as just the first step in growing healthy plants. A few simple actions now help me set seedlings up for strong growth ahead:
- Remove Humidity Covers: Take them off once most seeds have sprouted to prevent mold and improve airflow.
- Give Seedlings Plenty of Light: Provide bright light right away, since low light causes weak, leggy growth.
- Water Carefully: Keep the growing medium moist, and consider bottom watering to protect delicate stems.
- Thin Crowded Seedlings: Give each plant enough room, light, and nutrients to grow well.
- Harden Seedlings off: Gradually ease them into outdoor sun, wind, and temperature changes before transplanting.
These small steps make a big difference in how seedlings grow from here. Sticking with this routine helps young plants transition smoothly into strong, established growth.
Frequently Asked Questions (FAQs)
How Many Seeds Should I Plant per Hole or Cell?
Plant two to three seeds per hole or cell, then thin down to the strongest seedling once true leaves appear.
Can I Germinate Seeds without Any Special Equipment?
Yes, a simple container with a clear lid or plastic wrap works well to hold humidity without buying special trays.
Why Did My Seedlings Suddenly Collapse After Sprouting?
This usually points to damping off, a common fungal issue caused by excess moisture, poor airflow, or overly crowded seedlings.
Final Thoughts
Seeds only need the right moisture, warmth, and care to turn into strong plants. Learning how to germinate seeds gives you real control over your garden.
You get to pick strong, healthy plants instead of relying on store-bought starts. Every method works a little differently, so pick what suits your space.
My own seedlings have failed plenty of times before I got the timing right. Keep your seeds warm and moist, and check on them often.
Mistakes happen, but each one teaches you something useful. You can grow a full garden starting from just one seed.
Try it out, then tell me how it went. Drop your questions or wins in the comments below!