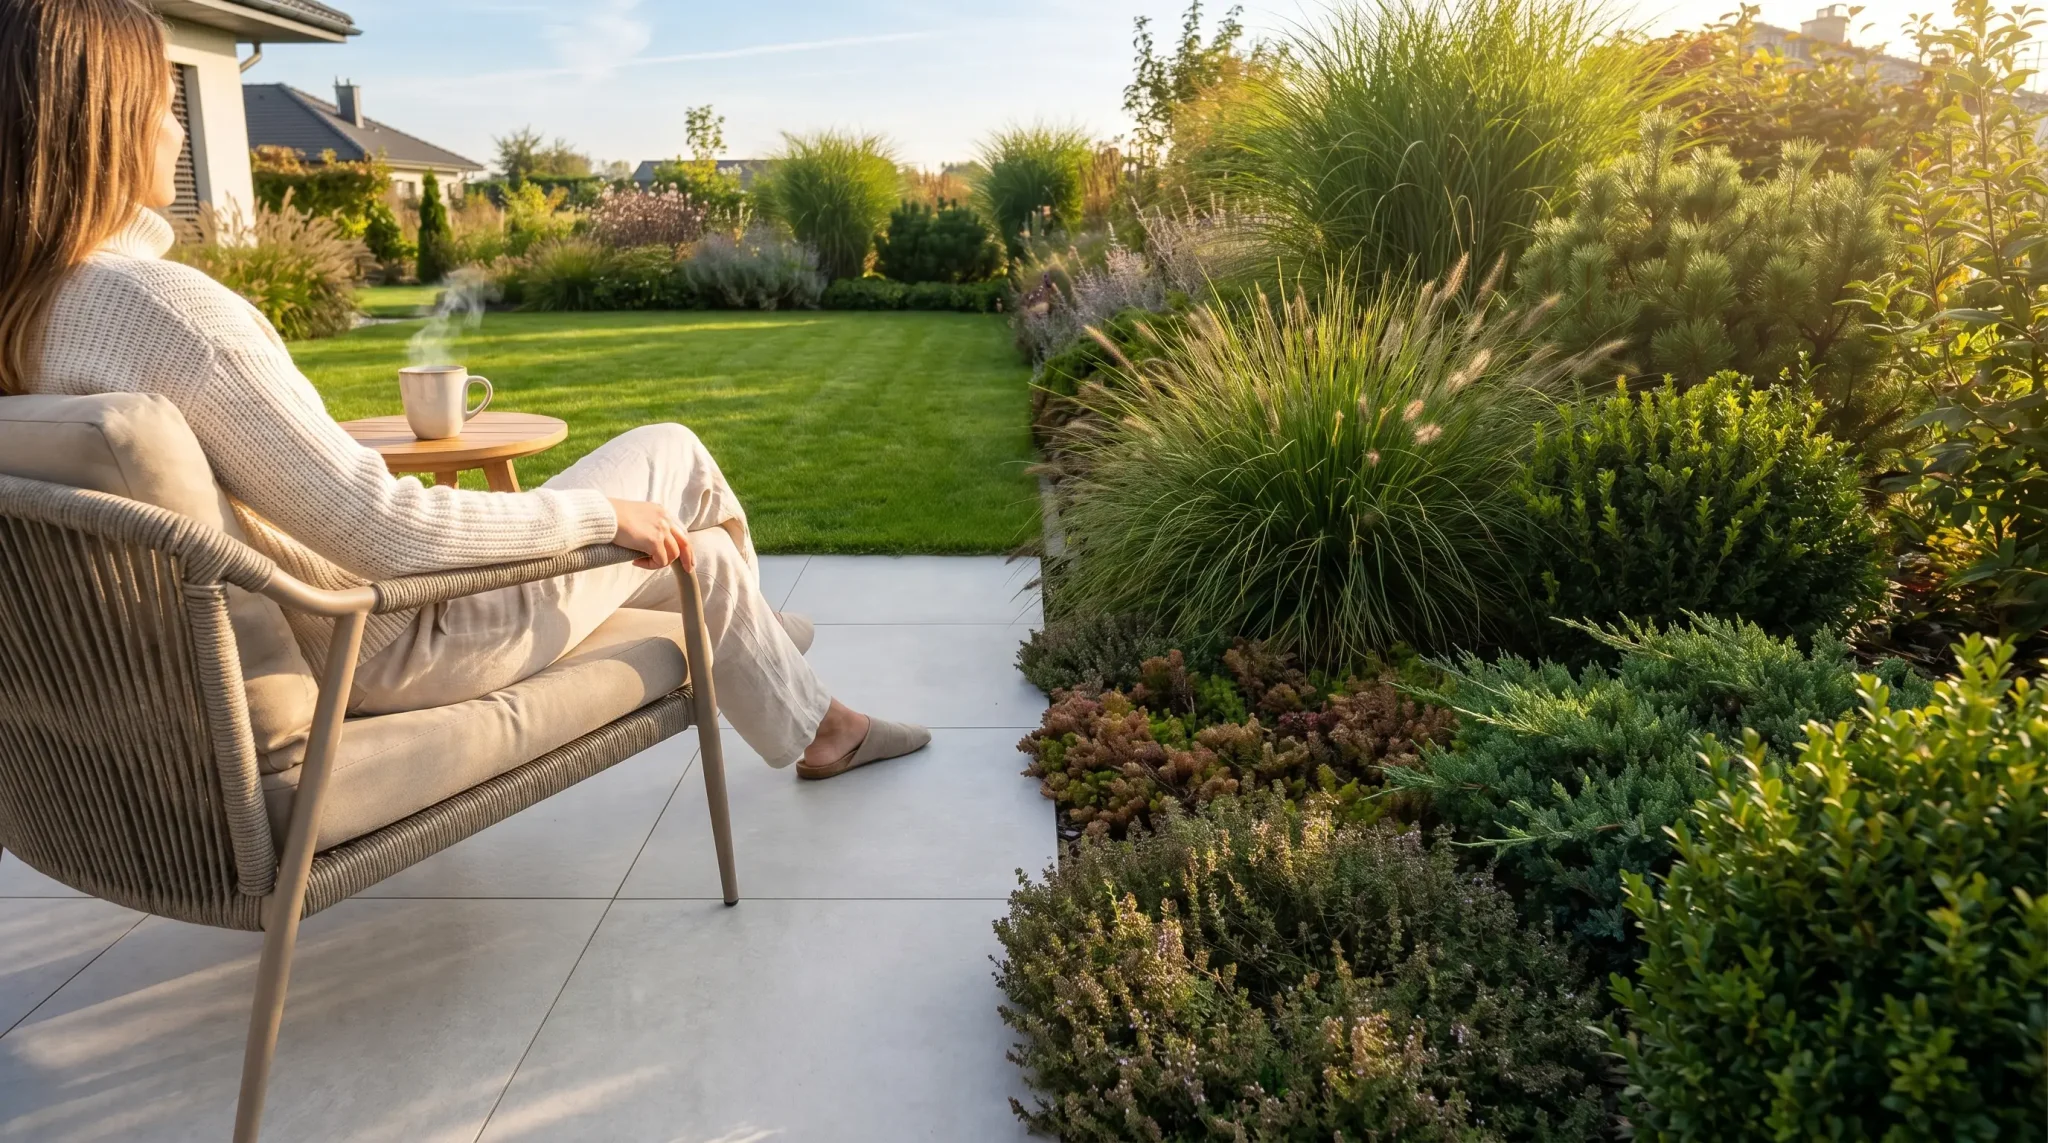
Your balcony, patio, or even a sunny windowsill holds more gardening potential than you probably think.
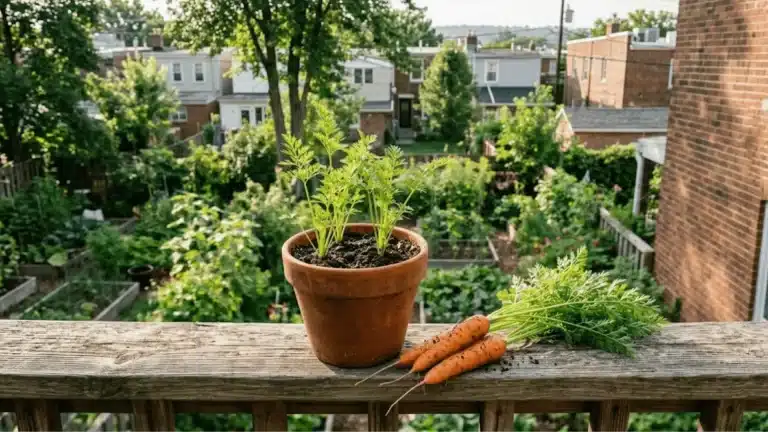
Container gardening opens up a whole world of growing your own food without needing a sprawling backyard, and carrots are honestly one of the best places to start.
They love the loose, controlled soil that containers naturally provide, which means fewer obstacles and sweeter roots.
Everything you need to know, pot selection, soil mixing, and harvesting, is laid out right here, so your container carrot garden actually thrives.
Why Containers Might Be the Smarter Way to Grow Carrots?
Not everyone has garden beds, and honestly, you don’t need them. Carrots grow beautifully in containers on balconies, patios, and compact outdoor spaces.
More importantly, you get to skip the frustration of rocky or compacted ground soil entirely.
Loose, well-mixed container soil means straighter, healthier roots. Pest pressure and weed interference drop significantly, too, so you’re spending less time troubleshooting.
And when the season shifts, simply move your containers to follow the sun.
- No rocky soil stunting root growth
- Fewer pests and weeds to manage
- Moveable and flexible for any space
Best Carrot Varieties for Containers
Not every carrot is built for container life. Some varieties genuinely thrive in pots, while others need more room than a container can reasonably offer.
Picking the right one upfront saves a lot of guesswork later.
| Variety | Type | Root Size | Best For |
|---|---|---|---|
| Parisian | Short & Round | Very compact | Shallow pots, small spaces |
| Thumbelina | Short & Round | Ball-shaped | Beginners, quick harvests |
| Adelaide | Short & Round | Compact | Fast-maturing, adaptable grows |
| Nantes | Medium-Length | Slim, smooth | Sweet flavor, every day growing |
| Chantenay | Medium-Length | Broad, tapered | Denser soil, deeper pots |
What to Avoid?
- Long-root varieties like Imperator tend to struggle in standard containers.
- If you’re set on growing them, a pot deeper than eighteen inches is non-negotiable.
- Cramped roots lead to forked, stunted carrots that aren’t worth the wait.
Choosing the Right Container
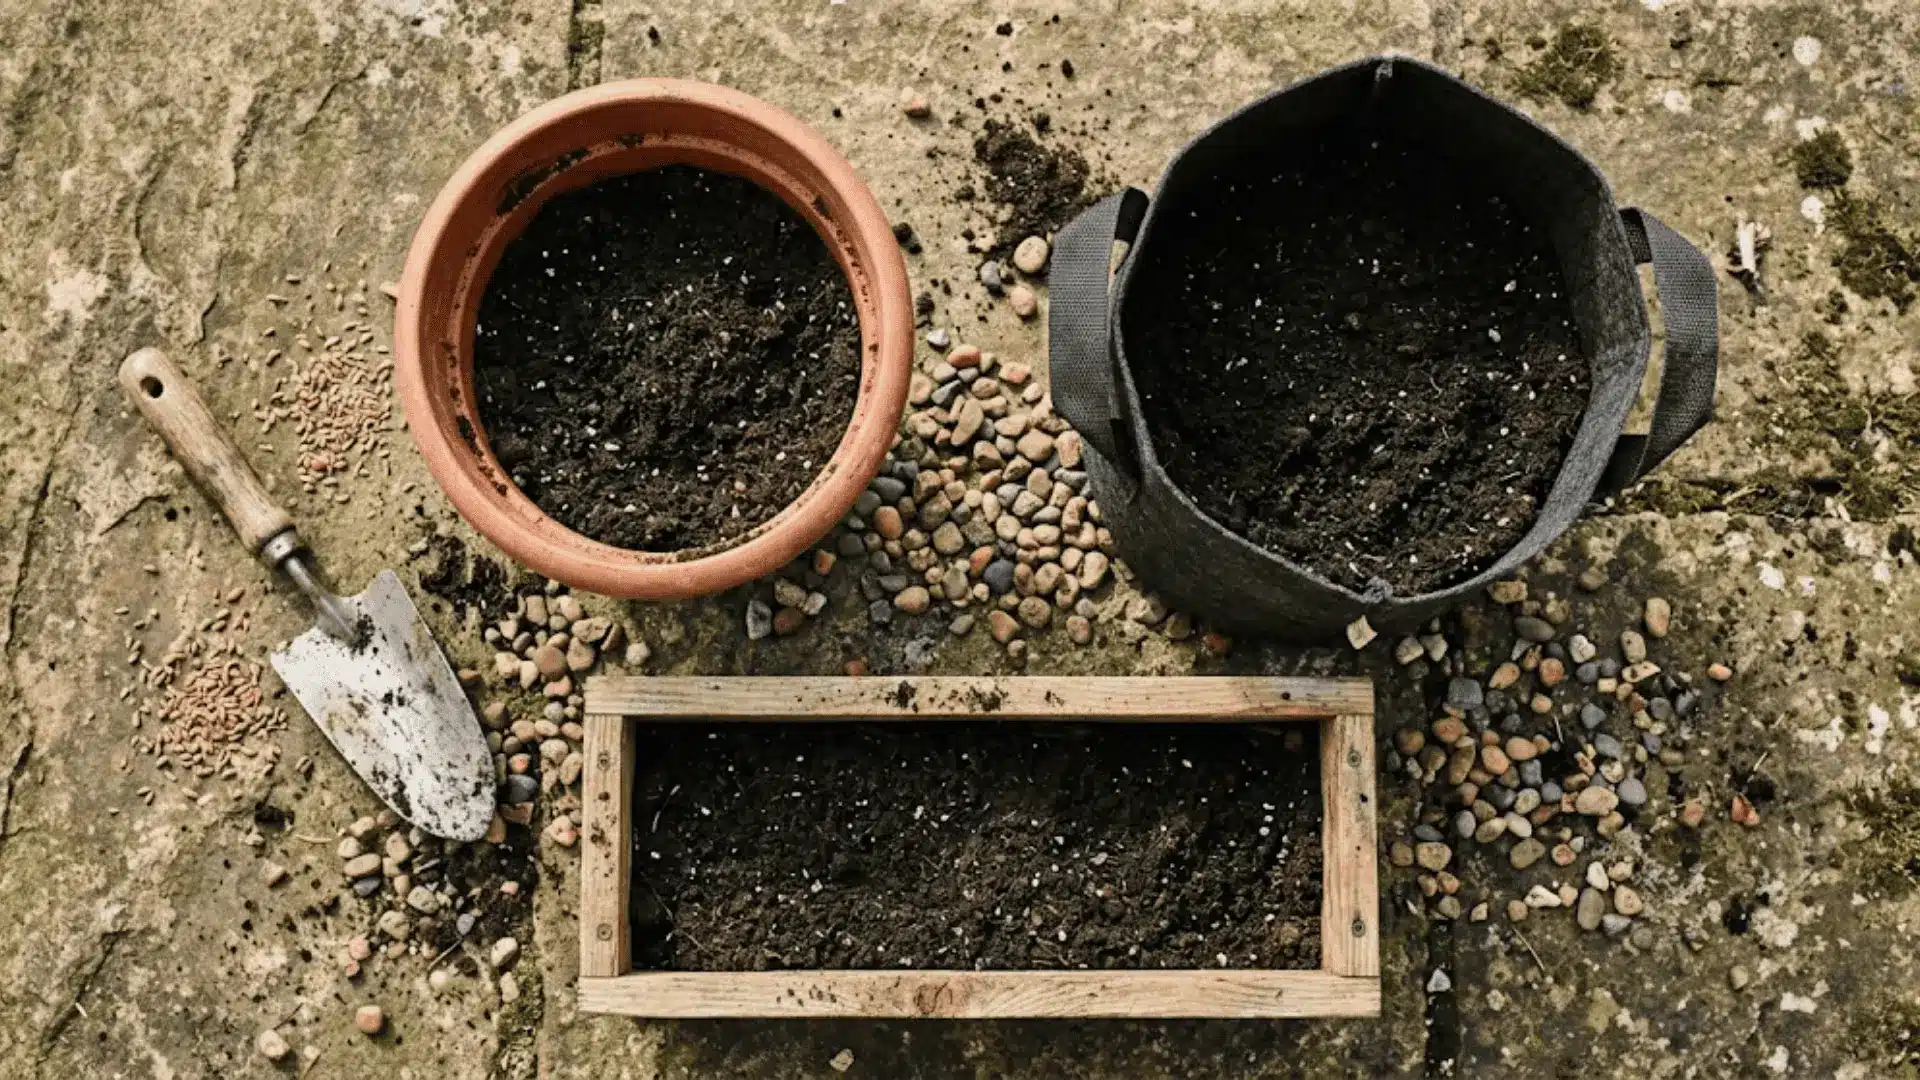
The container you pick sets the foundation for everything that follows. Get this part right, and your carrots have every reason to grow well.
Ideal Container Size
Depth matters more than width when it comes to carrots. Short and round varieties like Parisian or Thumbelina do just fine in 10–12 inches of depth, making them genuinely ideal for balconies and compact patios.
Medium-length varieties like Nantes or Chantenay need a little more room, 16–20 inches, to develop without crowding. When in doubt, always size up rather than down.
Best Container Types
Your container material quietly influences moisture, aeration, and root health more than most people realise.
| Container Type | Key Strength | Ideal For |
|---|---|---|
| Plastic Pots | Retains moisture well | Budget-friendly, lightweight setups |
| Fabric Grow Bags | Strong airflow, no root circling | Aeration-focused, compact spaces |
| Wooden Boxes | Naturally insulating | Patio growing, aesthetic setups |
Drainage Requirements
Drainage is non-negotiable for healthy carrots. Here is what to keep in mind before you fill that container with soil.
- Always choose containers with pre-drilled drainage holes.
- Drill additional holes if your container has fewer than 3.
- Water should flow out freely, never pool at the base.
- Avoid saucers that collect standing water underneath.
- Line the base with gravel or mesh to keep soil from blocking holes.
Soil Requirements for Container Carrots
Carrots are particular about their growing medium, and container soil gives you full control over getting it right. The goal is simple: loose, light, and well-draining every single time.
| Aspect | What You Need | What to Avoid |
|---|---|---|
| Soil Texture | Loose and light for unobstructed root growth | Heavy clay soil that compacts easily |
| Recommended Mix | Potting soil + compost + sand or perlite | Pre-mixed soils with large bark chunks |
| Soil pH | 6.0 to 6.8 for optimal nutrient absorption | Overly acidic or alkaline mixes |
| Debris | Clean, sifted soil throughout | Rocks or clumps that cause forked, misshapen roots |
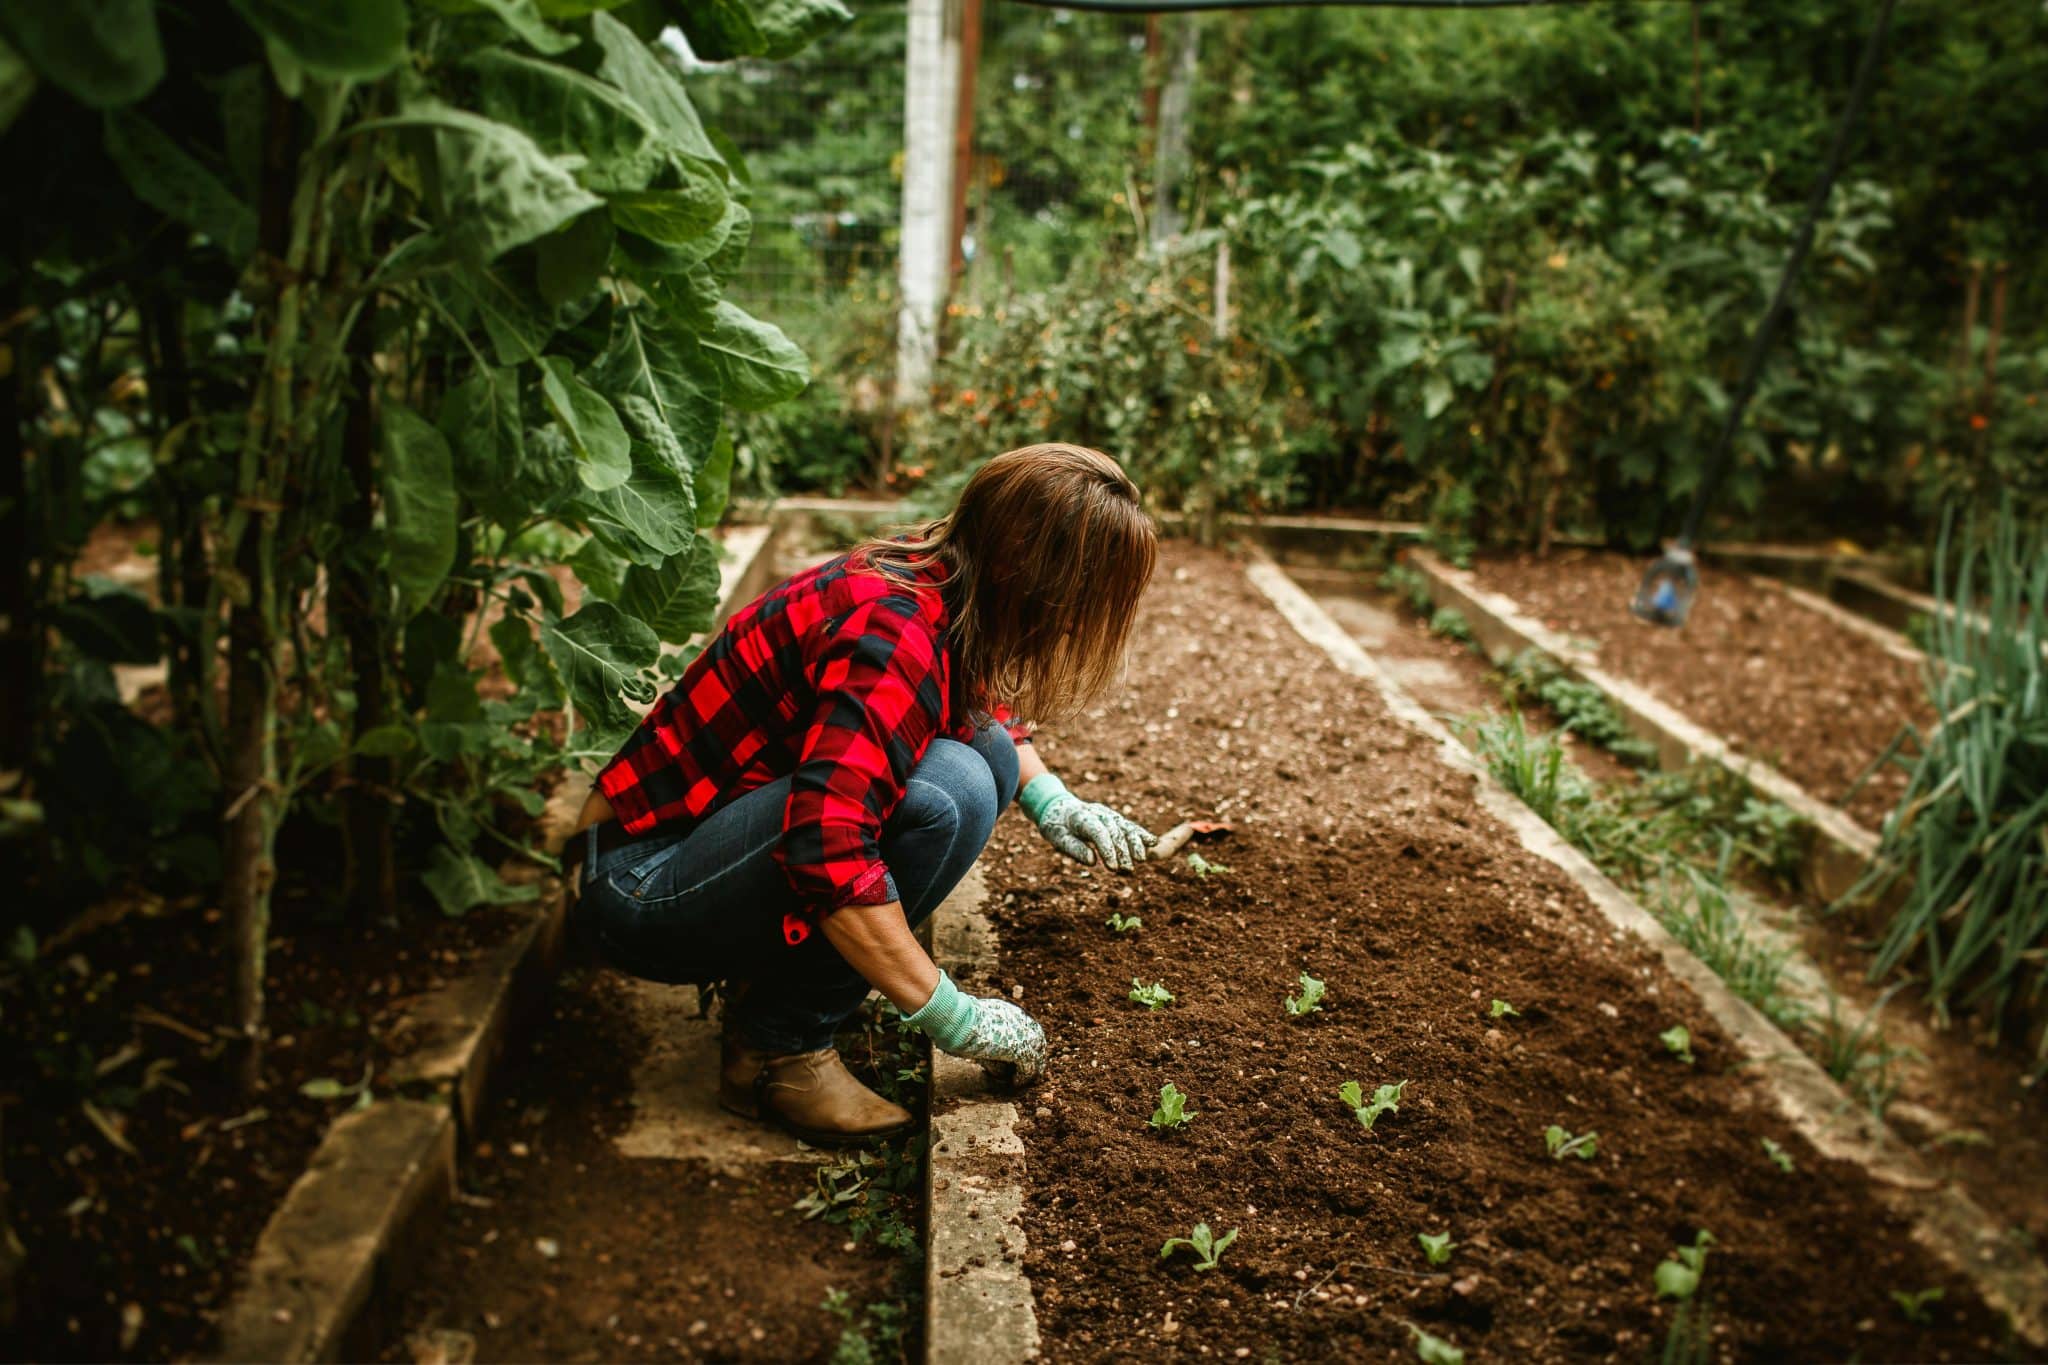
How to Plant Carrots in Containers?
Planting carrots in containers is refreshingly straightforward once your soil and pot are ready. A little attention at this stage sets the tone for everything that grows after.
Step-by-Step Planting Guide
No complicated techniques here, just a clean and simple process that works consistently well.
- Step 1: Fill your container with prepared, sifted soil up to an inch below the rim.
- Step 2: Sow seeds directly into the soil; never transplant carrot seedlings.
- Step 3: Plant each seed at a depth of ¼ inch.
- Step 4: Space seeds 1–3 inches apart to give roots room to develop.
- Step 5: Water gently using a mist setting to avoid displacing seeds.
Germination Timeline
Knowing what to expect after sowing keeps you from second-guessing the process. Carrot germination is slow and steady, so patience genuinely pays off here.
| Stage | Timeframe | What to Expect |
|---|---|---|
| Initial Sprouting | Days 7–10 | First thin shoots breaking through the soil |
| Full Germination | Days 10–20 | Most seeds sprouted, and seedlings are visible |
| Thinning Stage | After Day 20 | Remove weaker seedlings, keep the strongest |
Sunlight and Temperature Requirements
Carrots are cool-season growers that genuinely perform best when the conditions are mild and sunny. Getting these two factors right makes a noticeable difference in root quality.
- Carrots need 6–8 hours of full sun daily for steady, healthy growth.
- The ideal growing temperature sits between 55–75°F (13–24°C).
- Spring and fall are the most reliable seasons for container carrots.
- In peak summer, afternoon shade helps prevent the soil from overheating.
- Avoid sowing during frost periods, as extreme cold stunts germination.
A spot with reliable morning sun and naturally cool afternoons is where container carrots quietly do their best work, no extra effort needed.
Watering and Moisture Management
Carrots need consistently moist soil, but soggy roots are just as damaging as dry ones. Containers dry out considerably faster than ground soil, so checking moisture daily is worth building into your routine.
Stick a finger about an inch into the soil and water when it feels dry at that depth.
Mulching the surface with a thin layer helps slow moisture loss between waterings, especially during warmer days.
Water gently and evenly every time, letting it seep through rather than pool on top.
Fertilizing Container Carrots
Container soil loses nutrients faster than ground soil, so feeding your carrots periodically keeps growth on track.
Use a balanced or low-nitrogen fertilizer every 3–4 weeks throughout the growing season. High-nitrogen formulas push the plant’s energy into leafy tops rather than the roots, which works against everything you’re growing for.
Too much nitrogen means smaller, underwhelming carrots, regardless of how well everything else is managed.
Less is genuinely more when it comes to fertilizing carrots in containers.
Thinning and Spacing
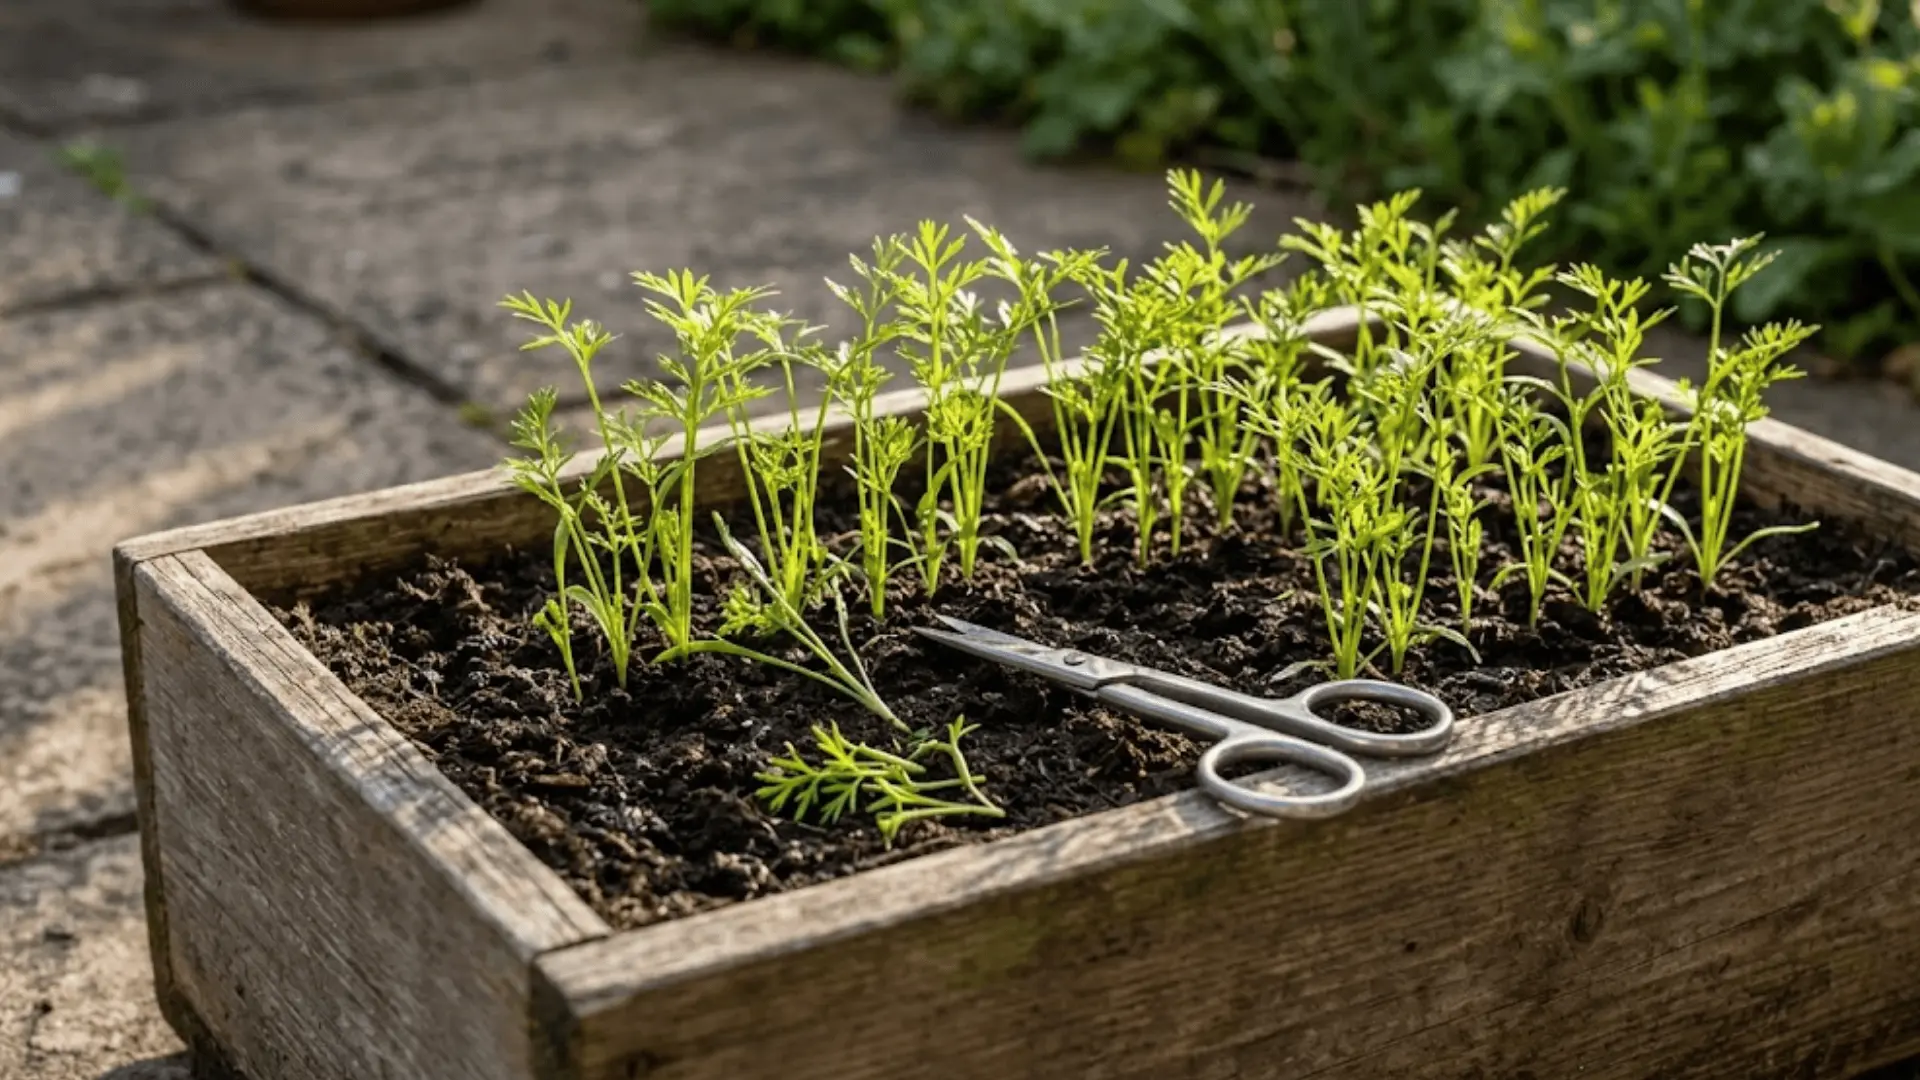
Thinning is one of those steps that feels counterintuitive but makes a real difference in your final harvest. Giving each seedling enough room to breathe is what separates a good crop from a great one.
When and How to Thin?
Done at the right time, thinning is quick and straightforward. Here is what to follow.
- Start thinning when seedlings reach 2–3 inches tall
- Snip, don’t pull to avoid disturbing neighboring roots
- Maintain a final spacing of 1–3 inches between each seedling
- Thin in rounds rather than all at once for better control
Why Thinning Matters?
Skipping this step is one of the most common reasons container carrots turn out forked or stunted. When roots compete for the same pocket of soil, none of them develops the way they should.
Proper spacing gives each plant fuller access to nutrients, encourages straight root formation, and improves airflow around the seedlings, quietly keeping disease pressure low throughout the growing season.
Common Problems and How to Fix Them?
Even the most carefully tended container garden runs into occasional hiccups. Most carrot problems have straightforward fixes once you know what you’re actually looking at.
Problem 1: My carrots are tiny and barely developing.
The Fix: Overcrowding is often the main cause, but poor soil texture and excess nitrogen fertilizer can also hinder root growth. Thin seedlings to proper spacing, use low-nitrogen feed, and ensure soil is loose and well-draining.
Problem 2: My carrot roots are forked or growing in strange shapes.
The Fix: Compacted soil or hidden debris, like small rocks, are almost always behind this. Sift your soil thoroughly before the next sowing and ensure there are no obstructions forcing the root to split as it grows downward.
Problem 3: My carrots taste oddly bitter.
The Fix: Heat stress and light-exposed roots are the most common causes of bitterness. Move your container to a cooler spot during peak summer afternoons and cover any roots peeking above the soil surface with a little extra soil or mulch.
Problem 4: I think my carrots have pests or root rot.
The Fix: Carrot flies lay eggs near the soil surface, while root rot creeps in silently from consistent overwatering. Use a fine mesh cover to deter flies and always let the top inch of soil dry out slightly between waterings to keep rot at bay.
For real-world troubleshooting and community advice, this Houzz gardening discussion on container carrots is worth browsing through.
Harvesting Carrots in Containers
After 60–80 days of patient tending, your carrots are finally ready to come out of the soil. This is honestly the most rewarding part of the whole process.
How to Harvest?
Pulling carrots out the wrong way can snap the root mid-harvest, so a little care here goes a long way.
- Check the shoulder of the carrot at soil level; it should be visibly developed before harvesting.
- Loosen the surrounding soil with a trowel or fingers before pulling.
- Grip the carrot firmly at the base of the greens, not mid-root.
- Pull slowly and steadily, never yank to avoid snapping.
Baby vs. Mature Carrots
Not every carrot needs to wait the full growing period. Harvesting at different stages gives you genuinely different results on the plate.
| Stage | Baby Carrots | Mature Carrots |
|---|---|---|
| Harvest Time | 30–40 days after germination | 60–80 days after germination |
| Size | 2–4 inches, slender and delicate | Full-sized, variety-dependent |
| Texture | Tender, mild in flavour | Firmer, sweeter, and more developed |
| Best Used For | Fresh snacking, salads | Cooking, roasting, juicing |
Tips for Maximizing Yield
A few intentional habits make the difference between an average harvest and one that actually surprises you. These are the ones worth building into your routine.
- Always opt for deeper containers than you think you need; roots rarely complain about extra room.
- Consistent watering matters more than heavy watering, steady moisture beats irregular drenching.
- Matching the right variety to your container depth removes the biggest obstacle before you even sow.
- Rotate containers every few days to ensure even sun exposure across all your plants.
- Try succession planting every 2–3 weeks for a continuous harvest rather than one large batch.
Carrots grown in containers reward the grower who pays attention to the details, right variety, right depth, right moisture, and the harvest reflects every bit of that care.
Wrapping Up
Growing carrots in containers is proof that a good harvest doesn’t need a lot of land, just the right approach.
With a suitable pot, loose soil, and a little seasonal awareness, even the most compact space can produce something genuinely worth harvesting.
The learning curve is short, and the results get better each time you grow.
If you’ve tried container carrots before or are planning your first sow, drop your experience in the comments below. Would love to know what variety you’re starting with.