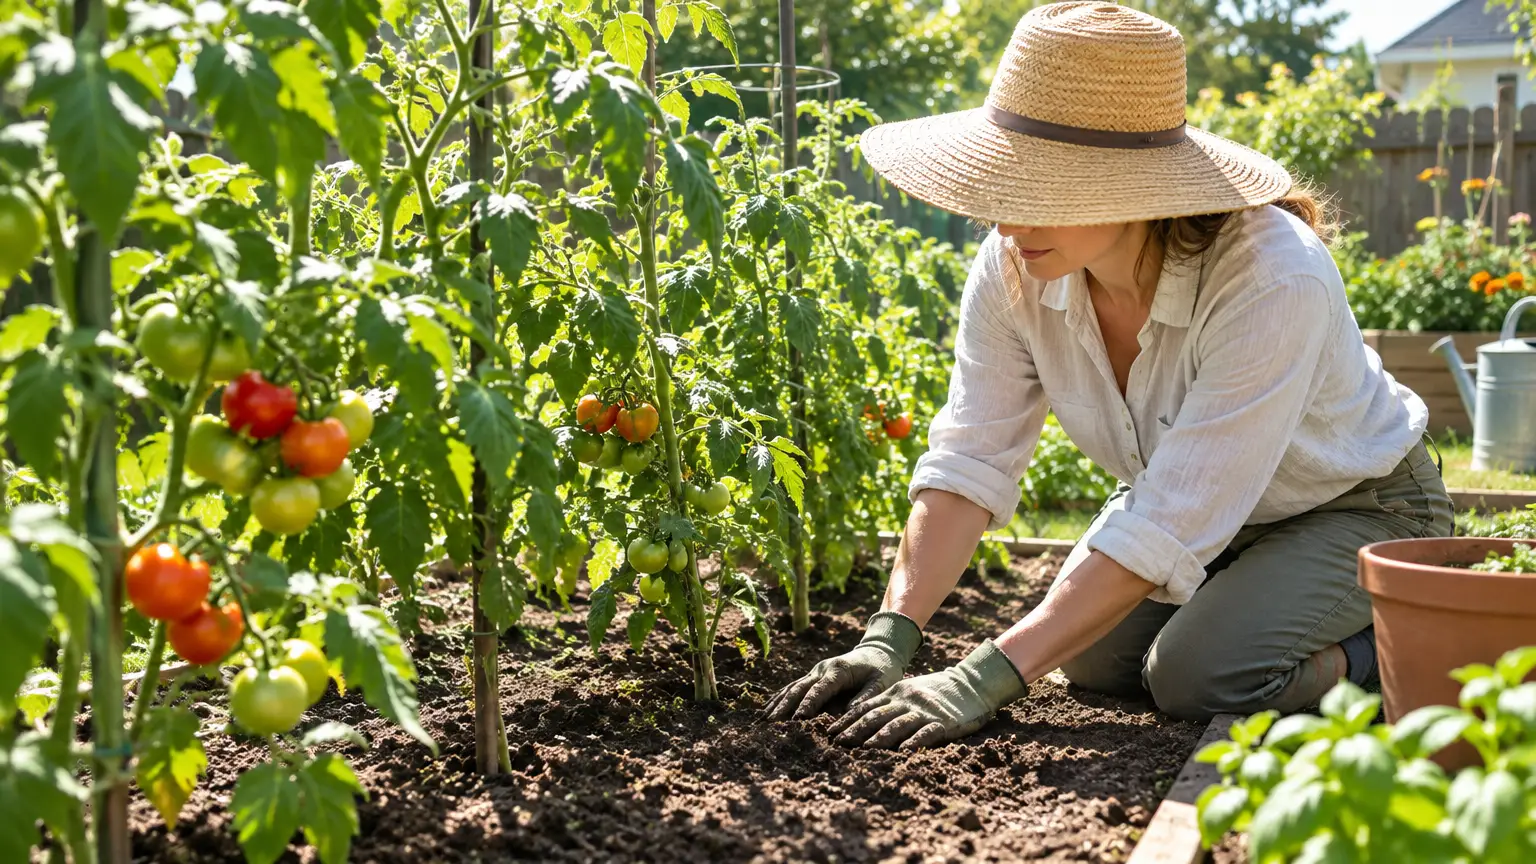
Most people dig first and plan second. That’s why so many raised beds end up in the wrong spot – too shady by July, too close to the fence to work around comfortably, positioned where the garden hose doesn’t reach without a second extension.
Garden planning feels like a delay. It isn’t. An afternoon with a rough sketch and a few measurements saves a full season of frustration. And whether you’re putting in one 48 raised bed or redesigning the whole backyard garden layout from scratch, the planning process is the same – you just apply it at different scales.
This guide walks through it step by step.
Step 1 – Map Your Yard Before You Touch the Soil
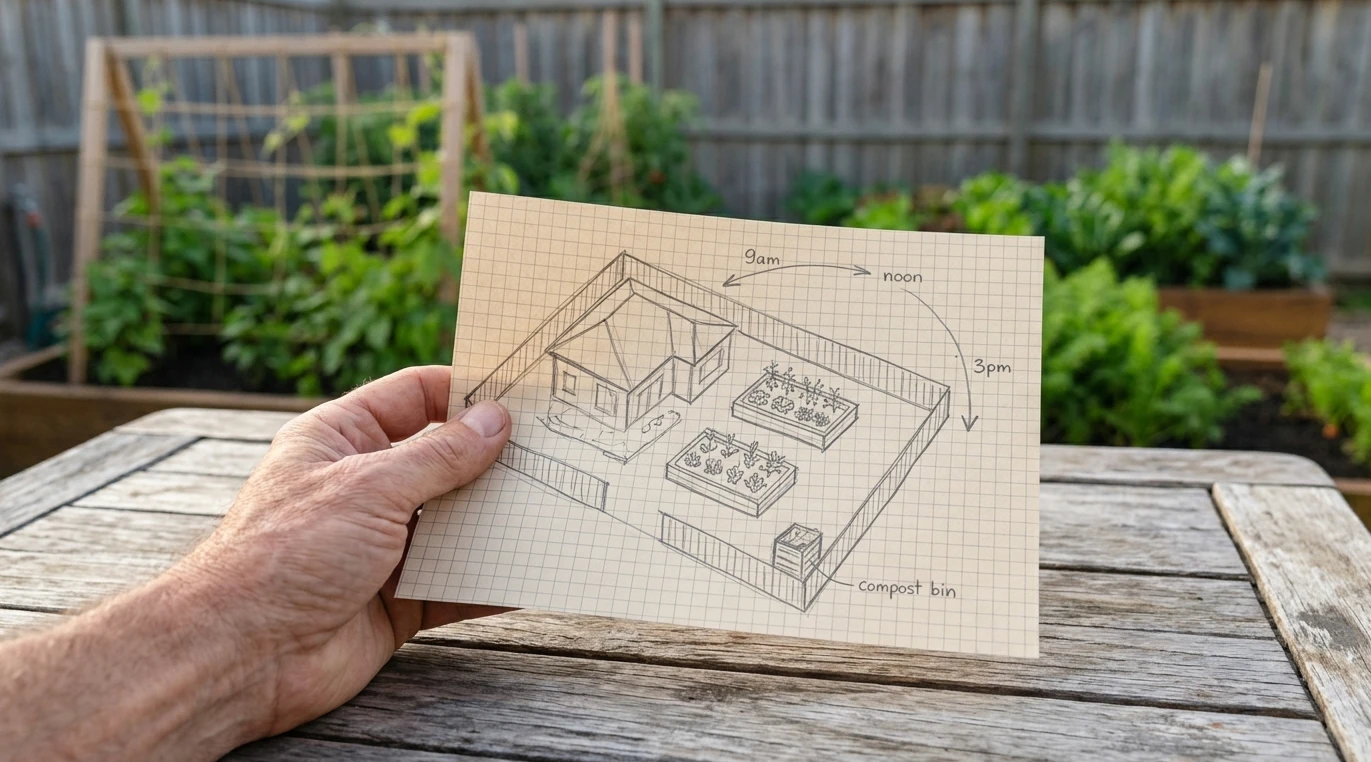
The first move in any garden layout plan is a site audit. You’re gathering information, not making decisions yet.
Measure the space. You don’t need exact architectural precision – a tape measure and a notepad will do. Sketch the rough outline of your yard, mark the house position, note where the fence lines are, and mark any fixed elements: trees, existing garden beds, the shed, the compost bin, the outdoor tap.
Track the sun. This is the step most beginner garden layouts get wrong, and it’s the most consequential one. Walk outside at three different times – 9am, noon, and 3pm – and note which parts of the yard are in full sun, partial shade, or full shade at each point. Do this on a clear day and note it directly on your sketch.
In most yards, the sun pattern shifts meaningfully between spring and midsummer, because the sun arc is higher in summer and lower in spring and autumn. If you’re planning in March for a summer garden, the bed that gets full sun now might get partial shade by June. Most vegetables need 6-8 hours of direct sun daily. Leafy greens can manage with 4-6. Root vegetables sit somewhere in the middle.
Check drainage. After the next rain, walk the yard and note where water pools and where it drains quickly. Raised beds solve most drainage problems by elevating the root zone above the waterlogged areas, but in-ground beds placed in a drainage low point will struggle no matter what you plant.
Mark access points. Where do you enter the yard with a wheelbarrow? Where’s the tap? Where will you be standing when you water, weed, and harvest? These determine where paths need to go, which affects where beds can go.
Step 2 – Decide What You’re Growing and How Much Space It Needs
Before drawing a single bed, list what you actually want to grow. Then look up the space requirements for each plant. This step separates functional garden layout plans from the ones that look good on paper and fail in practice.
A rough guide to spacing for common vegetables:
| Crop | Minimum row spacing | Notes |
|---|---|---|
| Tomatoes | 24-36 inches apart | Need staking or cage, need airflow |
| Zucchini | 36-48 inches apart | Sprawls aggressively, needs more space than expected |
| Beans (bush) | 18-24 inches between rows | Can be interplanted with lettuce |
| Lettuce | 8-12 inches apart | Tolerates partial shade, good for edges |
| Carrots | 2-3 inches apart, 12-inch rows | Need deep, loose soil – raised beds ideal |
| Cucumber | 12 inches apart on trellis | Vertical growing saves horizontal space |
| Peppers | 18-24 inches apart | Compact, good for smaller beds |
| Kale | 12-18 inches apart | Grows tall, consider back-of-bed placement |
One zucchini plant needs about 9-12 square feet of space to itself. Most first-time gardeners plant two or three and end up overwhelmed with zucchini by August and out of space for everything else. One plant is usually enough for a family.
Knowing the space requirements before drawing the layout prevents the most common beginner garden layout mistake: packing too much into too little space and then thinning plants mid-season after you’ve already invested time in them.
Step 3 – Raised Beds vs. In-Ground vs. Containers
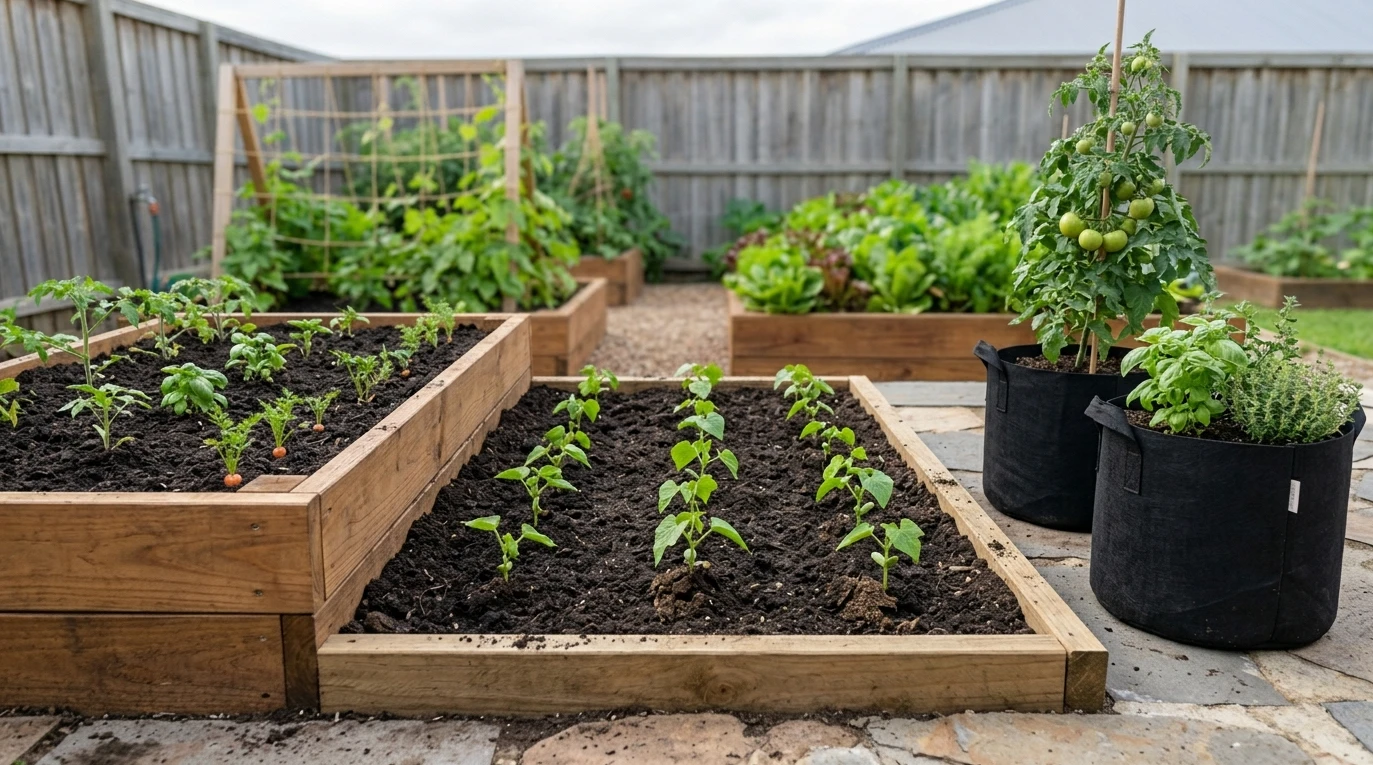
The right structure depends on your soil, your budget, your mobility, and how much you’re willing to invest upfront versus annually.
Raised beds are the most popular starting point for good reason. You control the soil entirely – no compaction, no clay, no rocks, no weed seeds from existing ground. Drainage is better by default. Soil warms up earlier in spring. The defined edges make the garden look intentional even when it’s mid-season and slightly chaotic.
The tradeoff is upfront cost. A decent 48 cedar raised bed with quality soil fill costs AU$150-$300 to set up properly. Cheap timber rots within a few seasons. The materials worth using: untreated cedar (expensive but long-lived), galvanised corrugated steel (increasingly popular in Australian backyards, handles heat well), or treated pine rated for garden use – not CCA-treated, which contains arsenic.
Bed depth matters more than most guides admit. 6 inches of good soil grows lettuce and herbs. 12 inches handles most vegetables. 18 inches is what you want for carrots, parsnips, and deep-rooted plants. If you’re building one bed, build it 12 inches deep at minimum.
In-ground beds make sense when your existing soil is workable – loamy, drains well, not full of rocks or tree roots. They’re cheaper to establish and can be any size or shape. The disadvantages: you’re dealing with whatever’s already in the ground, whether that’s compacted clay, weed seeds, or soil that’s been walked on for years. Significant amendment is usually needed.
Containers are the right starting point for renters, for balconies and courtyards, or for anyone who wants to test a backyard garden layout before committing to permanent structures. A 15-gallon fabric pot grows tomatoes. A window box handles herbs. The limitation is water management – containers dry out significantly faster than beds, which means more frequent watering in summer.
Step 4 – Visualise the Full Layout Before You Build
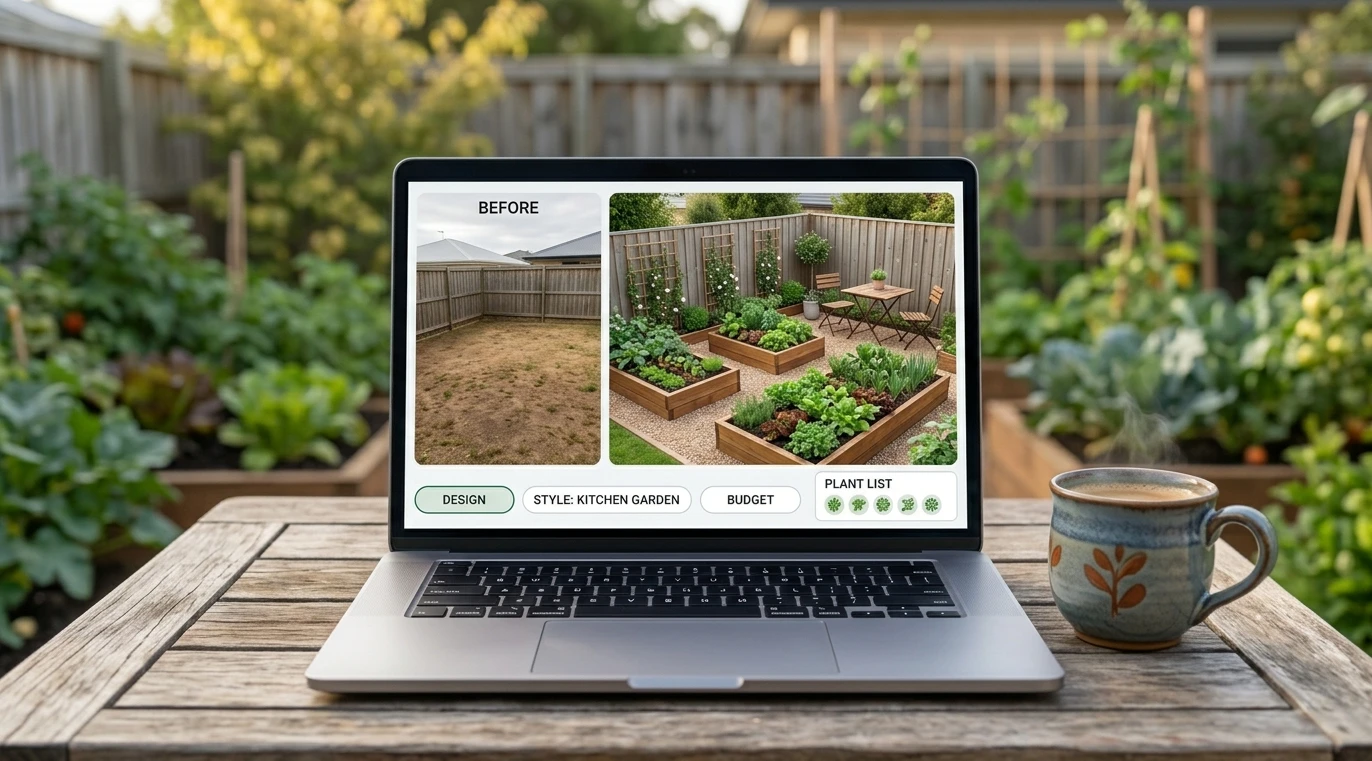
This is the step most garden planning guides skip, and it’s the one that prevents the most expensive mistakes.
Before you buy timber, order soil, or drive stakes into the ground, you need to see your whole yard as a garden – not just the individual beds in isolation, but how they relate to each other, to the paths between them, to the seating area, to the shed, to the fence line.
A rough sketch on paper handles the functional side: how many beds, what size, where. But it doesn’t tell you what the space will actually feel like. Whether three beds in a row look overwhelming or balanced. Whether the path width you’ve planned feels generous or cramped. Whether the bed nearest the fence blocks the view from the kitchen window in a way that bothers you.
I use an AI landscape design tool for this stage. You upload a photo of the actual yard and can test different arrangements visually – how the beds sit in the space, where paths naturally fall, how the whole layout reads as a garden rather than as individual components. I use it mainly for the vegetable section, but it handles the full yard: lawn areas, seating zones, the raised bed cluster near the back fence, the herb spiral near the kitchen door, all of it together.
It’s not a planting tool – it won’t tell you where to put your tomatoes relative to your basil. For that kind of detail, you’re still working from a plan. But for the spatial question of how the whole garden lays out in the actual yard, seeing it visualised before breaking ground has saved me from at least two configurations I thought would work until I saw them rendered and realised they wouldn’t.
Fifteen minutes testing layouts on screen. Then go buy the timber.
Step 5 – Plan Paths First, Then Beds
Paths are the part of garden layout planning that beginners consistently underestimate, and they’re the reason otherwise well-designed gardens become frustrating to work in after one season.
The minimum useful path width is 18 inches – enough to walk through without brushing plants. The comfortable working path width is 24-30 inches – enough to kneel, set down a trug or bucket, and turn around without stepping on something. If you’re planning to run a wheelbarrow through, 36 inches minimum.
Primary paths – the ones you use every time you enter the garden – are worth surfacing. Compacted gravel, stepping stones, or recycled brick all work. Unsurfaced paths become mud in winter and hard-packed dirt in summer. Both are unpleasant to work on.
Secondary paths between closely-spaced beds can be narrower and unsurfaced, but they still need to exist. The reach limit for most adults from one side of a bed is 24 inches. A standard 4-foot-wide bed can be worked from both sides without stepping in it – which means it needs paths on both sides, not just the one you naturally stand on.
The beds come second. Once you know where the paths are, the beds fill in the remaining space.
Step 6 – Build in Crop Rotation From the Start
A garden layout that doesn’t account for rotation will either perform poorly after the first year or require you to redesign the beds entirely by year three.
The principle is straightforward: don’t grow the same plant family in the same bed two years in a row. Different plant families take different nutrients from the soil and leave different things behind. Growing tomatoes (nightshade family) in the same bed three years running depletes specific nutrients and builds up soil pathogens that target that family specifically.
The standard four-bed rotation divides crops into four groups:
- Bed 1: Nightshades – tomatoes, peppers, eggplant
- Bed 2: Legumes – beans, peas (these fix nitrogen, improving soil for the next occupant)
- Bed 3: Brassicas – kale, cabbage, broccoli, cauliflower
- Bed 4: Root vegetables – carrots, beetroot, onions, garlic
Each year, each group moves one bed clockwise. The legume bed is your soil improver – whatever follows legumes gets nitrogen-enriched soil, so position your heaviest feeders (nightshades, brassicas) to follow the legume bed in the rotation.
If you’re starting with one or two beds rather than four, plan your rotation on paper anyway. It tells you what to plant where in year one to set up the sequence you want in years two and three.
Step 7 – Think About Water Before You Plant Anything
The garden planning step most people do last, if at all, is irrigation – and then they spend their first summer dragging a hose across the yard twice a day.
Sketch your water sources onto your layout plan before finalising bed positions. Mark the outdoor taps, mark the reach of each tap with a standard hose length (typically 10-15 metres), and check that every bed you’ve planned is within comfortable reach. If it isn’t, either move the bed or budget for a tap extension before you build.
For Perth gardens especially: drip irrigation on a timer is worth setting up from the start. Hand-watering through a 42-degree Perth summer is genuinely unpleasant and inconsistent – plants prefer deep, regular watering over frequent shallow watering, and a drip system delivers that without daily effort. The upfront cost for a basic drip kit is $80-$150 and it pays for itself in one season.
Mulch is the other water management tool that makes an immediate difference. 3-4 inches of sugar cane mulch or lucerne around beds reduces evaporation significantly, keeps soil temperature more stable, and suppresses weeds. In a Perth summer, a well-mulched bed retains moisture measurably longer than a bare one.
FAQ
How do I start garden planning if I’ve never grown vegetables before?
Start with one 48 raised bed, good soil, and four to six plants – not seeds. One tomato, one zucchini, one cucumber on a trellis, and two or three lettuce at the front. That’s a manageable first season that teaches you how much space things actually take, how often you need to water, and what problems you’re likely to encounter. Scale up in year two when you know what you’re doing.
What’s the best backyard garden layout for a small yard?
Vertical growing changes what’s possible in a small space significantly. Cucumbers, beans, and some tomato varieties all grow well on a trellis, which converts horizontal space into vertical space. In a small yard, two or three narrow beds (3 feet wide, worked from both sides) with a central path and a vertical structure at the far end is more productive per square metre than the same space in wider beds without any vertical element.
Can I use AI to plan my garden layout?
Paintit.ai lets you upload a photo of your actual yard and test different configurations before committing to anything. It’s most useful before you buy materials, when you’re still deciding on the number of beds, their positions, and how much of the yard to dedicate to growing versus lawn or seating.
How do I know how to plan a garden around existing trees?
Map the drip line – the circle on the ground beneath the outermost edge of the canopy – and assume that zone has significant root competition and reduced water availability. Most vegetable gardens shouldn’t go inside the drip line of a mature tree. They’ll compete for water and nutrients and lose. Position beds in the full-sun areas that are clear of root competition, and use the shade zones under trees for seating, compost, or shade-tolerant ornamentals.
What’s the difference between a garden layout plan for beginners versus experienced growers?
Mostly scale and complexity. A beginner garden layout focuses on getting the fundamentals right: sun, drainage, access, rotation framework, water reach. An experienced grower’s plan might add interplanting schedules, succession planting timelines, season extension structures (cloches, shade cloth), and companion planting strategies. The site audit in Step 1 is identical regardless of experience level. The information you’re collecting is the same – you just use more of it as you get better.