
The ground in my yard was rock-hard, full of weeds, and completely useless for growing anything. I didn’t have a green thumb or a big budget but I still wanted a garden that worked.
That’s when I built my first setup using diy raised garden bed layers. It gave me control, better soil, and way less work. Each layer had a purpose and together, they made all the difference.
Now you’re here, probably tired of digging, guessing, or hoping things will grow. This blog will show you exactly how to build strong layers that feed your plants and keep your bed low-maintenance.
Simple steps. No confusion. If you want real results in your garden, this is how you build the foundation, literally.
What Layering Does for Soil Health and Plant Growth
Layering in raised garden beds isn’t just about stacking stuff to fill the box. It’s about creating a space where plants can grow better, roots can stretch deeper, and soil can stay alive and healthy. Each layer has a job.
The bottom layers, made of sticks, branches, or rough compost, help with drainage and airflow. This keeps water from pooling and lets roots breathe.
Middle layers, like dry leaves, grass clippings, or straw, slowly break down over time. This feeds the soil and supports the tiny bugs and microbes that help your plants grow.
The top layer, good quality soil and compost, is where the roots grow strong.
Layering also cuts down on costs. You don’t need to fill the whole bed with expensive soil. You can use natural, free materials from your yard.
Over time, these layers break down and turn into rich soil. So, layering is all about function, every part plays a role.
DIY Raised Garden Bed Layers
This layering setup works well for most raised garden beds. It helps water drain properly, keeps roots healthy, and cuts down on costs by using free or natural materials.
Here’s a clear breakdown of each layer, from the ground up, to help you build a bed that lasts:
Bottom Layer
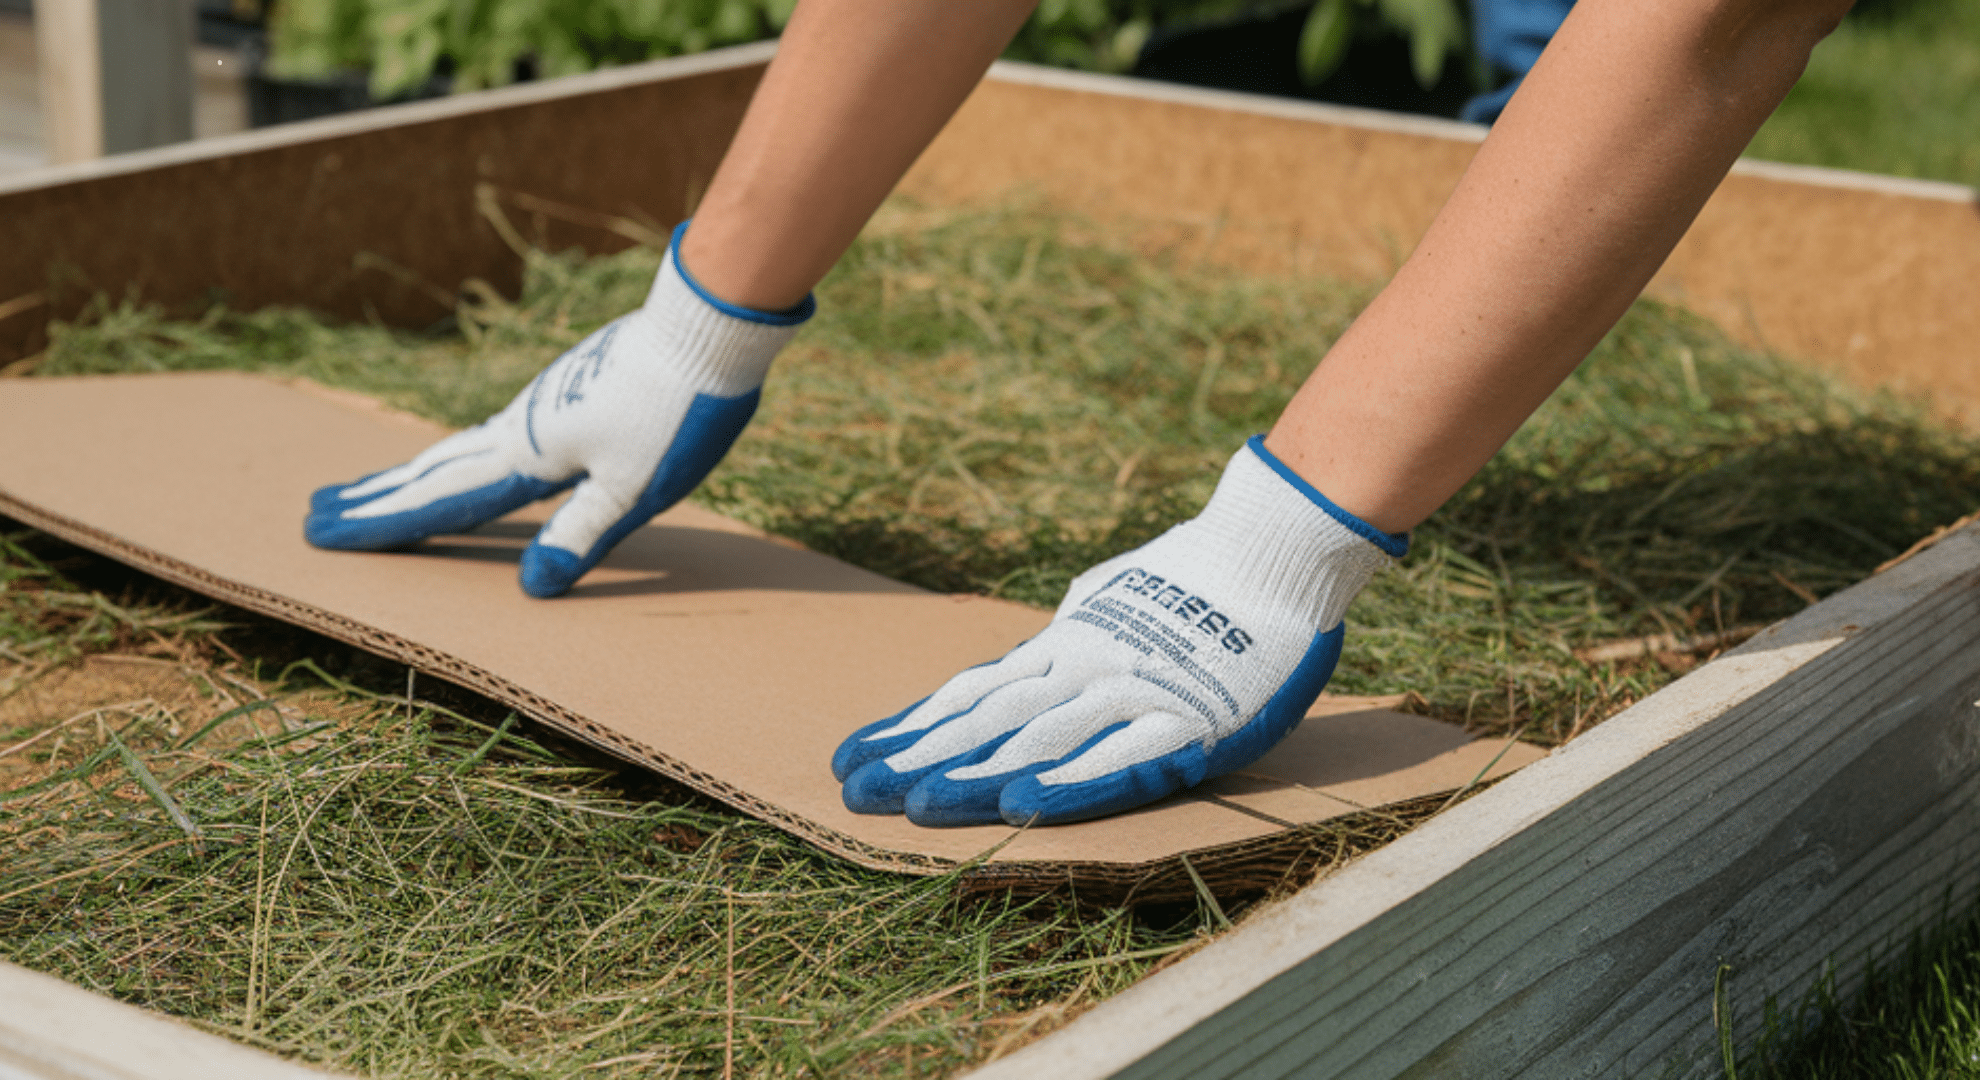
Use cardboard or newspaper (3–5 sheets thick) to block weeds and grass. Avoid plastic or fabric, they stop water and air from moving.
This layer separates your bed from the ground while letting soil life and moisture pass through slowly. It breaks down over time and helps the soil breathe.
Structural Filler Layer
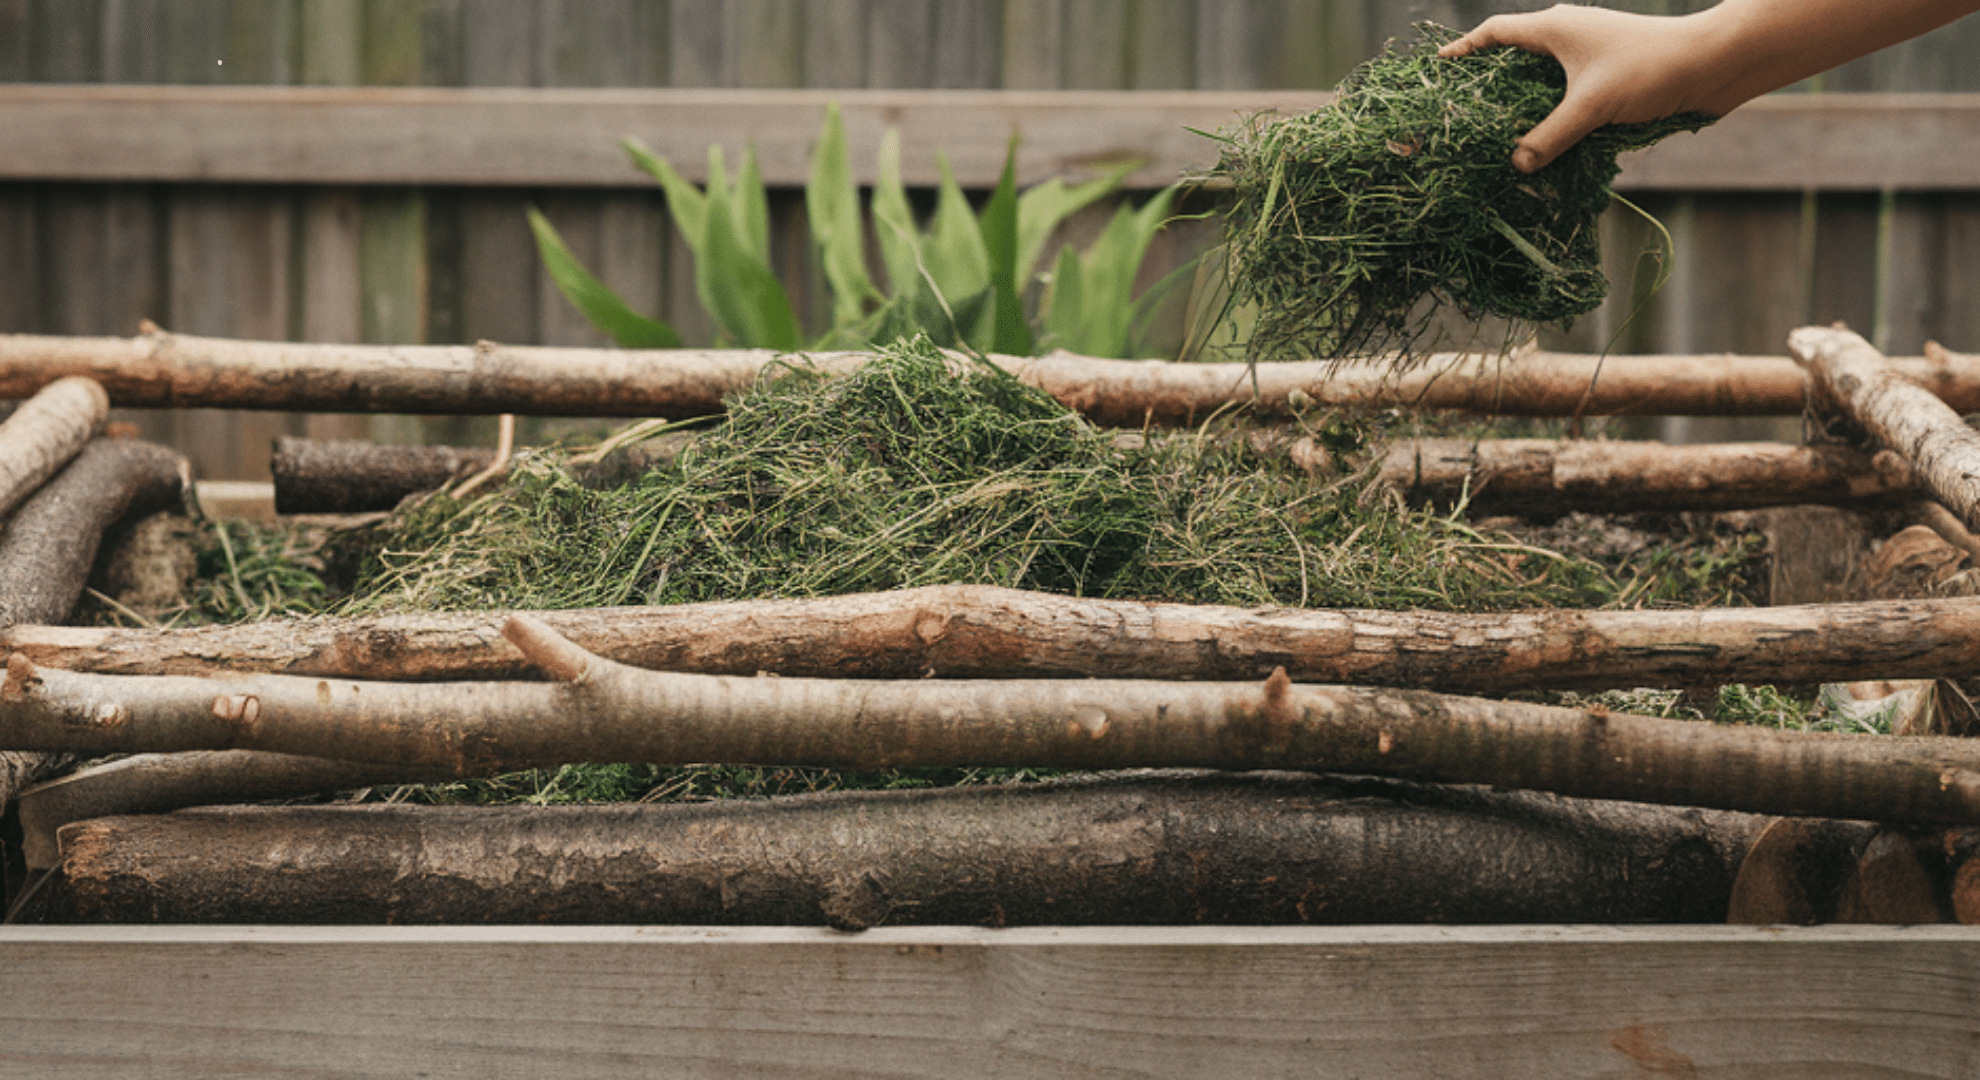
Place thick logs on the bottom, then layer sticks and smaller branches. This fills space and helps water drain without pooling. Use wood only if it’s untreated.
Keep this layer about 6–10 inches deep. To avoid nitrogen loss, cover it with nitrogen-rich material like green grass or kitchen scraps.
Organic Fill Layer
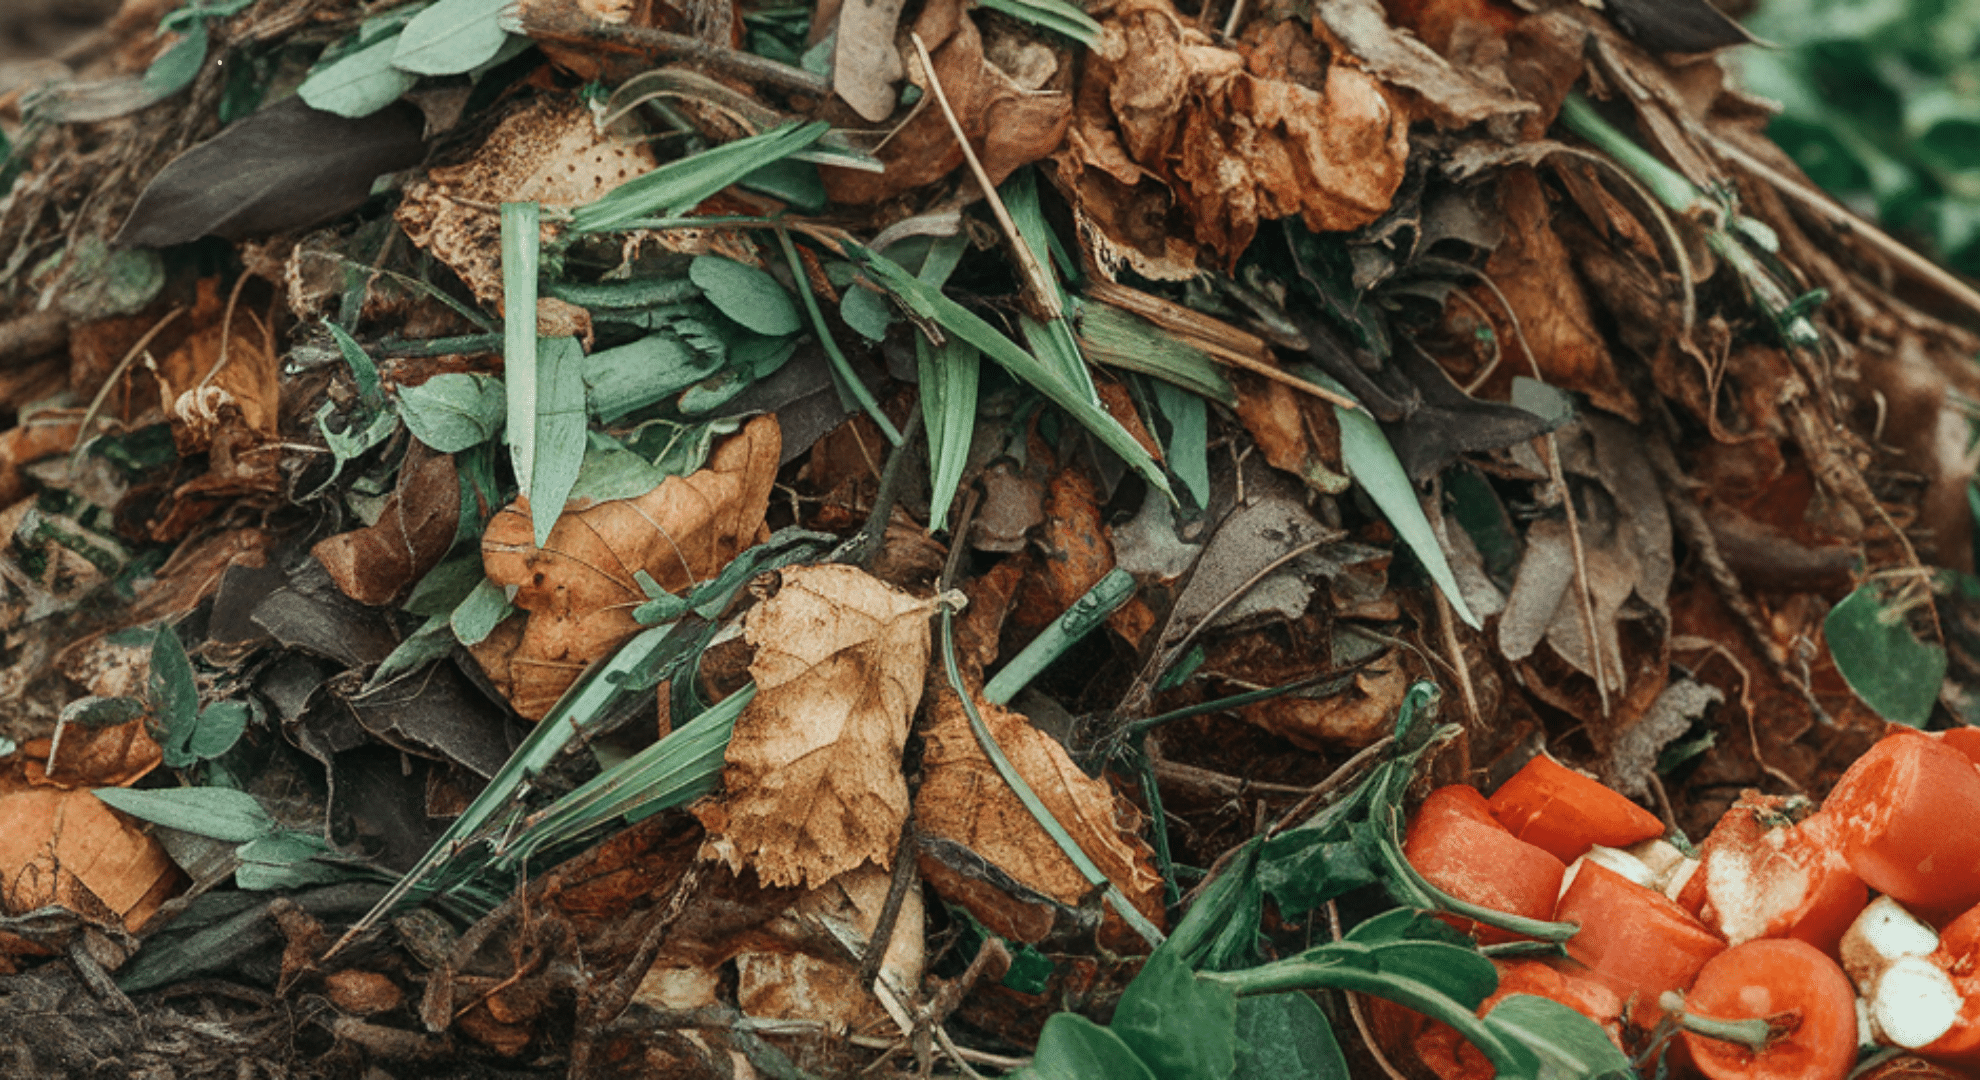
This layer adds bulk and feeds the bed over time. Use dry leaves, grass clippings, or chopped garden waste. Skip large branches or anything that takes years to break down.
Avoid weeds with seeds. This layer should be fluffy, not packed tight, to support airflow and soil organisms.
Nutrient Layer
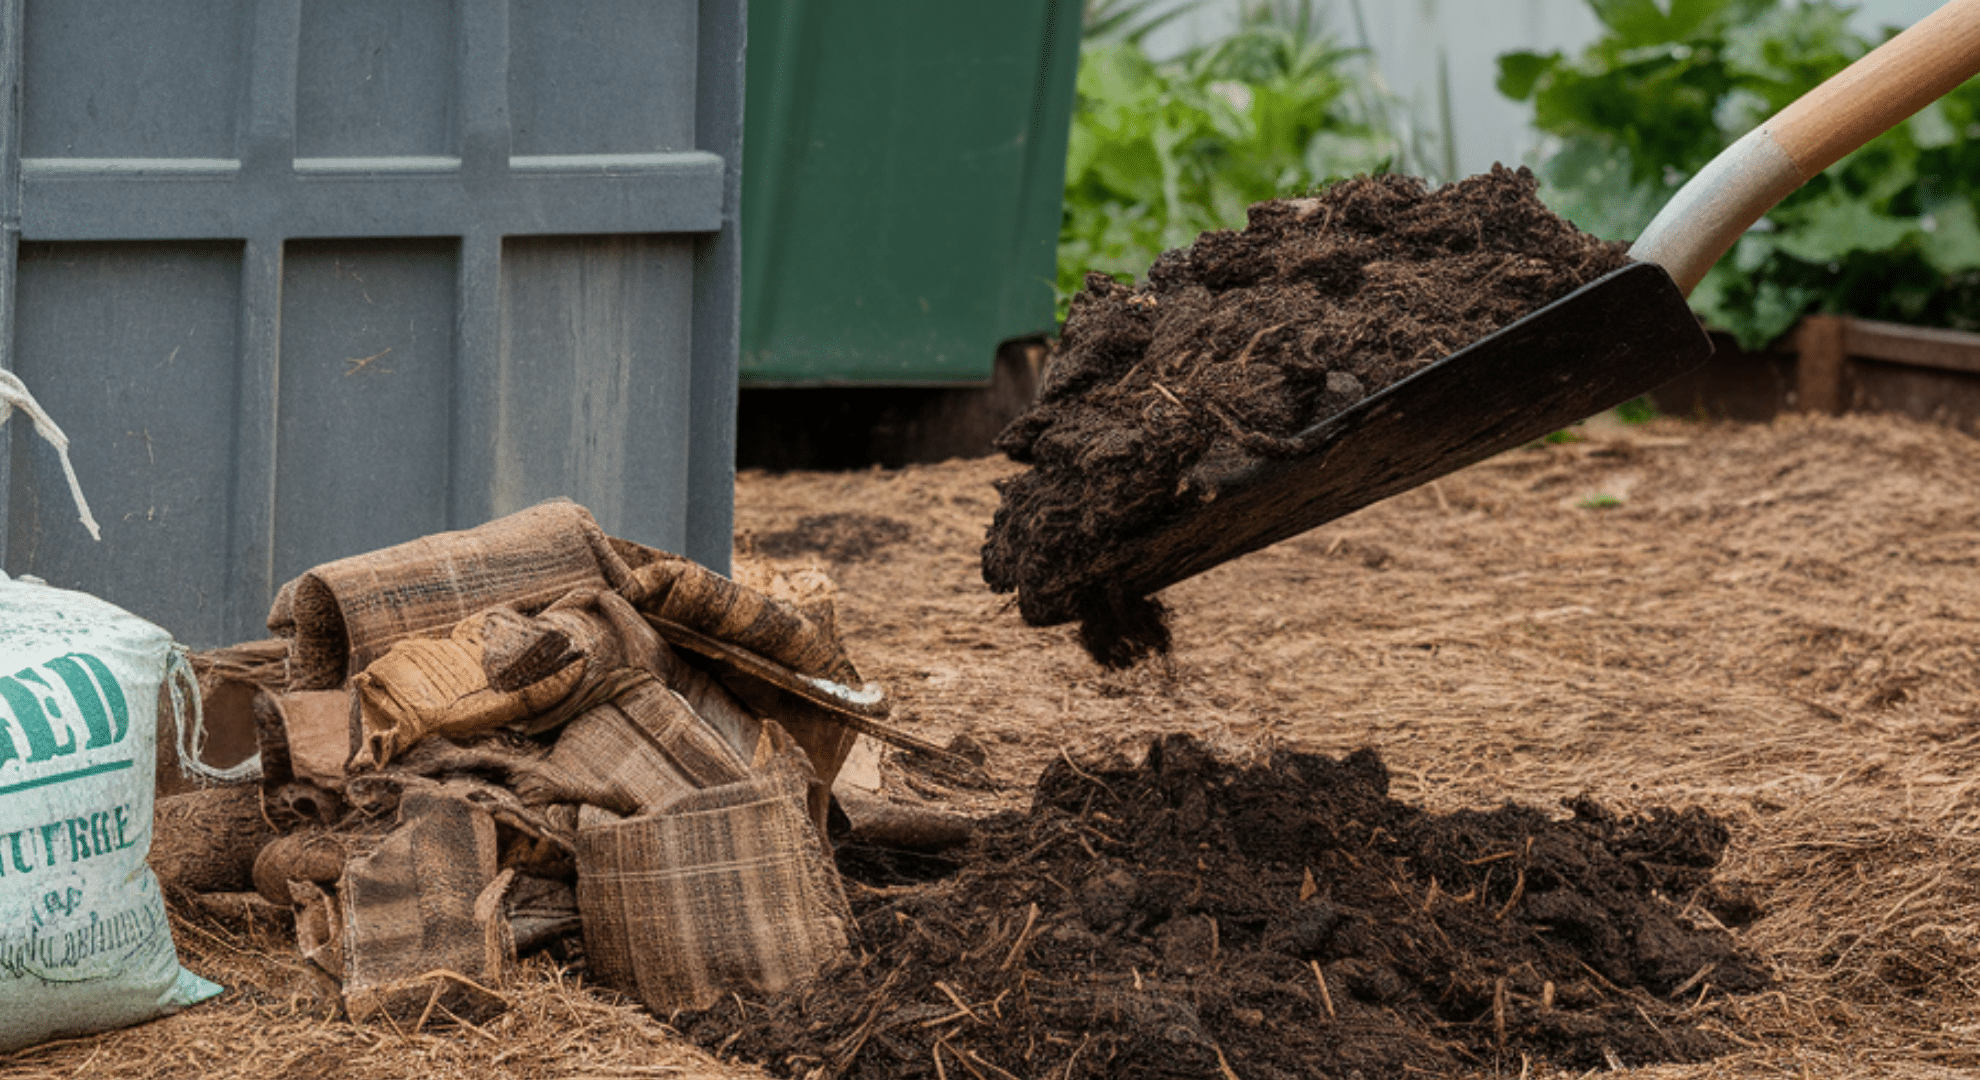
This is the power source for your plants. Compost and aged manure add nutrients that plants need right away. Aim for 3–6 inches.
Compost is best for balanced feeding, while aged manure is richer but needs to be fully broken down. Don’t use fresh manure, it can burn roots.
Top Layer
This is where your plants live and grow, so don’t skimp here. Use at least 6–12 inches of rich soil. A good mix is 60% topsoil, 30% compost, and 10% sand or perlite.
Keep it loose and deep enough for roots to spread, hold water, and support strong growth.
Layering Guidelines Based on Raised Bed Depth
How you layer your bed depends on how deep it is.
Shallow raised beds (under 12 inches) don’t have much room, so skip filler layers like logs or thick branches. Focus on cardboard, compost, and rich soil to make the most of the space.
Medium-depth beds (12–24 inches) allow for a thin filler layer at the bottom, then add yard waste, compost, and topsoil. Balance structure and nutrients.
Deep beds (over 24 inches) benefit most from full layering: logs, sticks, leaves, compost, and a thick soil top. These beds hold more material and stay fertile longer.
Skip bulky filler layers when space is limited, and always make sure your top soil layer is deep enough for roots to grow well.
Sustainable Layering Practices for Long-Term Garden Health
Building raised beds with the right layers isn’t just smart; it’s also better for the planet.
When you use natural, local materials like fallen leaves, grass clippings, sticks, and food scraps, you keep waste out of landfills and cut down on the need for bagged soil.
Layering this way also supports worms, fungi, and tiny microbes that work below the surface to break materials down and feed your plants.
Here’s how to keep your garden bed sustainable:
- Use what you already have in your yard or kitchen
- Avoid synthetic liners or plastics
- Add compost often to keep the soil active
- Let materials break down slowly instead of tossing them
Each season, the layers will break down more, turning into rich, dark soil. Your plants will grow stronger year after year, and the bed will need less upkeep.
It’s a simple way to keep your garden healthy for the long run.
Materials to Avoid When Layering a Raised Garden Bed
Some materials can do more harm than good in a raised bed. They may block drainage, introduce toxins, or attract pests. Here’s what to avoid and why:
- Plastic or trash: Blocks airflow and water movement; doesn’t break down and may leak harmful chemicals.
- Treated wood scraps: Often contain chemicals like arsenic or copper that can soak into the soil.
- Rocks or gravel: Traps water instead of draining it; can also raise soil temperature too much.
- Fresh food waste: Draws pests like rats or flies, and breaks down too slowly in the garden bed.
- Pet waste: May carry bacteria or parasites that aren’t safe for growing food.
- Weeds with seeds: These can sprout later and choke out your plants.
Using clean, natural layers helps protect your garden and keeps your plants growing strong.
What to Expect After Filling Your Raised Garden Bed
Once your raised garden bed is filled and layered, you might notice a few changes in the first few weeks. The materials will start to settle, especially if you used logs, sticks, or lots of yard waste.
This is normal. You may need to top off the soil after a few rains. The layers underneath will slowly break down, which is good for soil health but can cause the bed to shrink a bit over time.
You’ll also see the soil warm up faster than the ground around it. That helps seeds sprout and roots grow quicker.
Worms and other small bugs may move in too, that’s a sign of healthy soil. As the layers break down, nutrients will continue to feed your plants.
Over the season, expect stronger growth, better drainage, and fewer weeds. Your bed becomes more productive and easier to manage each year with proper care.
Common Layering Mistakes and How to Avoid Them
Layering a raised garden bed is simple, but a few small mistakes can lead to poor plant growth or drainage problems. Knowing what to watch for can save you time and effort later.
- Using too much woody material: It can tie up nitrogen and slow plant growth. Balance it with compost or greens.
- Packing layers too tightly: Blocks airflow and water movement.
- Adding fresh manure: It’s too strong and can burn plants, use only aged manure.
- Skipping the topsoil layer: Plants need a deep, rich top layer to grow strong roots.
- Using materials that won’t break down: Items like thick branches or corn stalks can take years to decompose.
- Not topping off the bed after settling: Beds shrink as materials break down, add more soil as needed.
Avoiding these issues helps your garden bed stay productive, healthy, and easier to manage.
Conclusion
Learning how diy raised garden bed layers work showed me that it’s not about having perfect soil or fancy tools. It’s about building the bed with purpose, layer by layer, and letting nature take over from there.
Now you’ve got what you need to do the same. You know what each layer does, how to build them right, and what to avoid. Use what you have, keep things simple, and trust the process.
A strong bed now means less work later and better plants all season.
Before you finish, remember this: your topsoil is where the real growth happens, don’t go thin on it.
Want more down-to-earth garden tips that make sense? Check out the other blogs and keep building your skills!


