Most homeowners start planning a home extension with floor plans, budgets, and material choices. Natural light gets treated as a final layer – something addressed when picking windows from a catalogue. That’s the wrong order. Daylight is a structural ingredient, and how you manage it will determine whether your finished extension feels alive or oppressive.
Start With Orientation Before You Draw a Single Line
The direction in which your extension faces with its surroundings is the single biggest factor controlling the quality and character of your natural light. South light can be warm and welcoming or the harshest in terms of detail-showing contrast. North light is flattering but cold, adding little warmth or glow to the room. East light is great in the morning but flat in the afternoon while west light is flat in the morning but beautiful in the evening.
A north-facing extension is constantly bathed in cool, consistent, balanced light. It’s lovely for a kitchen extension as it provides glare-free working conditions, and common in artists’ studios as it helps colours stay true to themselves. However, this light doesn’t help out with heating the space, making it feel that much colder in the winter months. This is when the U-value of your glazing becomes the priority followed closely by the thermal performance and aesthetics of your frame.
One huge pane of glass pointing straight at the sun is going to make your extension hot. The same pane pointing up at the sky isn’t going to be. In July, up to 1,000 watts of the sun’s energy falls on each square meter of the Earth’s surface. This solar heat gain coefficient (SHGC) of your glass becomes critical on a southerly glazing spec – a low SHGC value means less solar radiation passes through the window or door and into the room, which limits summertime overheating without having to mask the glass area up with blinds or curtains.
Vertical Windows Versus Overhead Glazing – They’re Not Equivalent
Many people think that you can make a deep extension light enough by just throwing in some bi-folds or a big wall of glass. You can’t – certainly not away from the window.
Vertical glazing is good at lighting walls. The light comes in at a low angle, and the wall basks in it. Walk a few feet into the room and the light level falls off a cliff. Overhead light does things differently. A skylight in the middle of a room sends light streaming downwards and it fills up the room like water filling a hole. According to the Daylight & Sunlight guidelines (BR 209, Building Research Establishment), roof lights give up to 300% more useful light than the equivalent area of vertical glazing. The same guidelines suggest that living rooms should achieve an Average Daylight Factor of 2% and bedrooms 1.5% – levels that deep open-plan extensions miss with glazing alone.
This is more than a theoretical difference. This is the difference between a room that looks nice in a brochure and one you actually want to spend time in.
The Deep Plan Problem in Single-Storey Extensions
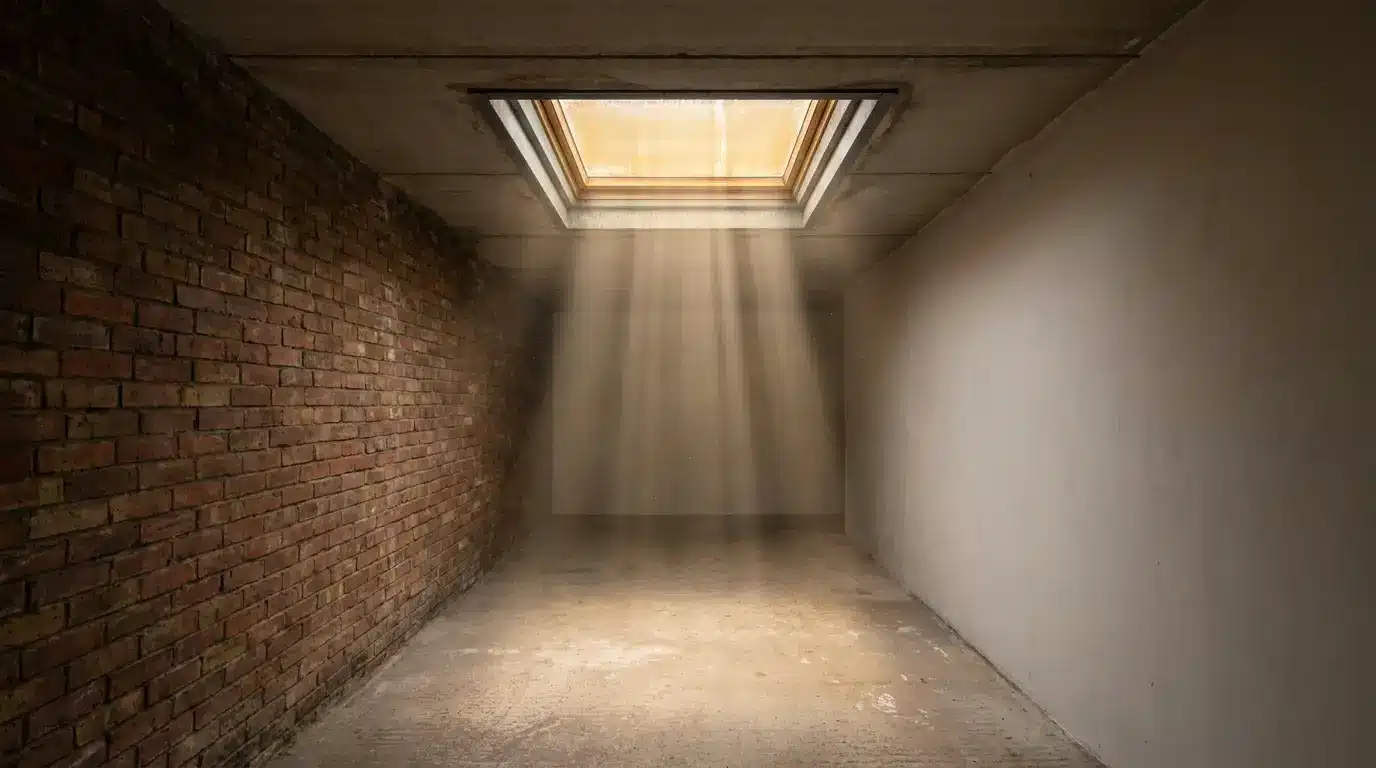
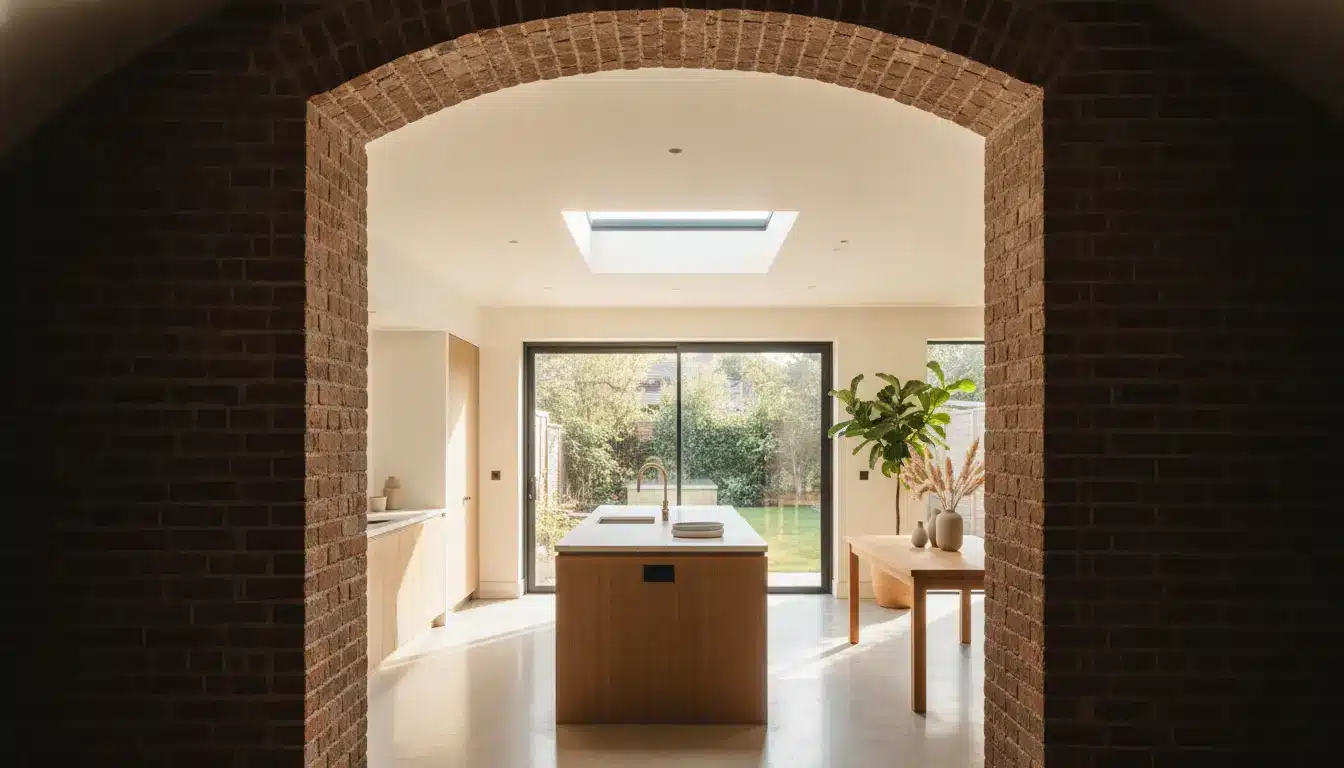
New extensions are often low, open-plan, and occupy more space than old extensions. Most new extensions to the rear of houses push outward from the rear wall of the original house six to eight meters. The kitchen or dining room at the end gets light from bi-folds or a rear wall window. No problem. But the transitional zone – the middle segment that attaches the old house to the new room – receives none of the light.
This area in the middle sits in permanent shadow. Original rooms like a rear reception lose their primary light source once the extension is built in front of them. The result is a dark corridor between the old space and the new room. In residential extensions, it is the most common design mistake. A skylight on a flat roof strategically positioned at the meeting point of the old and new section is a fair fix. It doesn’t need much room. A single 1000mm x 1500mm unit can rescue an otherwise dark internal layout. It should be on your schedule before the contractor makes an estimation, not in your mind when you’re already spending too much money.
Structural Requirements When Opening up a Roof
When you’re cutting a hole in a roof, this should be done by design as part of an overall plan. Trusting a builder to say “it’ll be alright” when you ask for a skylight in a new position is a risk not worth taking. If there’s a flat roof or parapet below, the truncated beams of the load transference will need to be supported by a steel structure or specially designed steel joists.
In the worst-case scenario – trying to fix an incorrect removal after the builder has left – you’ll be taking down a section of the roof, installing the unprotected steel, and putting the roof back up, then having to do it again later and repainting. It’s a messy, time-consuming, labour-intensive and expensive business.
Choosing the Right Style of Overhead Glazing
The type of roof on your extension will suggest the right kind of overhead glazing – and it isn’t just about looks. It seriously affects the amount of warmth you keep inside, too.
Get the solution right and allowing in vast amounts of natural light will make little impact on comfort. But getting the technical details right is a bit more of a science than you might imagine.
For Pitched Roofs
Nothing will let in quite the volume of light and add such drama to a room with a flat ceiling as a roof lantern. Essentially, a roof lantern is no more than a box of glazing fixed to a curb, above the roof plane. It’s like having a high-rise window in the roof – but mechanically fixing the sides to the corners of the roof opening will add a unique level of thermal performance which isn’t necessary with minimal skylights in pitched roofs.
When sourcing certified, high-performance roof glazing that meets building regulations for thermal efficiency, working with a specialist supplier like addlite.co.uk makes a real difference. They supply structurally sound, pre-assembled units that simplify the installation process for builders and arrive ready to fit within the structural opening. That matters more than most homeowners realise – a poorly manufactured frame, even with premium glass, can compromise the entire thermal envelope.
For Flat Roofs
The profile of flat glass skylights is so wonderfully low that, used as part of contemporary design, the sleek lines won’t compete with whatever else is going on architecturally. As they sit flush or only slightly above the roof surface, you won’t need to pay too much extra attention to waterproofing and making the unit thermally efficient. The thing that’s easiest to get wrong is detailing around the glazing but an experienced supplier will include that in the design.
The best ones cost more, not just for the glass which should have an argon-filled cavity with a low-e coating on the inside pane but also because it will have an aluminium frame with a thermal break and the supplier will likely have had the unit certified by the likes of the British Standards Institute.
Planning Constraints and Building Regulations You Can’t Ignore
Skylights that are built within Permitted Development regulations cannot extend beyond 150mm beyond the existing roof plane vertically. Any new skylight that extends further than this will need planning permission before work can begin. No alteration to your roof’s shape is allowed if it’s on the side that faces a road and forms the principal or side elevation.
Part L of the Building Regulations sets thermal performance requirements for any new extension. The maximum allowable U-value for roof glazing is 2.2 W/m²K under current standards, though in practice any competent installation should exceed this. If your total glazed area exceeds 25% of the extension floor area, you’ll need to demonstrate through an energy calculation that the building as a whole meets compliance – this typically means compensating elsewhere with higher-performing walls or floors.
Don’t treat Part L as a minimum standard to barely meet. Exceeding it costs relatively little at the point of specification and saves significantly on heating bills over the building’s lifetime.
Glazing Specification – Double, Triple, and the Gas Between
Double glazing with an argon gas fill is the go-to for most domestic glazing and copes capably with nearly all situations. Triple adds a third pane and a second cavity, pushing U-values down to circa 0.6-0.8 W/m²K at the centre of glass. The trade-off is weight, cost, and a small reduction in light transmission.
For overhead glazing in north-facing extensions or in rooms where thermal performance is the overriding consideration, triple glazing is probably worth the extra cost. For south-facing skylights, the marginal thermal improvement of triple over double may be outweighed by an even greater improvement in overall thermal performance gained by selecting the most appropriate SHGC value for the climatic conditions.
Laminated safety glass is not an optional extra for overhead applications. It’s a legal requirement. Laminated glass holds together when broken rather than raining shards of glass down on the room below. Any half-decent supplier will automatically specify this for roof positions, but be sure to make this clear when going through the fine print.
Ventilation and the Condensation Problem
A room that’s sealed but has a lot of glazing and no ventilation path is a condensation risk. Kitchens and dining extensions in particular can suffer this fate, as cooking and breathing produce a lot of moisture.
Opening skylight units, either manual or electric with inbuilt rain sensors, afford what’s called purge ventilation. This is the process of rapidly exchanging the air in the room to remove humidity before it has time to condense on cold surfaces. Trickle vents integrated into the frame can also offer this but without the need to have the unit open.
For rooms where an opening skylight isn’t feasible, mechanical extract ventilation must form part of the overall package of measures. As we get better at sealing, this is becoming a necessity.
Note that the rain sensor on electric openers is no longer a luxury. An extension left open overnight in a storm because someone forgot to close the skylight before bed is an expensive mistake. So electric units should include the sensor as standard if specified.
Interior Layout and the Final Step
Once you’ve locked down positions for your skylights and perhaps also your new or altered window, glass door, and clerestory areas, you need to position furnishings and electrical lighting to suit the light sources, not wrestle with them. Screens are the thing that will most regularly and annoyingly have you cursing orientation – screens of all kinds, like your television, monitor and kitchen display, that really don’t love sunlight and are plenty willing to torment your eyes. Put them perpendicular, or at a pinch angle, to overhead glazing. Kitchen benchtops, if you’re considering reflected glare off shiny surfaces, are likewise best oriented beneath or to the side of a skylight, rather than flush against it. They’re also screens of a sort, after all.
Artificial lighting will need to pick up the baton as daylight wanes; try to go for a seamless transition rather than an abrupt switch. Ambient light is your general room level and should not work too hard, clash too sharply with daylight or add unnecessary heat. Task lighting looks after benches and reading. Accent lighting is about drama. Don’t carelessly position a pendant light over where you are planning to sit to read just because it will match centre with your table. It should coalesce with the light entering through your skylights, not fight it.
Natural light doesn’t stay consistent. It shifts through the day, changes with seasons, and disappears at dusk. An extension designed around it – structurally, thermally, and spatially – will perform across all those conditions rather than just looking good in the photography taken at the right time of day.