Some furniture has a story. Not because it’s old or fancy, but because you built it. I remember standing in my garage, staring at a pile of wood, wondering if I could really turn it into something useful.
A few hours later, I had a DIY bar table that actually looked good and fit perfectly in my space. No guessing, no settling. Just something that worked, because I made it.
If you’re here, you’re probably thinking about building one too.
Maybe for your kitchen, balcony, or even your garage. This guide will walk you through everything you need, from picking the right wood to putting the final screw in place.
It’s easier than you think, and honestly? Way more satisfying than buying one.
Is a DIY Bar Table the Right Project for You?
Building your own bar table sounds fun, and it can be. But it helps to know if it fits your skill level, time, and goals.
This project works best for people who enjoy working with their hands, have some basic knowledge of using a saw and drill, and like solving small problems as they go.
You should feel okay measuring, cutting wood, sanding, and using screws or brackets. If you’re new to tools, you can still do it, but expect to go slow and learn as you build.
It usually takes a full weekend to complete. The biggest reasons people struggle are poor planning, uneven cuts, or rushing through steps.
Buying one might be better if you’re short on time, don’t enjoy DIY projects, or need something that looks polished right away. But if you’re up for the effort, the payoff can be worth it.
How to Plan Your Bar Table Project Step-by-Step
Planning your bar table build before you start cutting wood or buying supplies makes everything easier. It helps you stay organized, spend less money, and avoid running into problems halfway through.
Start by choosing where the table will go and how big it should be. This will guide your design. Think about how many people you want it to seat and what style matches your space.
Here are a few key things to figure out before you begin:
- Measure your space and write down the size you want
- Decide on the height based on your chairs or stools
- Pick a design style (simple, rustic, modern, etc.)
- Make a tool and material list before shopping
- Plan your build in stages, not all at once
Once you’ve made your plan, take another look and double-check your steps. Even small changes in size or design can affect how much wood you need or which tools will work best.
A clear plan makes the build smoother and more fun. It gives you more control over the final result and saves you from guessing or backtracking during the build.
Step-by-Step DIY Bar Table
Building your own bar table takes some planning, but once the cutting starts, it’s a straightforward process. Here’s a clear breakdown of the steps to follow.
Each one moves you closer to a sturdy, custom-made bar table that fits your space and stools just right:
Step 1: Determine Final Table Height

Measure the seat height of the bar stools. Add 12 inches to that number to get the correct height for the table. For example, if the stools are 30 inches high, the table should be 42 inches tall.
This height ensures comfortable seating and proper legroom under the tabletop.
Step 2: Measure Chair Width and Depth
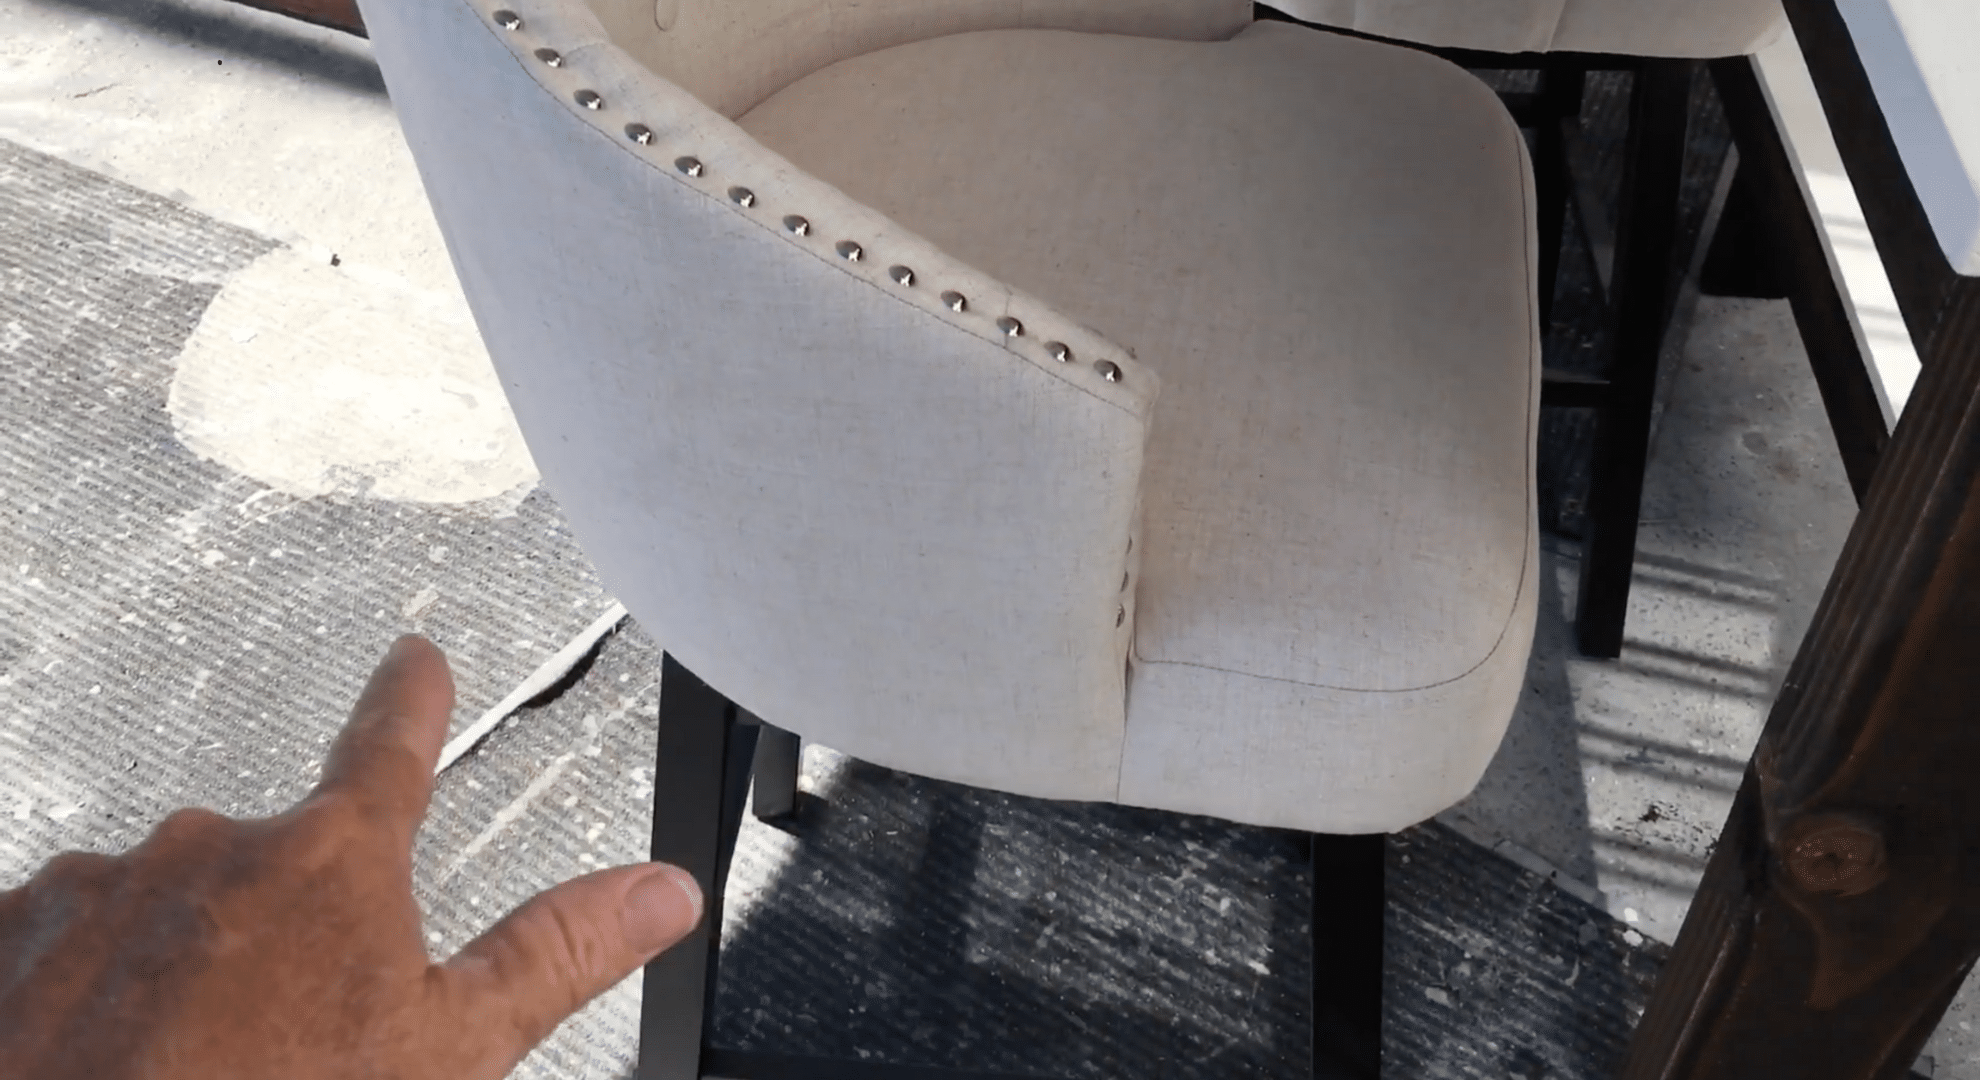
Measure the total width of both stools side by side, then add 12 inches. This gives the inside measurement for the table’s legs.
For depth, take two-thirds of the chair’s depth to determine how far the stools should slide under the table comfortably when in use.
Step 3: Cut All Wood Pieces to Size
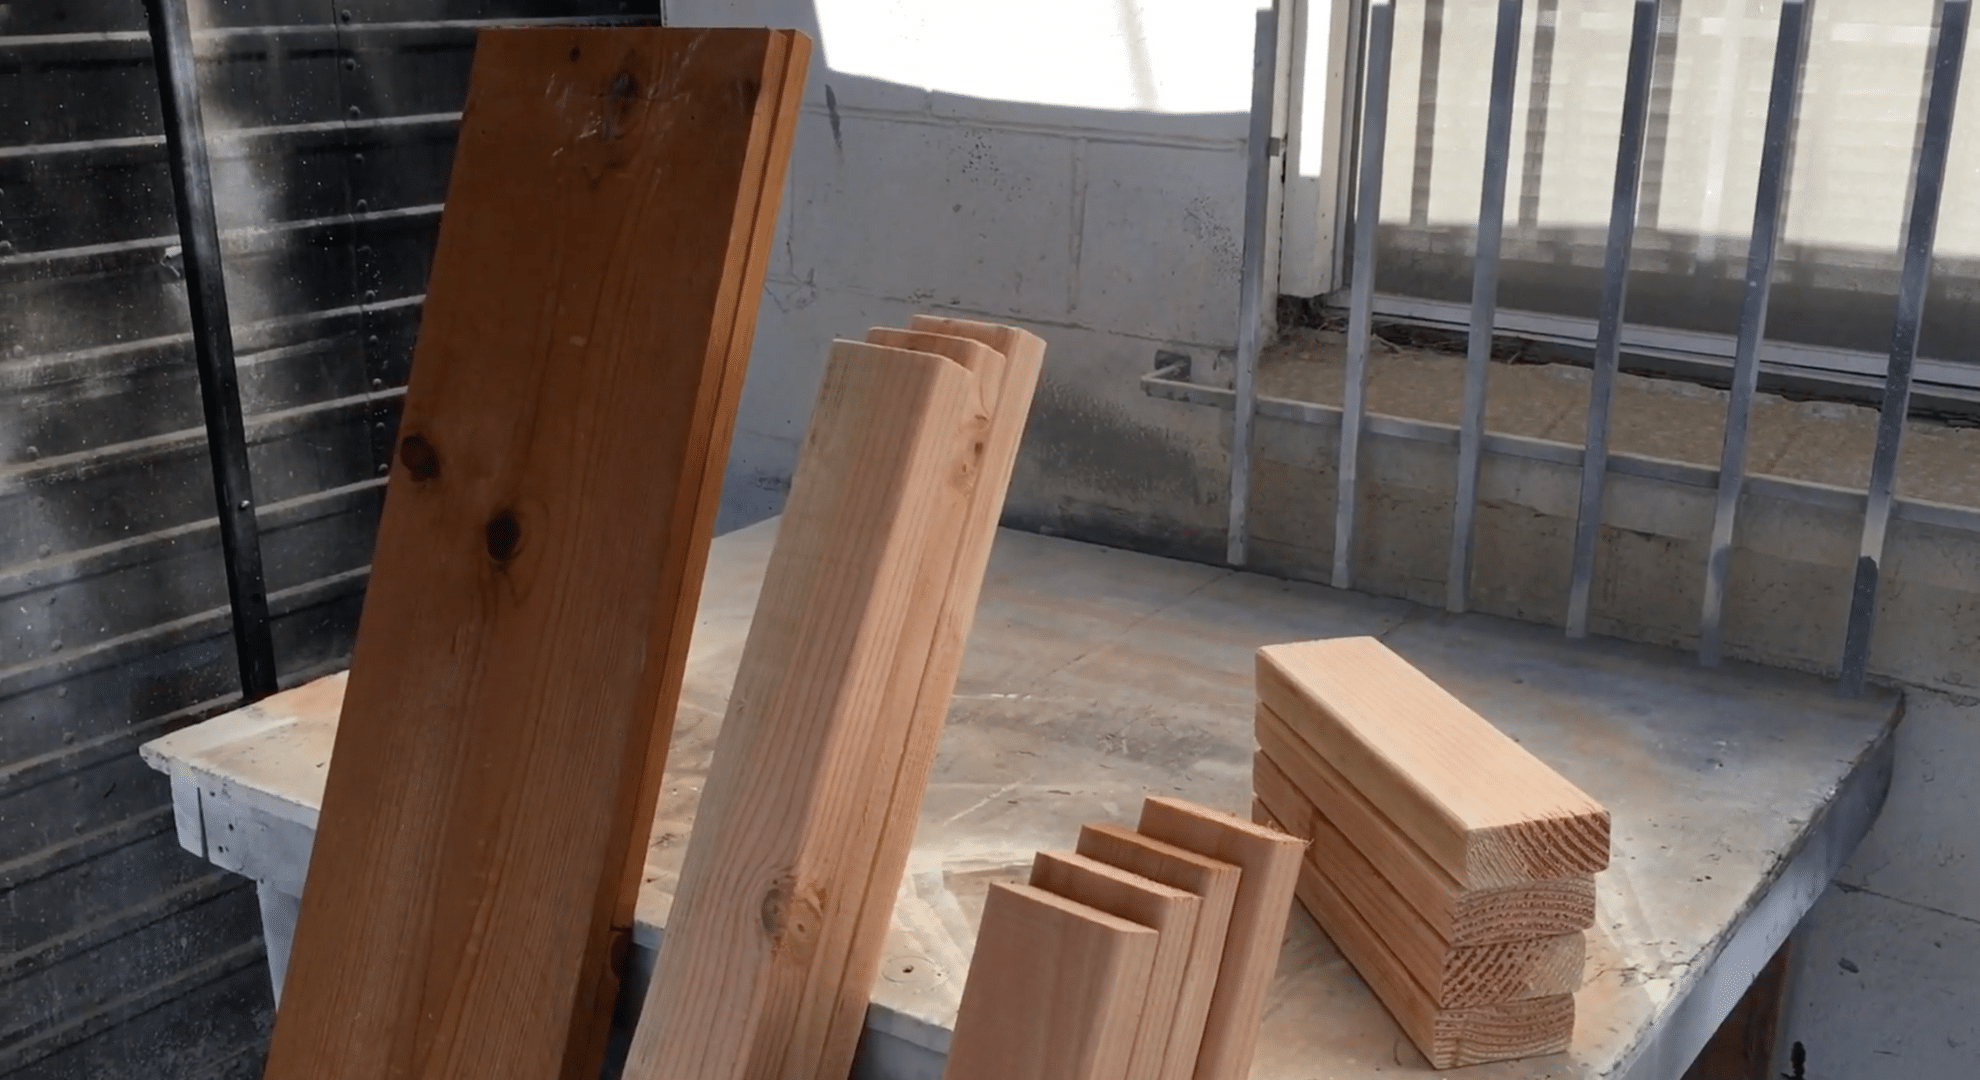
Cut the following from five 8-foot 2×4 boards:
- Four legs at 42 inches
- Four short apron pieces at 13 inches
- Four long apron pieces at 54 inches
Also, prepare two 10-inch wide pine boards (or similar) at 60 inches long for the tabletop surface.
Step 4: Build Two End Frames
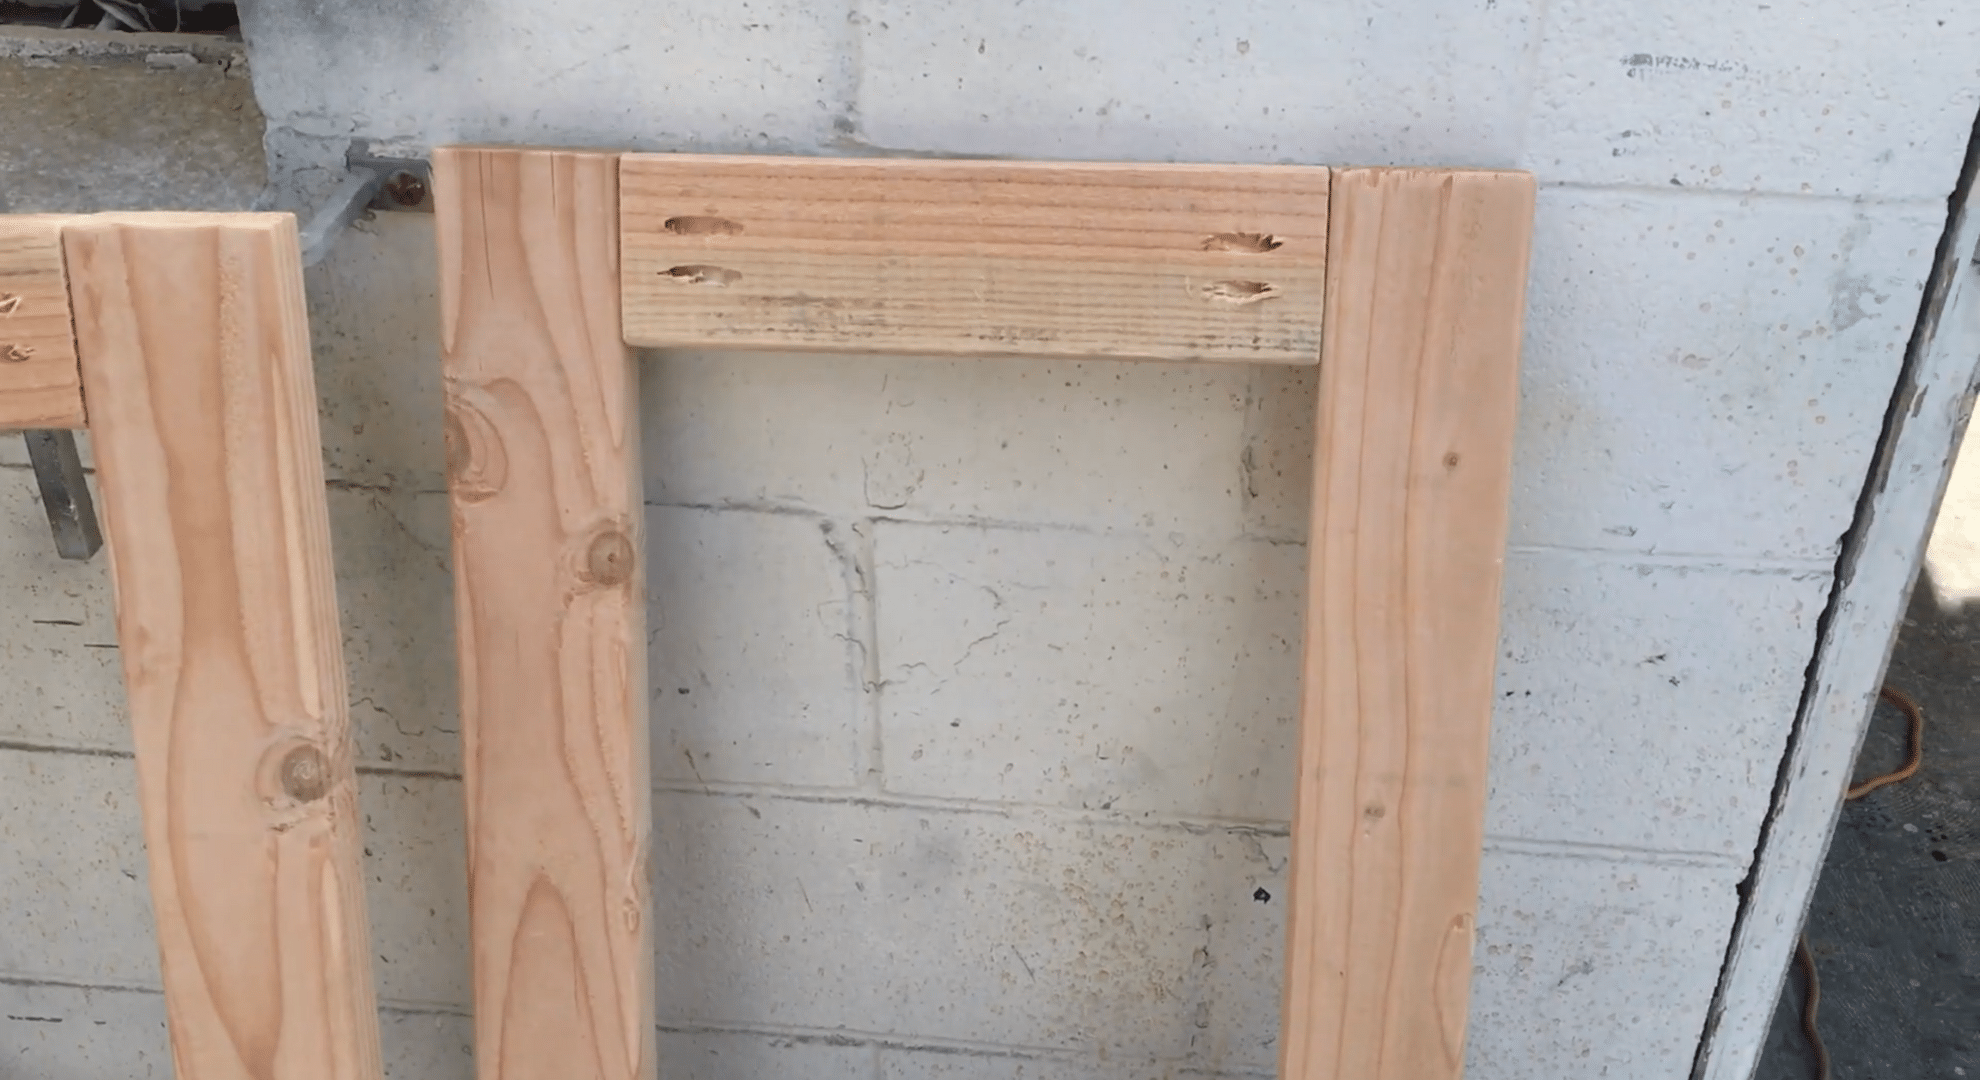
Use a Kreg jig and 1.5-inch screws to attach two short apron pieces between two legs. Position them at the top and bottom, using a spacer to keep the bottom apron at the correct height.
Make sure the frame is square using a speed square or EZ square.
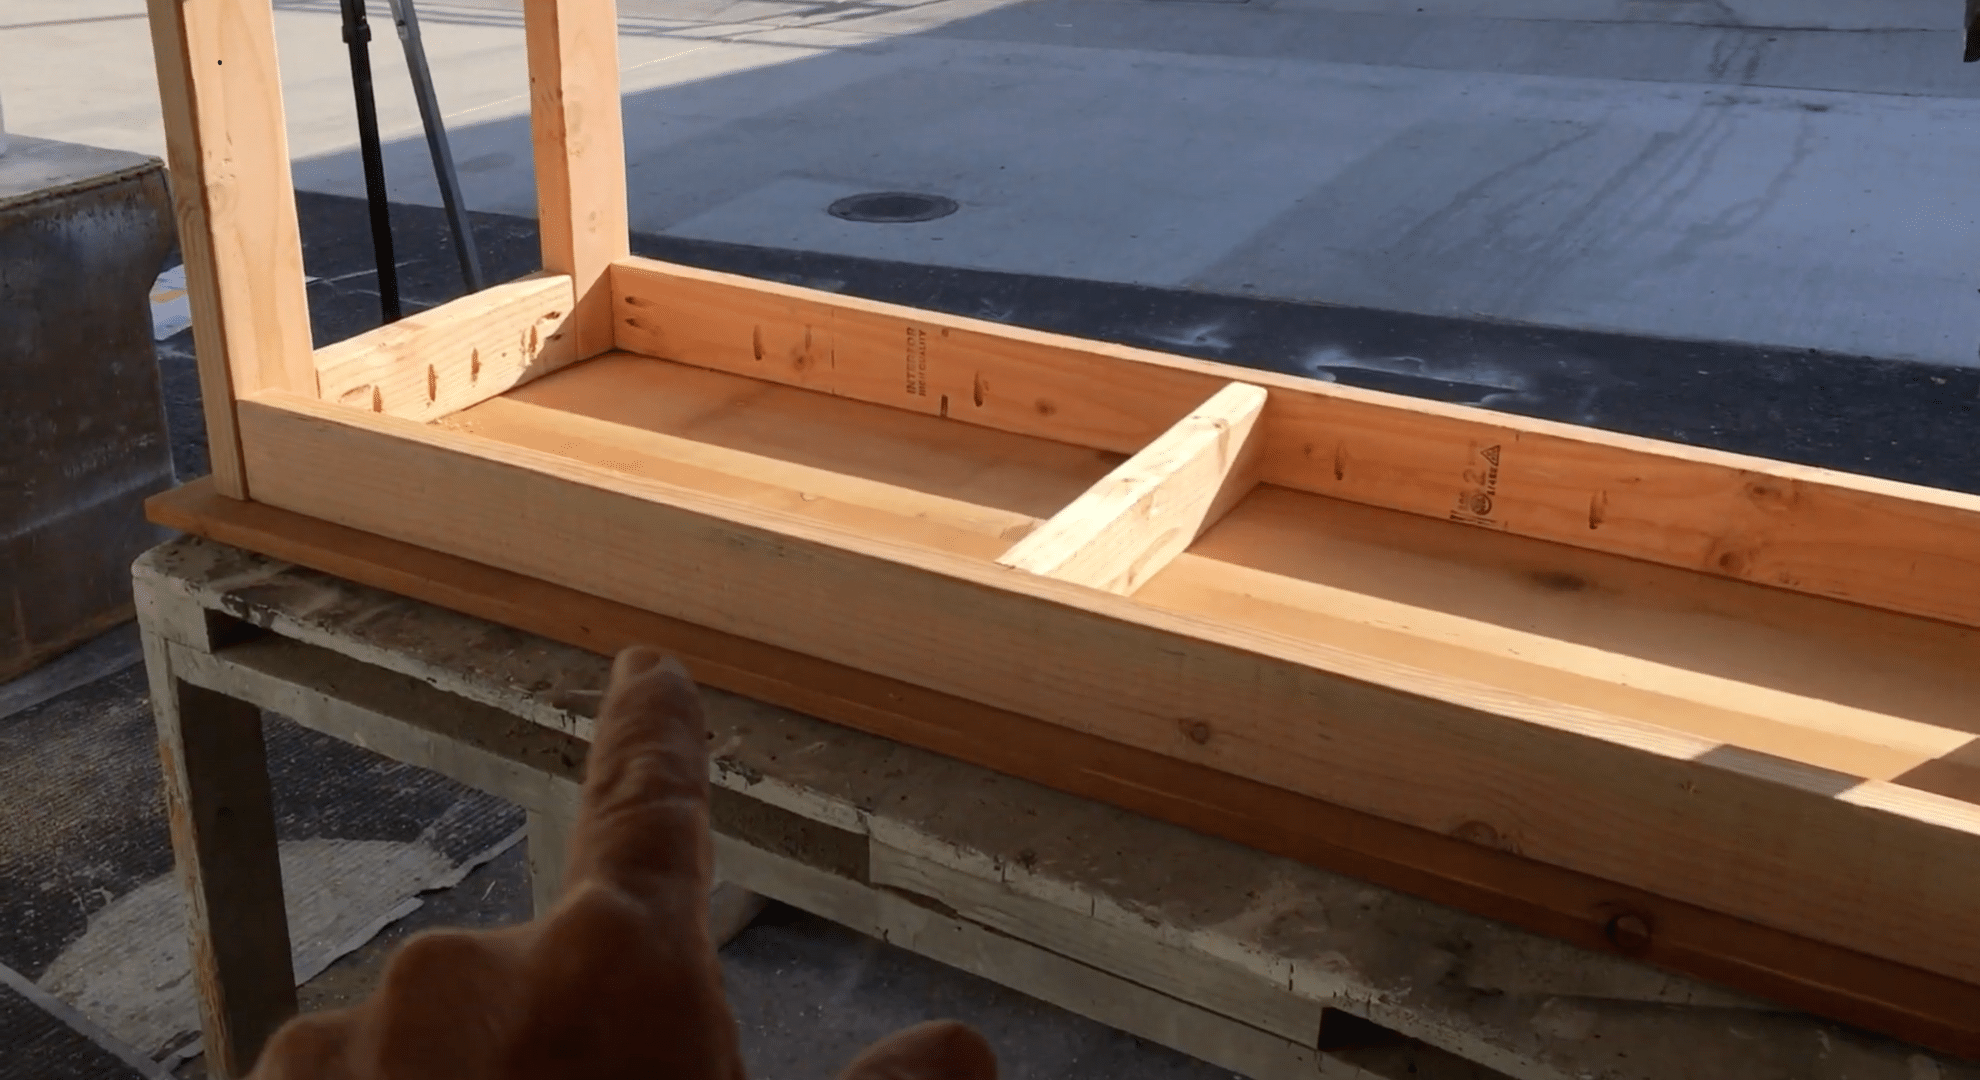
Step 5: Attach Long Apron Pieces to End Frames

Lay one end frame on its side. Use a Kreg jig to attach two 54-inch-long apron boards between the legs.
Repeat on the other side to form a rectangular table frame. Keep joints tight and square before driving in screws.
Step 6: Add Tabletop Surface Boards
Flip the table frame upside down. Place the two pine boards on top, ensuring equal overhang on each side.
Secure them using 1.25-inch Kreg jig screws from underneath, driving screws through the aprons and into the tabletop. Double-check alignment before fastening fully.
Step 7: Sand and Finish the Table
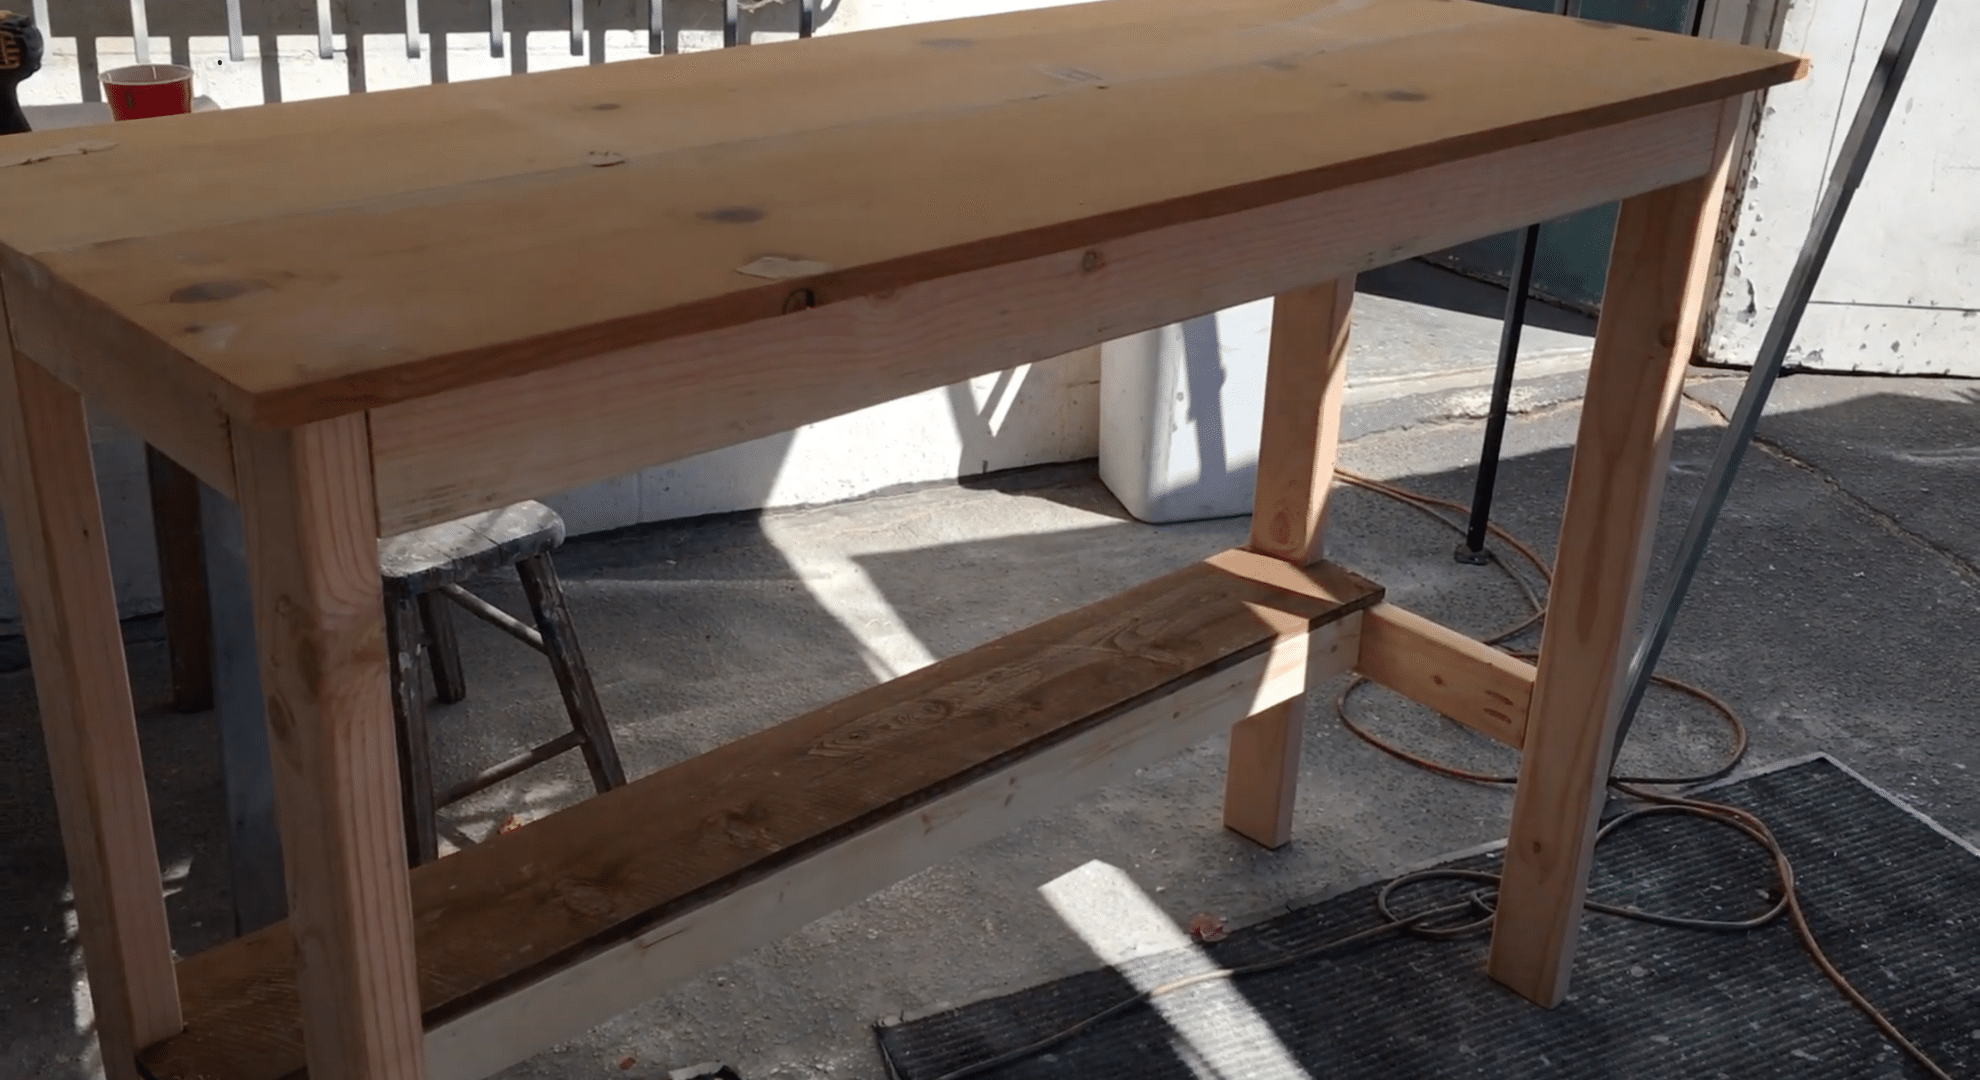
Sand all surfaces, focusing on edges and corners. Choose a wood stain or paint to match your space, then apply evenly and allow it to dry fully.
Finish with a protective clear coat if desired. Let the finish cure before using the table.
If you are looking for a visual tutorial, you can follow the one below.
DIY Bar Table Cost Breakdown
Building your own bar table can save money and give you more control over how it looks and fits your space.
Costs vary based on the type of materials you choose, how polished you want the finish to be, and if you already have tools at home.
| Build Type | Estimated Cost | Includes |
|---|---|---|
| Budget Build | $40–$80 | Basic 2x4s, reclaimed wood, standard screws, minimal finish |
| Mid-Range Build | $90–$150 | Select-grade wood, clean tabletop, quality finish, new hardware |
| With Upgrades | $160–$250+ | Hardwood or butcher block top, premium stain/sealant, smoother finish |
| Buying Retail | $200–$600+ | Store-bought table, no custom sizing, includes markup and shipping fees |
If you’re just starting out or on a tight budget, the basic build still gives you a strong and useful table.
But if this table will be in a main area or used daily, upgrading your wood and finish is often worth the extra cost.
Taking Care of the Table You Built
Once your bar table is built, a few simple habits will help it last longer and keep it looking good. No matter if you’re keeping it indoors or using it outside, regular care makes a big difference.
- Wipe it down with a damp cloth weekly to keep dust and spills from settling in
- Avoid placing hot or wet items directly on the surface; use coasters or placemats
- Reapply wood finish or sealant once a year to protect the surface from wear
- If outside, use a waterproof cover when not in use to protect from rain and sun
- Keep it out of direct sunlight indoors to prevent fading or drying out the wood
- Tighten screws or bolts every few months to keep the structure stable
- Don’t drag it across the floor; lift it when moving to avoid weakening joints
By keeping up with these small steps, you’ll protect the time and effort you put into building it. A little care goes a long way, especially if the table is in daily use or exposed to the weather.
Conclusion
I didn’t expect a simple project like building a DIY bar table to be this rewarding. It wasn’t perfect, but it was real, something I built with my own hands that fit my space just right. That’s what makes it worth doing.
Now that you’ve read through the steps, it’s your move.
You’ve got a clear plan, helpful tips, and a sense of what to expect. Take what you’ve learned and turn it into something that works for you.
Start simple, trust your measurements, and enjoy the process.
One last reminder: don’t rush the finish.
A little extra time goes a long way. If this project inspired you, check out more on the website. Your next build might be waiting!