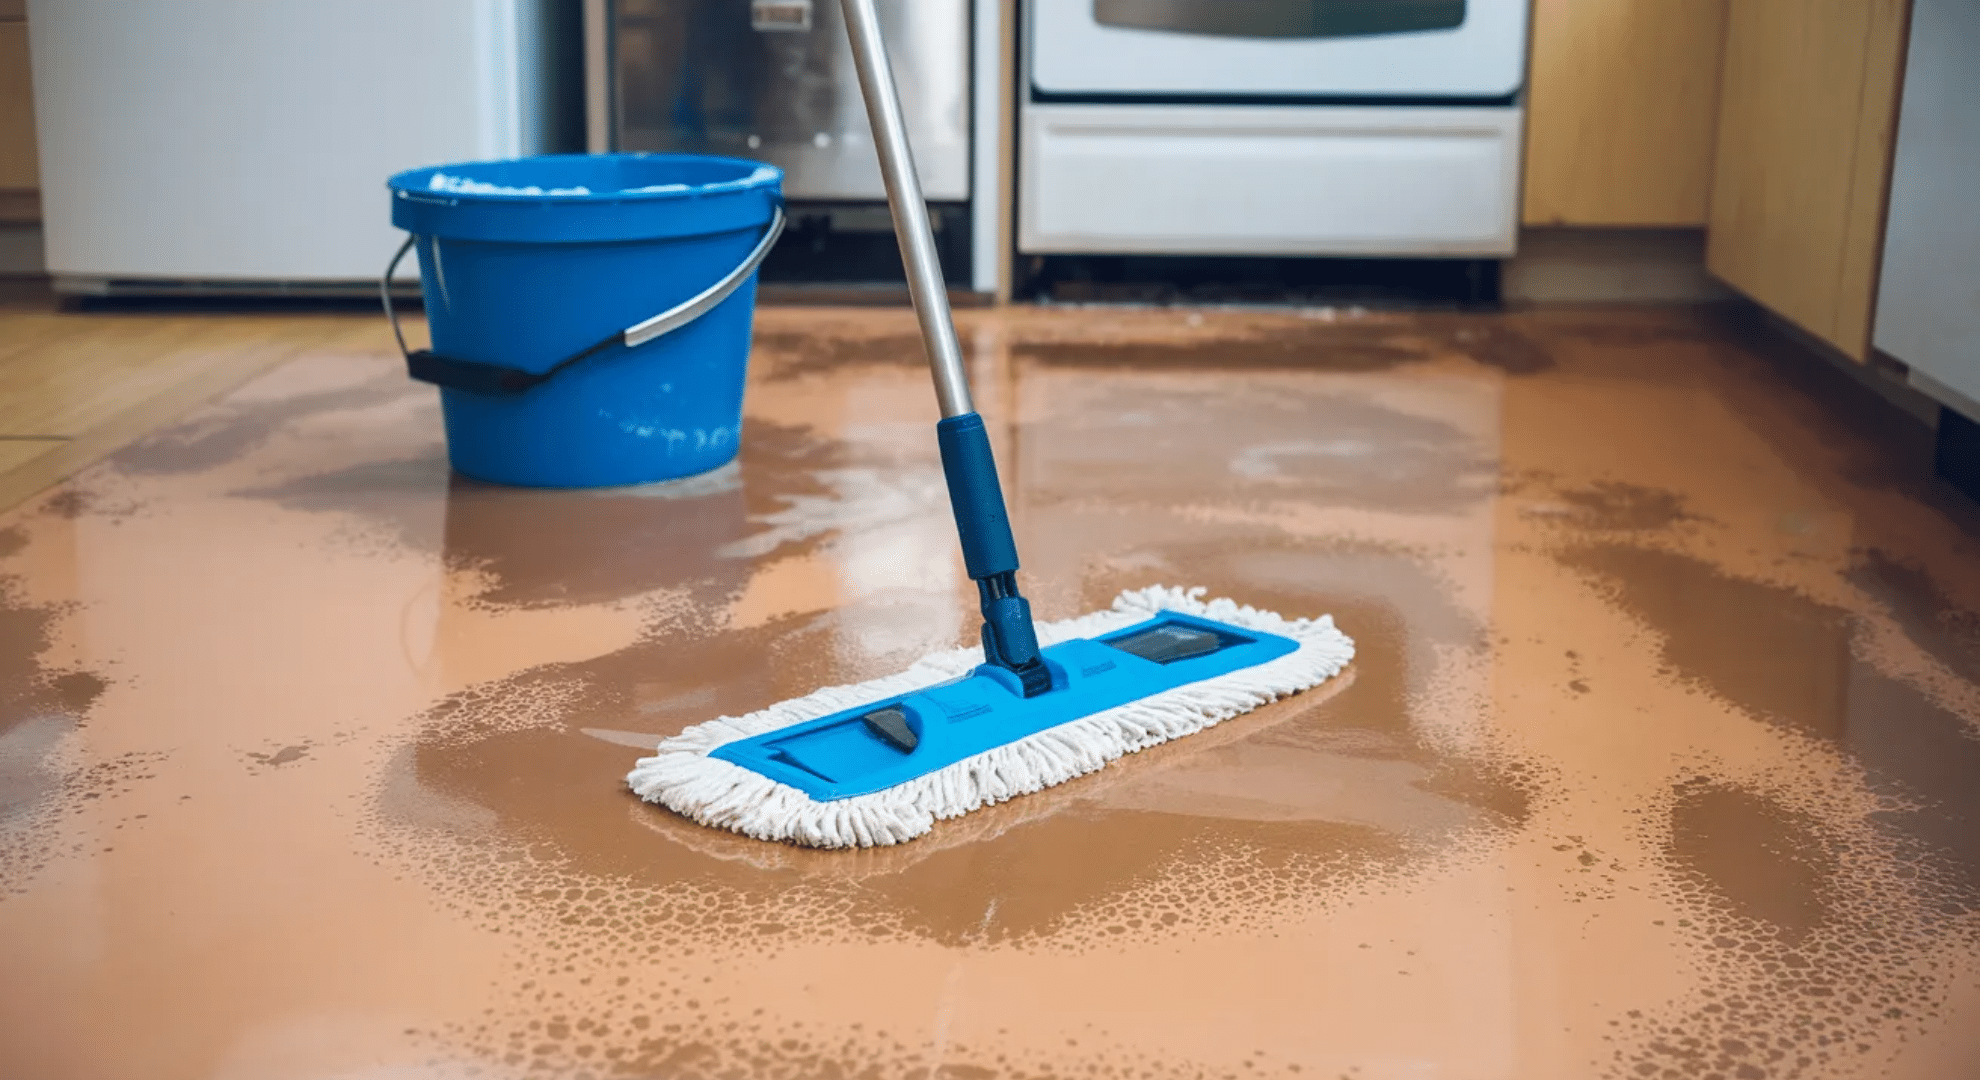
I started making my own diy floor cleaner about two years ago, and honestly, I haven’t looked back since. It began as a way to cut costs, but I quickly realized homemade solutions work just as well, sometimes better than the store-bought stuff loaded with chemicals I can’t even pronounce.
Plus, you probably already have most of the ingredients sitting in your pantry right now. You don’t need fancy equipment or a chemistry degree to get your floors sparkling clean.
In this guide, you’ll find simple recipes that actually work, tips for different floor types, and mistakes to avoid so you don’t end up with sticky residue or dull surfaces.
Let’s make cleaning easier and cheaper.
Is a Homemade Floor Cleaner the Right Choice?
Before you start mixing ingredients, it’s worth understanding when homemade cleaners shine and when they don’t.
If you’re dealing with everyday dirt, light spills, or routine maintenance, homemade solutions handle it perfectly. I use mine for weekly mopping, and it keeps my floors looking fresh without any hassle.
For heavy-duty jobs like removing old wax buildup or tackling stubborn stains on specialty flooring, commercial products might work faster. Sometimes you need that extra punch.
Homemade options excel at regular cleaning and leaving floors streak-free.
They’re gentle, safe around kids and pets, and cost next to nothing. However, they won’t disinfect like hospital-grade cleaners or strip years of grime in one go. You’re getting solid, reliable cleaning for everyday life.
How DIY Floor Cleaners Actually Clean Your Floors

Understanding what each ingredient does helps you mix smarter and avoid common mistakes.
Water dilutes everything and carries the cleaning agents across your floor. It’s the foundation that makes other ingredients work without being too harsh or concentrated.
Vinegar cuts through grease and dissolves mineral deposits.
I’ve found it works beautifully on tile and linoleum, but you’ll want to skip it on hardwood since the acidity can dull the finish over time.
Dish soap breaks down dirt and grime effectively. The problem? Too much leaves a sticky film that attracts more dirt. A tiny squirt goes a long way.
Alcohol evaporates quickly, which means faster drying and fewer streaks. It’s especially helpful on surfaces that show water spots easily.
Essential oils smell nice but don’t actually clean anything. Add them if you want, skip them if you don’t care.
DIY Floor Cleaner Recipes by Floor Type
Different floors need different care. Here’s what actually works for each surface without causing damage:
Hardwood Floor Cleaner Recipe
Ingredients
- 1 gallon warm water
- 1/4 cup white vinegar (optional, use sparingly)
- 2-3 drops dish soap
- 10 drops essential oil (optional)
Measurements: Mix everything in a bucket. If your hardwood has a delicate finish, skip the vinegar entirely and stick with just water and a tiny bit of soap.
How to apply: Dampen your mop, wring it out well, and glide it across the floor. You want it barely wet, not soaked.
What to avoid on finished wood: Never use harsh chemicals, ammonia, or anything abrasive. These strip the protective coating and leave your floors looking worn.
How often to clean safely: Once a week is plenty for most homes. Over-cleaning can actually do more harm than good by breaking down the finish over time.
Laminate Floor Cleaner Recipe
Ingredients
- 1 gallon warm water
- 1 cup rubbing alcohol
- 1/2 cup white vinegar
- 1-2 drops dish soap
Measurements: Combine in a spray bottle or bucket. Keep the soap minimal—laminate hates residue.
How to apply: Spray directly on the floor in small sections, then wipe with a microfiber mop or cloth. Work quickly so moisture doesn’t sit.
Low-moisture recipe: Laminate warps easily, so less liquid is always better. I barely dampen my mop and it still cleans perfectly.
Spray vs. mop guidance: Spraying gives you more control over moisture. If you’re using a bucket, wring your mop until it’s almost dry.
Why less soap matters: Too much soap leaves a film that dulls the shine and attracts dirt. One drop is seriously enough.
Vinyl Floor Cleaner Recipe
Ingredients
- 1 gallon warm water
- 1/2 cup white vinegar
- 1 tablespoon dish soap
- 10 drops lemon essential oil (optional)
Measurements: Mix everything together in a bucket. Vinyl can handle a bit more soap than other floors.
How to apply: Mop as usual, rinsing your mop head regularly to avoid spreading grime around.
Best mix for grime and grease: The vinegar and soap combo cuts through kitchen messes like nothing else. I use this in high-traffic areas and it works every time.
How to prevent dull buildup: Rinse your floor with plain water after mopping if you used extra soap. It keeps that fresh, clean look without any haze.
Frequency tips: Weekly cleaning works for most spaces. Kitchens and entryways might need a quick wipe mid-week.
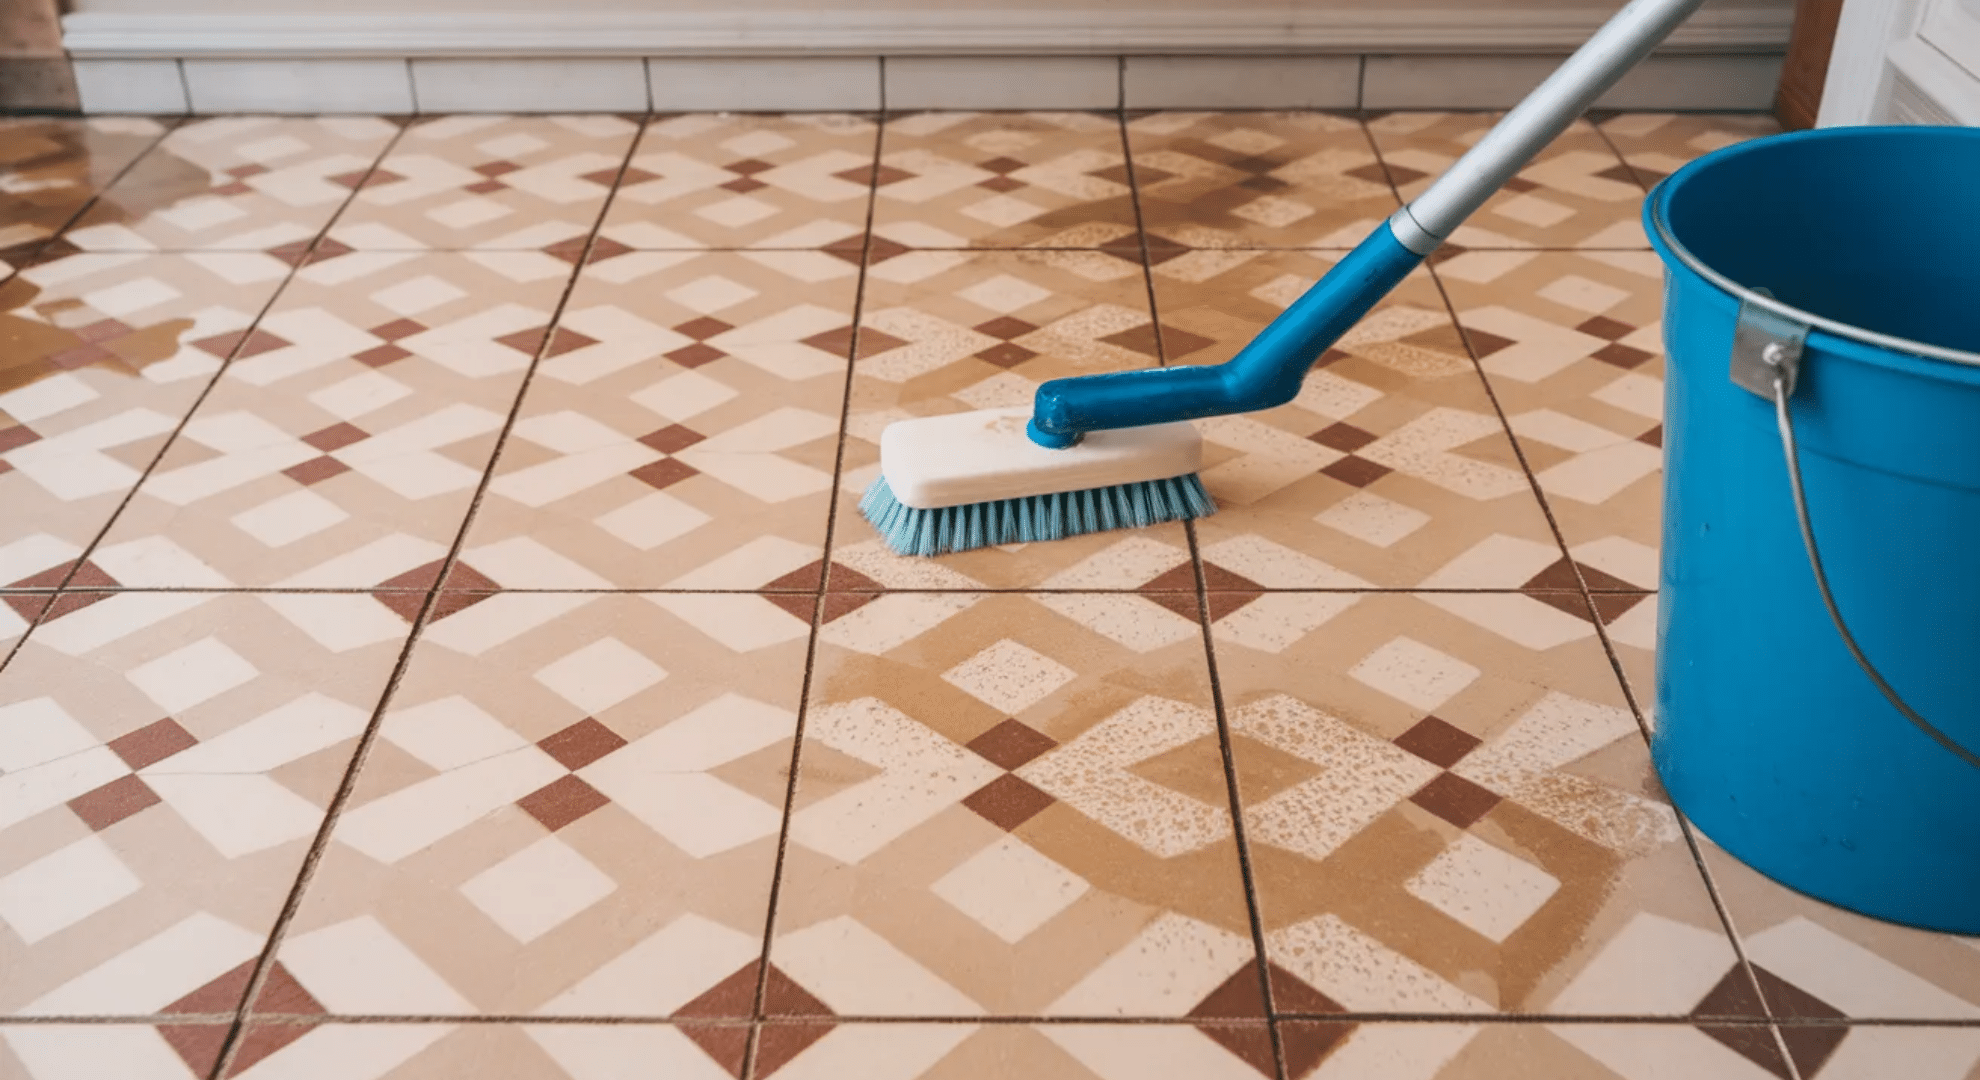
Tile Floor Cleaner Recipe
Ingredients
- 1 gallon warm water
- 1/2 cup white vinegar
- 1/4 cup baking soda
- 5 drops tea tree oil (optional)
Measurements: Add baking soda to warm water first, let it dissolve, then add vinegar and oil.
How to apply: Mop the tile surface, paying extra attention to grout lines where dirt hides.
Tile-safe recipe: This mix is strong enough to tackle grime but won’t damage ceramic or porcelain. It’s my go-to for bathroom floors.
When vinegar helps grout: Vinegar brightens grout and removes soap scum beautifully. For stubborn stains, let the solution sit for a few minutes before scrubbing.
When to skip it: If you have natural stone tile like marble or travertine, avoid vinegar completely. The acid eats away at the stone and causes etching.
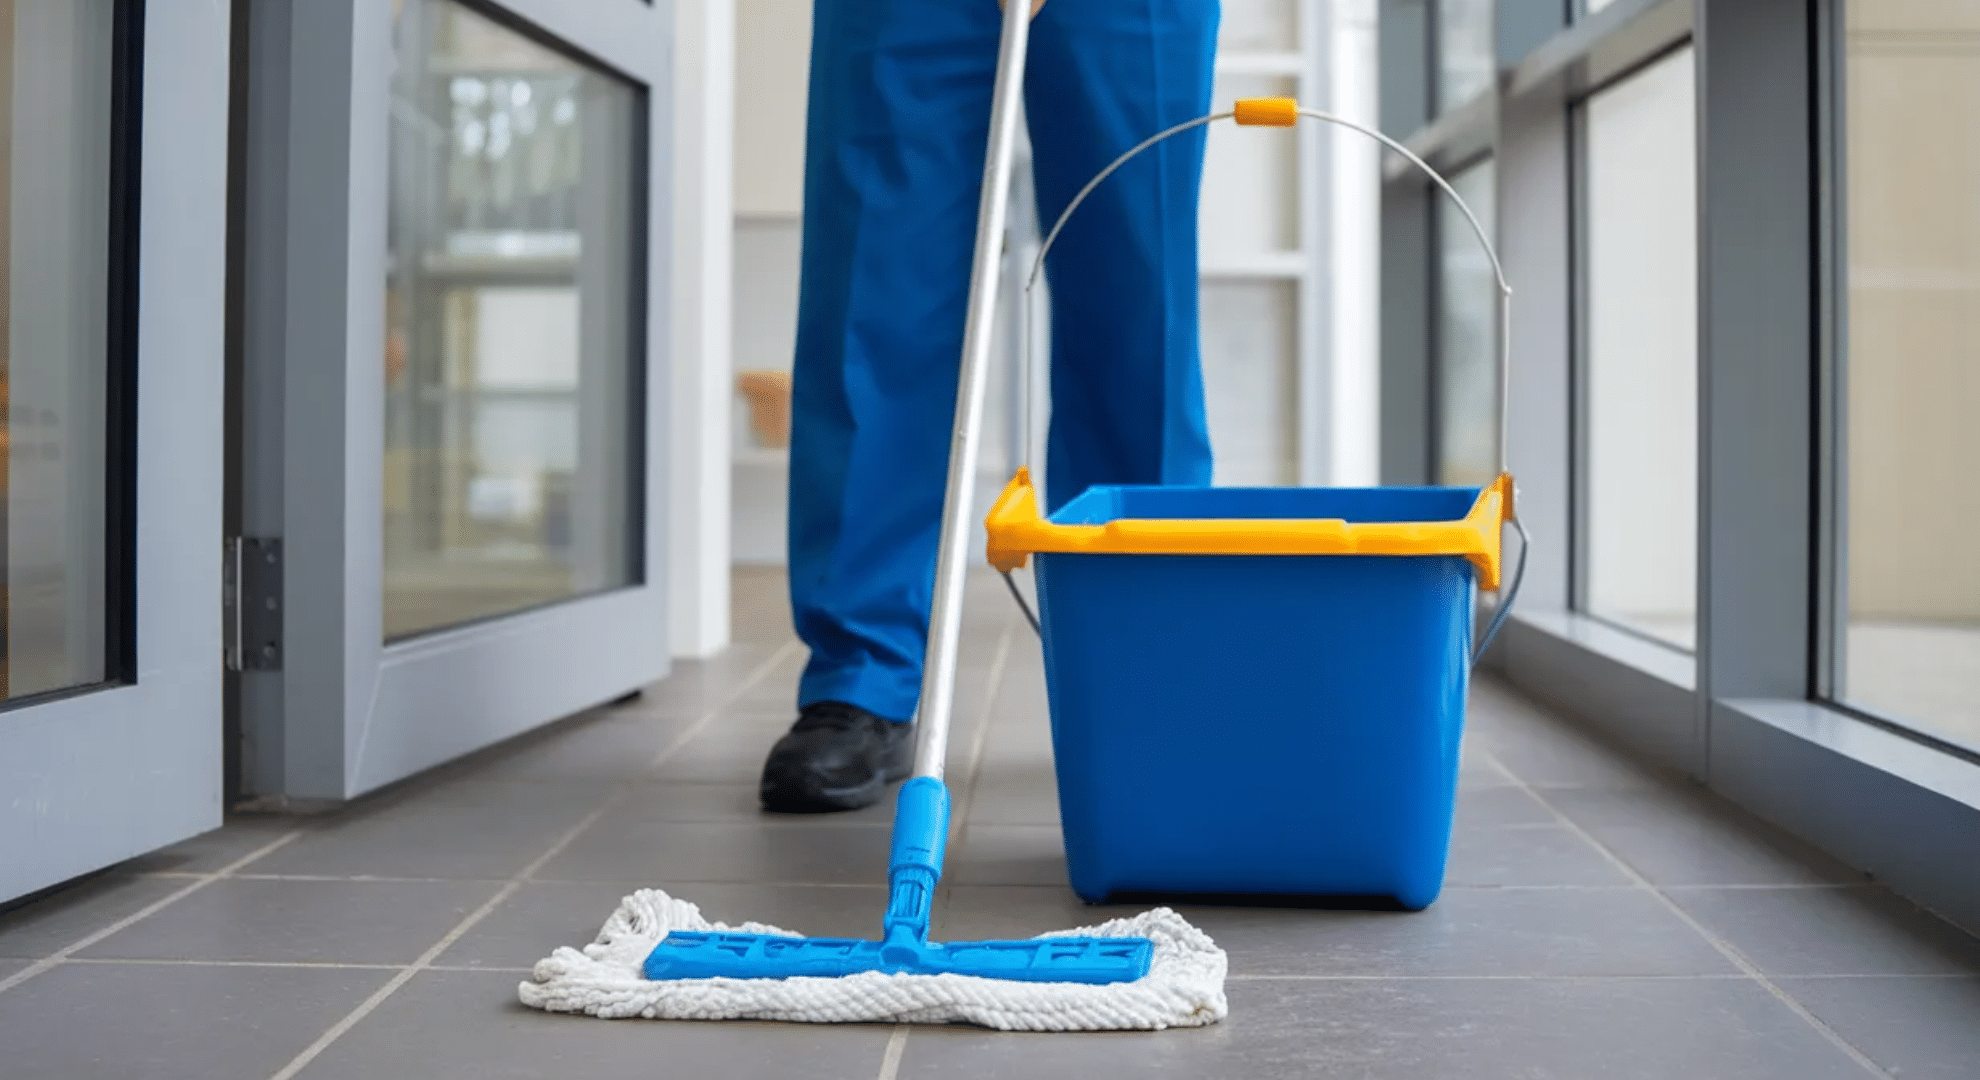
How to Use a Homemade Floor Cleaner Without Ruining Floors
Mixing the right recipe is only half the battle. How you apply it matters just as much.
Always sweep or vacuum first. Mopping over dirt just spreads grime around and leaves streaks behind.
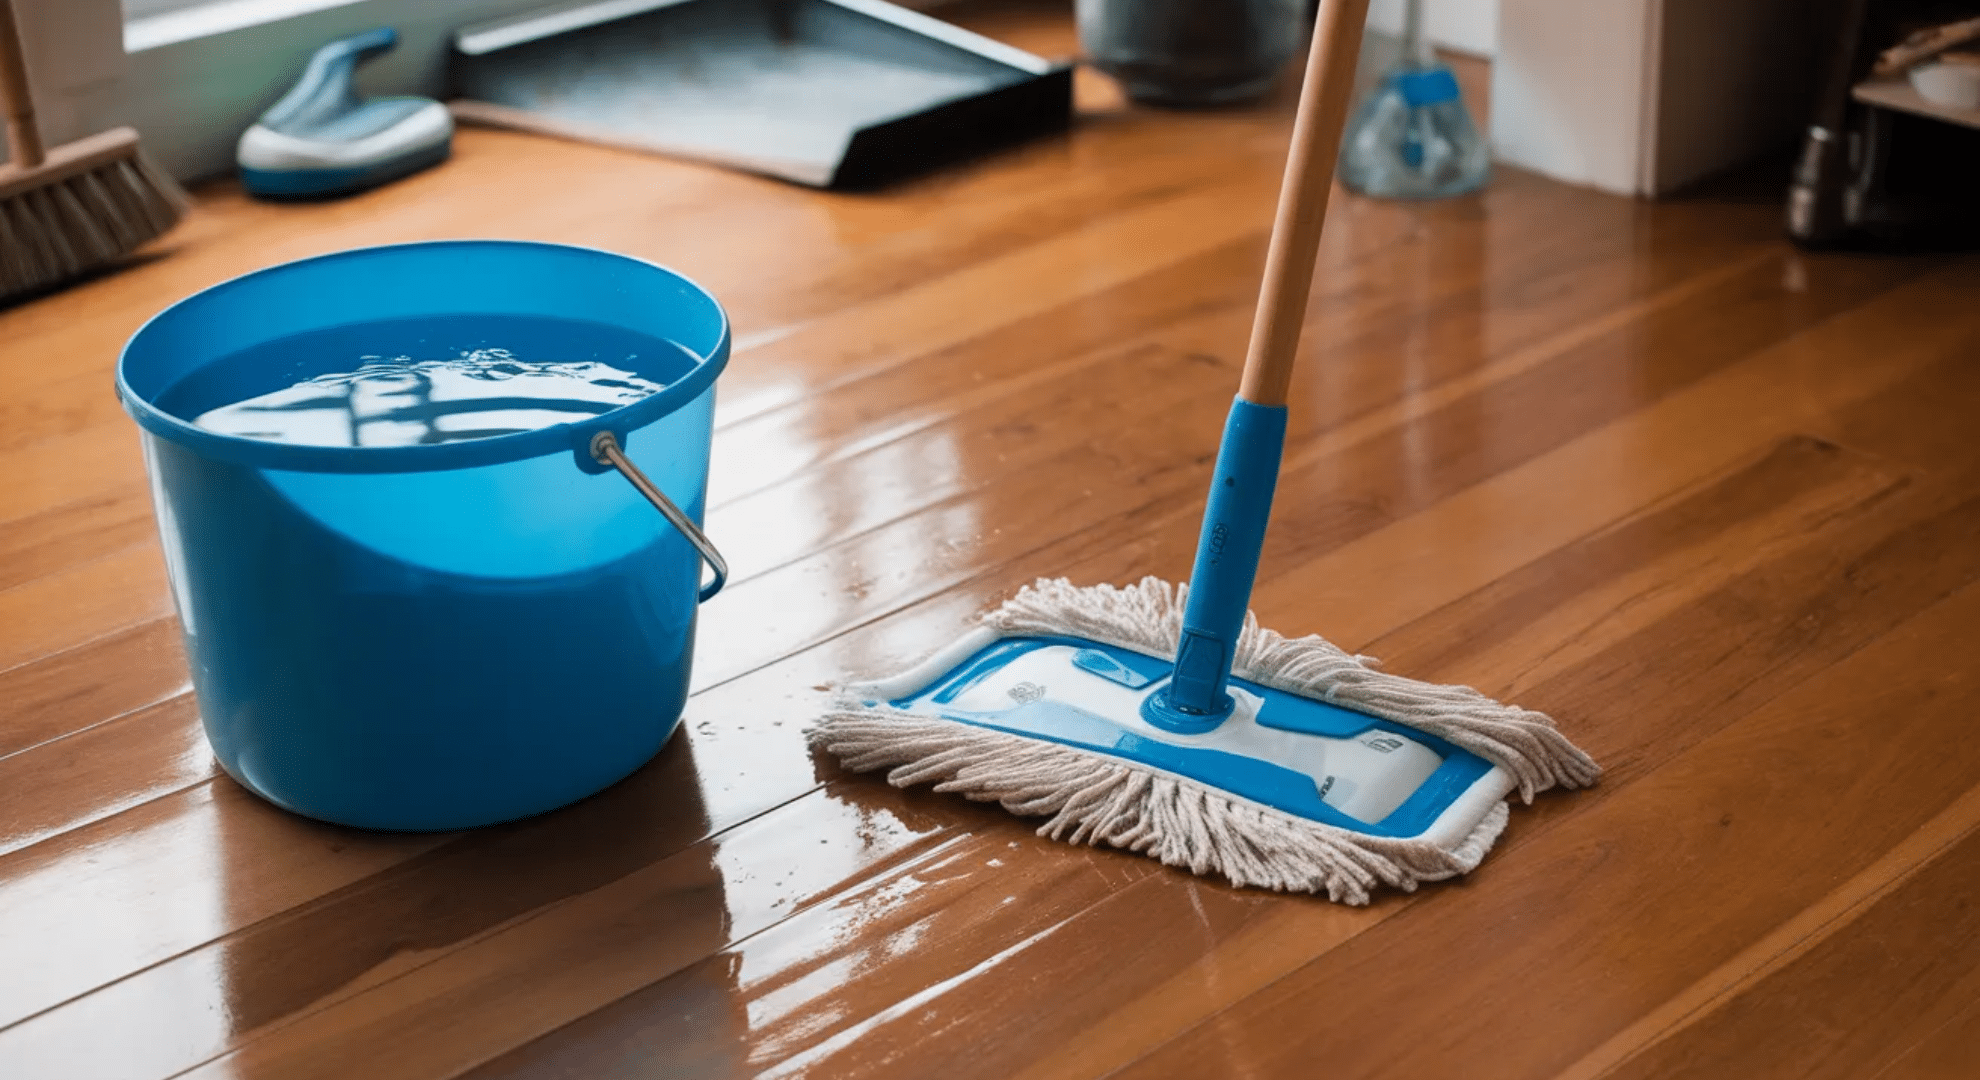
Use a damp mop, not a soaking wet one. Excess water seeps into seams and can warp or damage floors over time. I wring mine out until it barely drips.Test new recipes in a hidden spot first. What works for one floor might react badly with another, especially if you’re unsure about the finish.
Rinse your mop frequently while cleaning. A dirty mop just moves mess from one area to another instead of actually cleaning.
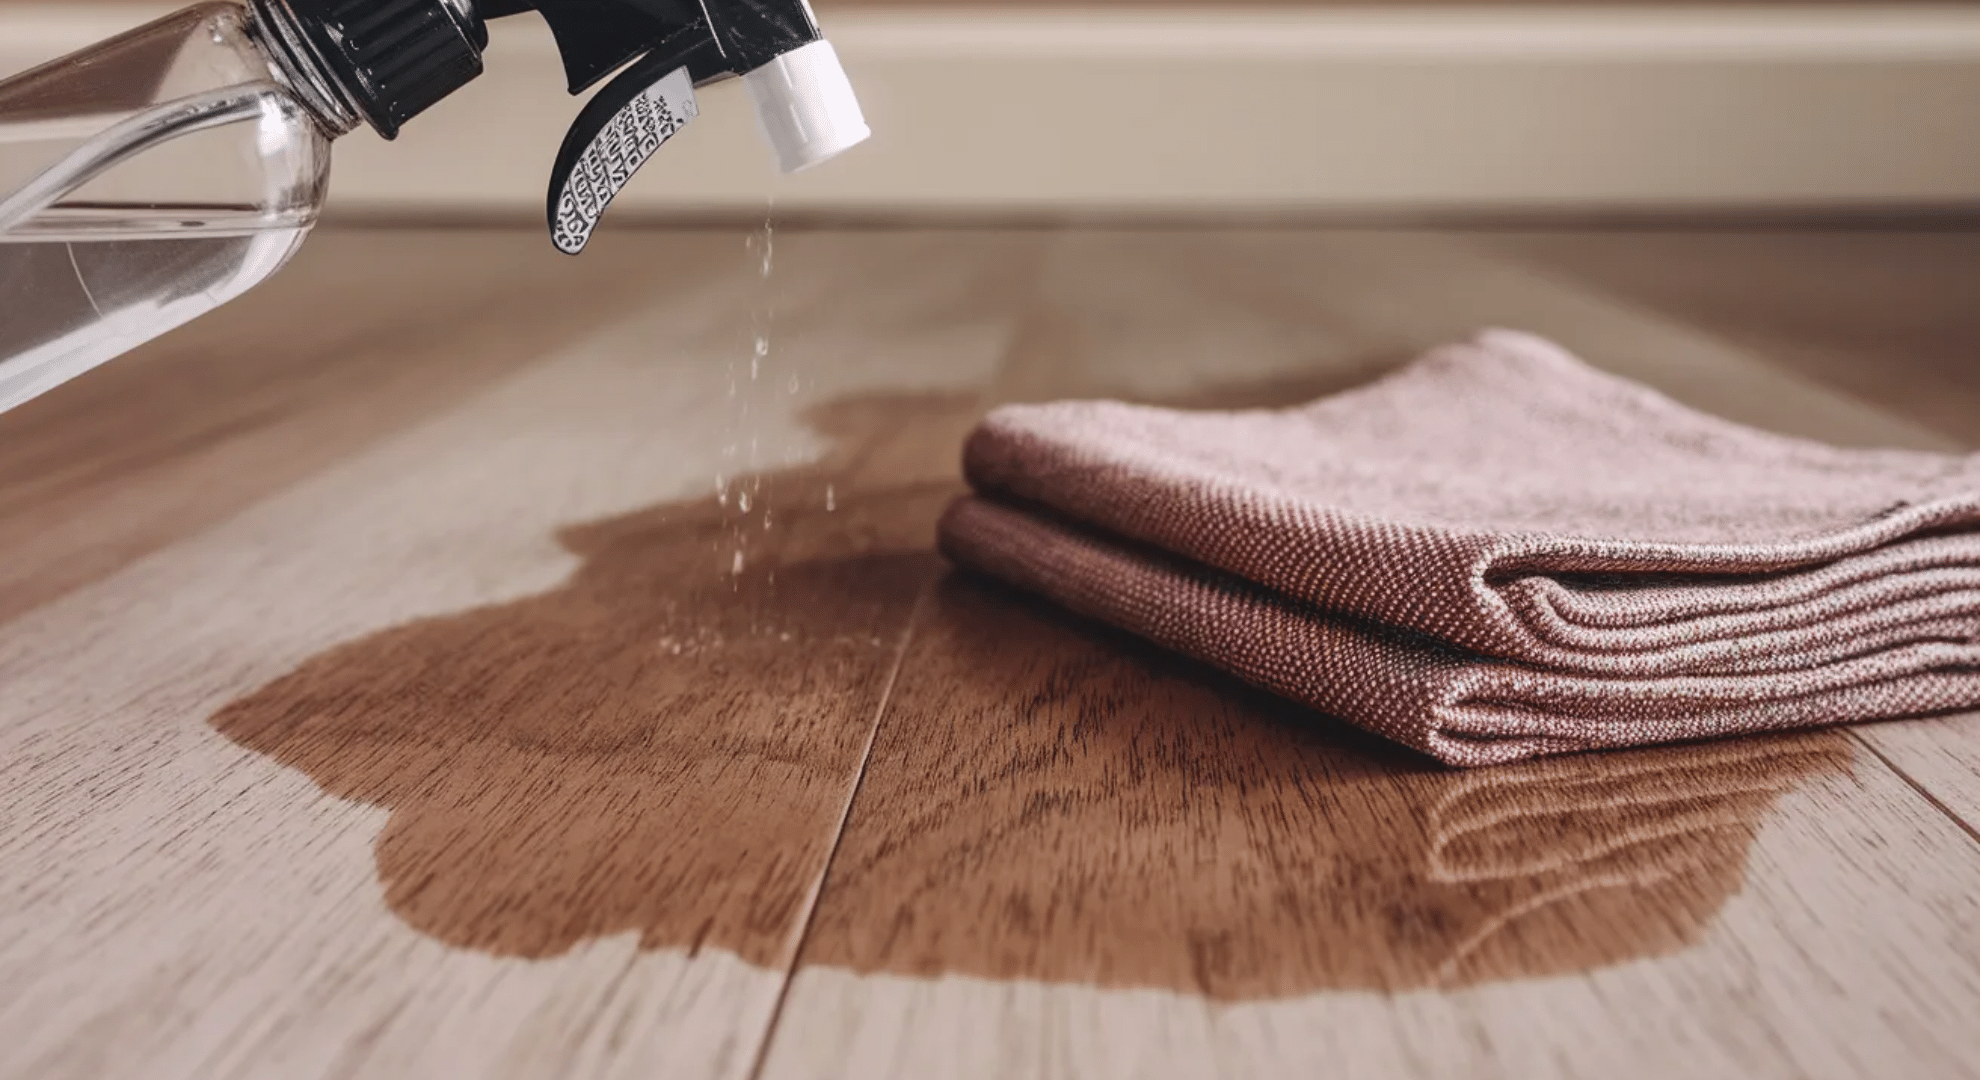
Don’t let cleaner sit too long on the surface. Wipe it up within a minute or two to avoid residue or potential damage.
Change your cleaning water halfway through if it looks murky. Clean water cleans better.
Common Problems With DIY Floor Cleaners and How to Fix Them
Even the best homemade cleaners can cause issues if something’s off. Here’s what usually goes wrong and how to fix it fast.
- Sticky residue after mopping: You used too much soap. Cut it in half next time and rinse the floor with plain water to remove buildup.
- Streaks everywhere: Your mop was too wet or you didn’t wring it out enough. Less water prevents streaking, especially on hardwood and laminate.
- Dull or cloudy finish: Soap buildup is the culprit. Mop with a vinegar-water solution (no soap) to strip the film away.
- Floor feels slippery: Again, too much soap. Rinse thoroughly with clean water and use less product going forward.
- Strong vinegar smell lingers: You added too much. Stick to the measurements or add a few drops of essential oil to mask the scent.
- Floors dry too slowly: Add rubbing alcohol to your mix. It speeds up evaporation and prevents water spots.
- Grout looks worse, not better: You might be pushing dirt deeper into porous grout. Scrub with a brush instead of just mopping over it.
Most problems trace back to using too much of something. Less is genuinely more with DIY cleaners.
Floors That Should Not Use Vinegar-Based Cleaners
Vinegar works wonders on some surfaces, but it can seriously damage others. Here’s what to avoid and why it matters.
| Floor Type | Why Vinegar Damages It | Use Instead |
|---|---|---|
| Hardwood (waxed or oiled) | Strips protective coating and dulls finish | Water with tiny drop of dish soap |
| Natural stone (marble, granite, travertine) | Acid etches and pits the surface permanently | pH-neutral stone cleaner or plain water |
| Cork | Breaks down the sealant and causes discoloration | Damp mop with water only |
| Unsealed wood | Penetrates and warps the material | Avoid wet cleaning; use dry or barely damp cloth |
| Linoleum (older types) | Degrades adhesive and finish over time | Mild soap and water solution |
If you’re unsure about your floor type, skip the vinegar entirely. Water and a drop of soap clean most surfaces safely without risking damage.
How Often Should You Clean Floors With DIY Cleaners?
Cleaning frequency depends on traffic, not a strict schedule. High-traffic areas need more attention than quiet spaces.
For most homes, mopping once a week handles regular dirt and keeps floors looking good. I stick to this and rarely need to do more.
Kitchens and entryways get dirtier faster, so a quick mid-week spot clean helps. You don’t need to mop the whole floor, just hit the messy spots.
Bathrooms benefit from weekly mopping too, especially around the toilet and shower where moisture sits.
Bedrooms and low-traffic rooms can go two weeks between cleanings without issue. There’s just less happening in those spaces.
If you have pets or kids, you might need to clean twice a week. Muddy paws and spills add up quickly.
Over-cleaning wears down finishes faster than dirt does. Clean when floors look dirty, not based on a calendar.
Homemade Floor Cleaner vs. Store-Bought Options
Both have their place, but the differences are bigger than you might think. Here’s how they actually stack up in real use.
| Factor | Homemade Cleaner | Store-Bought Cleaner |
|---|---|---|
| Cost | Pennies per gallon | $3-$10 per bottle |
| Ingredients | You know exactly what’s in it | Often filled with chemicals you can’t pronounce |
| Effectiveness | Works great for everyday cleaning | Slightly stronger for tough, set-in stains |
| Environmental impact | Minimal waste, natural ingredients | Plastic bottles, harsher chemicals |
| Convenience | Requires mixing each time | Ready to use right away |
| Safety around kids/pets | Generally safer, fewer toxins | Depends on brand; some are harsh |
| Shelf life | Make fresh each time | Lasts months or years sealed |
I use homemade for weekly maintenance and keep a store-bought cleaner for emergencies. You don’t have to pick just one approach.
Conclusion
Making your own diy floor cleaner isn’t complicated, and it saves you money while keeping your home safe from harsh chemicals.
I’ve been using these recipes for years, and they handle everyday messes without any fuss.
You now have the recipes, the know-how, and the troubleshooting tips to clean any floor type confidently.
The best part? You’re not stuck buying overpriced bottles filled with ingredients you can’t even identify.
Mix what works for your floors, adjust as needed, and enjoy cleaner spaces without the extra cost.
If you found this helpful, I’ve got plenty more practical guides on keeping your home in great shape.
Check out other blogs for tips on the website that actually work in real life!