A gentle breeze drifting through your home while pesky bugs stay firmly outside, all framed by a charming screen door that adds instant character to your space.
There’s something wonderfully nostalgic about a handcrafted screen door that whispers of simpler times while delivering modern comfort.
If you’re dreaming of lazy summer afternoons with your door wide open or simply want to boost your home’s curb appeal, creating your own screen door is more achievable than you might think.
This guide walks you through every step, from gathering your materials to that satisfying final installation, perfect for anyone ready to roll up their sleeves and add a little handmade touch to their home.
Before You Begin: Planning & Measurements
Start by measuring your door opening carefully. Record the height and width at multiple points, checking that corners are square using a carpenter’s square.
Remember to account for clearances, leaving about a 1/4 inch on the hinge side and a 1/8 inch on the latch side for smooth operation. Seasonal wood movement means a little breathing room goes a long way.
Consider your style preferences too, from classic farmhouse charm to sleek modern lines or even pet-friendly designs with reinforced lower panels.
This project typically takes a weekend to complete and suits those comfortable with basic carpentry skills and power tools.
DIY Screen Door: Tools & Materials Checklist
Before starting your screen door project, gathering everything up front saves countless trips to the hardware store. This build uses accessible materials and common woodworking tools you likely already have in your workshop.
Here’s what you’ll need to bring this charming addition to life.
| Category | Items Needed |
|---|---|
| Lumber | 2×6 boards (length depends on door size), cut to specifications |
| Screen Material | Fiberglass or aluminum screening, spline cord |
| Hardware | Wood screws, hinges, door handle or latch, corner braces (optional) |
| Tools | Circular saw, or miter saw, drill with bits, measuring tape, carpenter’s square, and clamps |
| Finishing | Wood glue, sandpaper (various grits), exterior wood stain or paint, polyurethane sealer |
| Installation | Shims, screwdriver, level |
How to Make a Screen Door: Step-by-Step Build Instructions
Creating your own screen door from 2×6 boards offers a sturdy, custom solution that outperforms flimsy store-bought options.
This straightforward process breaks down into manageable steps that turn basic lumber into a functional, beautiful door.
Step 1: Measure and Cut Your Frame Pieces
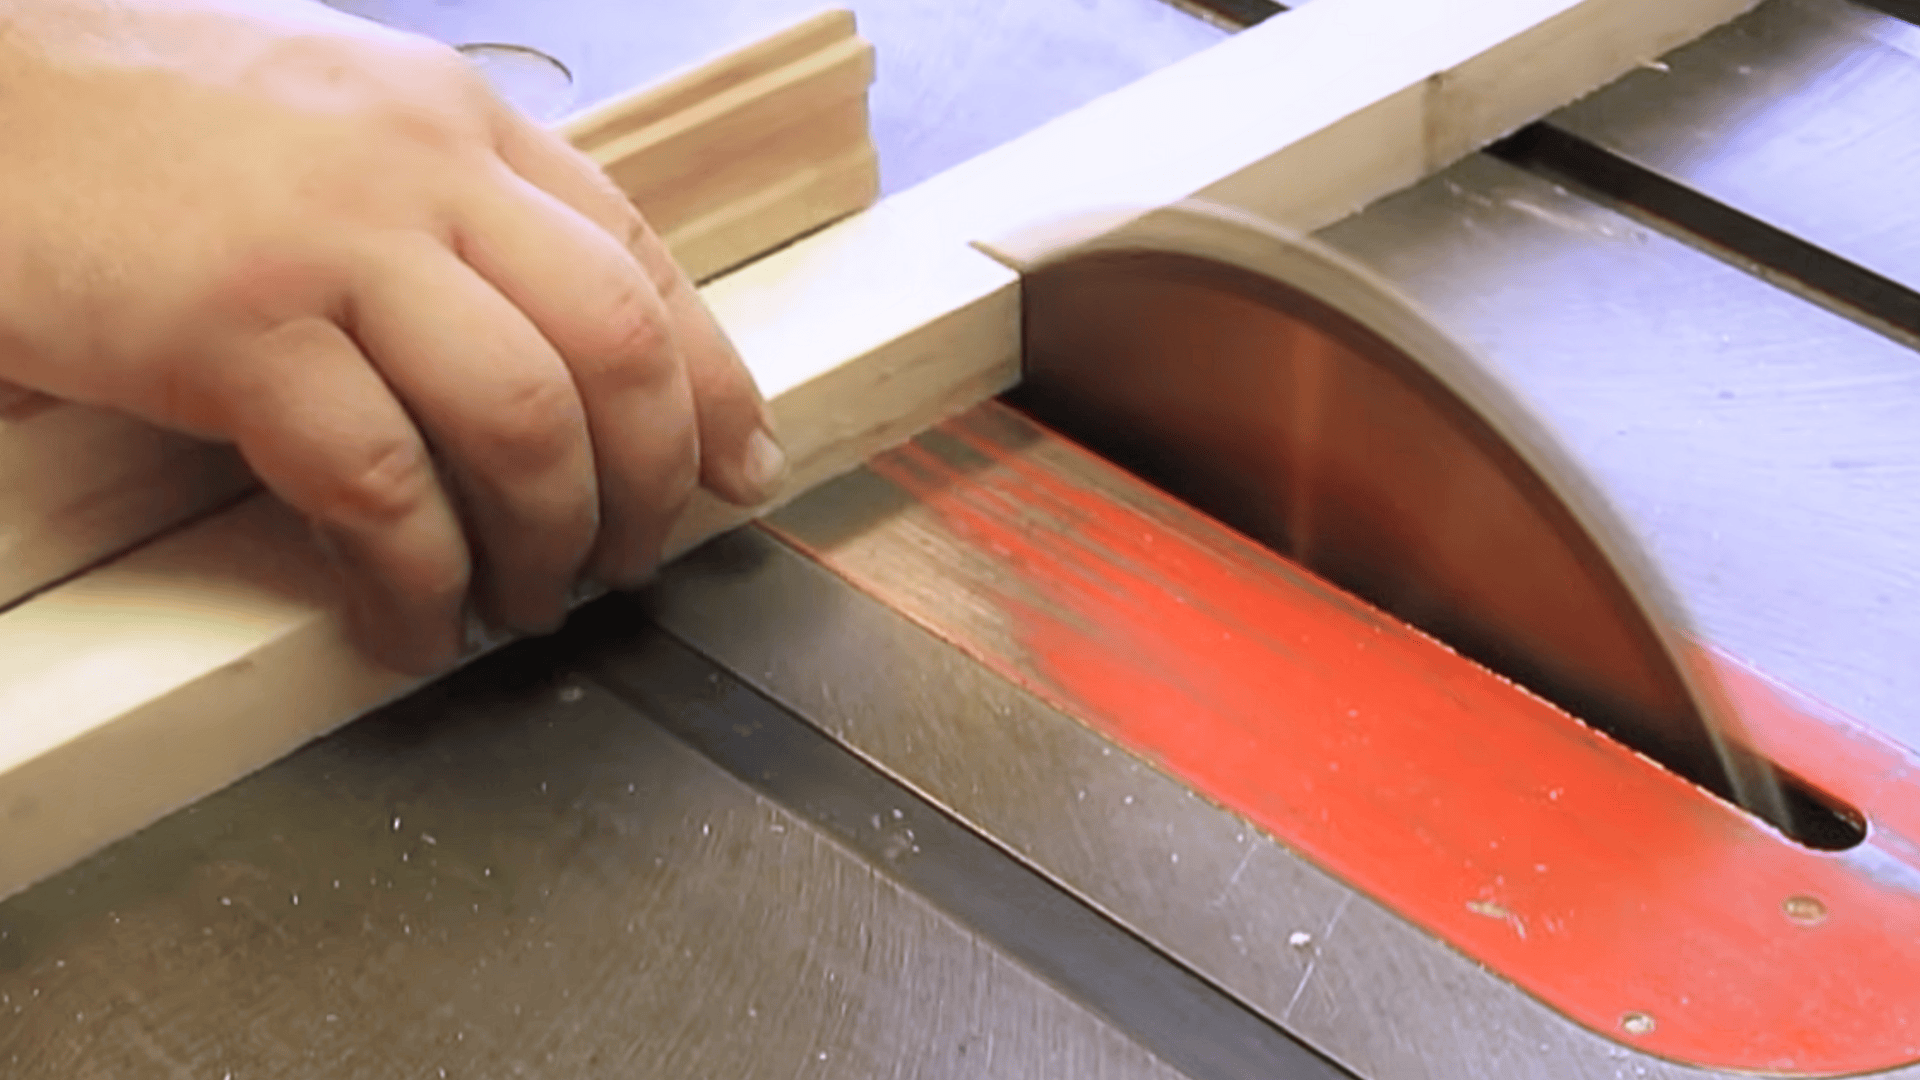
Start by measuring your door opening precisely, then cut your 2×6 boards to size for the top, bottom, and side rails. Account for the 1/4 inch clearance mentioned earlier. Use a miter saw for clean, square cuts.
You’ll need two vertical stiles and at least two horizontal rails. Double-check all measurements before cutting, remembering the old carpenter’s rule about measuring twice and cutting once.
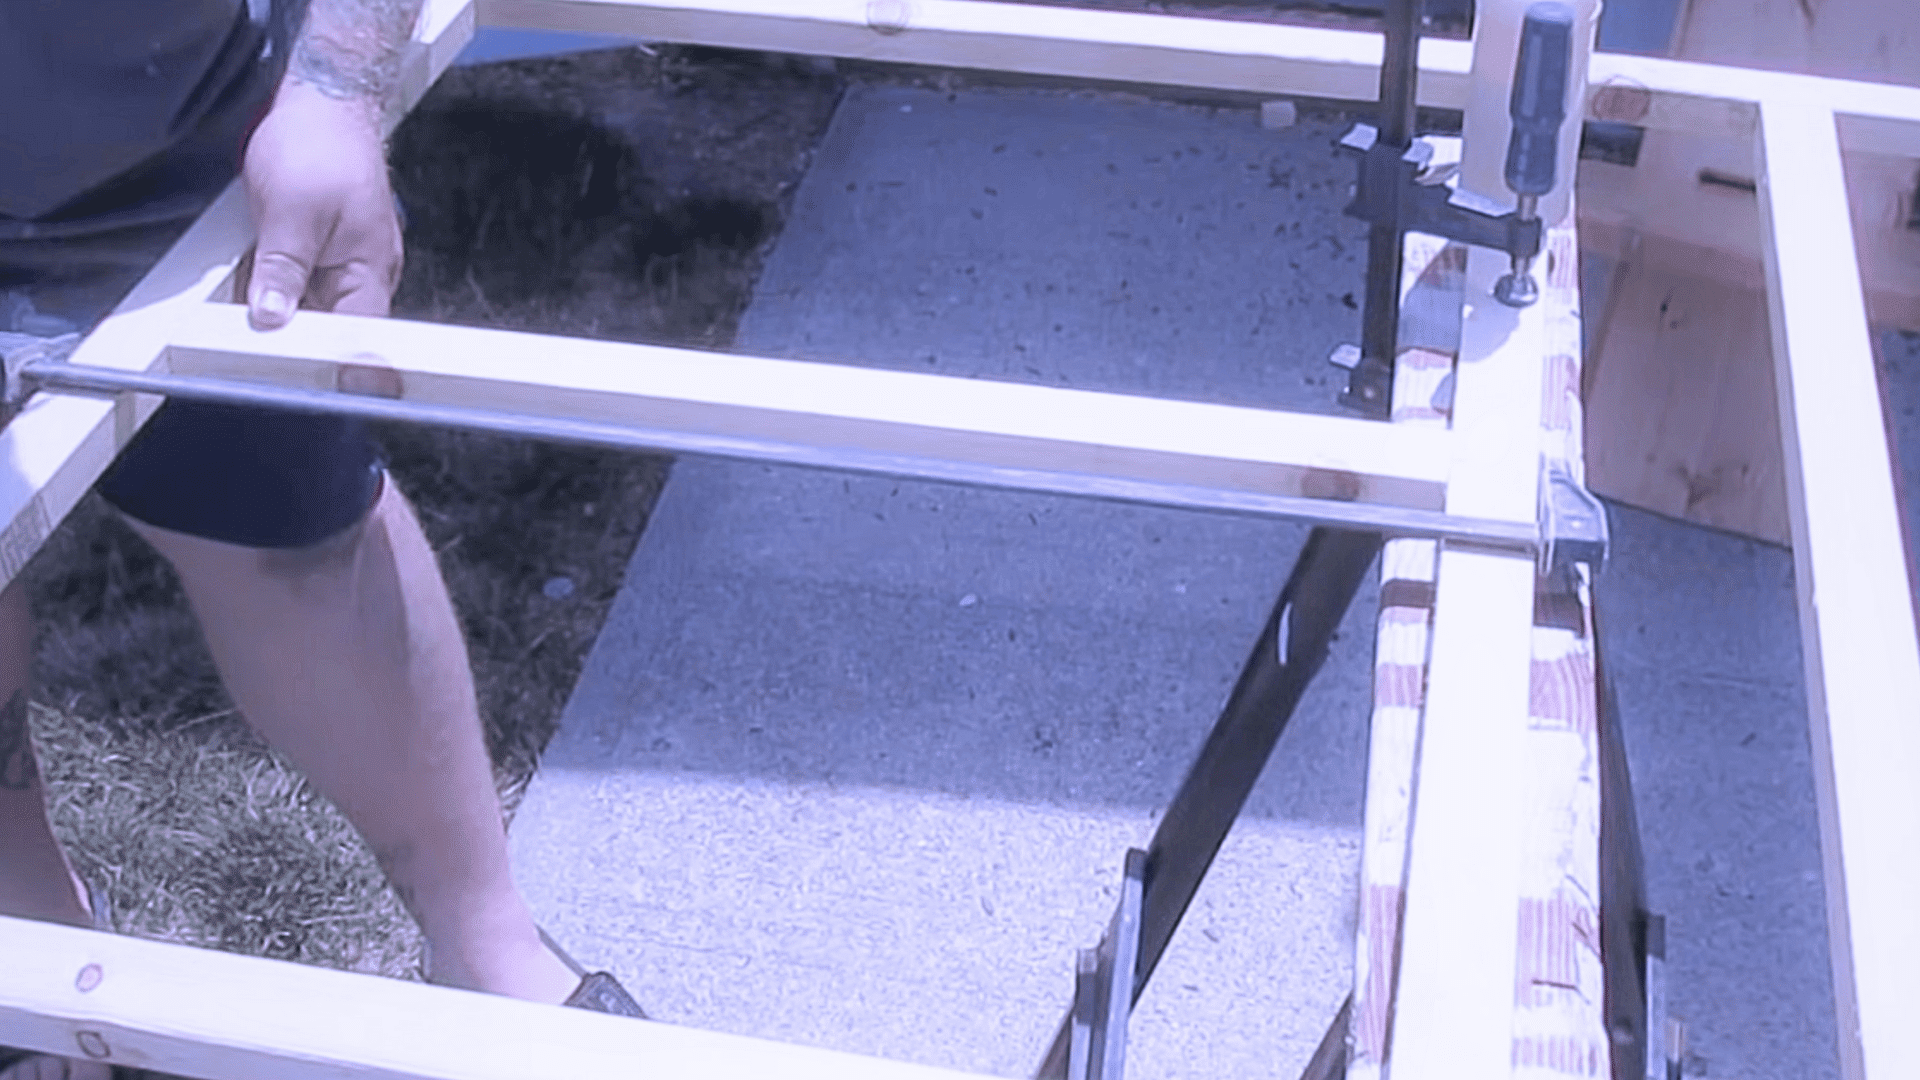
Step 2: Assemble the Door Frame
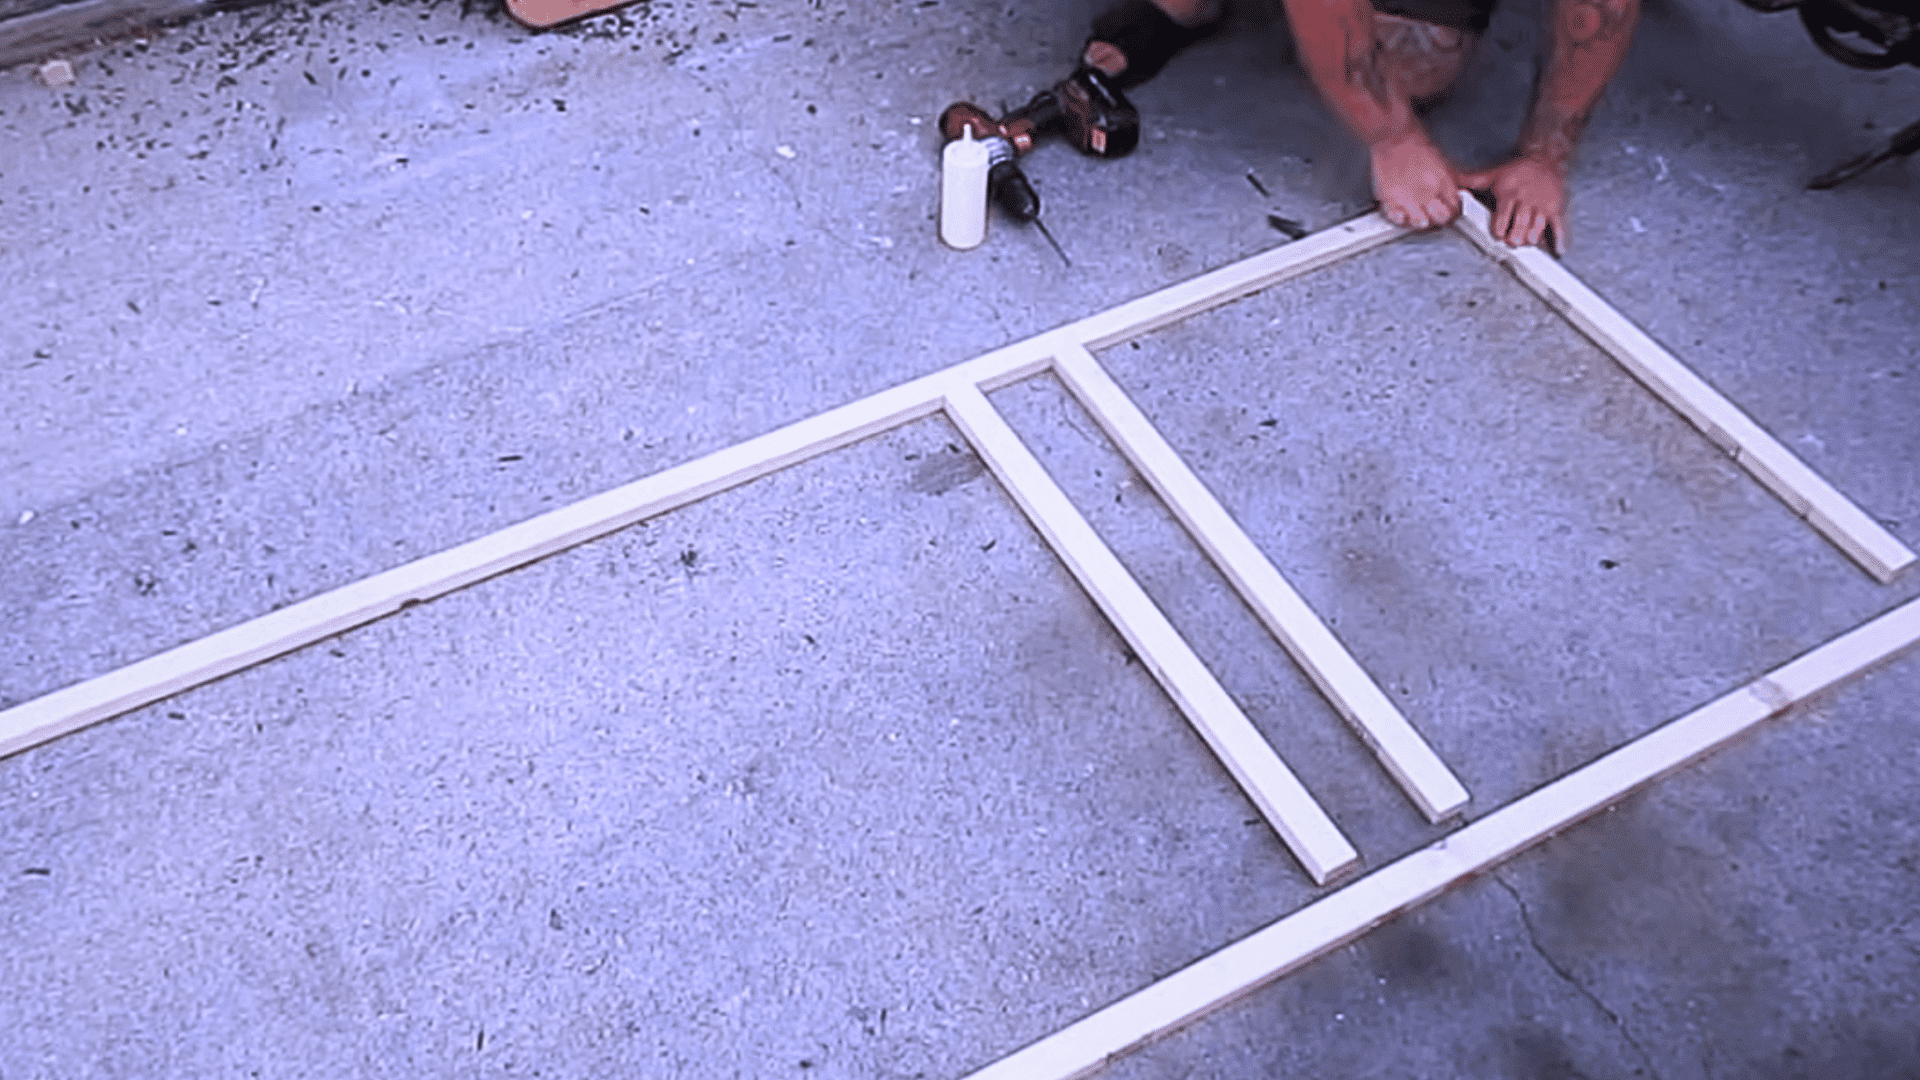
Lay out your cut pieces on a flat surface, ensuring everything is square using your carpenter’s square. Apply wood glue to joints, then secure with wood screws driven at an angle for maximum strength.
Clamp the frame while the glue dries to prevent any shifting. For added durability, consider adding corner braces on the interior. This solid frame becomes the foundation for your entire door.
Step 3: Create the Screen Panel Opening
Rout or chisel a groove along the inner edges of your frame where the screen will sit, or simply attach stops to create a rabbet. The screen needs a secure channel to nestle into.
Sand all surfaces thoroughly, paying special attention to edges and corners. Smooth wood not only looks better but also prevents snags in your screening material down the line.
Step 4: Install the Screen Material
Cut your screening material several inches larger than the opening. Starting at one corner, press the spline cord into the groove, securing the screen tightly as you work around the perimeter.
Keep tension even to avoid wrinkles or sagging. A spline roller tool makes this process much easier. Trim excess screening with a utility knife once everything is secured and taut.
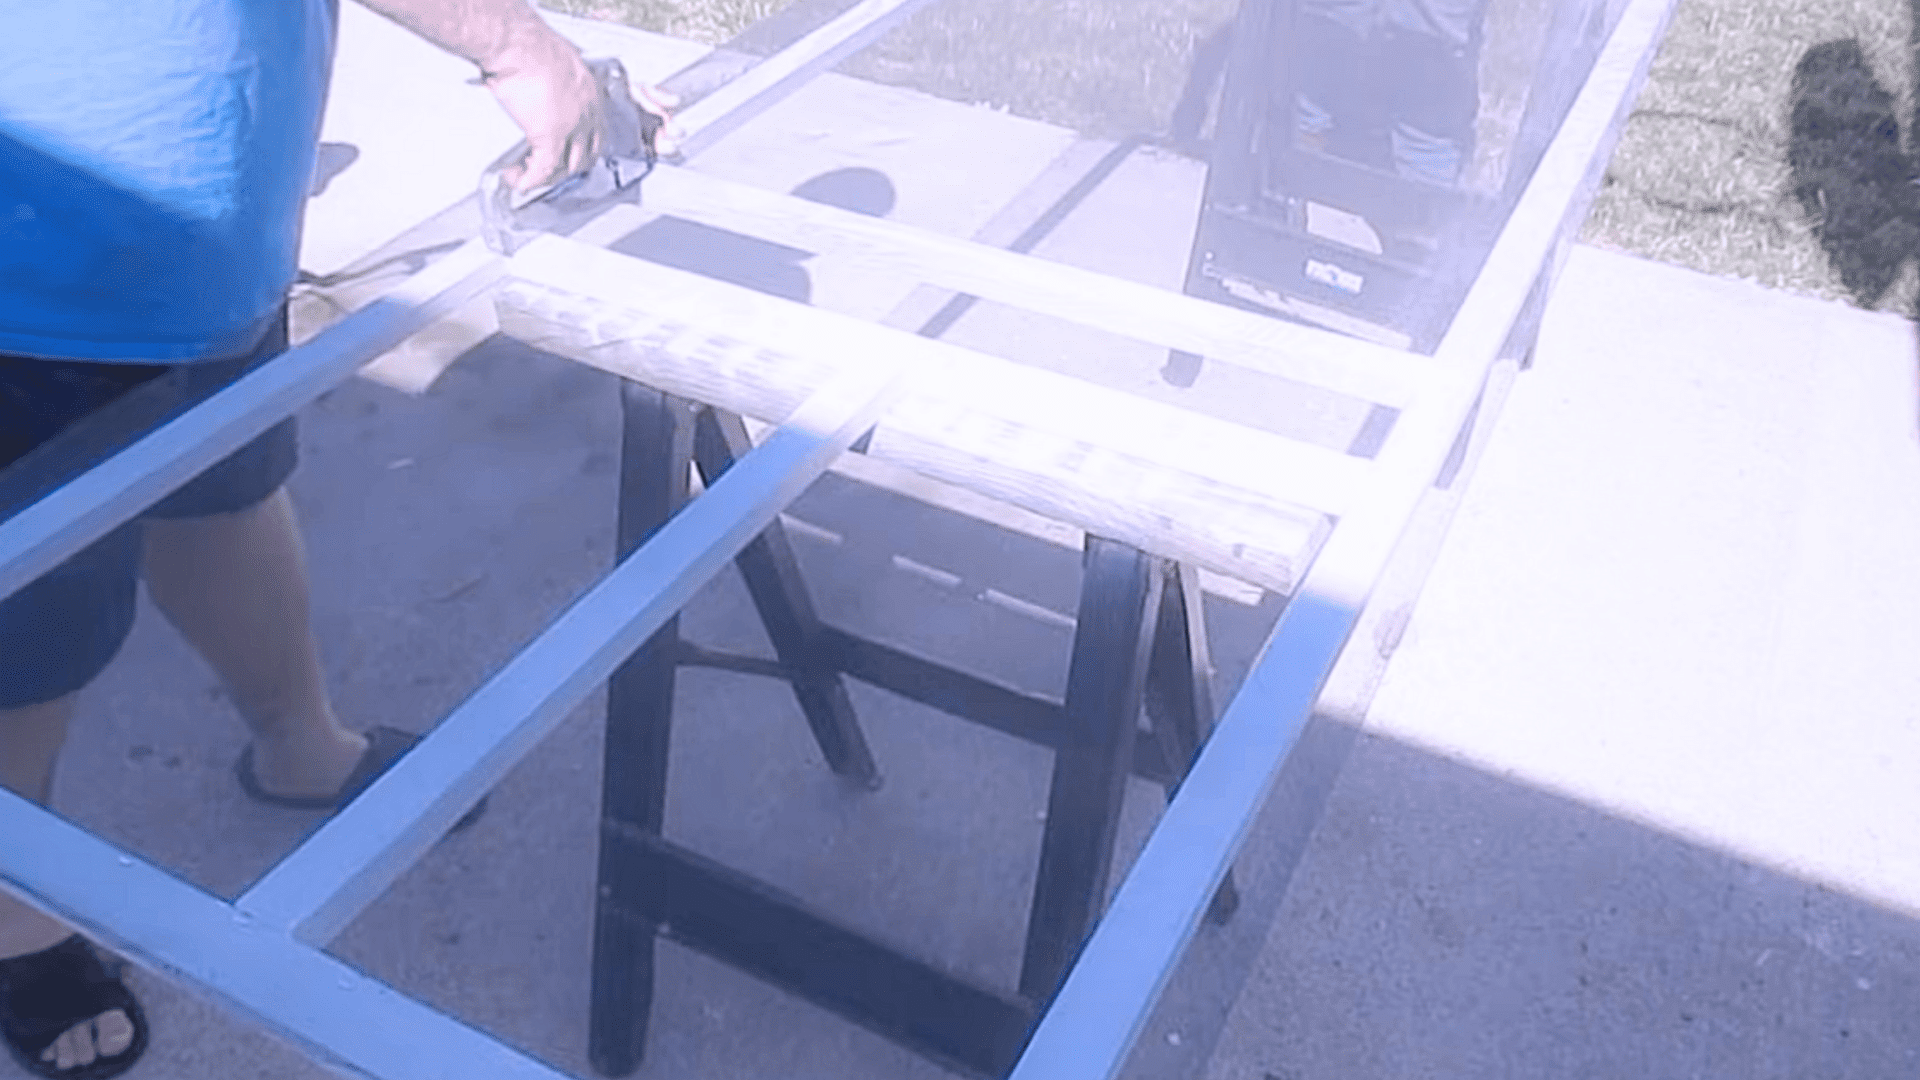
Step 5: Finish and Hang Your Door
Apply your chosen stain or paint, allowing proper drying time between coats. Seal with exterior-grade polyurethane for weather protection.
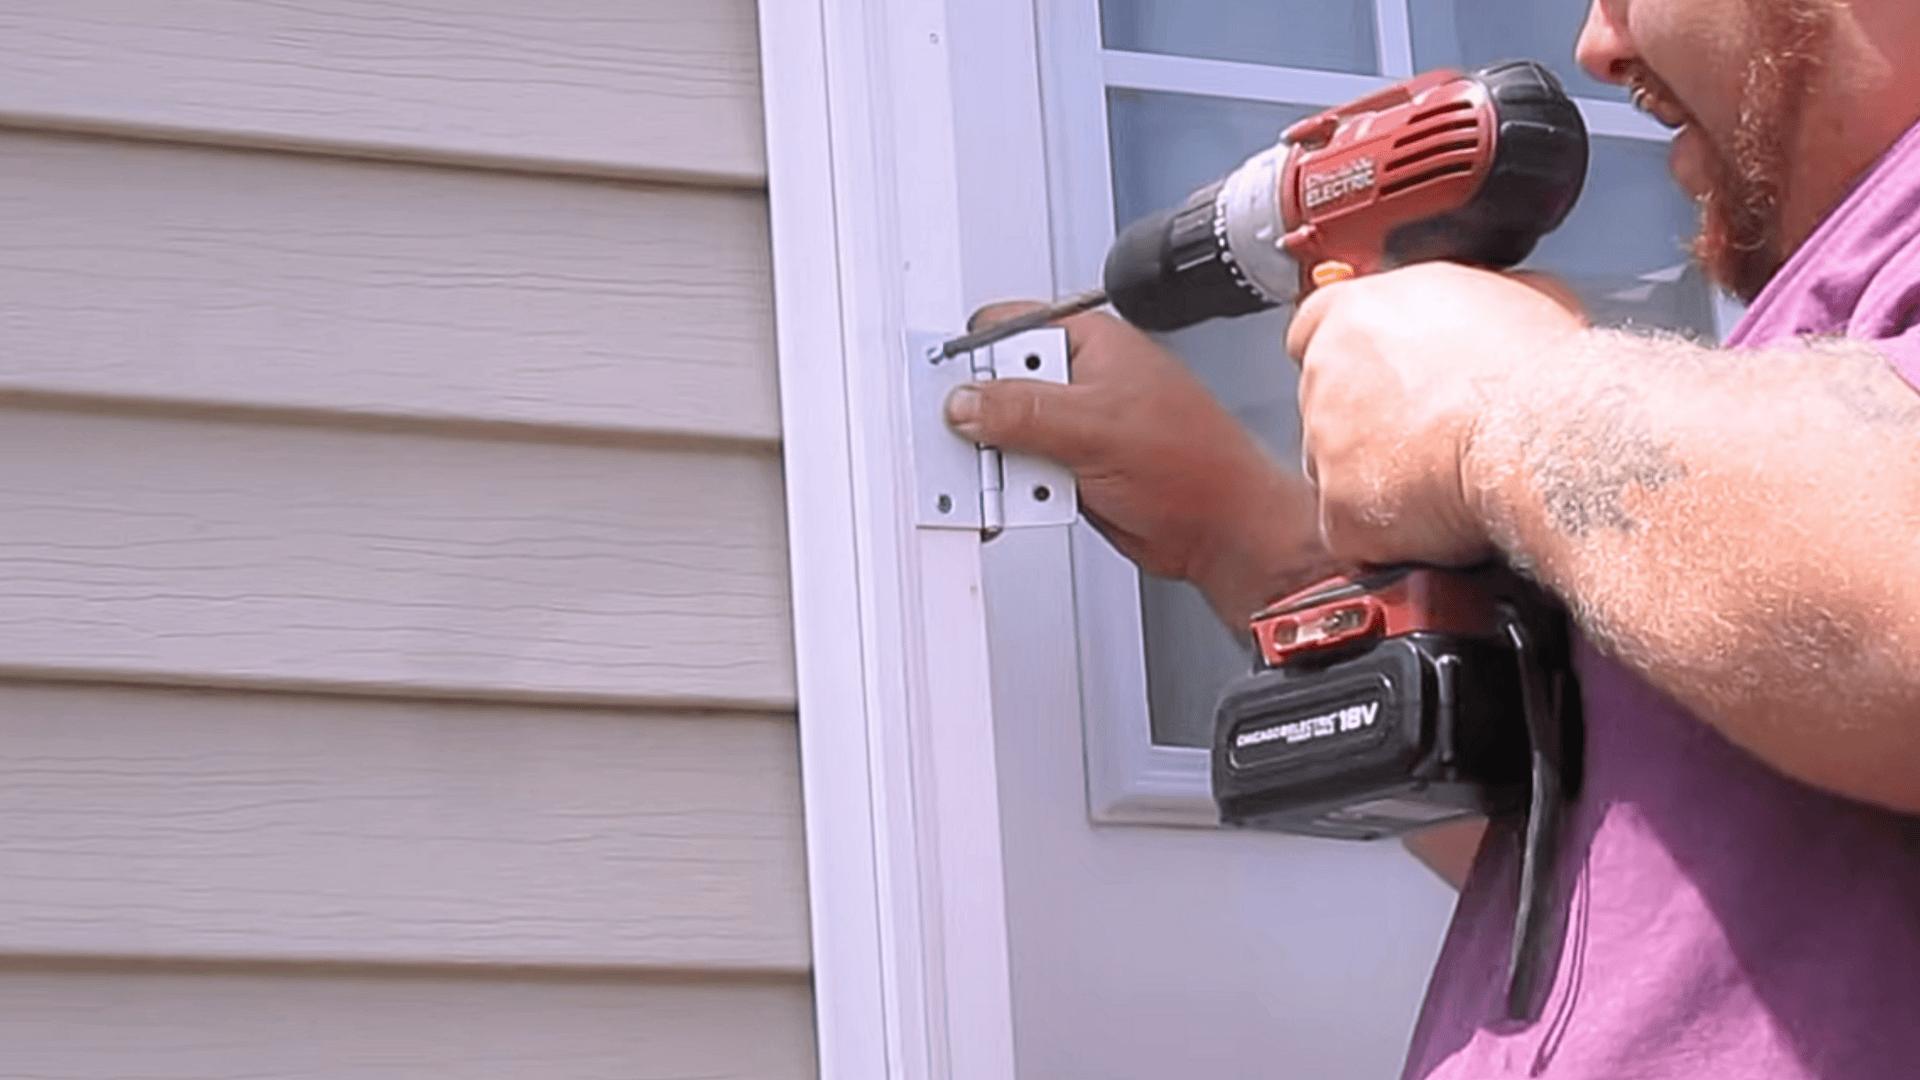
Install hinges on the door frame, then carefully hang your screen door in the opening using shims to ensure proper alignment. Test the swing, adjust as needed, and add your handle or latch hardware.
Step back and admire your handiwork.
Video Walkthrough: See How Experts Do It
For more information, check out this video tutorial by Hella DIY & How To.
Design Variations and Upgrades to Personalize Your Screen Door
Your screen door doesn’t have to follow a cookie-cutter template. Adding personal touches converts a functional piece into a statement feature that reflects your home’s unique character.
Here are some popular variations to consider as you plan your build.
| Variation | Description | Best For |
|---|---|---|
| Rustic Charm | Add decorative trim, cross bars, or vintage hardware with distressed finishes. | Farmhouse and cottage aesthetics |
| Pet-Friendly Design | Install a small pet door cutout in the lower panel with reinforced framing. | Homes with dogs or cats |
| Removable Screen Panels | Create frames with pop-out screening for easy replacement or seasonal swaps. | High-traffic areas, winter protection |
| Alternative Materials | Use cedar, aluminum, or composite instead of standard lumber. | Varying climates, low maintenance needs |
| Decorative Cutouts | Route patterns or shapes into solid panels for visual interest. | Artistic and unique architectural styles |
Each upgrade adds functionality or flair depending on your needs. Mix and match these ideas to create a screen door that’s truly one of a kind and perfectly suited to your lifestyle.
Expert Tips and Best Practices for a Long-Lasting Screen Door
A few smart choices during construction can mean the difference between a door that lasts a season and one that serves your home beautifully for years.
These professional insights help you avoid common pitfalls and ensure your handmade screen door stands the test of time.
- Choose cedar or redwood for natural moisture resistance and rot protection, especially in humid climates or high-exposure areas.
- Apply exterior-grade sealer to all surfaces before installation, paying extra attention to end grains where moisture sneaks in most easily.
- Use three hinges minimum for doors taller than 6 feet or heavier builds to prevent sagging and ensure smooth operation.
- Stain over paint if you want to showcase wood grain and simplify future touch-ups, though paint offers more color options and complete coverage.
- Pre-drill all screw holes to prevent splitting, especially near board ends where wood is most vulnerable to cracking under pressure.
These thoughtful touches make the difference between a basic project and exceptional craftsmanship. Taking time to get these details right now saves headaches and repair work down the road.
Common Problems and Troubleshooting Your Screen Door
Even well-built screen doors can develop issues over time with weather exposure and regular use.
Here’s how to tackle the most frequent challenges and keep your door functioning smoothly for years to come.
Challenge 1: Door Sticking or Misalignment After Installation
Solution: Check if your door frame has settled or if the hinges have loosened over time. Tighten all hinge screws, plane down any swollen edges, and use shims to realign the frame if needed for a smooth swing.
Challenge 2: Screen Sagging or Tearing
Solution: Loose spline cord or improper tension during installation usually causes sagging screens. Remove the old spline, pull the screen taut, and re-secure with a new spline cord, working evenly around the perimeter.
Challenge 3: Frame Warping Over Time
Solution: Moisture absorption leads to warping, especially with untreated wood exposed to the elements. Apply more coats of exterior sealer or replace warped boards with sealed cedar or composite materials.
Challenge 4: Rusting Hardware Prevention
Solution: Metal hinges and handles rust when protective coatings wear away in humid conditions. Choose stainless steel or brass hardware, or spray with rust inhibitor and reapply seasonally for protection.
That’s a Wrap
Learning how to make a screen door from scratch brings such satisfying rewards, from that first gentle breeze flowing through to the compliments from neighbors admiring your handiwork.
This project proves that beautiful, functional home improvements don’t require professional expertise or fancy equipment.
Your new door will serve as a daily reminder of what you can accomplish with some basic materials and a free weekend.
Have you tackled a similar woodworking project, or are you planning to build your own screen door soon? Drop a comment below and share your experience or questions with our community of fellow DIY enthusiasts.