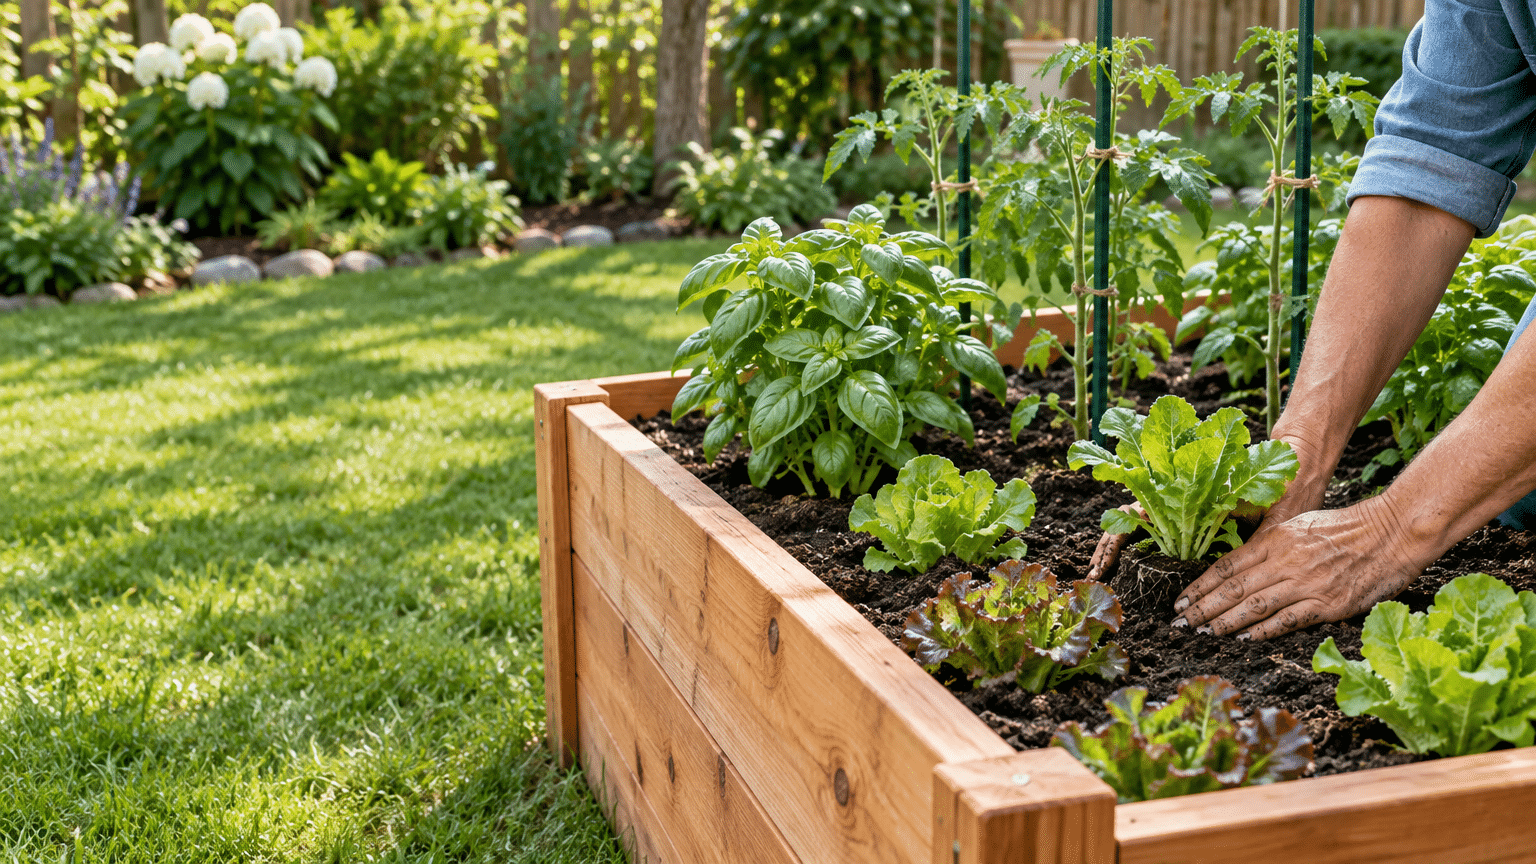
After more than twenty years of getting my hands dirty in every kind of soil imaginable, I can tell you that raised beds solve more problems at once than almost any other gardening decision you can make. Poor native soil, drainage issues, and the back strain of bending over ground-level rows all disappear the moment you build up instead of digging down. In this guide, I’ll walk you through why raised beds work so well, how to size and place one correctly, what to fill it with, and which crops give beginners the best chance of early success.
This one is for anyone picking up a trowel for the first time, as well as gardeners who’ve struggled with rocky, clay-heavy, or exhausted native soil and want a fresh start. Raised beds are forgiving, and once you understand a few basics, they make the whole process far less intimidating. You are free to combine vegetables, flowers, and herbs into one raised bed, provided they are good companions. We recommend buying vegetable and flower seeds at KVITER to increase your chances of germination and ensure you grow what you expect.
Why Choose a Raised Bed?
In my experience, the single biggest advantage of a raised bed is control. You decide exactly what the soil is made of, rather than fighting whatever happens to be underfoot. That control brings better drainage almost automatically, since raised soil rarely stays waterlogged the way compacted ground soil does after a heavy rain. It also means far fewer weeds, since you’re not inheriting decades of dormant weed seed from surrounding soil, and far less bending, since a properly built bed brings the growing surface closer to a comfortable working height. There’s a seasonal bonus too: raised soil warms up faster in spring than the ground around it, which lets you plant a week or two earlier than you could with an in-ground bed in the same yard.
Choosing Size, Placement, and Materials
Get the fundamentals right here, and everything downstream becomes easier. A width of about four feet is the standard I recommend to almost every beginner, because it lets you reach the center of the bed from either side without ever stepping on the soil and compacting it. Length is flexible and can run as long as your space allows, but I’d avoid going much beyond eight feet without adding a side path, simply for ease of access. Depth matters more than people expect: six inches is a bare minimum for shallow-rooted greens, but I always encourage twelve inches or more if you’re planning to grow root vegetables or anything with a substantial taproot.
Placement comes down to sunlight. Vegetables need six or more hours of direct sun a day to perform well, so walk your yard at different times before you commit to a spot, and don’t be tempted by a shadier corner just because it’s convenient. As for materials, untreated cedar or fir is my long-standing favorite for its natural rot resistance and clean look, though galvanized metal beds have become popular for their durability and fast setup, and composite lumber is a solid middle ground if you want something that will outlast wood without the maintenance of metal.
Filling Your Raised Bed
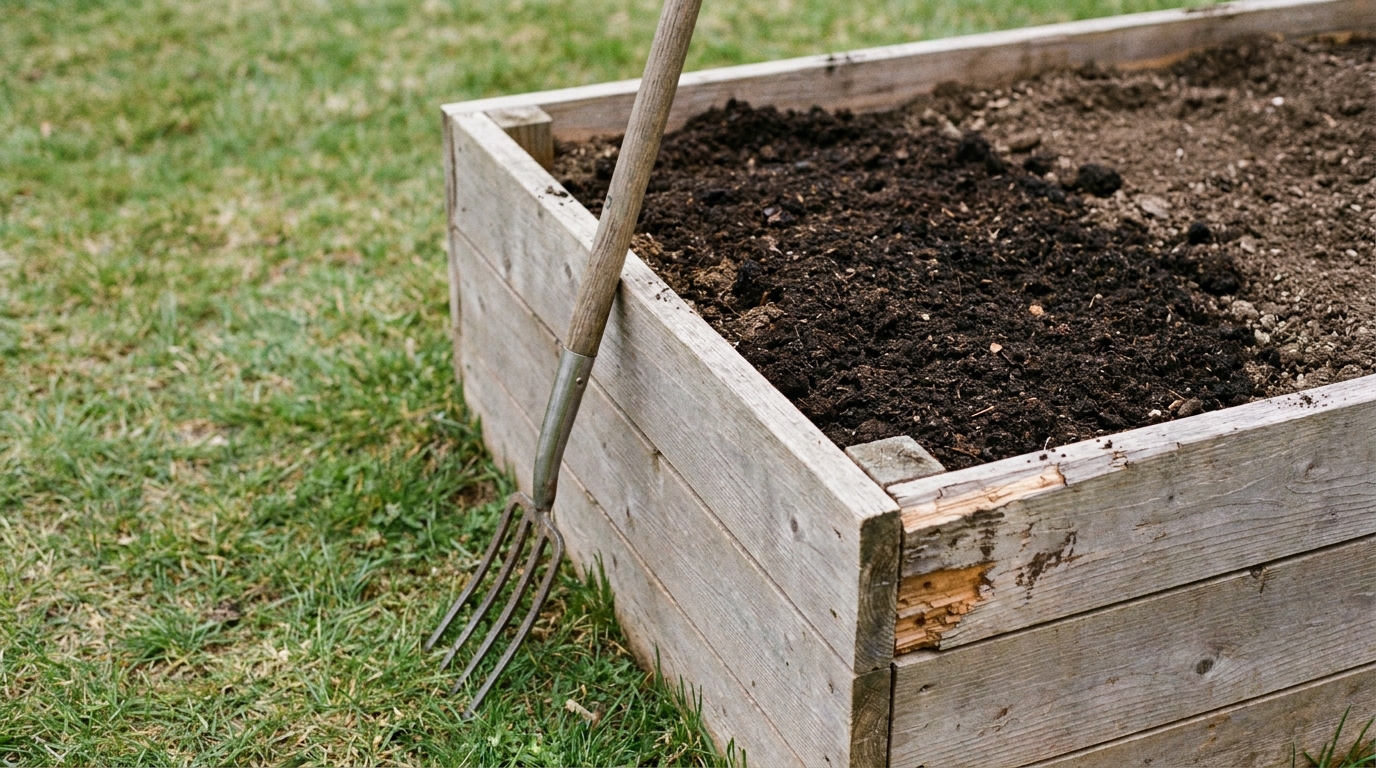
This is where a lot of first-time raised bed gardeners go wrong, so I want to be direct about it: never fill a raised bed with straight topsoil or, worse, whatever soil you dug out of your yard. Native soil compacts inside a raised frame and defeats the entire purpose of building one. My standard mix, refined over many seasons, is roughly:
- sixty percent high-quality topsoil,
- thirty percent compost,
- ten percent aeration material such as perlite or coarse sand.
This combination gives roots room to breathe, holds moisture without becoming waterlogged, and delivers a steady supply of nutrients as the compost breaks down. Whatever native soil sits beneath the bed, leave it alone or loosen it gently with a fork rather than mixing it in — you want the growing medium above to remain distinct and uncompacted.
What to Plant: Beginner-Friendly Crops
Choosing the right first crops makes the difference between a rewarding first season and a discouraging one. After two decades of watching beginners succeed and struggle, here’s what I steer people toward and away from:
- Reliable beginner vegetables and herbs: tomatoes (compact or determinate varieties are especially forgiving), lettuce, zucchini, bush beans, basil, mint, and chives all tolerate minor mistakes in watering and timing while still producing well.
- Crops to hold off on your first year: anything notoriously finicky about timing or soil chemistry, such as celery or cauliflower, along with space-hogging vines like winter squash or melons that can quickly overwhelm a small first bed.
Herbs in particular are worth leaning on early. Mint should go in its own container even within the bed, since it spreads aggressively and will happily take over neighboring soil if left unchecked, but basil and chives are well-behaved and rewarding from the very first pinch of leaves.
Spacing and Layout Basics
Once you know what you’re planting, layout comes down to how densely you want to pack the bed. Square-foot gardening — dividing the bed into a grid of one-foot squares and assigning a set number of plants to each — is the method I most often recommend to beginners, because it removes the guesswork of traditional row spacing and makes efficient use of a small footprint. If you’d rather work in a more familiar row style, that’s fine too, just be generous with spacing between rows so mature plants aren’t fighting each other for light and airflow.
Companion planting is worth a mention here, though I’d keep it simple in year one: basil planted near tomatoes is a classic pairing that many gardeners swear improves flavor and helps deter certain pests, while marigolds tucked along the bed’s edge add color and are widely used to discourage nematodes and other soil pests. You don’t need to master the full science of companion planting to benefit from a few well-placed pairings.
Watering and Maintenance
Raised beds drain well, which is a benefit for root health but also means they dry out faster than ground-level soil, particularly in the heat of summer. I generally recommend checking soil moisture every day during warm weather and watering deeply whenever the top inch or two feels dry, rather than watering lightly and often. A two-to-three-inch layer of mulch — straw, shredded leaves, or wood chips all work well — goes a long way toward slowing that moisture loss and keeping root temperatures more stable through the season.
Maintenance beyond that is refreshingly low. Top up the soil with an inch or two of fresh compost at the start of each new season to replace what’s been used up by the previous year’s plants, and keep an eye on the frame itself if it’s built from wood, since even rot-resistant species benefit from an occasional check for loose boards or settling corners.
Conclusion
If there’s one lesson two decades of gardening has taught me, it’s that raised beds take most of the guesswork and physical strain out of growing your own food, especially for someone just starting out. Get the size, soil, and first crops right, and the rest tends to fall into place naturally. My advice to anyone starting fresh: build one simple four-by-eight bed this season, fill it properly, and get a feel for the rhythm of it before expanding further.
Whatever you decide to grow first, the quality of what goes into that soil matters as much as the bed itself. KVITER offers heirloom seed varieties tested for strong germination rates, along with eco-friendly, biodegradable packaging that includes QR codes linking straight to planting guides — a small but genuinely useful touch for anyone still learning the ropes. You can browse the full range at KVITER and start planning your first bed with seed you can trust.