Noticed a few yellow leaves on your beloved orchid and feeling that familiar pang of worry?
While those golden hints can feel alarming at first, they’re not always the distress signal you might think. Sometimes your orchid is simply shedding old leaves to make room for fresh growth, just like trees in autumn.
Other times, it’s your plant’s gentle way of asking for a little adjustment in care.
Let’s find out what those yellow leaves are really trying to tell you, whether it’s natural aging or a sign your orchid needs something different, so you can keep it healthy and blooming happily.
Quick Symptom Checklist: Spot Diagnosis
Sometimes the quickest way to understand what’s happening with your orchid is to look at the pattern of yellowing. Different symptoms indicate various causes, and recognizing them simplifies solving the mystery.
Here’s a simple visual guide to help you identify what your orchid might be experiencing:
- Single yellow lower leaf? Likely just natural aging, nothing to worry about.
- Entire plant yellowing? Points to a systemic issue needing attention.
- Yellow with soft, soggy leaves? Classic signs of overwatering or root rot.
- Yellow with crisp, sunburned patches? Too much direct sunlight.
- Yellow mottled spots or sticky residue? Could indicate pests or disease.
Top Causes of Yellow Orchid Leaves
Yellow leaves can stem from a surprising variety of issues, and pinpointing the exact cause is your first step toward helping your orchid recover.
Let’s walk through the most common culprits you’re likely to encounter, complete with telltale signs and quick fixes you can implement right away.
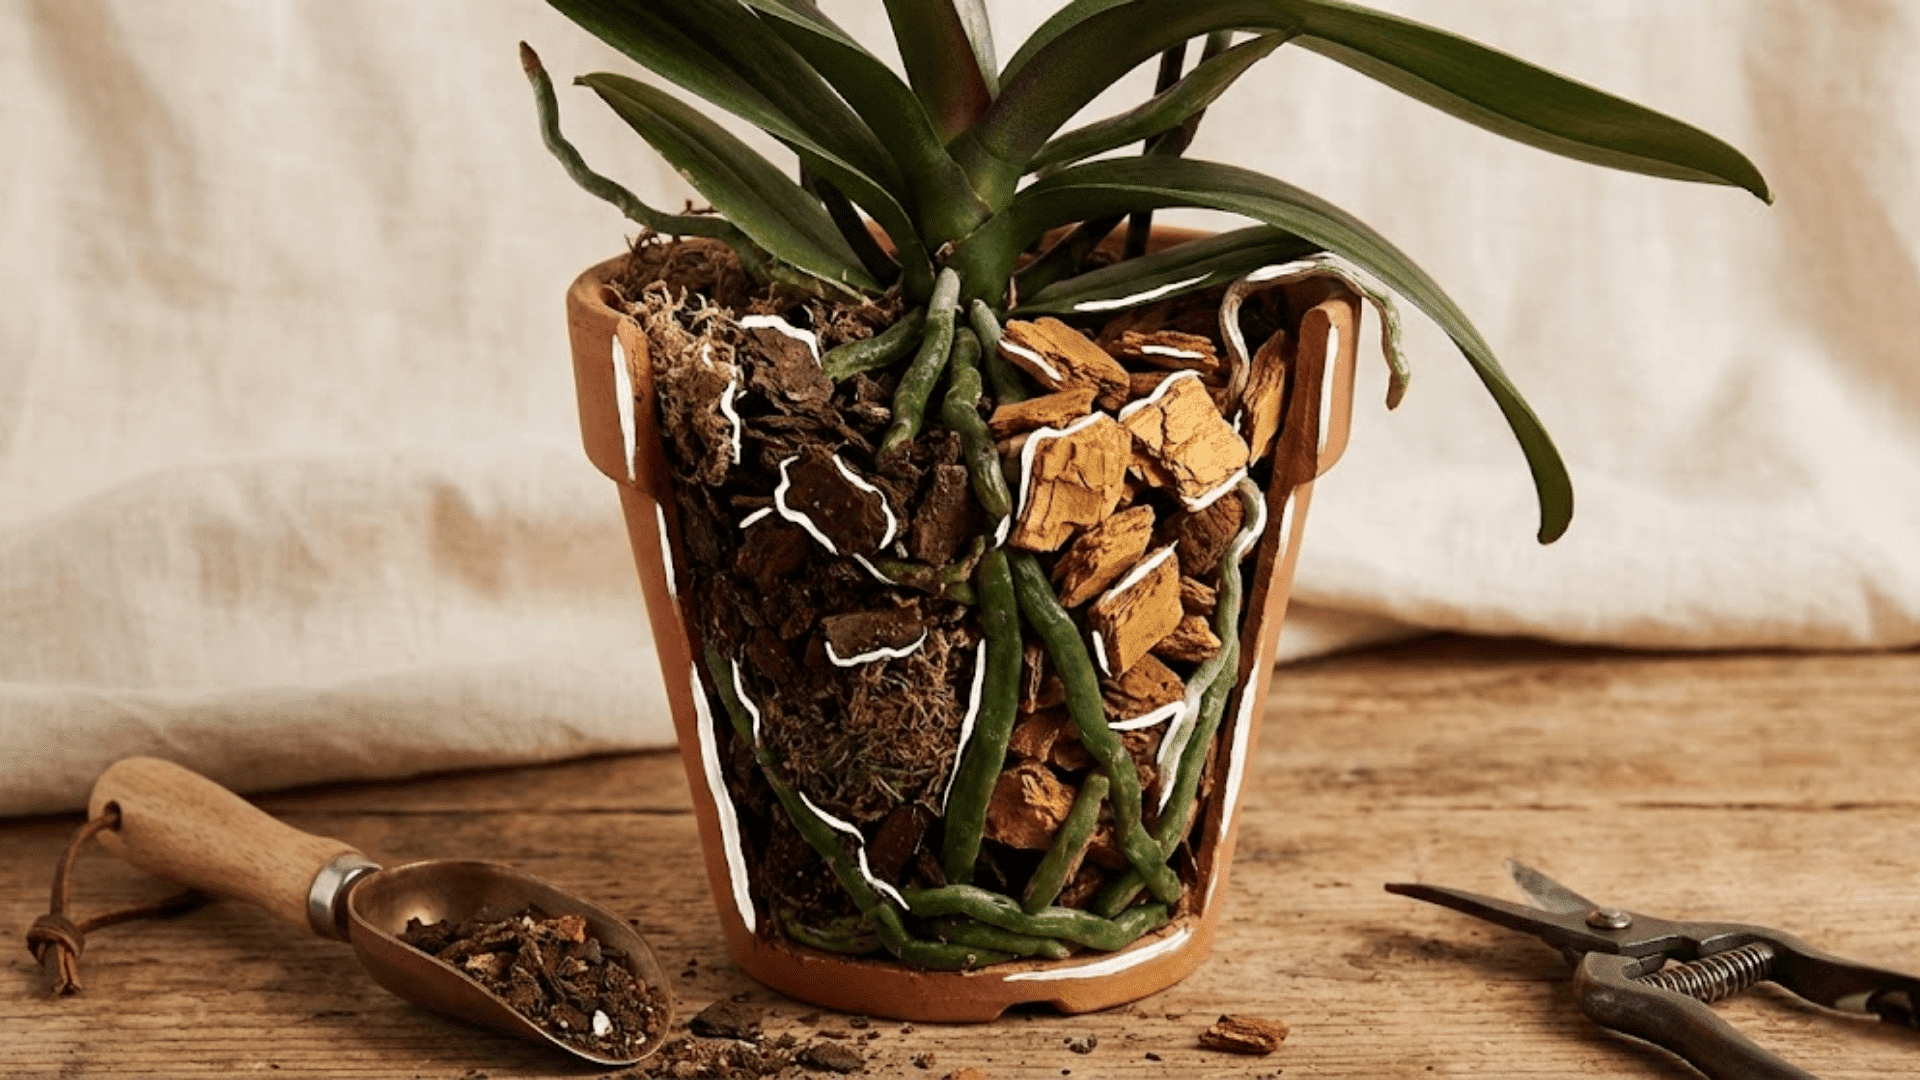
1. Overwatering and Root Rot
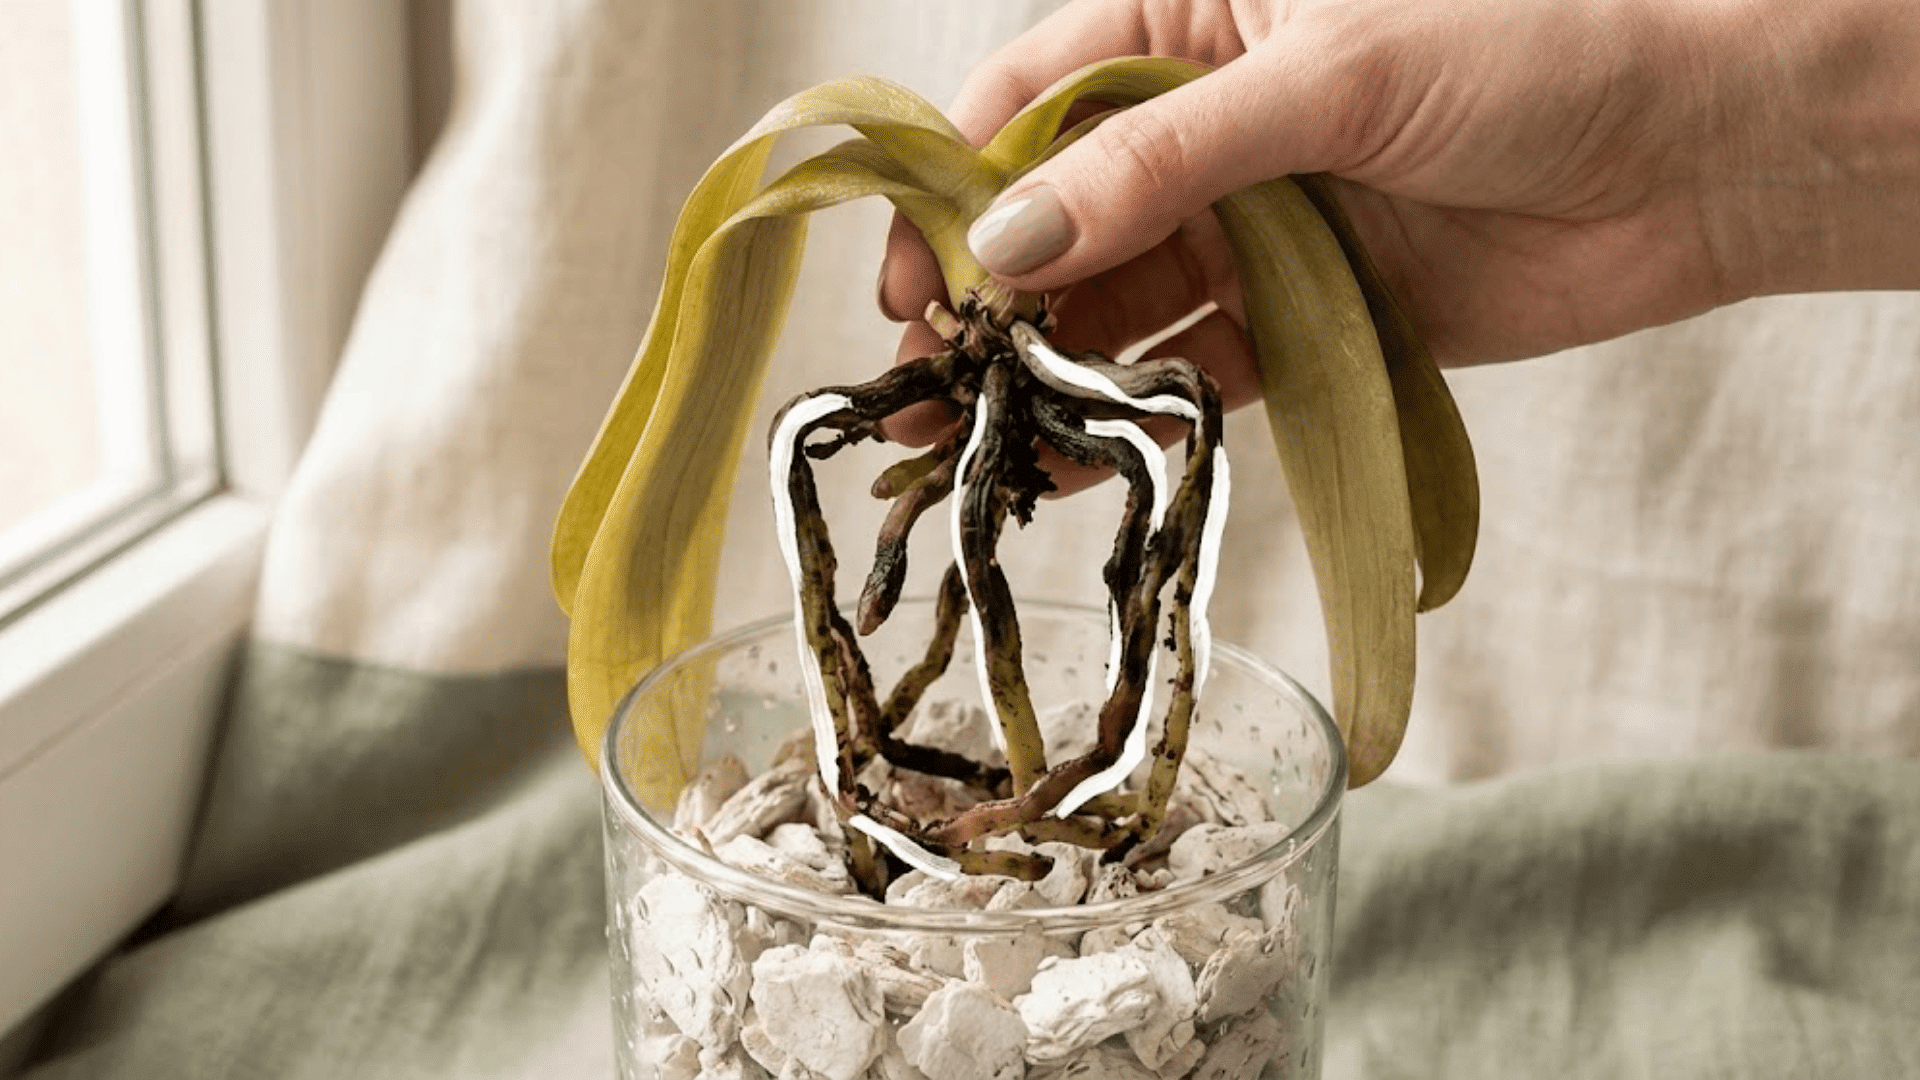
This is the number one reason orchids develop yellow leaves. When roots sit in soggy media for too long, they suffocate and rot, cutting off the plant’s ability to absorb nutrients and water.
You’ll notice leaves becoming soft and limp rather than firm, and if you peek at the roots, they’ll appear brown or black instead of silvery green. The potting bark might feel constantly wet or smell musty.
Quick fixes:
- Gently remove your orchid from its pot and inspect the roots closely
- Trim away any mushy, dark roots with sterilized scissors
- Repot in fresh orchid bark with excellent drainage, and scale back your watering schedule
2. Underwatering and Dehydration
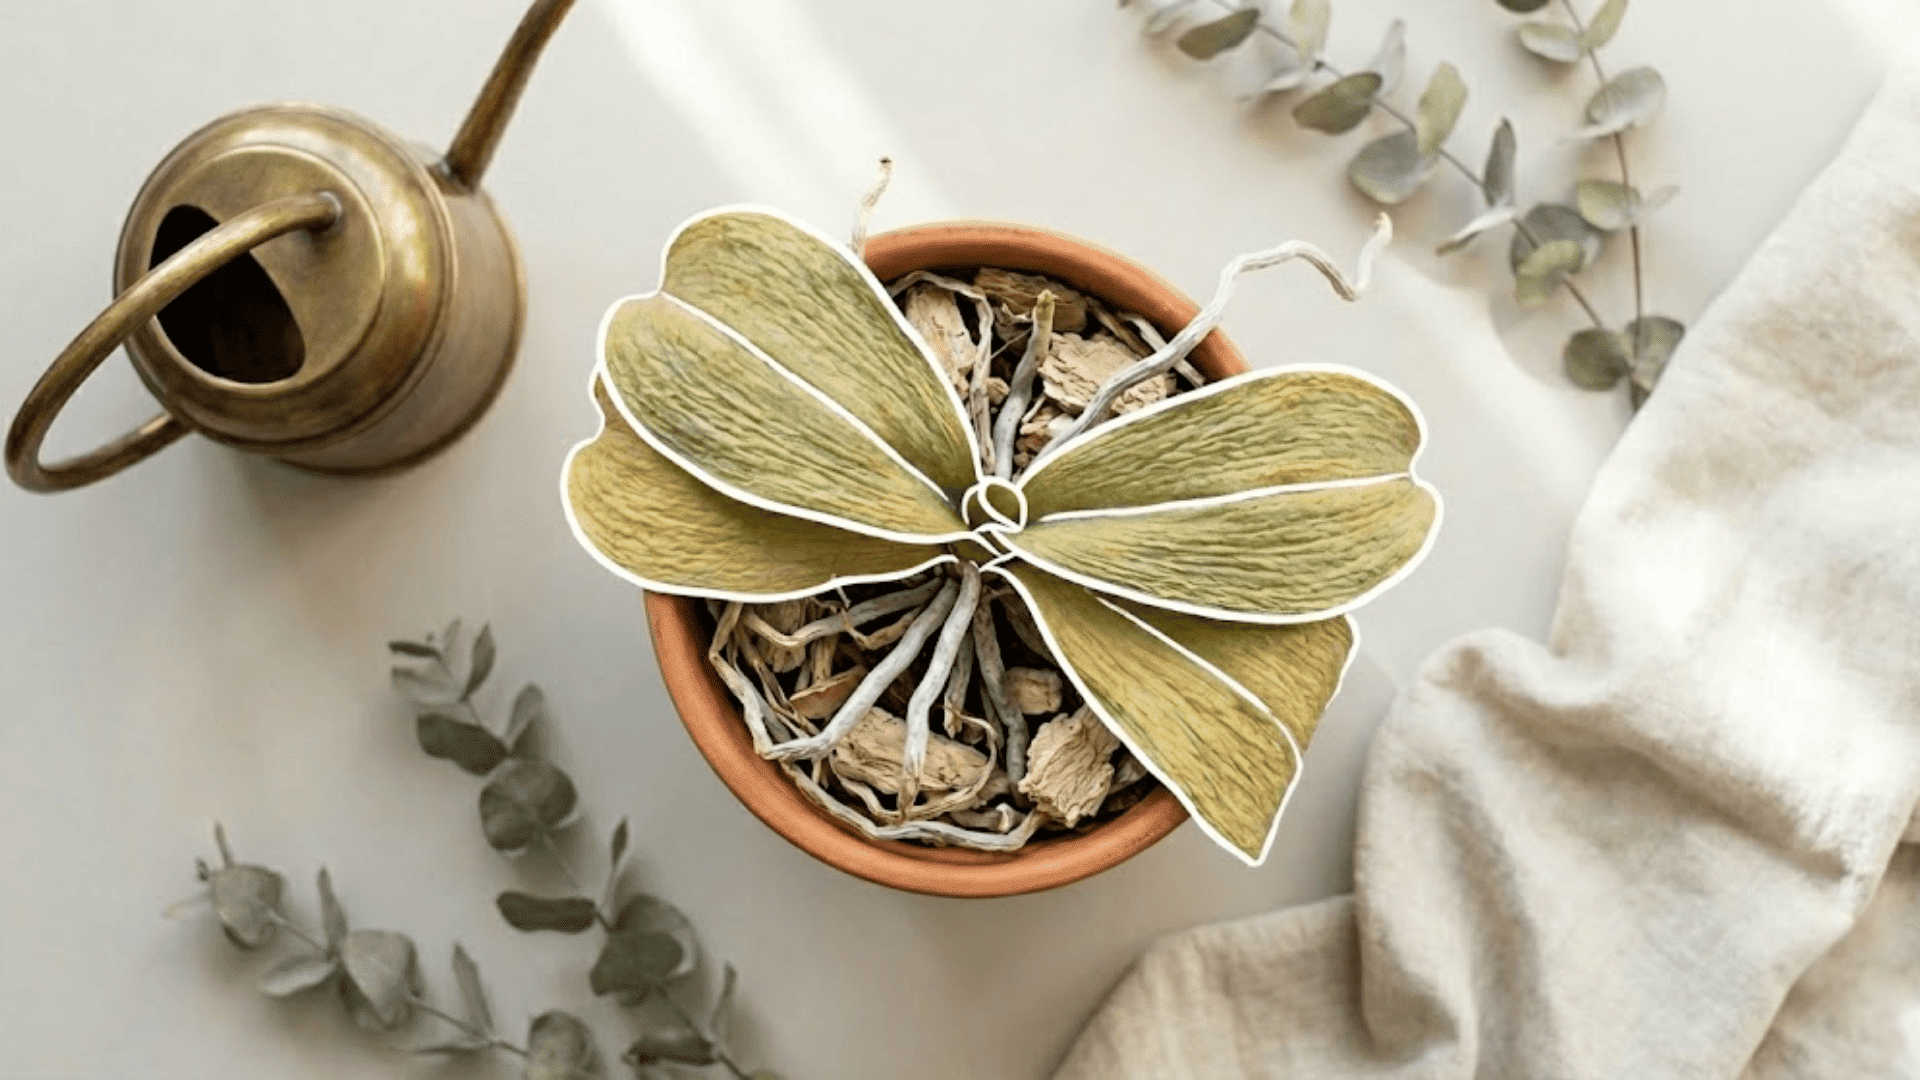
While overwatering gets most of the attention, underwatering can also turn leaves yellow. The difference? These leaves feel firm but look wrinkled and shriveled, almost leathery.
The roots will appear dry and papery rather than plump, and the potting media pulls away from the pot sides. Your orchid is essentially crying out for a drink.
Quick fixes:
- Give your orchid a thorough soak by placing the entire pot in water for 10 to 15 minutes
- Drain completely, then reassess your watering routine
- Check soil moisture weekly by inserting your finger into the media
3. Lighting Issues

Light can be tricky with orchids. Too much direct sun creates crispy, bleached yellow patches on leaves, almost like a sunburn. Too little light causes leaves to turn dark green initially, then yellow before dropping off entirely.
Finding that sweet spot of bright, indirect light makes all the difference for keeping foliage vibrant and healthy.
Quick fixes:
- Move your orchid away from harsh afternoon sun or closer to a window if it’s too dark
- Aim for bright, filtered light through a sheer curtain
- Consider using a light meter app to measure intensity if you’re unsure
4. Nutrient Deficiencies
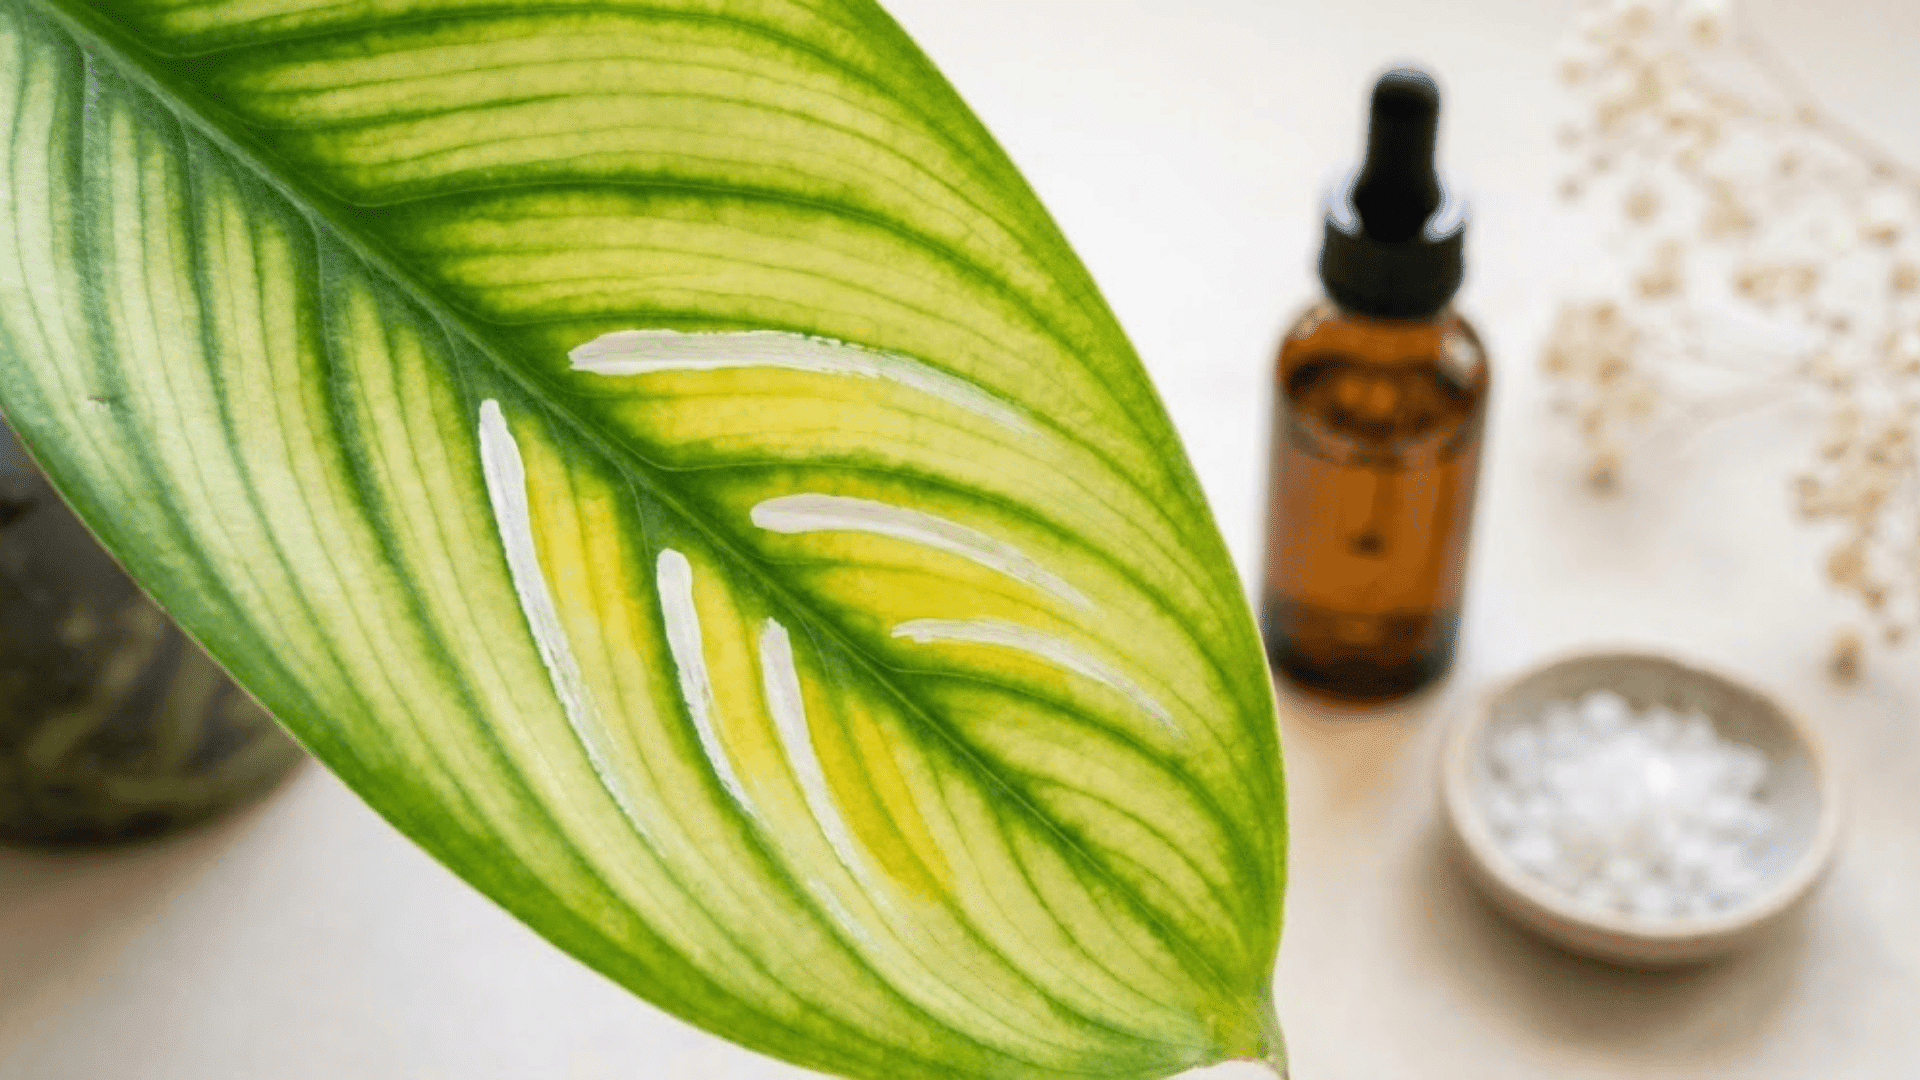
Even with perfect watering, your orchid might yellow from hunger. Nitrogen deficiency causes yellowing of older leaves; magnesium shortage causes interveinal chlorosis, with veins green and tissue between turning yellow.
Iron deficiency shows up similarly but affects newer growth first. Orchids are light feeders, but they still need regular nourishment.
Quick fixes:
- Apply a balanced orchid fertilizer diluted to half strength every two weeks during the growing season
- For magnesium issues, dissolve a pinch of Epsom salt in water occasionally
- Avoid over-fertilizing, which causes salt buildup and more problems
5. Temperature Stress and Drafts
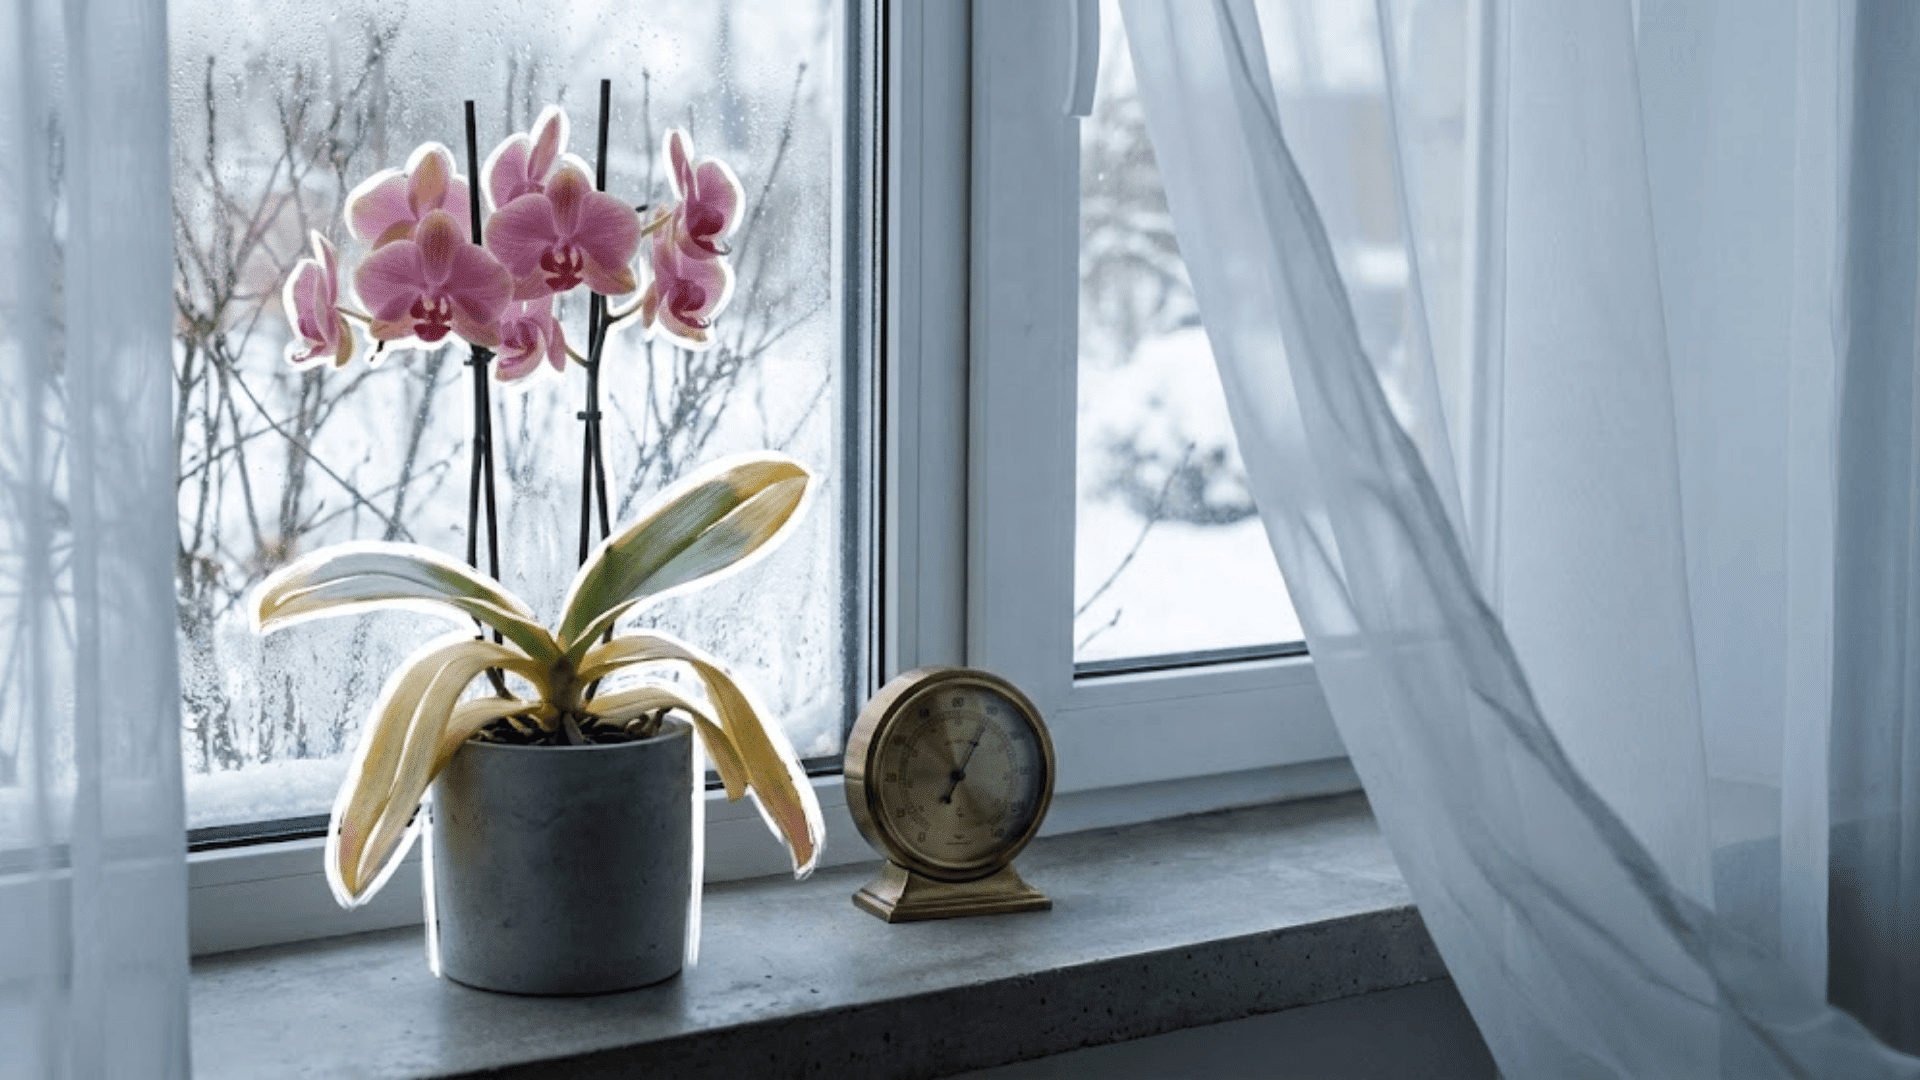
Orchids are sensitive souls when it comes to temperature swings. Sudden exposure to cold drafts from air conditioning, heating vents, or open windows in winter can shock leaves into yellowing.
Similarly, excessive heat without proper air circulation stresses the plant. Most orchids prefer stable temperatures between 60 and 80 degrees with good airflow.
Quick fixes:
- Move your orchid away from vents, drafty windows, or exterior doors
- Maintain consistent temperatures and avoid placing near appliances that generate heat
- Use a small fan for gentle air circulation if your space feels stuffy
6. Pests

Tiny invaders like mealybugs, scale insects, and spider mites love to feast on orchid sap, causing leaves to yellow and weaken over time. Look for cottony white clusters, brown bumps attached to leaves, or fine webbing.
You might also spot sticky honeydew residue where pests have been feeding. Catching infestations early makes treatment much simpler.
Quick fixes:
- Wipe leaves with cotton swabs dipped in isopropyl alcohol to remove visible pests
- Spray affected areas with insecticidal soap or diluted neem oil
- Isolate the infected plant to prevent pests from spreading to other orchids
7. Fungal or Bacterial Disease
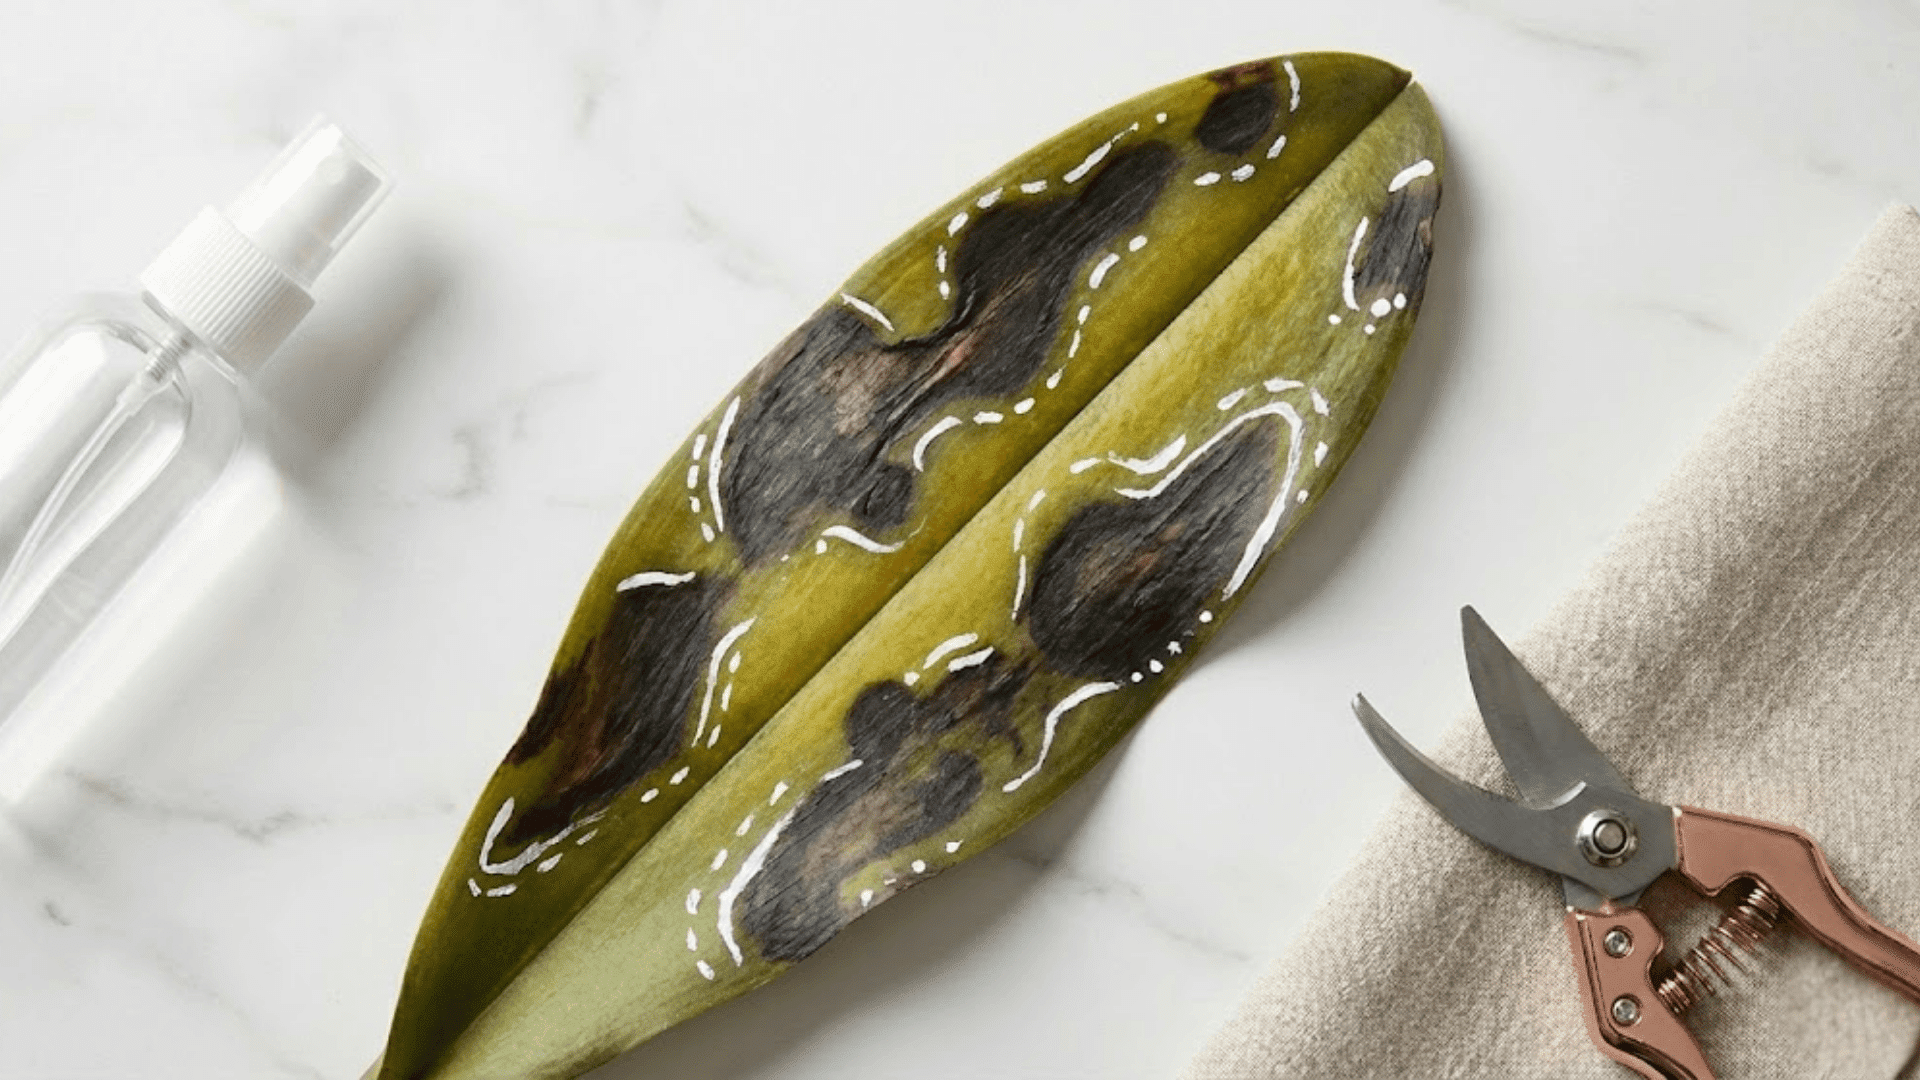
When yellowing comes with dark brown or black lesions, soft spots, or an unpleasant smell, disease might be the culprit. Fungal and bacterial infections often start as yellow spots that spread and darken, sometimes oozing liquid.
These issues typically develop in overly humid conditions with poor air circulation, and they require quick action to prevent spread.
Quick fixes:
- Immediately isolate the affected orchid from other plants
- Use sterilized tools to cut away diseased tissue, removing at least an inch beyond visible damage
- Apply an appropriate fungicide or bactericide and improve air circulation around the plant
8. Potting Media Breakdown
Orchid bark naturally breaks down over time, usually within one to two years. As it decomposes, the media becomes compacted and holds too much moisture while blocking air from reaching roots.
This creates conditions similar to overwatering, even if you’re watering correctly. Old, degraded bark looks dark, crumbly, and sometimes smells sour.
Quick fixes:
- Check if your potting media feels overly dense or has been in place for over two years
- Repot your orchid in fresh, chunky orchid bark that allows excellent drainage
- Make repotting a regular part of your orchid care routine
9. Natural Aging and Seasonal Leaf Drop
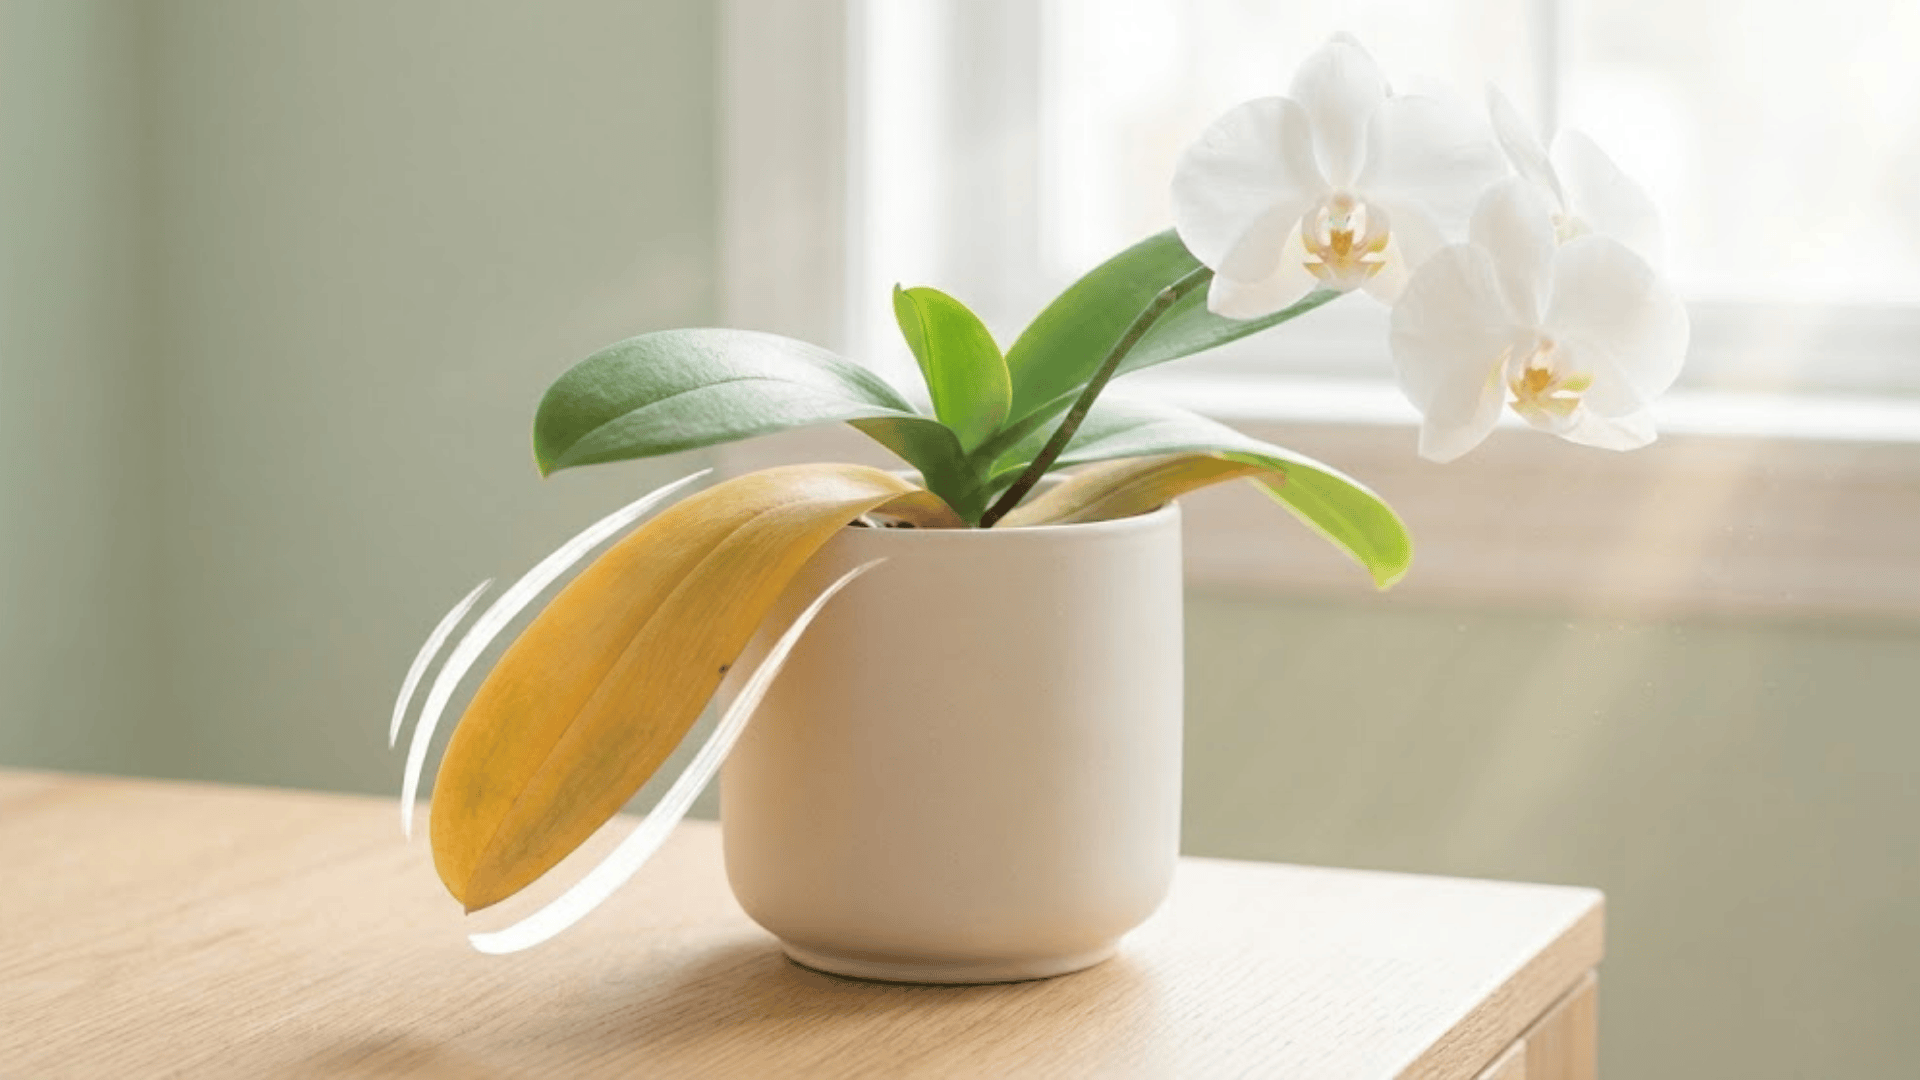
Here’s the good news: sometimes yellow leaves are completely normal. Orchids naturally shed their oldest lower leaves as they mature and produce new growth up top.
This is especially common after blooming when the plant redirects energy. If only one or two bottom leaves yellow while the rest look healthy and new growth appears, your orchid is simply refreshing itself.
What to do:
- Let the leaf yellow completely before gently removing it
- Continue regular care without making changes
- Feel reassured that this is part of your orchid’s natural cycle
10. Transplant Shock or Shipping Stress
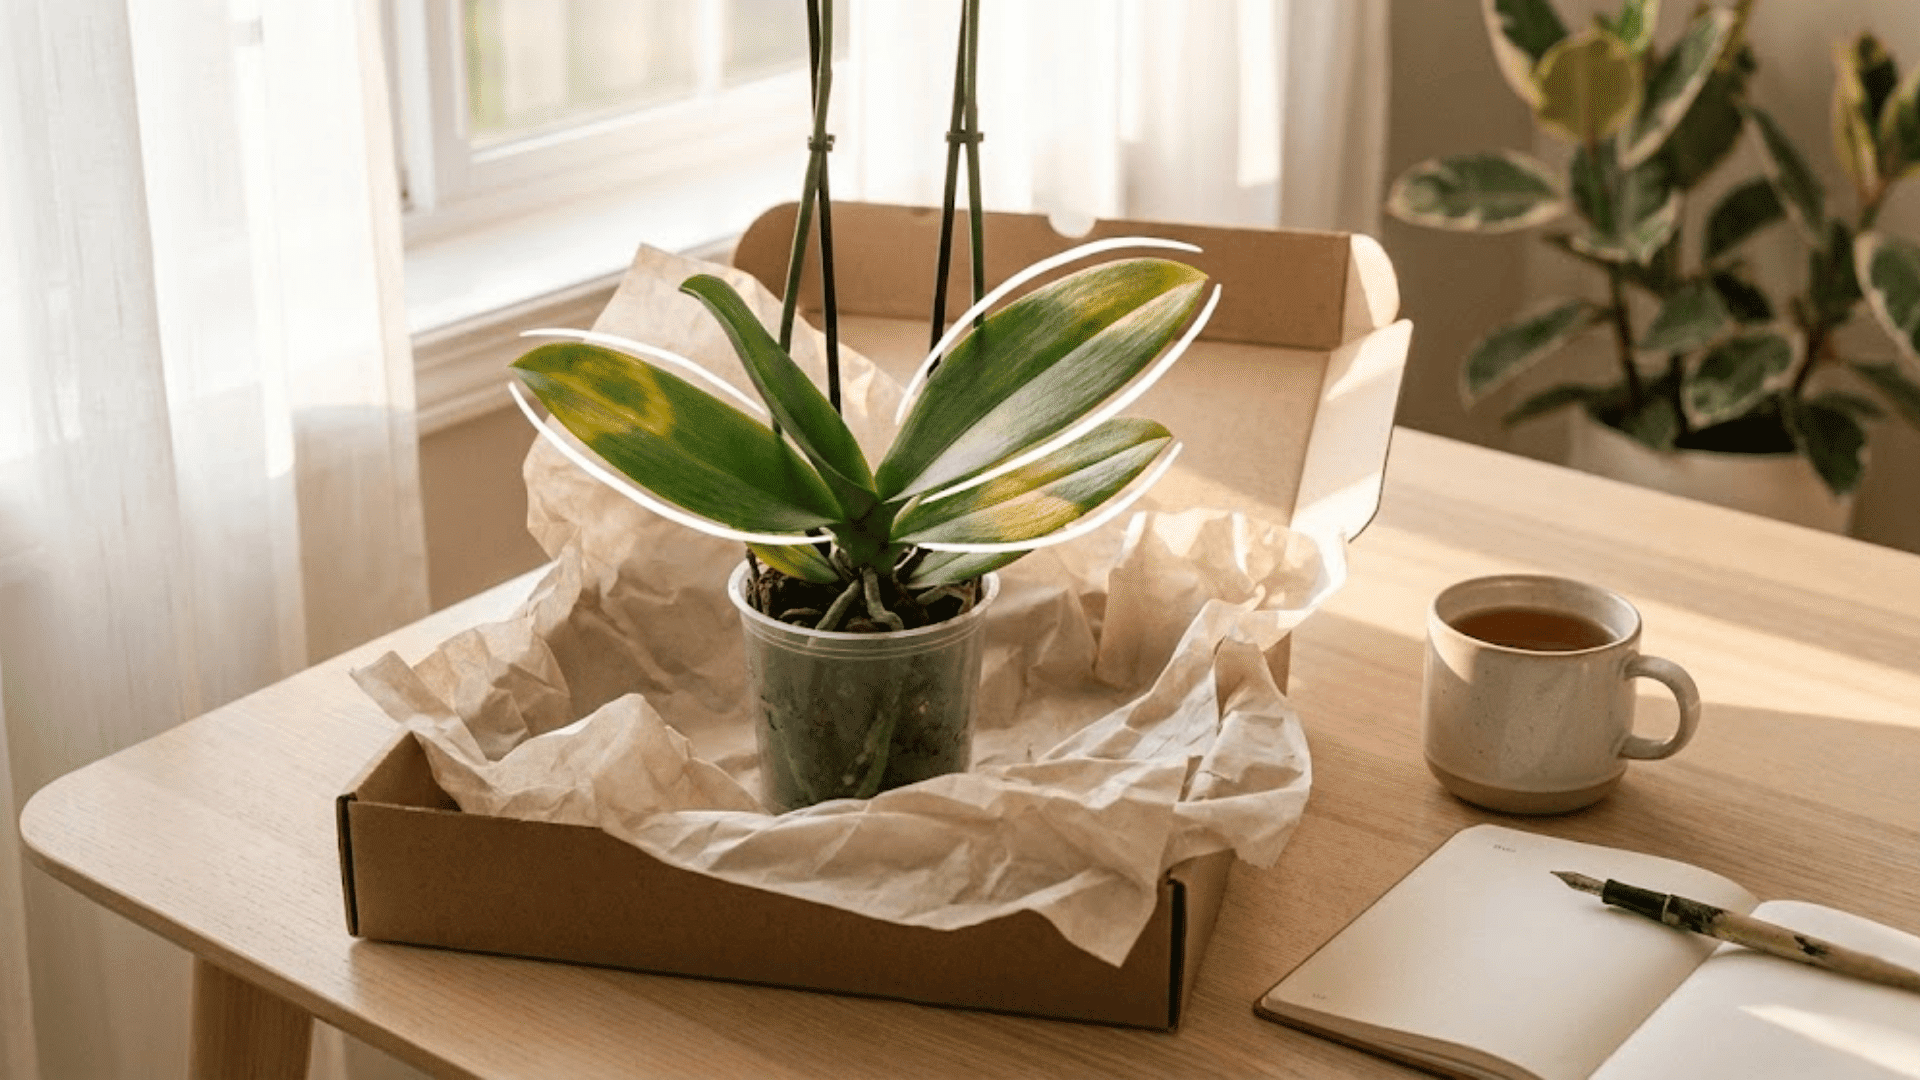
Just brought home a new orchid or recently repotted? Some yellowing in the weeks following is actually expected. The plant needs time to adjust to its new environment or recover from root disturbance.
As long as the yellowing doesn’t spread rapidly and new growth eventually emerges, your orchid is likely just settling in.
Quick fixes:
- Keep conditions stable with consistent watering, light, and temperature
- Avoid fertilizing for the first month after repotting or arrival
- Be patient and give your orchid several weeks to acclimate
11. Water Quality Issues
Tap water often contains chlorine, fluoride, and dissolved minerals that accumulate as white crusty deposits on roots and media. Over time, these salts build up and interfere with nutrient uptake, causing leaves to yellow.
Hard water is particularly problematic for sensitive orchids that prefer purer water sources.
Quick fixes:
- Switch to rainwater, distilled water, or filtered water for your orchids
- Flush the potting media monthly by running water through it for several minutes
- Watch for white salt buildup on the media surface as a warning sign
Step-by-Step Recovery Plan (If Your Orchid is Salvageable)
Don’t worry if your orchid looks a bit worse for wear right now. With consistent, thoughtful care, most orchids bounce back beautifully.
Here’s your roadmap to nursing your plant back to health.
- Step 1: Remove from the pot, trim dead or mushy roots with sterilized scissors, isolate if diseased, and replace old media with fresh orchid bark.
- Step 2: Water when the top inch of media feels dry, typically every five to seven days for small pots, ten to fourteen days for larger ones, and increase frequency during spring and summer growing periods.
- Step 3: Place in bright, indirect light away from harsh sun, maintain 50 to 70 percent humidity with a pebble tray or humidifier, and ensure gentle air circulation.
- Step 4: Wait one month before fertilizing, then use half-strength orchid fertilizer every two weeks during the growing season, monthly in winter, and flush with plain water occasionally.
- Step 5: Repot every one to two years or when the media breaks down, use a slightly larger pot with drainage holes and fresh chunky bark, and time it right after blooming for best results.
Your orchid might take several weeks or even months to fully recover, and that’s completely normal. Be patient with the process and resist the urge to over-correct by changing too many things at once.
When to Cut Yellow Leaves (And When to Leave Them)
Knowing whether to remove a yellow leaf or let it fall naturally can feel confusing. The truth is, timing matters.
Here’s a quick reference guide to help you decide the best approach for your orchid’s specific situation.
| Scenario | What to Do | Why |
|---|---|---|
| Single lower leaf turning yellow, still firm | Leave it attached until completely yellow | The leaf is still transferring nutrients back to the plant |
| Leaf is fully yellow and papery | Remove with sterilized scissors at the base | Prevents potential rot and keeps the plant tidy |
| Yellow leaf with soft, mushy texture | Trim cautiously with sterile tools | Indicates possible root rot; remove to stop the spread |
| Multiple leaves are yellowing rapidly | Leave temporarily while diagnosing | Removing too many stressed leaves can shock the plant further |
| Yellow leaf near the crown area | Extra caution when removing | Damaging the crown can be fatal to your orchid |
Always sterilize your scissors with rubbing alcohol before and after each cut to prevent spreading disease. If you’re unsure whether a leaf is ready to come off, give it a gentle tug; it should release easily when truly ready.
When Yellowing is Not Fixable
Sometimes, despite your best efforts, an orchid reaches a point of no return.
If the crown, the central growing point where new leaves emerge, feels soft and rotted, or if nearly all roots have turned to mush with no firm white or green ones remaining, recovery becomes impossible.
At this stage, the kindest option is to let go. Dispose of the plant responsibly by composting non-diseased parts or sealing diseased material in a bag for trash disposal.
Unfortunately, most orchids can’t be propagated from leaf or stem cuttings like other houseplants, so starting fresh with a new healthy orchid is your best path forward.
Final Thoughts
I hope this guide has helped you feel more confident about tackling those yellow leaves on your orchid.
Remember, understanding why orchid leaves turn yellow is half the battle; once you know the cause, the fix usually follows naturally.
Your orchid is more resilient than you might think, and with a little patience and the right adjustments, it’ll be back to its gorgeous self soon.
I’d love to hear how your orchid recovery episode goes! Drop a comment below sharing your experience or any questions you still have.
Let’s learn and grow together in this beautiful hobby.