Building It Right From the Inside Out
Many DIY home projects start with excitement but end in frustration, not because of a lack of effort, but because of poor planning between the structure and the final look. It’s easy to focus on paint colors or flooring choices, yet overlook the framework that supports everything. In reality, a successful build depends on how well these two stages work together.
Understanding how structural components and finishing touches connect can help you avoid costly mistakes while achieving a polished result. Whether you’re working on a shed, a small addition, or a renovation, these practical tips will guide you from framing to finishing with confidence.
Why Structure and Finish Should Work Together
A well-built DIY project isn’t just about how it looks; it’s about how long it lasts. The quality of your framing directly affects the outcome of your finishes. If your structure is uneven or unstable, even the best paint, flooring, or trim won’t look right or hold up over time.
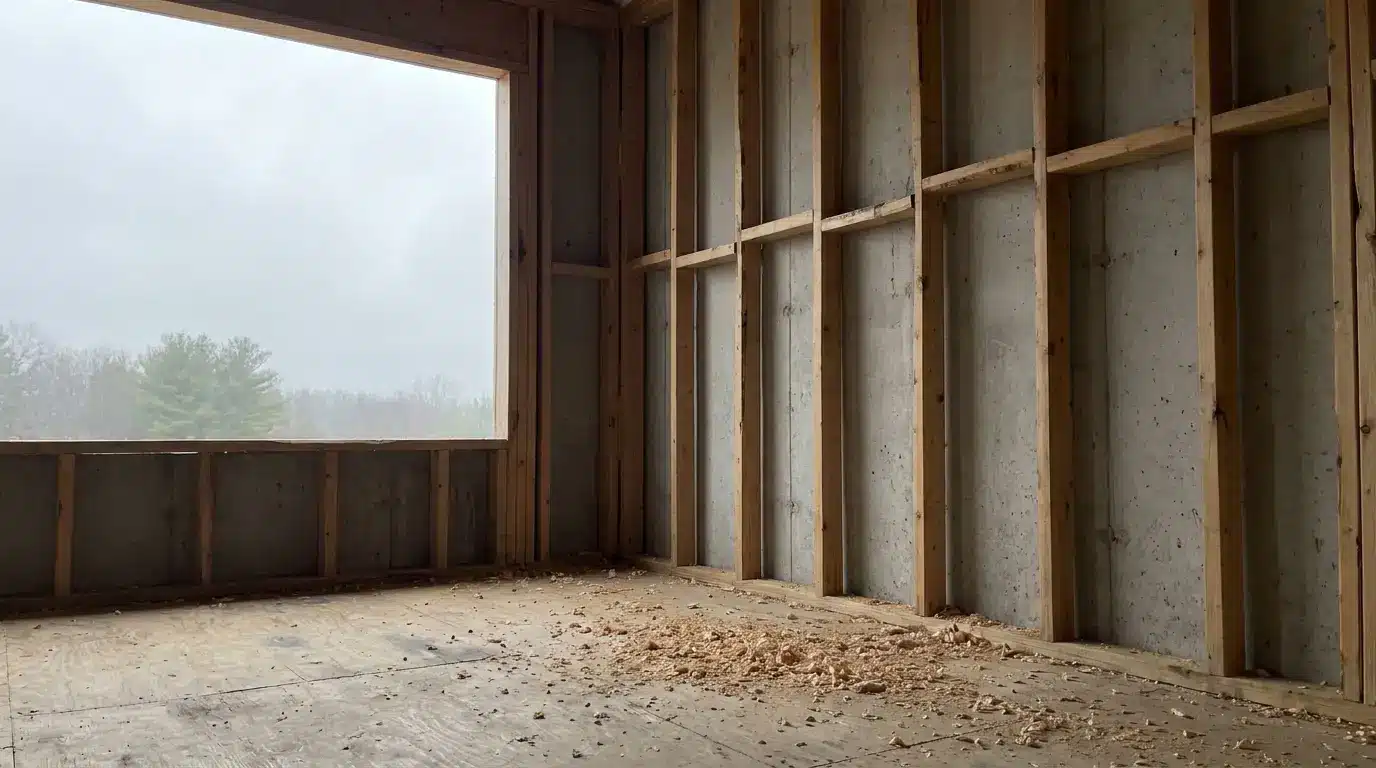
This is where reliable materials come into play. Choosing high-quality options like Trusses and Engineered Wood Products – Star Building Materials ensures a strong and consistent foundation. These materials are designed for durability and precision, helping create smooth surfaces for your finishing work. When your base is solid, every layer that follows becomes easier to install and more visually appealing.
Top 10 DIY Building Tips
1. Start With a Clear Game Plan
Every successful DIY build begins with a detailed plan. Outline your layout, measurements, and structural needs before picking up any tools. A clear plan minimizes guesswork and helps you anticipate challenges early on. It also ensures that your materials align with your project goals, saving time and money in the long run.
2. Pick the Right Trusses for the Job
Not all trusses are created equal. Depending on your project, you may need roof trusses, attic trusses, or custom designs. Selecting the right type improves load distribution and simplifies installation. For DIYers, pre-fabricated trusses can be especially helpful, offering both convenience and reliability.
3. Choose Engineered Wood for Consistency
Engineered wood products like plywood, LVL, and OSB are popular for a reason. They’re designed to resist warping and provide consistent strength across the board. This makes them easier to work with compared to traditional lumber, especially for beginners aiming for precise results.
4. Measure Twice, Cut Once
It may sound simple, but this classic rule can save you from costly errors. Accurate measurements ensure proper alignment and reduce material waste. This is particularly important when working with pre-made components, where even small mistakes can affect the entire structure.
5. Make Sure Your Load Support Is Solid
A strong build relies on proper load support. Pay close attention to beams, joists, and spacing to ensure your structure can handle weight safely. Skipping this step can lead to sagging floors or unstable roofs, which are much harder to fix later.
6. Don’t Skip Sheathing and Substrates
Sheathing acts as the backbone of your walls, floors, and roof. It provides a stable surface for everything that comes next, from siding to flooring. High-quality substrates make it easier to install finishing materials and improve the overall durability of your project.
7. Think About Finishes Early On
Finishing materials shouldn’t be an afterthought. Planning allows you to prepare surfaces properly and avoid last-minute adjustments. For example, ensuring walls are level and smooth makes installing drywall or paneling much easier and more effective.
8. Protect Against Moisture From the Start
Moisture is one of the biggest threats to any DIY build. Use proper sealing techniques, vapor barriers, and waterproof materials where needed. This not only protects your structure but also prevents damage to finishes like paint, wood flooring, and trim.
9. Invest in Tools That Make the Job Easier
Quality tools can make a noticeable difference in your results. They improve accuracy, reduce effort, and help you work more efficiently. While it may be tempting to cut costs here, good tools often pay for themselves through better outcomes.
10. Finish With Precision and Patience
The final stage is where your project truly comes to life. Take your time with painting, trimming, and installing fixtures to achieve a clean and professional look. Rushing through this step can undo all the effort you’ve put into the structure.
If you’re looking for inspiration or reliable options, you can always check out Sherwood Park finishing materials to find products that match both your style and durability needs. A careful approach to finishing ensures your project not only looks great but also stands the test of time.
Common DIY Mistakes to Watch out For
Even experienced DIYers can run into problems. One of the most common mistakes is ignoring structural alignment, which leads to uneven finishes. Others rush through the final stages, resulting in sloppy details. Using mismatched materials or failing to account for expansion and moisture can also cause long-term issues.
Avoiding these pitfalls starts with understanding the connection between structure and finish. Taking the time to do each step properly will save you from repairs later.
Build Smart, Finish Strong
A successful DIY project is all about balance. Strong structural choices combined with thoughtful finishing touches create results that are both durable and visually appealing. By planning carefully and following these tips, you can approach your next build with confidence.
No matter the size of your project, remember that great results come from paying attention to both what’s behind the walls and what’s visible on the surface. When you build smart and finish strong, your DIY work can look just as good as a professional job.